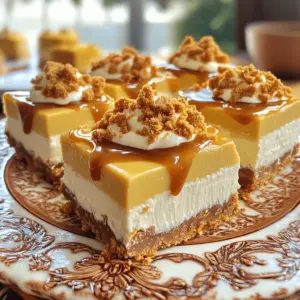
No-Bake Biscoff Cheesecake Squares
Indulge in the ultimate dessert with these No-Bake Biscoff Cheesecake Squares! This easy recipe combines creamy cheesecake with the irresistible flavor of Biscoff cookies, perfect for any occasion. With just a few simple steps, you can create a delicious treat that will impress your family and friends. Click through to discover how to make these delightful cheesecake squares and elevate your dessert game today!