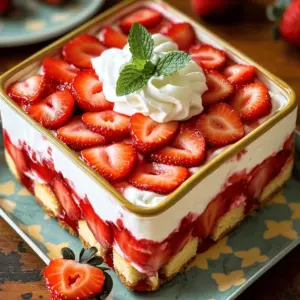
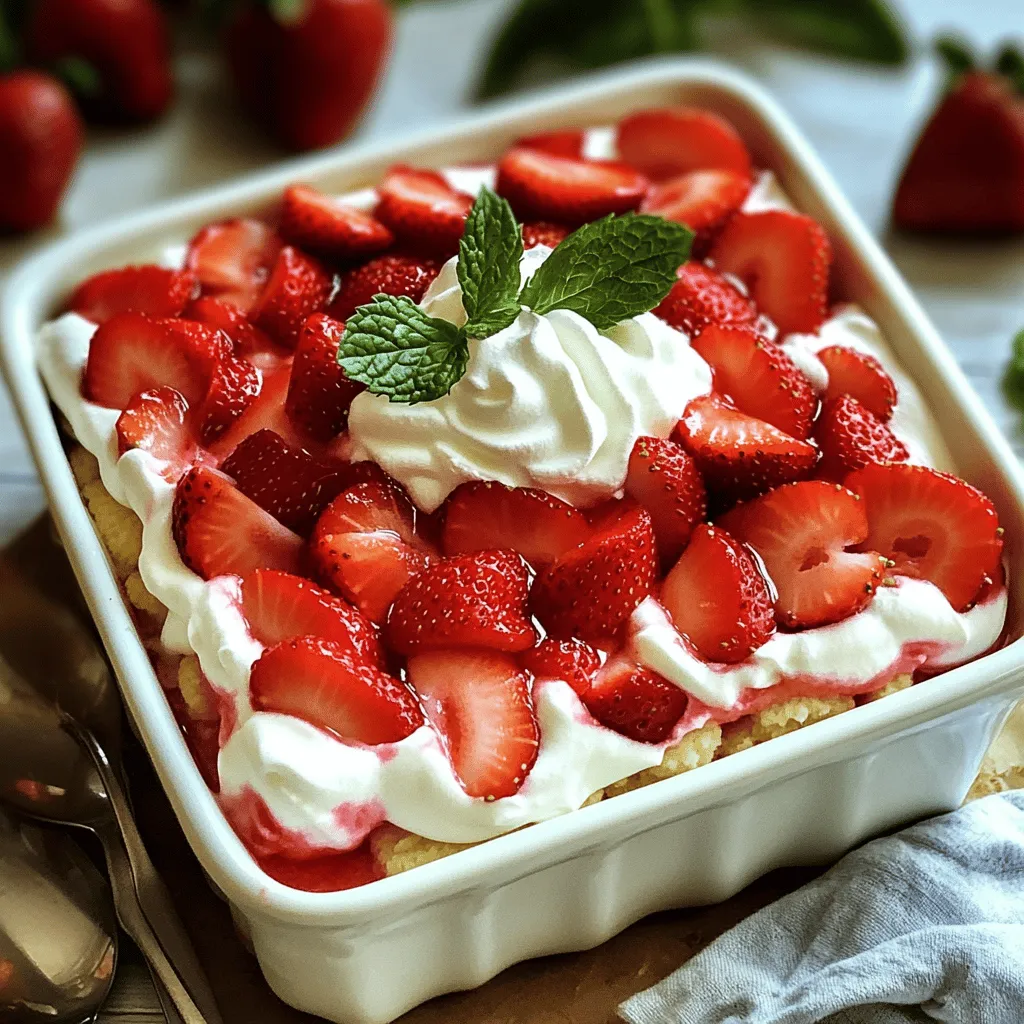
If you’re looking for an easy and tasty dessert, you’ve found it! This Strawberry Shortcake Icebox Cake is simple to make and sure to impress. With layers of fresh strawberries and whipped cream, it’s the perfect sweet treat for any occasion. Let’s dive into the ingredients, steps, and tips to create this delicious cake that everyone will love!
Ingredients
List of Ingredients
To make Strawberry Shortcake Icebox Cake, gather these items:
– 1 pound fresh strawberries, hulled and sliced
– 2 tablespoons granulated sugar
– 1 cup heavy whipping cream
– 2 tablespoons powdered sugar
– 1 teaspoon vanilla extract
– 12-15 shortbread cookies (store-bought or homemade)
– Fresh mint leaves for garnish (optional)
Ingredient Substitutions
You can swap some ingredients if needed. Use any fresh fruit, like peaches or blueberries, instead of strawberries. For a lighter cake, try low-fat whipped cream. You can use honey or maple syrup instead of granulated sugar for sweetness. If you are gluten-free, use gluten-free cookies. You can also make your own cookies at home.
Recommended Tools and Equipment
To make this cake, you’ll need a few tools:
– A mixing bowl for strawberries
– A mixing bowl for whipped cream
– A whisk or electric mixer for whipping cream
– A 9×9 inch baking dish for layering
– A spatula for spreading cream
– Plastic wrap to cover the dish
These tools will help you create a lovely dessert with ease!
Step-by-Step Instructions
Preparation of Strawberries
First, take one pound of fresh strawberries. Remove the green tops and slice them. Place the sliced strawberries in a bowl. Add two tablespoons of granulated sugar. Toss the strawberries gently. Let them sit for about 15 minutes. This helps the strawberries release their juices. You will see the sugar mix with the juice. This step makes the strawberries sweet and tasty.
Whipping the Cream
Next, grab a separate bowl. Pour in one cup of heavy whipping cream. Add two tablespoons of powdered sugar. Don’t forget one teaspoon of vanilla extract. Use a hand mixer or whisk. Beat the mixture for about 3 to 5 minutes. Look for medium peaks to form. This is when the cream thickens but is still soft. It should look fluffy and smooth.
Layering the Cake
Now, let’s layer the cake. Take a 9×9 inch baking dish. Start with a layer of shortbread cookies at the bottom. You can break the cookies if they don’t fit. Spread a generous layer of the whipped cream over the cookies. Then, add a layer of the macerated strawberries. Make sure to include the juices. Repeat this process with the remaining cookies, cream, and strawberries. Finish with a top layer of whipped cream. Cover the dish with plastic wrap. Place it in the fridge for at least 4 hours. If you can, let it chill overnight. This helps all the flavors blend. When ready to serve, you can garnish with mint leaves. Slice into squares and enjoy!
Tips & Tricks
Achieving the Perfect Whipped Cream
To make the best whipped cream, start with cold tools. Use a chilled bowl and beaters. This helps the cream whip faster. You want medium peaks, not stiff peaks. Medium peaks hold shape but are still soft. Beat the cream for about 3 to 5 minutes. Watch closely to avoid overwhipping. Overwhipped cream can turn into butter. Adding powdered sugar gives it a nice sweetness. The vanilla extract adds a lovely flavor too.
Tips for Layering
When layering, start with a layer of cookies. You can break the cookies if they don’t fit. Spread whipped cream evenly over the cookies. Then, add macerated strawberries with their sweet juices. Repeat the layers until you use all your ingredients. Try to end with whipped cream on top. This creates a pretty finish. If you want, add fresh mint leaves for a pop of color.
Common Mistakes to Avoid
One common mistake is not letting strawberries sit long enough. They need time to release their juices. Skipping this step can make the cake too dry. Another mistake is not chilling the cake long enough. Refrigerate it for at least 4 hours. This helps the cookies soften and absorb flavors. Finally, be careful when whipping the cream. Don’t overwhip it, or it will become grainy. Remember these tips for a perfect Strawberry Shortcake Icebox Cake!
Variations
Flavor Variations
You can change the flavor of this cake easily. Try using different fruits like blueberries or raspberries. They add a nice twist. You can also use peaches or even cherries. For a fun twist, add a layer of lemon curd. It gives a fresh taste that pairs well with the cream. You can mix in a bit of cocoa powder to the whipped cream for a chocolate flavor. This adds a rich taste that chocolate lovers will enjoy.
Alternative Cookie Options
While shortbread cookies are classic, you can switch them up. Try using graham crackers for a different crunch. They give a nice texture and flavor. You can also use vanilla wafers for a sweeter base. If you want something more hearty, try oatmeal cookies. They add a chewy texture that contrasts nicely with the cream.
Gluten-Free or Dairy-Free Adaptations
If you need gluten-free options, use gluten-free cookies. Many brands make tasty options that work well in this cake. For a dairy-free version, use coconut cream instead of heavy cream. It whips up just like regular cream and adds a nice coconut flavor. You can also use almond milk or oat milk for the whipped cream. Just make sure to add a stabilizer like cornstarch to help it hold its shape.
Storage Info
How to Store Leftovers
To keep your leftover Strawberry Shortcake Icebox Cake fresh, cover it tightly. Use plastic wrap or foil to seal the dish. This will prevent air and moisture from getting in. Store it in the refrigerator. It stays good for up to three days. Make sure to slice it before serving for easy access.
Freezing Options
You can freeze this cake if you have lots of leftovers. First, slice the cake into squares. Wrap each piece in plastic wrap, then place them in a freezer bag. This helps keep the cake fresh. You can freeze it for up to two months. When you want to eat it, just thaw it in the fridge overnight.
Shelf Life of the Cake
The cake will last about three days in the fridge. After that, the cookies may get too soggy. If you freeze it, the flavor and texture stay good for two months. This makes it a great option for meal prep or making ahead for a party. Enjoy your cake fresh for the best taste!
FAQs
Can I make this cake ahead of time?
Yes, you can make this cake ahead of time. In fact, I recommend it! The flavors blend better when the cake sits. You can prepare it up to a day in advance. Just cover it well and place it in the fridge. When you are ready to serve, simply add your mint leaves for garnish.
What other fruits can I use?
You can use many fruits in this cake. Ripe peaches, blueberries, or raspberries work well. You can even mix different fruits together. Just remember to adjust the sugar based on the sweetness of the fruit you choose. This keeps your cake balanced and tasty.
How do I know when the whipped cream is at the right consistency?
The right consistency for whipped cream is when it forms medium peaks. This usually takes about 3-5 minutes of whipping. To test, lift the beaters out of the cream. The peaks should hold their shape but still be soft. If it looks too stiff, it has been over-whipped. Aim for a light and fluffy texture.
This blog post covered every part of making a delicious cake. We discussed ingredients, tools, and each step, from preparing strawberries to layering. I shared tips for perfect whipped cream and common mistakes to avoid. Variations let you experiment with flavors and dietary needs. Finally, I included storage tips to keep your cake fresh. Enjoy creating your cake, and remember, practice makes perfect!