Oreo Cheesecake Cookie Cups Irresistible Dessert Treat

WANT TO SAVE THIS RECIPE?

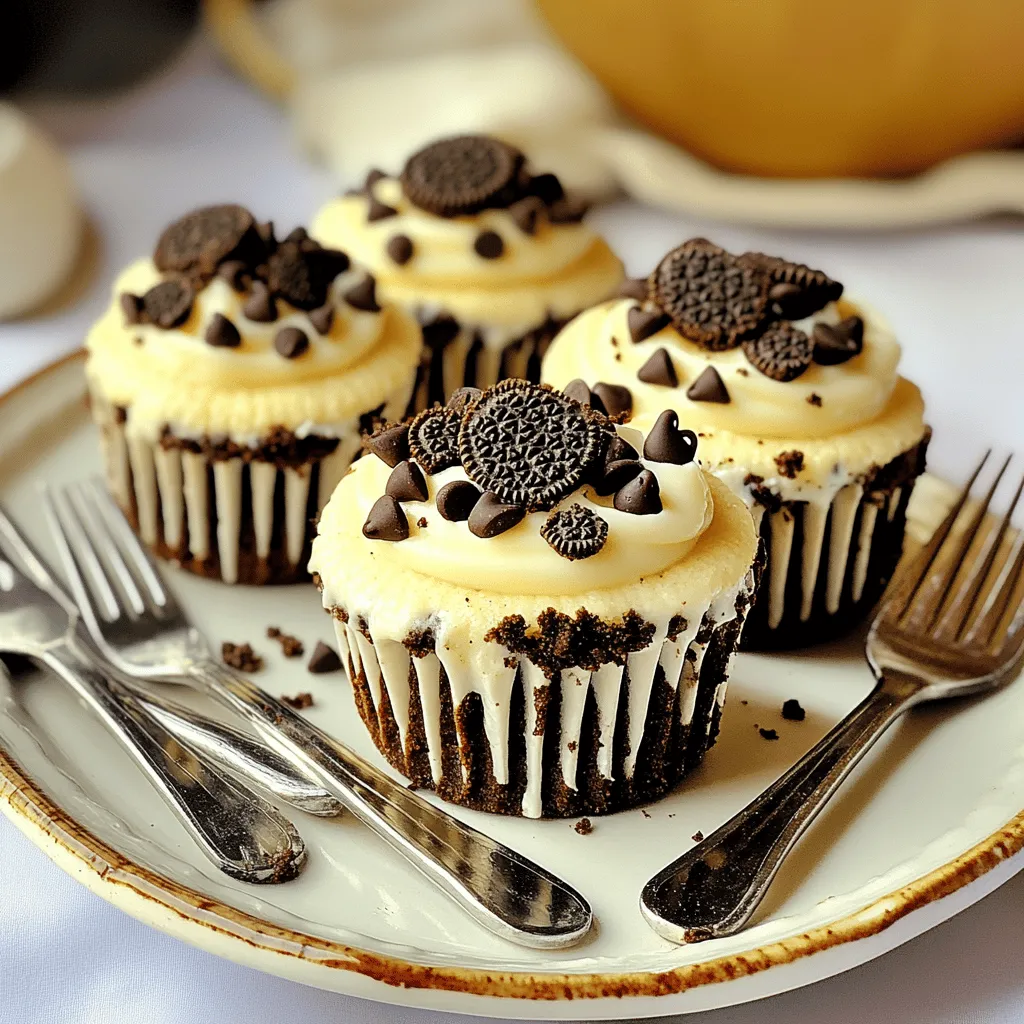
Looking for a dessert that will wow your family and friends? You’ve found it! These Oreo Cheesecake Cookie Cups are both creamy and crunchy, offering the best of both worlds. They’re easy to make and hard to resist, making them perfect for any occasion. In this guide, I’ll share all the ingredients and steps you need to create these mouthwatering treats. Get ready to indulge in a sweet delight!

Ingredients

List of Ingredients

– 1 ½ cups Oreo cookie crumbs (about 20 cookies)

– ½ cup unsalted butter, melted

– 8 oz cream cheese, softened

– ½ cup granulated sugar

– 1 teaspoon vanilla extract

– 1 large egg

– ½ cup mini chocolate chips

– Additional crushed Oreos for topping

Optional Ingredients for Variations

– Mint extract for a minty twist

– Peanut butter for a nutty flavor

– Other flavored cream cheese for variety

Kitchen Tools Needed

– Mixing bowls

– Muffin tin

– Cooking spray or cupcake liners

– Electric mixer or whisk

– Spoon or spatula

– Measuring cups and spoons

– Refrigerator for chilling

These ingredients and tools will help you create the best Oreo cheesecake cookie cups. Get your kitchen ready, and let’s dive into this delicious treat!

Step-by-Step Instructions

Prepping the Oven and Muffin Tin

Start by preheating your oven to 350°F (175°C). This step is key for even baking. While the oven warms up, grab your muffin tin. Grease it with cooking spray or use cupcake liners. This keeps the cookie cups from sticking.

Making the Cookie Crust

In a medium bowl, mix 1 ½ cups of Oreo cookie crumbs with ½ cup of melted butter. Stir until it looks like wet sand. This mixture will form the yummy crust. Take about 2 tablespoons of this mix and press it into each muffin cup. Make sure to press down firmly. Bake these cookie crusts for 8 minutes. Let them cool slightly before adding the filling.

Preparing the Cheesecake Filling

For the filling, take 8 ounces of softened cream cheese and beat it until smooth. Gradually add in ½ cup of granulated sugar and mix well. Next, add 1 teaspoon of vanilla extract. Then, crack in 1 large egg and mix until creamy. This filling will be rich and delicious!

Assembling and Baking the Cookie Cups

Now, gently fold in ½ cup of mini chocolate chips and some crushed Oreos for extra flavor. Spoon this cheesecake mixture over the cooled cookie crusts. Fill each cup about ¾ full. Return the muffin tin to the oven and bake for 15 to 18 minutes. You want the center to be set but still a bit jiggly.

Cooling and Chilling Tips

Once baked, take the cookie cups out of the oven and let them cool at room temperature for about 30 minutes. After that, place them in the fridge for at least 2 hours. This chilling time helps them firm up and makes them extra tasty. Before serving, sprinkle some crushed Oreos on top for a fun finish!

Tips & Tricks

How to Achieve the Perfect Cookie Crust

To get the perfect cookie crust, use fresh Oreo cookie crumbs. Crush the Oreos until they are fine, like sand. Mix the crumbs with melted butter. This mix should hold together when pressed. Use about two tablespoons in each muffin cup. Press it firmly into the bottom for a strong base. Bake for just eight minutes. This gives the crust a nice shape without overcooking.

Common Mistakes to Avoid

One common mistake is using too much butter. Too much can make the crust greasy. Also, do not skip the cooling step. Let the crust cool slightly before adding the filling. This helps keep the layers separate. Another mistake is overfilling the cups. Fill them about three-quarters full. This leaves room for the cheesecake to rise. Lastly, watch the baking time. If you bake too long, the filling can crack.

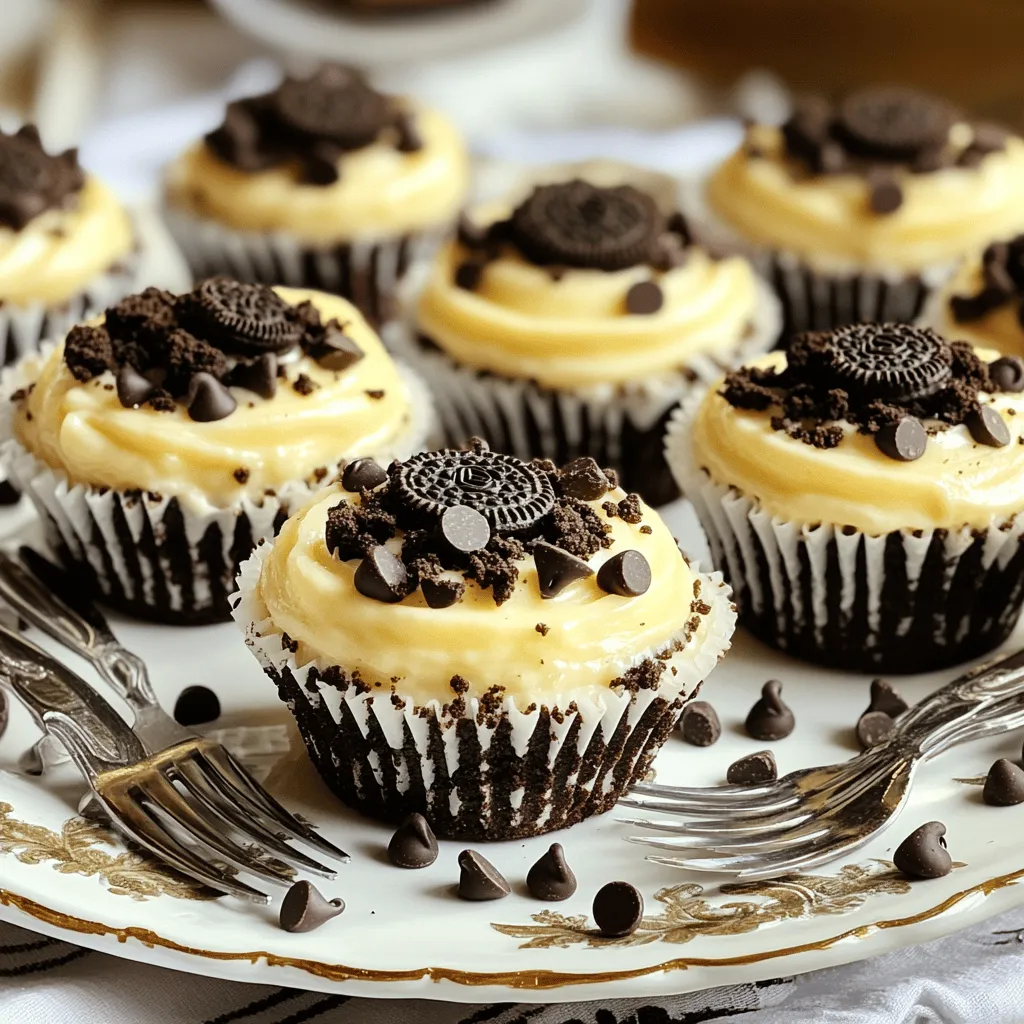
Serving Suggestions and Presentation Ideas

For serving, place the cookie cups on a colorful platter. You can also add fun mini forks for a cute touch. A scoop of vanilla ice cream on the side makes it extra special. For decoration, sprinkle crushed Oreos on top of each cup. This makes them look even more appealing. You can also drizzle chocolate syrup for a rich finish. Enjoy these treats at parties or family gatherings!

Variations

Flavor Variations

You can change the taste of Oreo cheesecake cookie cups easily. Try using Mint Oreos for a fresh twist. Simply swap out plain Oreos for Mint Oreos in the crust. You can also add a drop of mint extract to the filling for more minty flavor.

Peanut butter lovers will enjoy a rich twist. Use peanut butter Oreos instead of regular ones. Mix in a couple of tablespoons of peanut butter into the cheesecake filling. This adds creaminess and a nutty taste.

Alternative Toppings and Mix-ins

Toppings can take these cookie cups to the next level. Consider adding whipped cream on top for a light touch. You can also use crushed candy bars or sprinkles for extra fun.

For a chocolate lover’s dream, drizzle some melted chocolate on top. You can also add mini marshmallows for a s’mores vibe. Get creative with what you have at home!

Dietary Substitutions

If you need gluten-free options, it’s easy to modify the recipe. Use gluten-free Oreo cookies to make the crust. Check the labels to ensure all ingredients are gluten-free.

For a dairy-free option, swap cream cheese for vegan cream cheese. You can also use almond milk or coconut milk in the filling for a creamy texture. These easy swaps keep the dessert tasty for everyone.

Storage Info

Best Practices for Short-term Storage

Store the Oreo cheesecake cookie cups in an airtight container. This keeps them fresh. You can keep them in the fridge for up to five days. If you want to enjoy them later, place a layer of parchment paper between each cup. This prevents sticking and makes it easy to grab one when you’re ready.

Freezing Tips for Longer Storage

To freeze, let the cookie cups cool completely. Then, wrap each cup tightly in plastic wrap. Place them in a freezer-safe bag or container. They can last up to three months in the freezer. When you’re ready to eat them, move them to the fridge overnight to thaw. This keeps their texture just right.

How to Reheat or Refresh Cookie Cups

If you want to warm them, preheat your oven to 350°F (175°C). Place the cookie cups on a baking sheet. Heat for about 5-7 minutes. This helps restore their creamy filling and soft crust. You can also microwave them for about 10-15 seconds, but be careful not to overheat them. Enjoy your treats fresh and tasty!

FAQs

Can I use regular cookies instead of Oreos?

Yes, you can use regular cookies. Try chocolate wafers for a similar taste. You can also use graham crackers for a different flavor profile. Just make sure to crush them well. The texture will be different, but it can still taste great.

How do I know when the cheesecake filling is done baking?

Watch for the center. It should be set but still slightly jiggly. The edges will look firm, while the middle stays soft. If it looks too wobbly, give it a few more minutes. The goal is a creamy filling that holds its shape.

What are some common toppings for Oreo Cheesecake Cookie Cups?

You can get creative with toppings. Here are some great choices:

– Crushed Oreos

– Mini chocolate chips

– Whipped cream

– Chocolate drizzle

– Caramel sauce

These add flavor and a fun look to your dessert.

How long can I store leftovers in the fridge?

Leftovers last about 3-4 days in the fridge. Place them in an airtight container to keep them fresh. This helps maintain their texture and taste. You can enjoy them cold or let them sit at room temperature before eating.

Can I make these ahead of time for a party?

Yes! You can make these cookie cups a day or two in advance. Just store them in the fridge after they cool. They taste even better after chilling, as the flavors blend. Just add toppings before serving for the best look.

Making Oreo Cheesecake Cookie Cups is fun and simple. We covered the right ingredients, kitchen tools, and step-by-step instructions to guide you. You learned tips to avoid mistakes and create tasty variations. Storing your cookie cups correctly keeps them fresh longer.

Now, enjoy your delicious treats! Share them with friends or save them for later. Baking can be a sweet adventure, and these cookie cups are sure to impress!

- 1 ½ cups Oreo cookie crumbs (about 20 cookies) - ½ cup unsalted butter, melted - 8 oz cream cheese, softened - ½ cup granulated sugar - 1 teaspoon vanilla extract - 1 large egg - ½ cup mini chocolate chips - Additional crushed Oreos for topping - Mint extract for a minty twist - Peanut butter for a nutty flavor - Other flavored cream cheese for variety - Mixing bowls - Muffin tin - Cooking spray or cupcake liners - Electric mixer or whisk - Spoon or spatula - Measuring cups and spoons - Refrigerator for chilling These ingredients and tools will help you create the best Oreo cheesecake cookie cups. Get your kitchen ready, and let’s dive into this delicious treat! Start by preheating your oven to 350°F (175°C). This step is key for even baking. While the oven warms up, grab your muffin tin. Grease it with cooking spray or use cupcake liners. This keeps the cookie cups from sticking. In a medium bowl, mix 1 ½ cups of Oreo cookie crumbs with ½ cup of melted butter. Stir until it looks like wet sand. This mixture will form the yummy crust. Take about 2 tablespoons of this mix and press it into each muffin cup. Make sure to press down firmly. Bake these cookie crusts for 8 minutes. Let them cool slightly before adding the filling. For the filling, take 8 ounces of softened cream cheese and beat it until smooth. Gradually add in ½ cup of granulated sugar and mix well. Next, add 1 teaspoon of vanilla extract. Then, crack in 1 large egg and mix until creamy. This filling will be rich and delicious! Now, gently fold in ½ cup of mini chocolate chips and some crushed Oreos for extra flavor. Spoon this cheesecake mixture over the cooled cookie crusts. Fill each cup about ¾ full. Return the muffin tin to the oven and bake for 15 to 18 minutes. You want the center to be set but still a bit jiggly. Once baked, take the cookie cups out of the oven and let them cool at room temperature for about 30 minutes. After that, place them in the fridge for at least 2 hours. This chilling time helps them firm up and makes them extra tasty. Before serving, sprinkle some crushed Oreos on top for a fun finish! To get the perfect cookie crust, use fresh Oreo cookie crumbs. Crush the Oreos until they are fine, like sand. Mix the crumbs with melted butter. This mix should hold together when pressed. Use about two tablespoons in each muffin cup. Press it firmly into the bottom for a strong base. Bake for just eight minutes. This gives the crust a nice shape without overcooking. One common mistake is using too much butter. Too much can make the crust greasy. Also, do not skip the cooling step. Let the crust cool slightly before adding the filling. This helps keep the layers separate. Another mistake is overfilling the cups. Fill them about three-quarters full. This leaves room for the cheesecake to rise. Lastly, watch the baking time. If you bake too long, the filling can crack. For serving, place the cookie cups on a colorful platter. You can also add fun mini forks for a cute touch. A scoop of vanilla ice cream on the side makes it extra special. For decoration, sprinkle crushed Oreos on top of each cup. This makes them look even more appealing. You can also drizzle chocolate syrup for a rich finish. Enjoy these treats at parties or family gatherings! {{image_2}} You can change the taste of Oreo cheesecake cookie cups easily. Try using Mint Oreos for a fresh twist. Simply swap out plain Oreos for Mint Oreos in the crust. You can also add a drop of mint extract to the filling for more minty flavor. Peanut butter lovers will enjoy a rich twist. Use peanut butter Oreos instead of regular ones. Mix in a couple of tablespoons of peanut butter into the cheesecake filling. This adds creaminess and a nutty taste. Toppings can take these cookie cups to the next level. Consider adding whipped cream on top for a light touch. You can also use crushed candy bars or sprinkles for extra fun. For a chocolate lover's dream, drizzle some melted chocolate on top. You can also add mini marshmallows for a s'mores vibe. Get creative with what you have at home! If you need gluten-free options, it’s easy to modify the recipe. Use gluten-free Oreo cookies to make the crust. Check the labels to ensure all ingredients are gluten-free. For a dairy-free option, swap cream cheese for vegan cream cheese. You can also use almond milk or coconut milk in the filling for a creamy texture. These easy swaps keep the dessert tasty for everyone. Store the Oreo cheesecake cookie cups in an airtight container. This keeps them fresh. You can keep them in the fridge for up to five days. If you want to enjoy them later, place a layer of parchment paper between each cup. This prevents sticking and makes it easy to grab one when you're ready. To freeze, let the cookie cups cool completely. Then, wrap each cup tightly in plastic wrap. Place them in a freezer-safe bag or container. They can last up to three months in the freezer. When you're ready to eat them, move them to the fridge overnight to thaw. This keeps their texture just right. If you want to warm them, preheat your oven to 350°F (175°C). Place the cookie cups on a baking sheet. Heat for about 5-7 minutes. This helps restore their creamy filling and soft crust. You can also microwave them for about 10-15 seconds, but be careful not to overheat them. Enjoy your treats fresh and tasty! Yes, you can use regular cookies. Try chocolate wafers for a similar taste. You can also use graham crackers for a different flavor profile. Just make sure to crush them well. The texture will be different, but it can still taste great. Watch for the center. It should be set but still slightly jiggly. The edges will look firm, while the middle stays soft. If it looks too wobbly, give it a few more minutes. The goal is a creamy filling that holds its shape. You can get creative with toppings. Here are some great choices: - Crushed Oreos - Mini chocolate chips - Whipped cream - Chocolate drizzle - Caramel sauce These add flavor and a fun look to your dessert. Leftovers last about 3-4 days in the fridge. Place them in an airtight container to keep them fresh. This helps maintain their texture and taste. You can enjoy them cold or let them sit at room temperature before eating. Yes! You can make these cookie cups a day or two in advance. Just store them in the fridge after they cool. They taste even better after chilling, as the flavors blend. Just add toppings before serving for the best look. Making Oreo Cheesecake Cookie Cups is fun and simple. We covered the right ingredients, kitchen tools, and step-by-step instructions to guide you. You learned tips to avoid mistakes and create tasty variations. Storing your cookie cups correctly keeps them fresh longer. Now, enjoy your delicious treats! Share them with friends or save them for later. Baking can be a sweet adventure, and these cookie cups are sure to impress!

Oreo Cheesecake Cookie Cups

Indulge in these delicious Oreo Cheesecake Cookie Cups that combine the rich flavors of cookies and creamy cheesecake in one delightful treat! With simple ingredients and easy steps, you can whip these up in no time. Perfect for parties or a sweet tooth craving, each bite is a heavenly experience. Click to explore the full recipe and impress your friends and family with this irresistible dessert!

Ingredients
  

1 ½ cups Oreo cookie crumbs (about 20 cookies)

½ cup unsalted butter, melted

8 oz cream cheese, softened

½ cup granulated sugar

1 teaspoon vanilla extract

1 large egg

½ cup mini chocolate chips

Additional crushed Oreos for topping

Instructions
 

Preheat the Oven: Preheat your oven to 350°F (175°C).

    Make the Cookie Crust: In a medium bowl, mix the Oreo cookie crumbs and melted butter until combined. The mixture should resemble wet sand.

      Prepare the Muffin Tin: Grease a muffin tin with cooking spray or line it with cupcake liners.

        Form the Cookie Cups: Press about 2 tablespoons of the Oreo mixture into the bottom of each muffin cup, pressing it down firmly to form a crust. Bake in the preheated oven for 8 minutes. Remove and let cool slightly.

          Make the Cheesecake Filling: In a mixing bowl, beat the softened cream cheese until smooth. Gradually add in the granulated sugar and mix until well combined.

            Add Vanilla and Egg: Mix in the vanilla extract, then add the egg and mix until smooth and creamy.

              Fold in Chocolate Chips: Gently fold in the mini chocolate chips and a few crushed Oreos for added texture.

                Fill the Cups: Spoon the cheesecake filling over the cooled cookie crusts, filling each cup about ¾ full.

                  Bake: Return to the oven and bake for an additional 15-18 minutes, or until the center is set and only slightly jiggly.

                    Cool and Chill: Remove from the oven and let them cool at room temperature for 30 minutes, then refrigerate for at least 2 hours (or until fully cooled) before serving.

                      Garnish and Serve: Before serving, sprinkle additional crushed Oreos on top of each cheesecake cup for garnish.

                        Prep Time: 20 minutes | Total Time: 2 hours 30 minutes | Servings: 12 cups

                          - Presentation Tips: Serve the cookie cups on a cute platter, garnished with miniature forks for added fun! You can pair them with a scoop of vanilla ice cream for an extra indulgent treat!

                            WANT TO SAVE THIS RECIPE?