No Bake Oreo Cheesecake Dream Bars Delightful Treat

WANT TO SAVE THIS RECIPE?

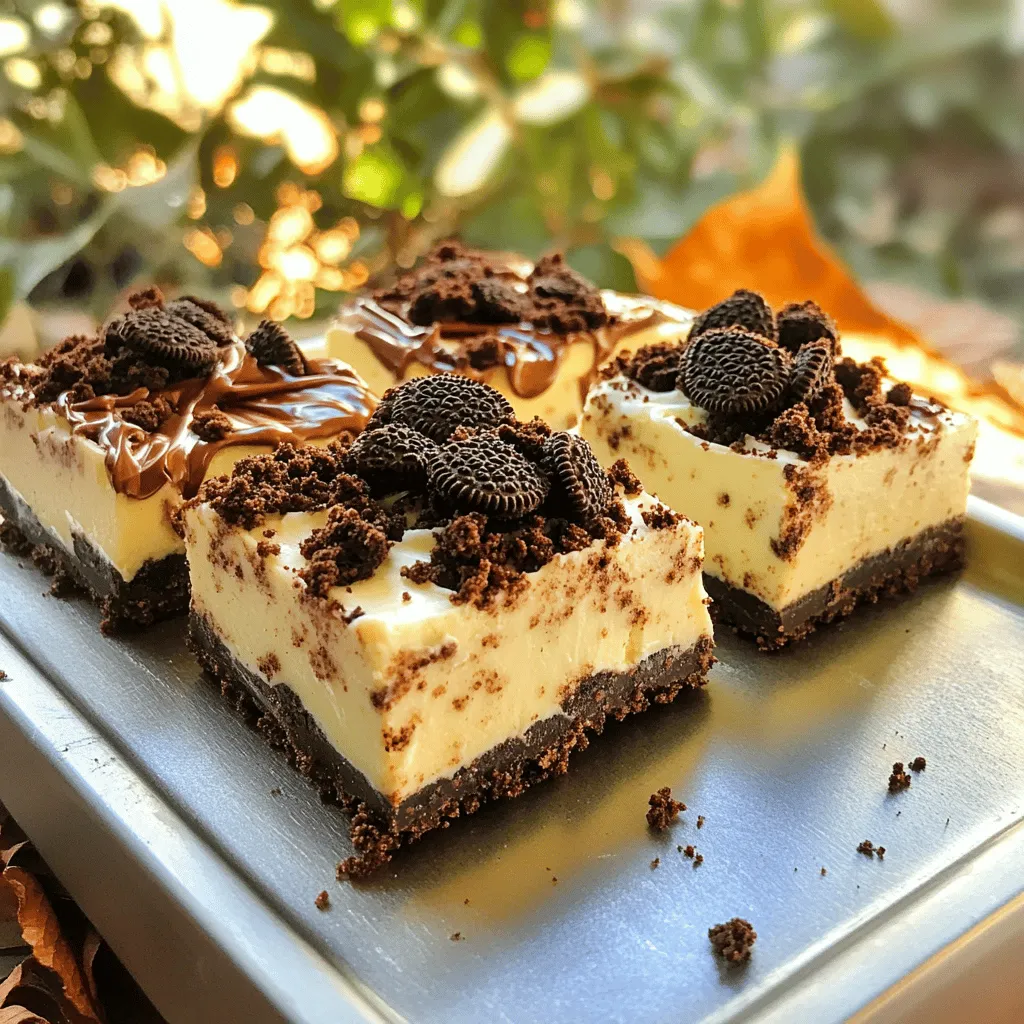
Do you love delicious, easy desserts? If so, you’ll adore my No Bake Oreo Cheesecake Dream Bars! This sweet treat is simple, no oven required. With a creamy filling and a crumbly Oreo crust, it’s sure to wow your friends and family. Perfect for any occasion, this dessert lets you whip up a delightful surprise in no time. Let’s dive into this easy recipe and make dessert dreams come true!

Ingredients

List of Ingredients

Oreo cookies (24 cookies): These are the base for our crust and give a great flavor.

Unsalted butter (1/4 cup): This binds the crushed cookies together, making a firm crust.

Cream cheese (1 package, 8 oz): Use softened cream cheese for a smooth filling. It adds richness to the bars.

Granulated sugar (1/2 cup): This sweetens the filling and balances the flavors.

Vanilla extract (1 teaspoon): This enhances the overall flavor, adding warmth to the dessert.

Whipped topping (1 tub, 8 oz): It gives the cheesecake a light, fluffy texture. Look for Cool Whip or similar brands.

Optional garnishes: You can add extra cookie crumbs on top and drizzle chocolate sauce for a fun finish.

These ingredients come together to create a dreamy treat. Each one plays a key role in making these bars delicious and enjoyable.

Step-by-Step Instructions

Preparing the Crust

To start, take 24 Oreo cookies and crush them finely. You can use a food processor or a zip-top bag with a rolling pin. Next, mix the crushed cookies with 1/4 cup of melted unsalted butter. Stir until the mixture is well combined. Now, press this crumb mixture firmly into the bottom of an 8×8 inch baking dish. This will form a solid crust. Place the dish in the freezer for about 15 minutes to help it set.

Making the Cheesecake Filling

In a mixing bowl, beat 1 package of softened cream cheese until it is smooth. This step is key for a creamy filling. Gradually add 1/2 cup of granulated sugar and 1 teaspoon of vanilla extract. Mix until fully combined. Now, gently fold in 1 tub of whipped topping until the mixture is smooth and creamy. This adds lightness to the filling.

Assembling the Dessert

For extra crunch, fold in 1/2 cup of crushed Oreo cookies into the cheesecake mixture. This adds texture. Next, spread the cheesecake filling evenly over the chilled Oreo crust. Use a spatula to smooth the top. Finally, cover the dish with plastic wrap and refrigerate for at least 4 hours. This chilling time is vital for the filling to set properly.

Tips & Tricks

Achieving the Perfect Texture

Softened cream cheese is key for a smooth filling. Cold cream cheese can lead to lumps. Let it sit at room temperature for about 30 minutes. This helps it blend well with sugar and vanilla.

When folding in the whipped topping, use a gentle motion. This keeps the mixture fluffy. Start by adding a small amount of whipped topping to the cream cheese mix. Stir it in to lighten the cream cheese. Then, add the rest slowly, folding carefully.

Enhancing Flavor

You can play with flavors to make your bars unique. A splash of peppermint extract works great for a minty twist. You can also try almond or hazelnut extract for something new.

For the best chocolate drizzle, use high-quality chocolate sauce. Warm it slightly to make it easier to drizzle. A squeeze bottle can help you control the flow for a pretty design.

Presentation Suggestions

Serve your bars on a chilled platter. This keeps them fresh and firm. Top with extra Oreo crumbs for a fun touch. A drizzle of chocolate on top makes them look fancy.

For creative plating, try slicing the bars into different shapes. You can cut them into triangles or squares. Add fresh fruit or mint leaves for color. These little details make your dessert pop!

Variations

Flavor Variations

You can mix things up with different cookie types. Mint Oreos add a fresh twist. Peanut butter Oreos bring a nutty taste. You can also swap the vanilla extract for almond. Almond gives a nice, warm flavor. Experimenting with flavors can make each bar special.

Dietary Modifications

If you’re gluten-free, use gluten-free Oreo cookies. They work great in this recipe. For dairy-free options, try vegan cream cheese. Coconut whipped cream can replace the whipped topping. These swaps keep the bars delicious for everyone.

Serving Size Adjustments

Need more bars? Simply double the recipe. Use a larger dish to hold more filling. If you want fewer bars, cut the recipe in half. Adjust the ingredients by halving them. This way, you get the perfect amount for your needs.

Storage Info

Keeping the Bars Fresh

To keep your No Bake Oreo Cheesecake Dream Bars fresh, store them in the fridge. Use an airtight container to prevent them from drying out. Make sure you cover the dish with plastic wrap if you don’t have a container. This keeps moisture in and prevents odors from other foods from mixing in.

Freezing Instructions

You can freeze these bars for later enjoyment. Cut them into individual pieces before freezing. Wrap each piece in plastic wrap, then place them in a freezer bag. When you’re ready to eat, take them out and let them thaw in the fridge. This helps keep their creamy texture intact. Avoid thawing them at room temperature; it can make them too soft.

Shelf Life

These bars last about 4-5 days in the fridge. If you freeze them, they can last up to 2 months. Look for signs of spoilage, such as an off smell or a change in color. If you see any ice crystals, it’s best to toss them. Freshness is key to enjoying these delicious bars!

FAQs

Can I use any other cookies instead of Oreos?

Yes, you can swap Oreos for other cookies. For example, you can use chocolate sandwich cookies or even vanilla wafers. Each cookie will change the flavor a bit. Experiment with your favorites to find the best taste.

How long does it take for the cheesecake to set?

The cheesecake needs at least four hours to set. I recommend letting it chill overnight for the best results. This waiting time helps the filling firm up and makes cutting easier.

Can I make these bars ahead of time for a party?

Absolutely! These bars are perfect for making ahead. They stay fresh in the fridge for up to five days. Just cover them tightly with plastic wrap to prevent drying out. This way, you can enjoy the party without any last-minute stress.

What can I use instead of whipped topping?

If you want a different option, homemade whipped cream works well. Just whip heavy cream with some sugar until soft peaks form. You can also use dairy-free whipped cream for a non-dairy choice.

This blog post detailed how to make delicious cheesecake bars using simple ingredients. You learned about the key components like Oreo cookies and cream cheese, plus the steps to create the perfect crust and filling. I shared tips for texture, flavor variations, and serving ideas to make these bars shine.

Remember, you can adjust the recipe for diets or gatherings. With the right storage, your cheesecake bars will stay fresh. Enjoy creating this tasty treat!

- Oreo cookies (24 cookies): These are the base for our crust and give a great flavor. - Unsalted butter (1/4 cup): This binds the crushed cookies together, making a firm crust. - Cream cheese (1 package, 8 oz): Use softened cream cheese for a smooth filling. It adds richness to the bars. - Granulated sugar (1/2 cup): This sweetens the filling and balances the flavors. - Vanilla extract (1 teaspoon): This enhances the overall flavor, adding warmth to the dessert. - Whipped topping (1 tub, 8 oz): It gives the cheesecake a light, fluffy texture. Look for Cool Whip or similar brands. - Optional garnishes: You can add extra cookie crumbs on top and drizzle chocolate sauce for a fun finish. These ingredients come together to create a dreamy treat. Each one plays a key role in making these bars delicious and enjoyable. To start, take 24 Oreo cookies and crush them finely. You can use a food processor or a zip-top bag with a rolling pin. Next, mix the crushed cookies with 1/4 cup of melted unsalted butter. Stir until the mixture is well combined. Now, press this crumb mixture firmly into the bottom of an 8x8 inch baking dish. This will form a solid crust. Place the dish in the freezer for about 15 minutes to help it set. In a mixing bowl, beat 1 package of softened cream cheese until it is smooth. This step is key for a creamy filling. Gradually add 1/2 cup of granulated sugar and 1 teaspoon of vanilla extract. Mix until fully combined. Now, gently fold in 1 tub of whipped topping until the mixture is smooth and creamy. This adds lightness to the filling. For extra crunch, fold in 1/2 cup of crushed Oreo cookies into the cheesecake mixture. This adds texture. Next, spread the cheesecake filling evenly over the chilled Oreo crust. Use a spatula to smooth the top. Finally, cover the dish with plastic wrap and refrigerate for at least 4 hours. This chilling time is vital for the filling to set properly. Softened cream cheese is key for a smooth filling. Cold cream cheese can lead to lumps. Let it sit at room temperature for about 30 minutes. This helps it blend well with sugar and vanilla. When folding in the whipped topping, use a gentle motion. This keeps the mixture fluffy. Start by adding a small amount of whipped topping to the cream cheese mix. Stir it in to lighten the cream cheese. Then, add the rest slowly, folding carefully. You can play with flavors to make your bars unique. A splash of peppermint extract works great for a minty twist. You can also try almond or hazelnut extract for something new. For the best chocolate drizzle, use high-quality chocolate sauce. Warm it slightly to make it easier to drizzle. A squeeze bottle can help you control the flow for a pretty design. Serve your bars on a chilled platter. This keeps them fresh and firm. Top with extra Oreo crumbs for a fun touch. A drizzle of chocolate on top makes them look fancy. For creative plating, try slicing the bars into different shapes. You can cut them into triangles or squares. Add fresh fruit or mint leaves for color. These little details make your dessert pop! {{image_2}} You can mix things up with different cookie types. Mint Oreos add a fresh twist. Peanut butter Oreos bring a nutty taste. You can also swap the vanilla extract for almond. Almond gives a nice, warm flavor. Experimenting with flavors can make each bar special. If you're gluten-free, use gluten-free Oreo cookies. They work great in this recipe. For dairy-free options, try vegan cream cheese. Coconut whipped cream can replace the whipped topping. These swaps keep the bars delicious for everyone. Need more bars? Simply double the recipe. Use a larger dish to hold more filling. If you want fewer bars, cut the recipe in half. Adjust the ingredients by halving them. This way, you get the perfect amount for your needs. To keep your No Bake Oreo Cheesecake Dream Bars fresh, store them in the fridge. Use an airtight container to prevent them from drying out. Make sure you cover the dish with plastic wrap if you don’t have a container. This keeps moisture in and prevents odors from other foods from mixing in. You can freeze these bars for later enjoyment. Cut them into individual pieces before freezing. Wrap each piece in plastic wrap, then place them in a freezer bag. When you're ready to eat, take them out and let them thaw in the fridge. This helps keep their creamy texture intact. Avoid thawing them at room temperature; it can make them too soft. These bars last about 4-5 days in the fridge. If you freeze them, they can last up to 2 months. Look for signs of spoilage, such as an off smell or a change in color. If you see any ice crystals, it's best to toss them. Freshness is key to enjoying these delicious bars! Yes, you can swap Oreos for other cookies. For example, you can use chocolate sandwich cookies or even vanilla wafers. Each cookie will change the flavor a bit. Experiment with your favorites to find the best taste. The cheesecake needs at least four hours to set. I recommend letting it chill overnight for the best results. This waiting time helps the filling firm up and makes cutting easier. Absolutely! These bars are perfect for making ahead. They stay fresh in the fridge for up to five days. Just cover them tightly with plastic wrap to prevent drying out. This way, you can enjoy the party without any last-minute stress. If you want a different option, homemade whipped cream works well. Just whip heavy cream with some sugar until soft peaks form. You can also use dairy-free whipped cream for a non-dairy choice. This blog post detailed how to make delicious cheesecake bars using simple ingredients. You learned about the key components like Oreo cookies and cream cheese, plus the steps to create the perfect crust and filling. I shared tips for texture, flavor variations, and serving ideas to make these bars shine. Remember, you can adjust the recipe for diets or gatherings. With the right storage, your cheesecake bars will stay fresh. Enjoy creating this tasty treat!

No Bake Oreo Cheesecake Dream Bars

Indulge in the creamy delight of No Bake Oreo Cheesecake Dream Bars with this easy recipe! Made with simple ingredients like Oreo cookies and cream cheese, these no-bake bars are a perfect treat for any occasion. Just mix, chill, and serve for a delicious dessert that everyone will love. Click through for the full recipe and impress your friends and family with your baking skills! Enjoy a sweet escape in every bite!

Ingredients
  

24 Oreo cookies (plus extra for topping)

1/4 cup unsalted butter, melted

1 (8 oz) package cream cheese, softened

1/2 cup granulated sugar

1 teaspoon vanilla extract

1 (8 oz) tub whipped topping (like Cool Whip)

2 tablespoons reserved Oreo crumbs (for garnish)

1/2 cup chocolate sauce (for drizzling)

Instructions
 

Prepare the Crust: In a food processor, finely crush the 24 Oreo cookies. Mix the cookie crumbs with melted butter until well combined.

    Press the Mixture: Press the crumb mixture firmly into the bottom of an 8x8 inch baking dish to form a solid crust. Place in the freezer to set for about 15 minutes.

      Make the Cheesecake Filling: In a mixing bowl, beat the softened cream cheese until smooth. Gradually add granulated sugar and vanilla extract, mixing until fully incorporated.

        Fold in Whipped Topping: Gently fold in the whipped topping until the mixture is smooth and creamy.

          Add Cookie Crumbles: Fold in 1/2 cup of crushed Oreo cookies into the cheesecake mixture for added texture.

            Fill the Crust: Spread the cheesecake filling evenly over the chilled Oreo crust, smoothing the top with a spatula.

              Chill and Set: Cover the dish with plastic wrap and refrigerate for at least 4 hours, or until the filling is set.

                Serve: Once set, cut into bars and top with extra Oreo crumbs, drizzle with chocolate sauce, and serve chilled.

                  Prep Time: 20 minutes | Total Time: 4 hours 20 minutes | Servings: 9 bars

                    - Presentation Tips: Serve the bars on a chilled platter, garnished with additional Oreo halves on top and a drizzle of chocolate sauce for an indulgent look.

                      WANT TO SAVE THIS RECIPE?