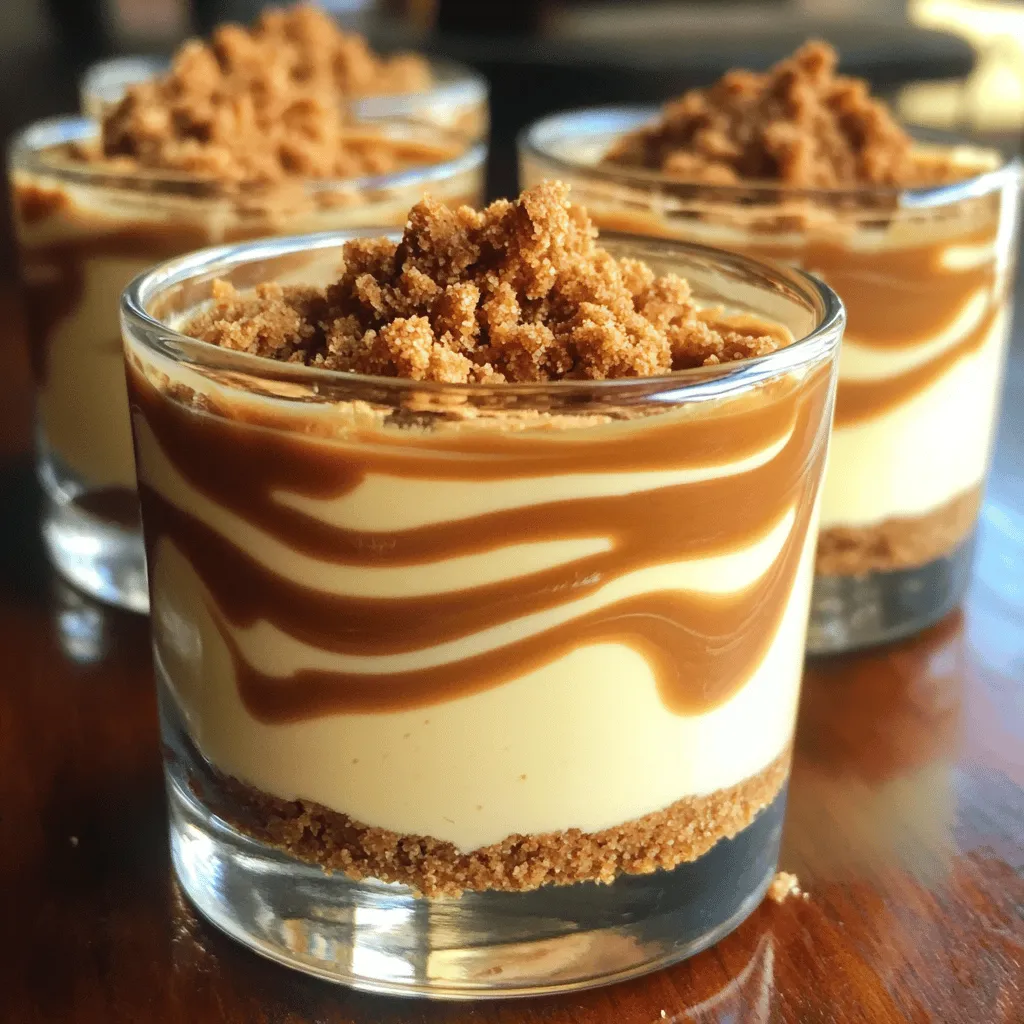
Craving a sweet treat that’s quick and easy? No-Bake Biscoff Cheesecake Cups are the answer! I promise, these delightful desserts blend creamy cheesecake goodness with the rich flavor of Biscoff cookies. In this article, I’ll guide you step-by-step through the simple process, share essential tips for the perfect texture, and even offer storage advice. Get ready to impress your friends and family with this deliciously effortless dessert!
Ingredients
To make these No-Bake Biscoff Cheesecake Cups, gather the following ingredients:
– 1 cup Biscoff cookies, crushed
– 1/4 cup unsalted butter, melted
– 8 oz cream cheese, softened
– 1/2 cup powdered sugar
– 1 cup heavy whipping cream
– 1/2 cup Biscoff spread (for swirls and drizzling)
– Pinch of salt
– Extra Biscoff cookies for garnish
These ingredients create a rich and creamy dessert. The Biscoff cookies give a sweet, spiced flavor. The cream cheese adds a smooth texture, while the heavy whipping cream makes it light and fluffy. The Biscoff spread is the star of the show, offering a unique taste that pairs perfectly with the other ingredients. The pinch of salt balances the sweetness, making each bite delightful.
Having these ingredients ready will help you make the cheesecake cups quickly. Remember, using high-quality cream cheese and fresh whipping cream can enhance the taste. Enjoy the process of putting these ingredients together for a treat that will impress everyone!
Step-by-Step Instructions
Prepare the Crust
First, we need to make the crust. In a medium bowl, combine 1 cup of crushed Biscoff cookies with 1/4 cup of melted unsalted butter. Mix these until every crumb gets coated. This will give your crust a great flavor.
Next, grab your serving cups. Spoon about two tablespoons of the cookie mixture into each cup. Press down gently to form an even layer. This step is key for a crunchy base.
Make the Cheesecake Filling
Now, let’s move on to the filling. In a large mixing bowl, beat 8 ounces of softened cream cheese with 1/2 cup of powdered sugar. Mix until it’s smooth and creamy. This will be the heart of your cheesecake.
Once it’s creamy, gradually add in 1 cup of heavy whipping cream. Beat this mixture until it thickens into soft peaks. This makes the cheesecake light and fluffy.
Create Biscoff Flavor Swirls
To add that special Biscoff taste, gently fold in 1/2 cup of Biscoff spread. This will create beautiful swirls in your filling. Just be careful not to overmix; you want those lovely, tasty ribbons.
Fill and Chill
Now, it’s time to fill the cups. Spoon the cheesecake mixture over the crust in each cup, filling them about three-quarters full. Don’t worry if it looks a bit messy; it’ll taste amazing.
Finally, cover the cups with plastic wrap and refrigerate them for at least 4 hours. This chilling time helps the cheesecake set perfectly. Once they are ready, you can enjoy your delicious No-Bake Biscoff Cheesecake Cups!
Tips & Tricks
Perfecting the Cheesecake Texture
To get the perfect cheesecake texture, you want it creamy and smooth. Start with softened cream cheese. Cold cream cheese won’t mix well. Beat the cream cheese and powdered sugar together until fully combined. This step is key for a fluffy filling. When you add the heavy cream, beat it until you see soft peaks. This adds air and lightness to your cheesecake. Gently fold in the Biscoff spread. Swirling it in gives that rich flavor without overmixing.
Storage Tips
To keep your cheesecake cups fresh, cover them tightly with plastic wrap. They last in the fridge for up to three days. If you have leftovers, do not add the garnish until you’re ready to serve. This keeps the cookies crunchy and the drizzle fresh. If you want to save them longer, you can freeze the filling in airtight containers. Just thaw them in the fridge overnight before serving.
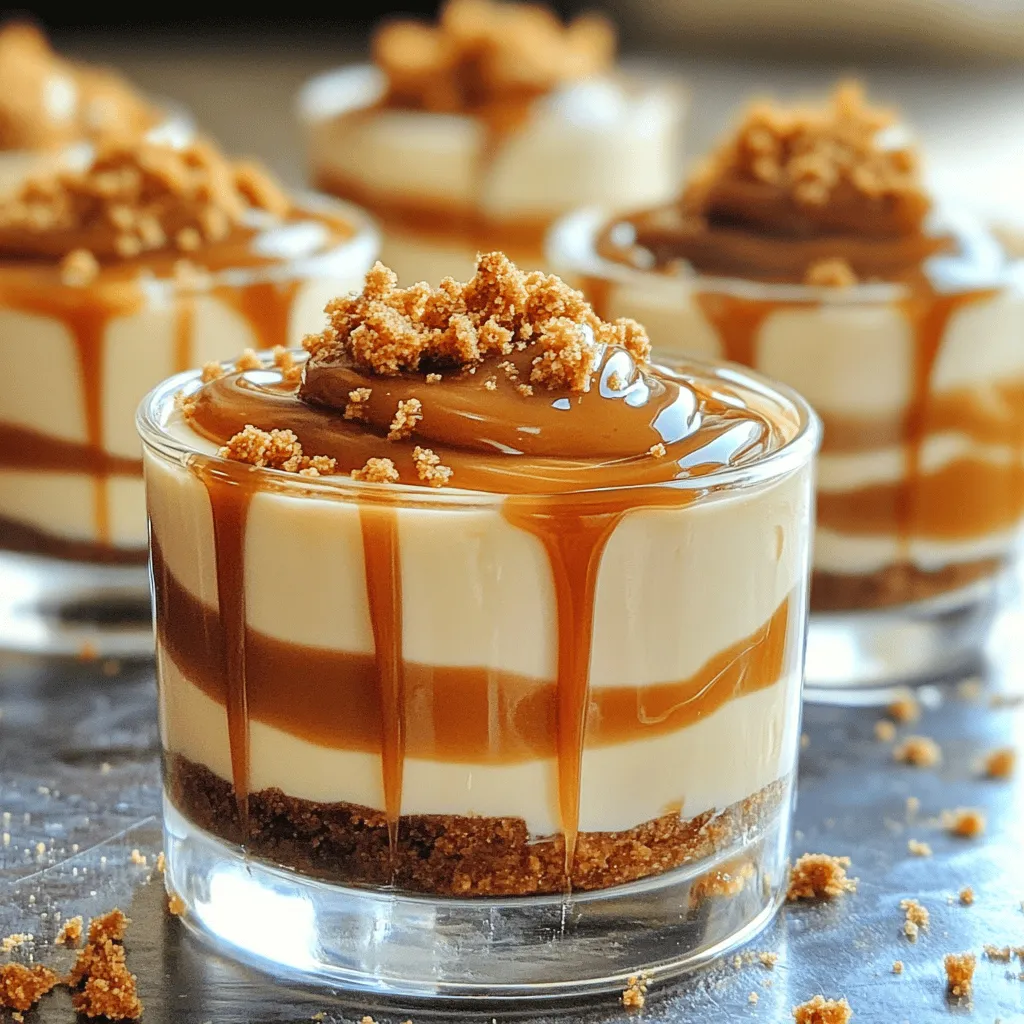
Serving Suggestions
For a stunning presentation, use clear cups or glass jars. This shows off the lovely layers. Before serving, drizzle extra Biscoff spread on top. Add some crushed cookies for a nice crunch. You can even add a dollop of whipped cream for extra flair. These small touches make your dessert look fancy and inviting, perfect for parties or gatherings.
Variations
Flavor Customizations
You can easily change the flavor of your No-Bake Biscoff Cheesecake Cups. Want to add some chocolate? You can mix in melted chocolate into the cream cheese filling. Dark chocolate works great! You can also add chocolate chips for a nice crunch. If you love fruit, try adding fresh berries. Strawberries or raspberries make a tasty topping. You can even fold in some fruit puree into the cheesecake mix.
Alternative Garnishes
Garnishes can take your cheesecake cups to the next level. Besides crushed Biscoff cookies, you can use whipped cream for a light touch. Drizzling chocolate sauce or caramel adds a sweet kick. Nuts like chopped hazelnuts or almonds bring a crunchy texture. For a fun twist, consider adding a sprinkle of sea salt. This gives a nice contrast to the sweet flavors.
Portion Sizes
If you plan a big gathering, you can adjust the portion sizes. Use larger cups or bowls to serve more people at once. You can also double the recipe for extra servings. Make sure to chill the larger portions long enough. This way, everyone gets a delicious treat without waiting too long.
Storage Info
Refrigeration Guidelines
Biscoff cheesecake cups stay fresh in the fridge for about 3 to 4 days. Keep them covered with plastic wrap or a lid. This keeps them moist and tasty. If you notice any signs of spoilage, it’s best to throw them away.
Freezing Instructions
Yes, you can freeze Biscoff cheesecake cups! They freeze well for up to 2 months. Just make sure to store them in an airtight container. This will help prevent freezer burn and keep their flavor intact.
Thawing Methods
The best way to thaw Biscoff cheesecake cups is to move them to the fridge. Let them thaw overnight. This method keeps them creamy and delicious. Avoid using a microwave, as it may change their texture.
FAQs
How long does it take to set?
The no-bake Biscoff cheesecake cups need about 4 hours to chill. This time helps the cheesecake blend flavors and firm up. I recommend letting them chill overnight for the best taste. The longer they sit, the better they become!
Can I use other types of cookies?
Yes, you can use other cookies! Some great options are Oreos, graham crackers, or even chocolate biscuits. Each type will change the flavor, so pick what you like best. Just remember to crush them well and mix with melted butter.
What’s the difference between cream cheese and mascarpone?
Cream cheese is thicker and tangy. It gives the cheesecake a rich flavor. Mascarpone is creamier and sweeter. It makes desserts silkier. I prefer cream cheese for this recipe, as it pairs well with the Biscoff. But you can use mascarpone if you want a lighter touch!
This blog post focused on making delicious Biscoff cheesecake cups. You learned about essential ingredients, step-by-step instructions, and helpful tips. I shared ideas for variations and storage info to keep your treats fresh.
In the end, these cheesecake cups are simple and enjoyable to make. With a little creativity, you can customize them to suit any occasion. Enjoy every creamy bite!
