Are you ready to transform ordinary green beans into a fantastic gluten-free side dish? This simple recipe packs flavor and crunch, thanks to fresh ingredients like garlic, lemon, and almonds. In just a few easy steps, you’ll create a dish that shines at any meal. Join me as I guide you through making amazing gluten-free green beans that everyone will love! Let’s get started!
Ingredients
To make amazing gluten-free green beans, you need the right ingredients. Here’s what you will need:
– 1 pound fresh green beans, trimmed
– 2 tablespoons olive oil
– 2 cloves garlic, minced
– Zest of 1 lemon
– 2 tablespoons lemon juice
– 1/4 cup sliced almonds
– Salt and pepper to taste
– Fresh parsley, chopped (for garnish)
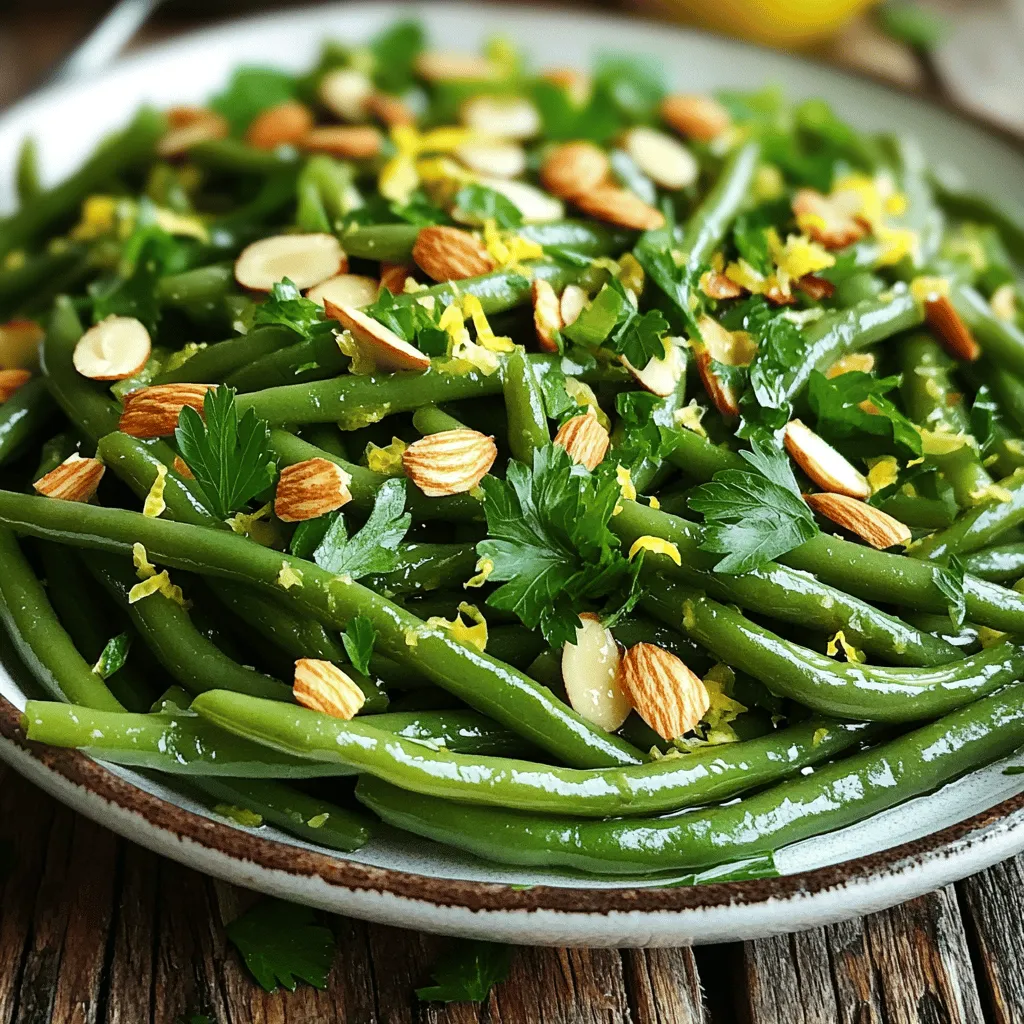
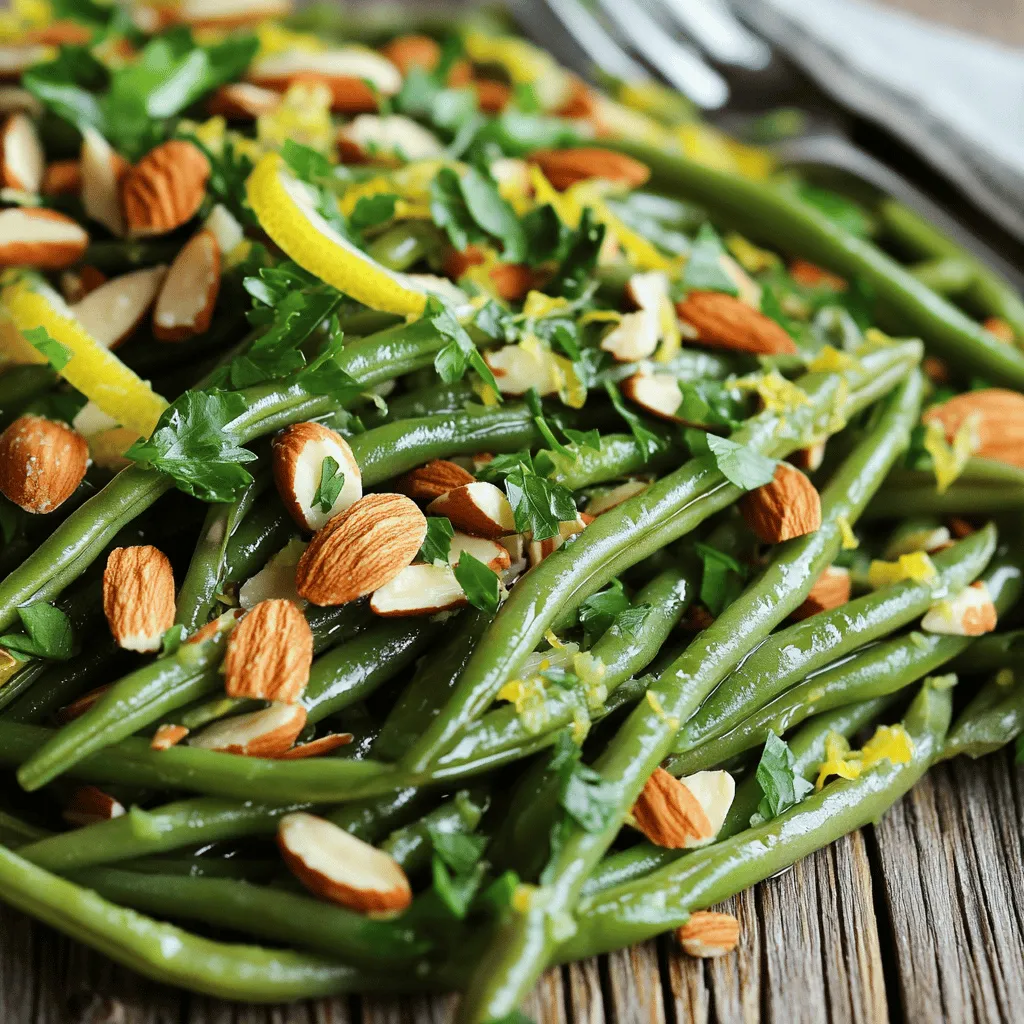
These simple ingredients come together to create a dish that bursts with flavor. The fresh green beans provide a crisp texture. The garlic adds depth, while the lemon zest and juice bring a bright note. Toasted almonds give a nice crunch, and parsley adds a fresh touch.
Using high-quality ingredients is key. Always choose fresh green beans. They should be firm and vibrant in color. Look for good olive oil, as it will enhance the dish’s flavor. Fresh garlic is a must for the best taste.
For the full recipe, check out the details above. This dish is not just gluten-free; it’s also delicious and easy to make!
Step-by-Step Instructions
Preparing the Green Beans
First, bring a large pot of salted water to a boil. Once boiling, add 1 pound of fresh green beans, trimmed. Blanch them for 3-4 minutes. This step keeps the beans bright green and tender-crisp. After that, drain the green beans. Immediately transfer them to a bowl filled with ice water. This ice bath stops the cooking. It helps keep their color and crunch.
Cooking the Garlic
Next, heat 2 tablespoons of olive oil in a large skillet over medium heat. Once the oil is warm, add 2 cloves of minced garlic. Sauté the garlic for about 1 minute. Watch it closely so it doesn’t burn. You want it fragrant and just starting to turn golden.
Combining Ingredients
Now, drain the green beans from the ice water and pat them dry. Add the blanched green beans to the skillet with the garlic. Toss them gently to coat in the garlic oil. Then, stir in the zest of 1 lemon and 2 tablespoons of lemon juice. Cook for an additional 2-3 minutes until everything is heated through.
This step brings bright flavor to the dish. The lemon adds zing, while the garlic gives depth. You can check the full recipe for more details. Enjoy your flavorful, gluten-free green beans!
Tips & Tricks
Best Practices for Blanching
To keep your green beans bright and crisp, you must blanch them correctly. Start by boiling salted water in a large pot. Once boiling, add the trimmed green beans. Blanch them for 3 to 4 minutes. This short cooking time helps keep their vibrant color and crunch. After blanching, immediately transfer the beans to a bowl of ice water. This step stops the cooking process and preserves their bright green hue. Avoid overcooking by watching the clock closely. If you cook them too long, they will turn mushy and lose their flavor.
Flavor Enhancements
To make your green beans pop with flavor, add some spices or herbs. Fresh herbs like thyme or rosemary work well. You can also try a sprinkle of red pepper flakes for a kick. If you want a nutty taste, consider adding toasted sesame seeds or crushed nuts. Almonds, like in the full recipe, add a great crunch. For toppings, you can drizzle a bit of balsamic glaze or sprinkle some feta cheese. These options can elevate your dish and make it even more delicious.
Presentation Ideas
How you serve your green beans matters. For a beautiful plate, arrange the green beans in a long line on a white dish. This creates a nice contrast. You can also pile them in the center for a more casual look. Garnishing with chopped fresh parsley adds color and freshness. You could even add lemon wedges on the side for a touch of brightness. Serve them warm as a side dish to any main course. Your guests will love the taste and the way they look!
Variations
Adding Protein
To make your gluten-free green beans heartier, add protein. Grilled chicken or tofu works well. Grill the chicken until it’s fully cooked and slice it into strips. For tofu, press it to remove excess water, then cube it and pan-fry until golden. Mix the protein with the green beans in the skillet. This adds flavor and makes the dish more filling.
Vegan Alternatives
If you’re looking for vegan options, swap olive oil for vegan butter. This change adds a rich taste without using animal products. Another great addition is nutritional yeast. It has a cheesy flavor and boosts the dish’s nutrients. Just sprinkle it in when you mix the green beans and garlic. Both changes keep your meal delicious and plant-based.
Different Nut Options
You can also switch up the nuts in your recipe. Instead of sliced almonds, try walnuts or pecans. Chopped walnuts add a nice crunch and earthy taste. Pecan pieces bring a sweet flavor that pairs well with the green beans. Toast the nuts in a pan to enhance their flavor before adding them to your dish. Each nut brings a unique twist to the recipe, making it fun to experiment.
For the full recipe, check out the details in the previous sections.
Storage Info
Refrigeration Tips
After you finish your gluten-free green beans, store any leftovers in the fridge. To keep them fresh, use an airtight container. Glass containers work great, but you can use plastic as well. Make sure to let the beans cool to room temperature first. This helps prevent moisture buildup inside the container.
Freezing Green Beans
Freezing green beans is an easy way to enjoy them later. First, blanch the beans, as mentioned in the Full Recipe. Then, cool them in an ice water bath. Drain the beans and pack them into freezer bags. Try to remove as much air as possible before sealing. When you want to use them, thaw the beans in the fridge overnight. You can also reheat them in a skillet or microwave.
Lifespan of the Dish
In the fridge, your green beans will last about 3 to 5 days. Keep an eye out for any signs of spoilage. If they smell strange, look slimy, or change color, it’s best to toss them. Always trust your senses when it comes to food safety!
FAQs
How do I ensure my green beans stay crisp?
To keep your green beans crisp, follow these steps:
– Blanching tips: Blanch the green beans in boiling salted water for just 3-4 minutes. This quick cook helps them stay bright and firm.
– Ice water bath benefits: After blanching, move the beans to an ice water bath. This stops the cooking and locks in that fresh color and crunch.
Can I make this recipe ahead of time?
Yes, you can easily make this dish in advance. Here’s how:
– Making it in advance: Prepare the green beans and store them in the fridge. Cook them a few hours before serving.
– Reheating: To reheat, warm them gently in a skillet. Add a splash of olive oil if they seem dry.
What are some gluten-free alternatives to traditional ingredients?
There are many great gluten-free swaps. Consider these options:
– Suggestions for gluten-free substitutions: Use gluten-free soy sauce instead of regular soy sauce. Replace breadcrumbs with crushed gluten-free crackers if needed. For a twist, try using quinoa for added texture.
This blog post covered a simple yet tasty green bean recipe. We discussed fresh ingredients, step-by-step cooking, and important tips. Remember, blanching keeps your beans vibrant, while lemon zest adds zing. Explore variations like adding protein or using different nuts for fun. Proper storage keeps leftovers fresh for longer. Always look for signs of spoilage. Enjoy your cooking, and don’t hesitate to make this dish your own! Delicious green beans can be easy and exciting.
