Imagine waking up to a delicious, healthy breakfast ready to go! With my Make-Ahead Frittata Squares, you can enjoy hassle-free meals all week. These tasty squares are easy to customize with your favorite ingredients and are perfect for busy mornings. Follow my step-by-step guide, packed with tips and tricks, to master this simple recipe. Let’s dive in and make those mornings stress-free!
Ingredients
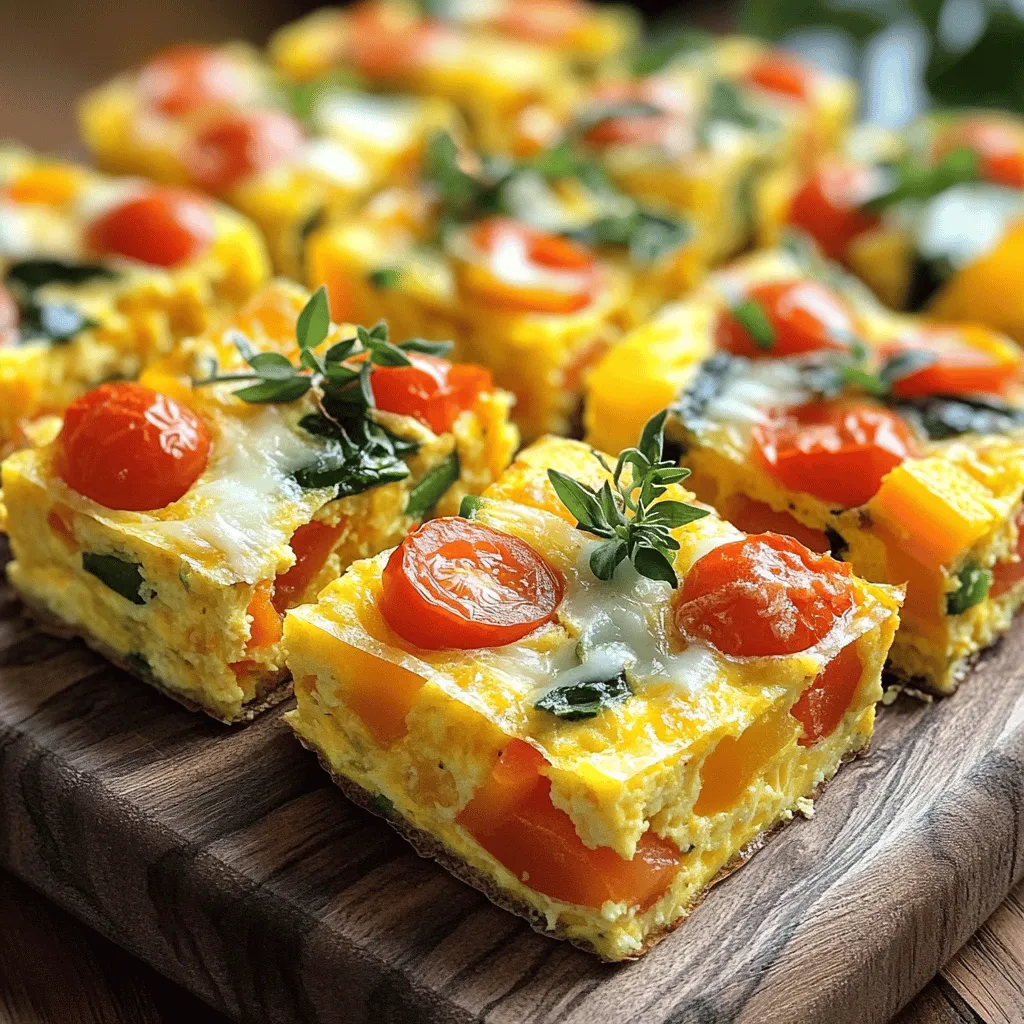
Main Ingredients for Make-Ahead Frittata Squares
To make delicious Make-Ahead Frittata Squares, you need some key ingredients. Here’s what you will need:
– 8 large eggs
– 1 cup whole milk
– 1 bell pepper (any color), diced
– 1 cup spinach, chopped
– 1 cup cherry tomatoes, halved
– 1 small red onion, finely chopped
– 1 cup shredded cheese (such as cheddar or feta)
– 1 teaspoon dried oregano
– Salt and pepper to taste
– Olive oil for greasing
These ingredients come together to create a flavorful and nutritious dish. Eggs and milk form the base, while veggies add color and taste. You can use any cheese you like to give it a unique twist.
Optional Add-Ins and Variations
You can easily customize your frittata squares. Consider adding:
– Cooked bacon or sausage for a meaty touch
– Mushrooms for an earthy flavor
– Zucchini or broccoli for extra veggies
– Fresh herbs like basil or parsley for a fresh kick
Feel free to mix and match these options. The frittata is versatile, so you can create a new version each time.
Tips for Choosing Quality Ingredients
Choosing fresh ingredients makes a big difference. Here are some tips:
– Eggs: Look for organic or free-range eggs. They taste better and are often fresher.
– Produce: Choose bright, firm vegetables. They should smell fresh and look vibrant.
– Cheese: Opt for high-quality cheese. It enriches the flavor of your frittata.
By selecting the best ingredients, you elevate your dish. Enjoy making your frittata squares with care and love!
Step-by-Step Instructions
Prepping Your Ingredients
Start by gathering all your ingredients. You will need:
– 8 large eggs
– 1 cup whole milk
– 1 bell pepper (any color), diced
– 1 cup spinach, chopped
– 1 cup cherry tomatoes, halved
– 1 small red onion, finely chopped
– 1 cup shredded cheese (such as cheddar or feta)
– 1 teaspoon dried oregano
– Salt and pepper to taste
– Olive oil for greasing
Make sure to wash your veggies well. Chop the bell pepper, spinach, and red onion. Halve the cherry tomatoes. This makes mixing easy later on.
Detailed Cooking Process
Now, let’s cook! Preheat your oven to 375°F (190°C). Grease a 9×13 inch baking dish with olive oil. This will help your frittata not stick.
In a large bowl, whisk together the eggs and whole milk until smooth. This is where the magic starts. Next, add the diced bell pepper, chopped spinach, halved cherry tomatoes, and red onion. Mix well.
Then, stir in the shredded cheese, dried oregano, salt, and pepper. Make sure all ingredients are combined. Pour this mixture into your greased baking dish. Spread it out evenly.
Bake in the oven for 25-30 minutes. Look for lightly golden edges. A knife inserted in the center should come out clean. Once done, remove it from the oven. Let it cool for about 10 minutes.
How to Cut and Serve Frittata Squares
After cooling, it’s time to cut. Use a sharp knife to slice the frittata into squares. You can make them as big or small as you like.
Serve the frittata squares on a platter. Garnish with fresh herbs, if you want. You can add a side of salsa or avocado for extra flavor. Enjoy your hassle-free meal!
For detailed instructions, check the Full Recipe.
Tips & Tricks
Common Mistakes to Avoid
Avoid overcooking your frittata. If it cooks too long, it can become dry. Check it around the 25-minute mark. Use a knife to see if it comes out clean. If it does, your frittata is ready. Make sure to grease the pan well to prevent sticking. No one likes a frittata that won’t come out of the dish!
Cooking Times Adjustments
If you make a thicker frittata, it may need more time. Check for doneness by inserting a knife into the center. An extra five minutes may be needed for larger portions. If your oven runs hot, lower the temperature slightly to avoid burning. Adjusting cooking time helps you get that perfect texture.
How to Ensure Fluffy Frittata Squares
Whisk the eggs and milk together well to add air. This helps create a light and fluffy texture. You can also add a touch of baking powder for extra fluffiness. Mixing in fresh veggies adds moisture, which keeps the frittata soft. Remember to let the frittata cool before cutting. This helps it hold its shape better. For the best results, serve it warm with your favorite sauce. Check out the Full Recipe for more detailed steps!

Variations
Vegetarian and Vegan Options
For a vegetarian frittata, simply skip any meat. You can add more veggies instead. Try mushrooms, zucchini, or asparagus for extra flavor. If you want a vegan option, use tofu instead of eggs. Blend firm tofu with some nutritional yeast. This gives a cheesy flavor without dairy.
Flavor Combinations for Frittata Squares
Mix and match flavors to make your frittata unique. Here are some ideas:
– Mediterranean: Add olives, artichokes, and feta cheese.
– Southwestern: Use corn, black beans, and spices like cumin.
– Italian: Try sun-dried tomatoes, basil, and mozzarella.
These combinations make each batch fun and exciting.
Gluten-Free Substitutions
This recipe is already gluten-free since it uses no flour. However, always check labels on your cheese and any add-ins. If you want to add a crust, use gluten-free bread or a chickpea flour base. This keeps your frittata tasty and safe for those with gluten sensitivities.
Don’t forget to check the Full Recipe for more details!
Storage Info
Storing Frittata Squares in the Refrigerator
To keep your frittata squares fresh, store them in an airtight container. This helps prevent drying out. You can enjoy them up to five days in the fridge. Just make sure they are completely cool before sealing them. This keeps the texture nice and tasty. When you’re ready to eat, simply take out as many squares as you want.
Freezing and Reheating Guidelines
If you want to save frittata squares for later, freezing is a great option. Cut the squares into portions before freezing. Wrap each square tightly in plastic wrap, then place them in a freezer bag. Label the bag with the date. When you are ready to eat, thaw them overnight in the fridge. To heat, pop them in the microwave for about 1-2 minutes. You can also reheat them in the oven at 350°F (175°C) for about 10-15 minutes.
Shelf Life of Make-Ahead Frittata Squares
Frittata squares stored in the fridge last about five days. In the freezer, they can last up to three months. Remember to check for any signs of freezer burn before using. Keeping track of dates helps you enjoy them at their best. If you notice any off smells or colors, it’s best to toss them. Enjoy your frittata squares anytime with these easy storage tips!
FAQs
How long can you store frittata squares?
You can store frittata squares in the fridge for up to five days. Keep them in an airtight container. If you want to keep them longer, freeze them. They can last for about three months in the freezer. Just thaw them in the fridge before reheating.
Can I make frittata squares the night before?
Yes, you can make frittata squares the night before! Preparing them ahead saves time in the morning. Just bake them, let them cool, and store in the fridge. In the morning, you can simply heat them up for a quick breakfast.
What goes well with frittata squares for breakfast?
Frittata squares pair well with many sides. Try serving them with fresh fruit or a light salad. You can also add avocado slices or a dollop of salsa for extra flavor. For a drink, a glass of fresh juice or coffee complements them nicely.
For the full recipe, check out the detailed instructions and tips for making your frittata squares shine!
Make-ahead frittata squares are easy and fun to make. We covered key ingredients and tips for quality. You can always customize your frittata with optional add-ins or variations. I shared helpful cooking steps and how to avoid common mistakes. Storing these squares properly can extend their shelf life, so you enjoy them longer. Keep experimenting with flavors and options to find what you love. These tasty squares will surely be a hit for breakfast or snacks. Enjoy cooking and share your results!