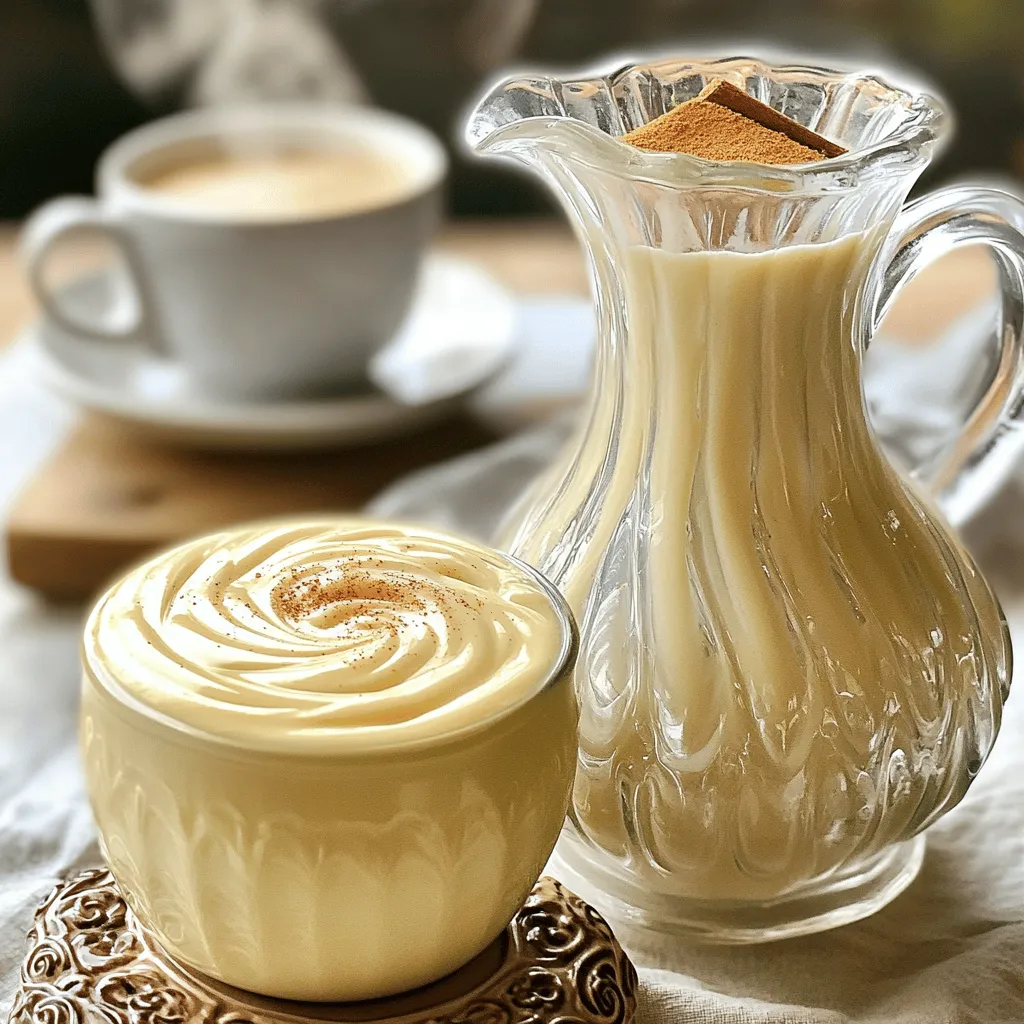
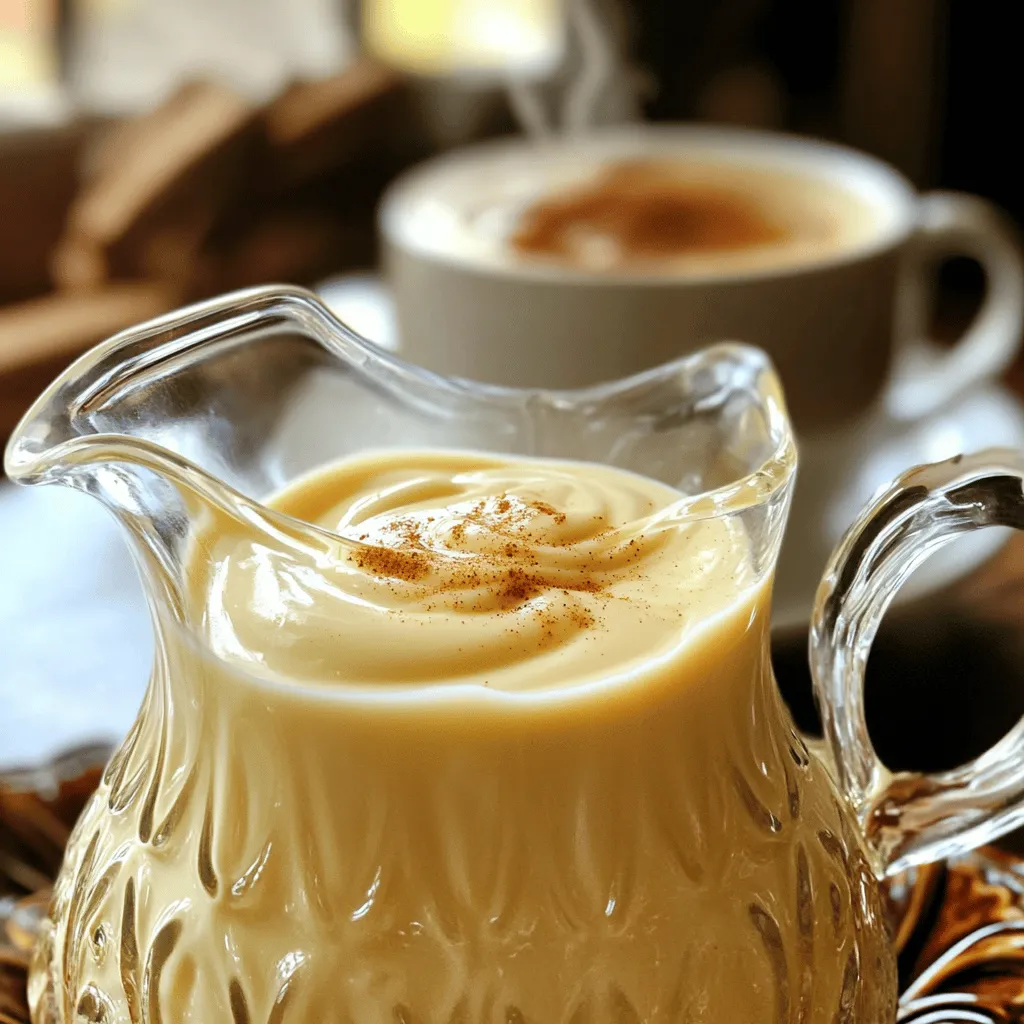
Are you tired of store-bought coffee creamers that are packed with preservatives? You’ve come to the right place! In this post, I’ll guide you through making a rich and creamy homemade vanilla coffee creamer. With simple ingredients like whole milk, heavy cream, and pure vanilla extract, you’ll elevate your coffee to a whole new level. Say goodbye to bland coffee mornings and hello to a delightful brew that’s truly your own!
Ingredients
List of Ingredients
– 1 cup whole milk
– 1 cup heavy cream
– 1/4 cup pure maple syrup
– 2 teaspoons pure vanilla extract
– 1/2 teaspoon ground cinnamon
– 1/4 teaspoon sea salt
Ingredient Substitutes
You can swap whole milk for low-fat milk or almond milk. Almond milk gives a nice nutty flavor. If you want a dairy-free option, use coconut milk or soy milk. For sweeteners, you can try honey, agave, or stevia. Each sweetener has a unique taste. Choose what fits your diet best.
Importance of Quality Ingredients
Using pure vanilla extract makes a big difference. It has a rich flavor that fake vanilla cannot match. It gives your creamer a warm and sweet scent. Pure maple syrup adds depth. It brings a natural sweetness and a hint of caramel. The right ingredients make this coffee creamer a special treat.
Step-by-Step Instructions
Preparation Process
1. Heating the milk and cream
In a medium saucepan, add 1 cup of whole milk and 1 cup of heavy cream. Heat over medium heat. Stir occasionally until the mixture is just simmering. Make sure it doesn’t boil. Boiling can change the texture.
2. Adding sweeteners and spices
Once heated, lower the heat to low. Add 1/4 cup of pure maple syrup. Stir until it mixes well. Next, pour in 2 teaspoons of pure vanilla extract, 1/2 teaspoon of ground cinnamon, and 1/4 teaspoon of sea salt. Keep stirring until everything blends smoothly.
3. Cooling and storing the creamer
After mixing, let the creamer cool for a few minutes. Once it cools, transfer it into a glass jar or bottle. Seal it tightly and refrigerate. It will stay fresh for about a week. Remember to shake well before each use!
Visual Aids
To help you through each step, look for images or video clips. These can show you how the mixture should look at each stage. Seeing the process can make it easier for you.
Tips for Perfect Consistency
– Avoiding boiling: Keep an eye on the heat. Boiling can ruin the creamy texture.
– Ensuring thorough mixing: Stir well after adding each ingredient. This helps create a smooth and rich blend.
Tips & Tricks
Enhancing Flavor
You can boost the flavor by adding spices. A pinch of nutmeg adds warmth. Try vanilla bean for a richer taste. Almond extract gives a nice twist too. Mix and match flavors to find your favorite.
Optimal Storage Practices
Use a glass jar for storage. Glass keeps the flavor fresh. Make sure the jar is clean. Store the creamer in the fridge right away. Shake well before each use. This keeps the ingredients mixed.
Usage Ideas
Pair this creamer with dark roast coffee. The creaminess balances bitterness well. You can also use it in recipes. Pour it over pancakes or waffles for a sweet touch. It’s great in oatmeal too!
Variations
Dairy-Free Options
If you want a dairy-free coffee creamer, there are great plant-based milk options. Almond milk, oat milk, and coconut milk work well. Each adds a unique taste. You can also use vegan-friendly sweeteners. Agave nectar or coconut sugar are both good choices. They blend well and taste great.
Seasonal Flavors
Seasonal flavors can add fun to your creamer. For a pumpkin spice variation, mix in pumpkin puree with spices like nutmeg and ginger. This gives a warm, cozy taste. During the holidays, try flavors like peppermint or eggnog. Just add extracts to your base for a festive twist.
Sugar-Free Options
If you’re cutting sugar, use sugar substitutes like stevia or erythritol. These sweeteners keep the taste sweet without extra carbs. You can adjust the flavor easily to match your diet. Just remember to taste as you go!
Storage Info
Shelf Life
The homemade vanilla coffee creamer lasts about one week in the fridge. To check for spoilage, look for changes in smell or color. If it smells sour or has clumps, it’s time to toss it. Freshness is key for great taste.
Freezing Instructions
Yes, you can freeze coffee creamer! Pour it into ice cube trays for easy use. Once frozen, transfer the cubes to a zip-top bag. When you need it, thaw in the fridge overnight or add directly to hot coffee. This way, you reduce waste and enjoy your creamer longer.
Resealing Tips
To keep the creamer fresh after opening, always use a clean spoon when scooping. Store it in a jar with a tight lid to avoid air exposure. This helps maintain its rich flavor and creamy texture. Shake well before each use to mix any settled ingredients.
FAQs
How do I make my homemade coffee creamer thicker?
To make your homemade coffee creamer thicker, you can add more heavy cream. Heavy cream has more fat than milk. This fat gives the creamer a rich and smooth texture. You can also reduce the mixture by cooking it longer. Heat it gently on low and stir often until it thickens. Be careful not to let it boil.
Can I use this creamer in recipes other than coffee?
Yes, you can use this coffee creamer in many recipes! It works great in tea or hot chocolate. You can also add it to desserts like ice cream or pancakes. Using it in oatmeal adds a lovely flavor. The vanilla and cinnamon will enhance many dishes.
Is it safe to use homemade creamer beyond a week?
I recommend using homemade creamer within a week. After a week, it may not taste as fresh. Always check for any off smells or changes in texture. If it looks or smells strange, it’s best to throw it away.
What is the difference between homemade and store-bought creamers?
Homemade creamers have fewer additives and preservatives. You control the ingredients and flavors. Store-bought creamers often contain artificial flavors and sweeteners. Homemade is fresher, richer, and often healthier. You also get to enjoy unique flavors that you create!
In this blog post, we explored how to make a delicious homemade coffee creamer. We discussed quality ingredients, substitutes, and how each affects flavor. You learned step-by-step instructions, tips for perfect consistency, and storage methods to keep your creamer fresh.
Remember, using pure ingredients makes a big difference in taste. Experiment with flavors, and tailor the creamer to your needs. Making your own creamer can boost your coffee experience and allows for creativity. Enjoy every sip!
