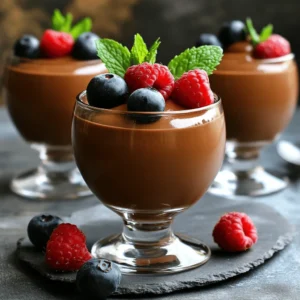
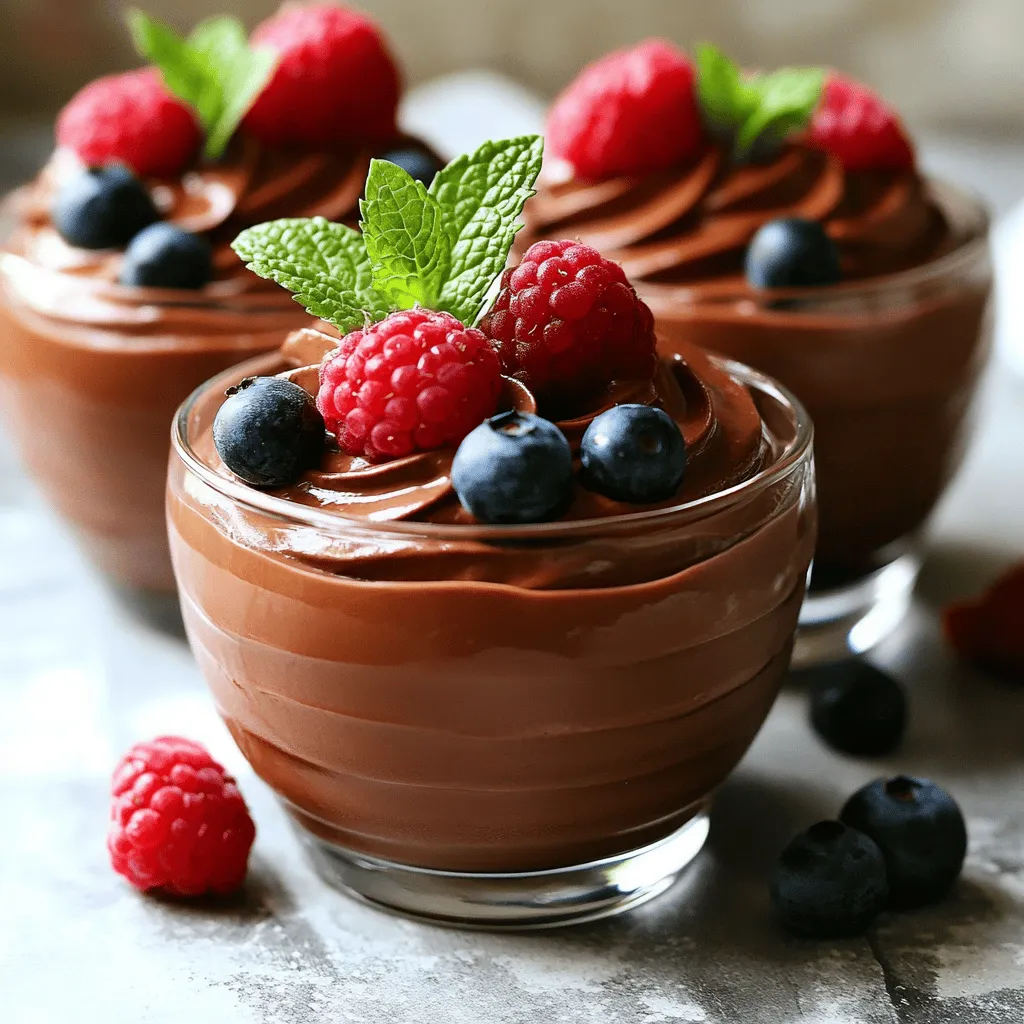
Indulge in the rich, creamy goodness of Easy Chocolate Mousse Cups! This simple treat only requires a few ingredients and minimal time to make. With just three main components plus flavor boosters, you’ll impress friends and family without all the fuss. In this guide, I will walk you through each step, ensuring a luscious mousse that’s airy and smooth. Let’s dive into this delicious recipe that brings joy in every spoonful!
Ingredients
Main Ingredients
– 1 cup heavy whipping cream
– 1/2 cup semi-sweet chocolate chips
– 2 tablespoons powdered sugar
These main ingredients create a rich and creamy mousse. The heavy whipping cream gives it a light texture. The semi-sweet chocolate chips add a deep chocolate flavor. Powdered sugar sweetens the mousse just right.
Flavor Enhancers
– 1 teaspoon pure vanilla extract
– Pinch of salt
– Fresh berries for garnish (optional)
– Mint leaves for garnish (optional)
Flavor enhancers elevate the mousse. Vanilla extract brings warmth and depth. A pinch of salt balances the sweetness. Fresh berries and mint leaves make the dessert look pretty. They also add bright flavors that contrast the rich chocolate. For the full recipe, check out Easy Chocolate Mousse Cups.
Step-by-Step Instructions
Preparation Steps
1. Melt the chocolate properly: Start with a bowl. Add the semi-sweet chocolate chips. Heat in the microwave. Use 30-second intervals. Stir after each time. Keep going until it is smooth. Let it cool a bit before using.
2. Whip the cream to the right consistency: In a large bowl, pour in the heavy whipping cream. Use a hand mixer or a stand mixer. Start on medium speed. Whip until you see soft peaks. Add in the powdered sugar and vanilla. Then, add a pinch of salt. Keep mixing until stiff peaks form. This is key for a fluffy mousse.
Combining Ingredients
1. Folding chocolate and cream together: Take about one-third of the whipped cream. Gently fold it into the melted chocolate. Use a spatula and be careful. This step helps to mix them without losing air.
2. Ensuring the mousse remains airy: Next, add the rest of the whipped cream. Fold it in carefully until it is fully mixed. You want the mixture to stay light and fluffy. Avoid stirring too hard or it will lose its airy texture.
Chilling and Serving
1. How to chill the mousse: Spoon or pipe the mousse into small cups or dessert glasses. Leave a little space at the top. Cover each cup with plastic wrap. Place them in the fridge for at least one hour. This chill time helps the mousse set properly.
2. Best practices for garnishing: Once the mousse is set, it is time to serve. Garnish with fresh berries or mint leaves. This adds color and a fresh taste. You can also use whipped cream on top for extra flair. Enjoy your easy chocolate mousse cups! For the Full Recipe, check out the detailed steps above.
Tips & Tricks
Tips for Success
– How to achieve stiff peaks in whipped cream: Start with cold heavy cream. Use a clean mixing bowl and beaters. Whip on medium speed. Stop when you see firm peaks that hold shape. Do not overwhip; it can turn grainy.
– Best chocolate types for flavor: I recommend using semi-sweet chocolate chips for a balanced taste. Dark chocolate adds depth, while milk chocolate gives a creamier flavor. Choose what you love for the best results.
Common Mistakes to Avoid
– Overmixing the mousse: When folding in whipped cream, be gentle. Overmixing can deflate the mousse. You want it light and airy, not dense.
– Not allowing sufficient chilling time: Chilling is key for the mousse to set properly. Aim for at least one hour in the fridge. This helps achieve the right texture.
Presentation Ideas
– Creative serving suggestions: Use small cups, glasses, or even jars for a fun look. Layering mousse with crushed cookies or fruit can add texture and interest.
– Alternative garnishing options: Try using chocolate shavings, whipped cream, or edible flowers. Fresh mint leaves and berries also add color and a fresh taste. Get creative with what you have!
Variations
Flavor Variations
You can easily change the flavor of your chocolate mousse. By adding different extracts, you can create unique tastes. Almond extract gives a nutty touch. Orange extract adds a bright, citrusy zing. You can also switch the chocolate type. Use dark chocolate for a richer taste. White chocolate makes it creamier and sweeter. Each choice adds a new twist to this simple treat.
Dietary Adjustments
If you need dairy-free options, use coconut cream instead of heavy cream. It whips up nicely and adds a tropical flavor. For sweetness, you can choose sugar substitutes. Try using honey or maple syrup for a healthier option. These swaps keep the mousse tasty while catering to dietary needs.
Serving Variations
Presentation matters! You can use different cups or bowls to serve your mousse. Small jars or elegant glasses can make it look fancy. Try layering the mousse with other desserts, like crumbled cookies or fruit. This gives a fun texture and flavor mix. Each variation makes your mousse cups even more special and delightful.
Storage Info
How to Store Leftovers
To keep your chocolate mousse fresh, use airtight containers. Glass jars or plastic containers work well. Store the mousse in the fridge for up to three days. Check for signs of spoilage before serving.
Freezing Options
Can chocolate mousse be frozen? Yes, but it may change texture. Freezing can make it less creamy. To thaw frozen mousse, move it to the fridge overnight. This way, it slowly regains its creamy texture.
Pre-Made Tips
If you have a gathering, prepare the mousse a day ahead. This gives it time to set properly. Store it in the fridge for up to two days before serving. Just remember to cover it well to prevent drying out. For the full recipe, check back for preparation details.
FAQs
Common Questions
How long does it take to make Easy Chocolate Mousse Cups?
It takes about 15 minutes to prep. Then, you let it chill for at least one hour. So, the total time is about 1 hour and 15 minutes. This includes making the mousse and setting it in the fridge.
Can I use regular whipped cream instead of heavy cream?
Using regular whipped cream won’t give you the same rich texture. Heavy cream makes the mousse creamy and light. If you want a thicker mousse, stick with heavy cream for the best results.
Specific Requests
How can I make this recipe egg-free?
This recipe is already egg-free! You don’t need eggs to make a great mousse. The heavy cream gives it the perfect texture without any eggs.
Is it possible to make chocolate mousse without gelatin?
Yes, you can make mousse without gelatin. This recipe uses whipped cream to give it structure. The air in whipped cream helps it set well, so you don’t need gelatin at all.
Serving Suggestions
What to serve with chocolate mousse cups?
You can serve chocolate mousse cups with fresh berries or whipped cream on top. They add color and freshness. A sprinkle of cocoa powder can also enhance the look.
Can I pair chocolate mousse with other desserts?
Absolutely! Chocolate mousse pairs well with cakes, cookies, or even a fruit tart. Layering mousse with other desserts creates a fun and tasty treat. You can mix flavors and textures for a delightful dessert experience.
For the Full Recipe, check out the details above.
In this post, we explored making easy chocolate mousse cups. We covered key ingredients, from heavy cream to delicious flavor enhancers. Following the step-by-step guide helps you whip, fold, and chill for the perfect dessert. Remember the tips to avoid common mistakes for success. Plus, we looked at variations and storage options.
Enjoy crafting delightful treats that impress and taste amazing! With this knowledge, you can make chocolate mousse your own. Enjoy your tasty creations!