Salads
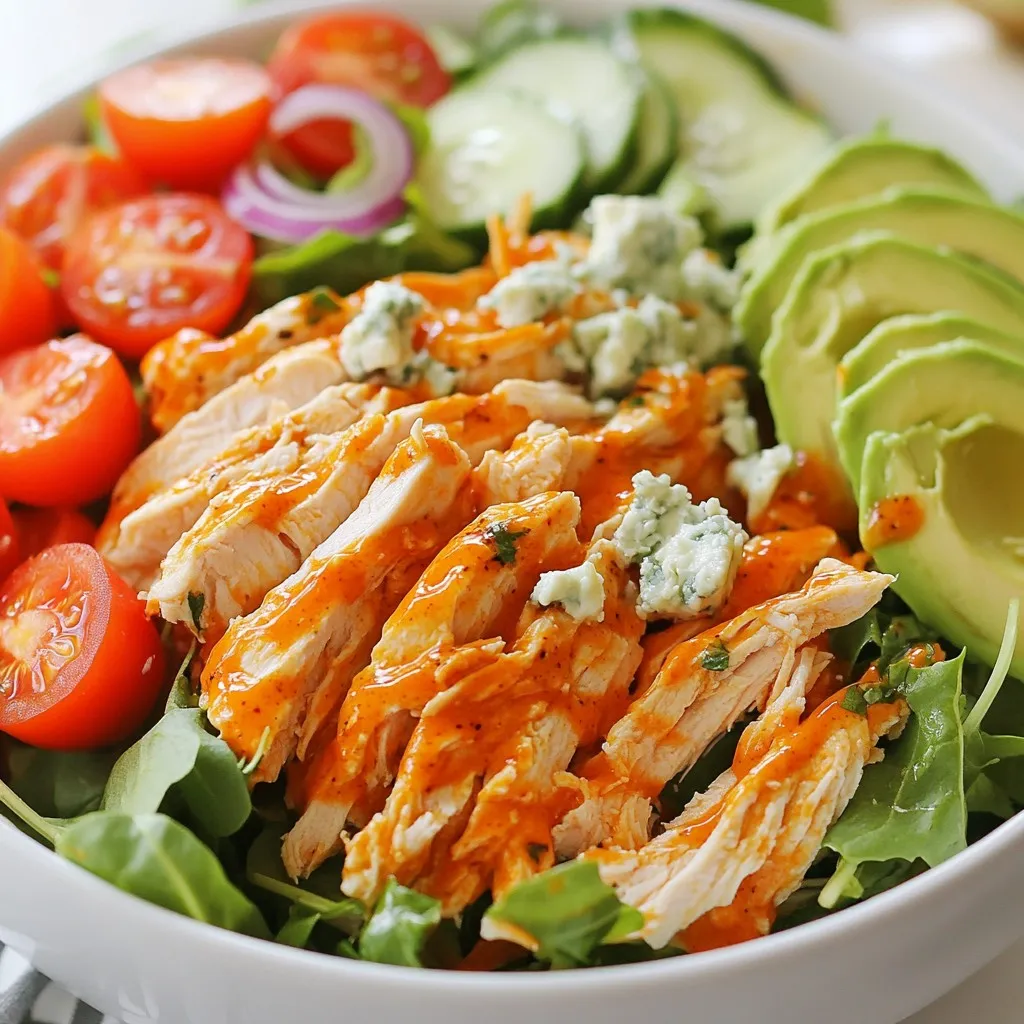
Buffalo Chicken Salad Flavorful and Wholesome Meal
Are you ready to dig into a bowl of Buffalo Chicken Salad that’s both flavorful and wholesome? This scrumptious meal combines tender chicken with zesty
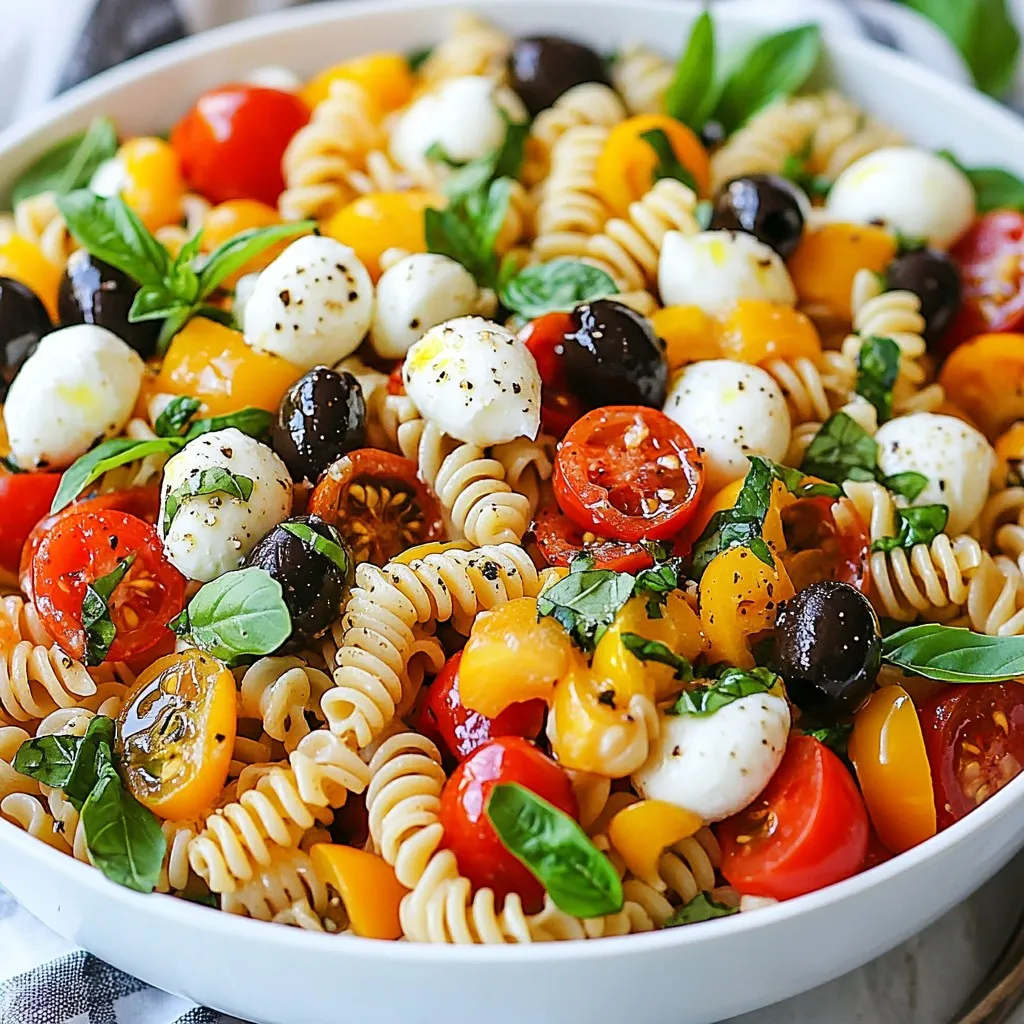
Italian Protein Pasta Salad Flavorful and Nutritious
Ready to jazz up your mealtime with something wholesome and tasty? My Italian Protein Pasta Salad is not just colorful; it packs a nutritious punch!
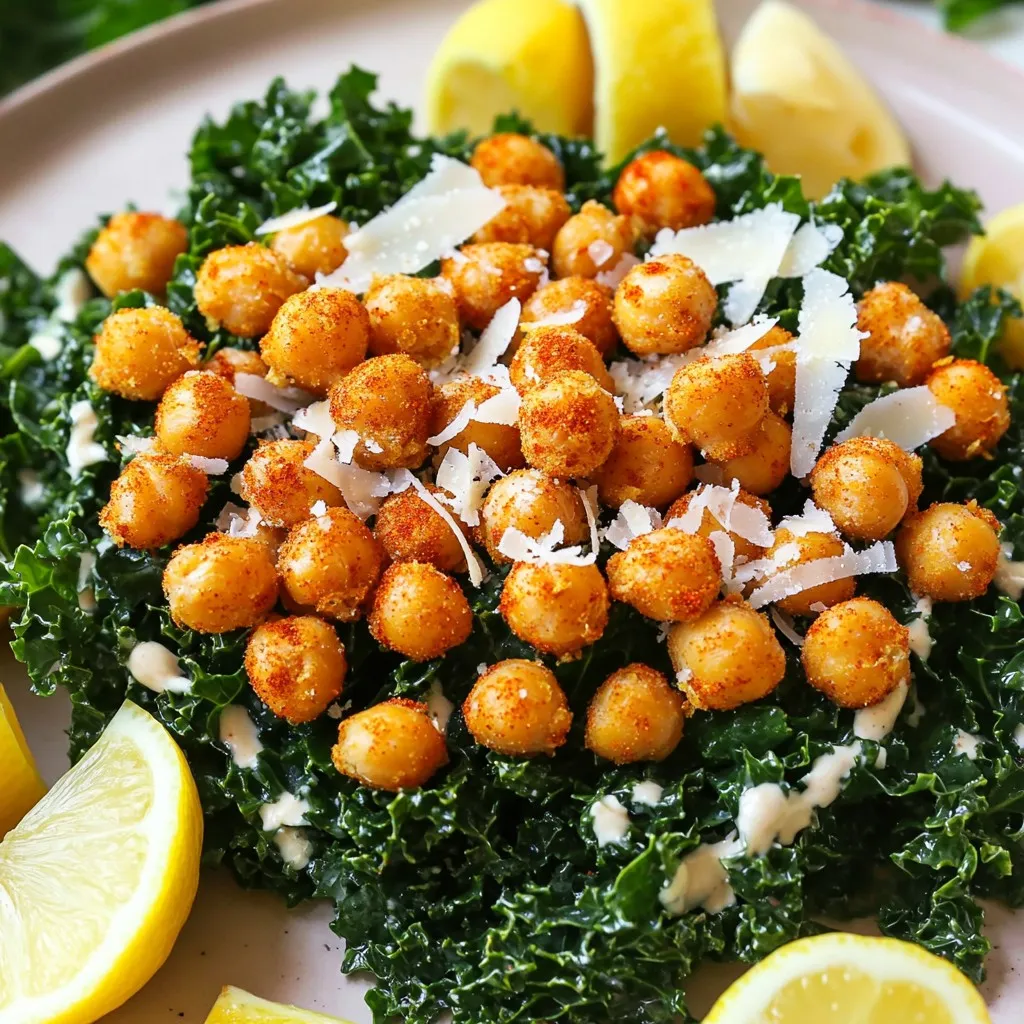
Crispy Chickpea Kale Caesar Salad Air Fryer Delight
Looking for a fresh and healthy salad? You’ll love this Crispy Chickpea Kale Caesar Salad! With the air fryer, I transform simple ingredients into a
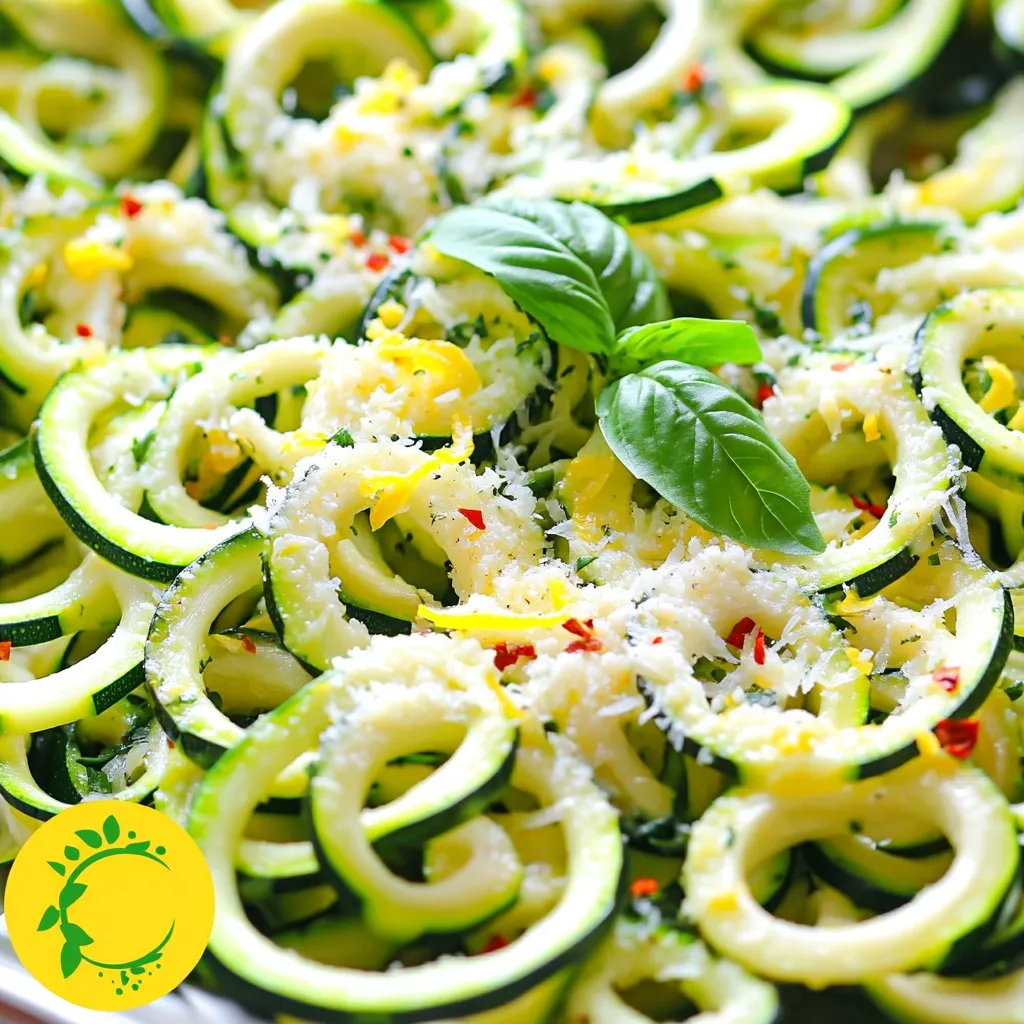
Minute Lemon Parmesan Zucchini Noodles Healthy Delight
Looking for a quick and healthy meal? Minute Lemon Parmesan Zucchini Noodles are your answer! In just a few minutes, you can whip up a
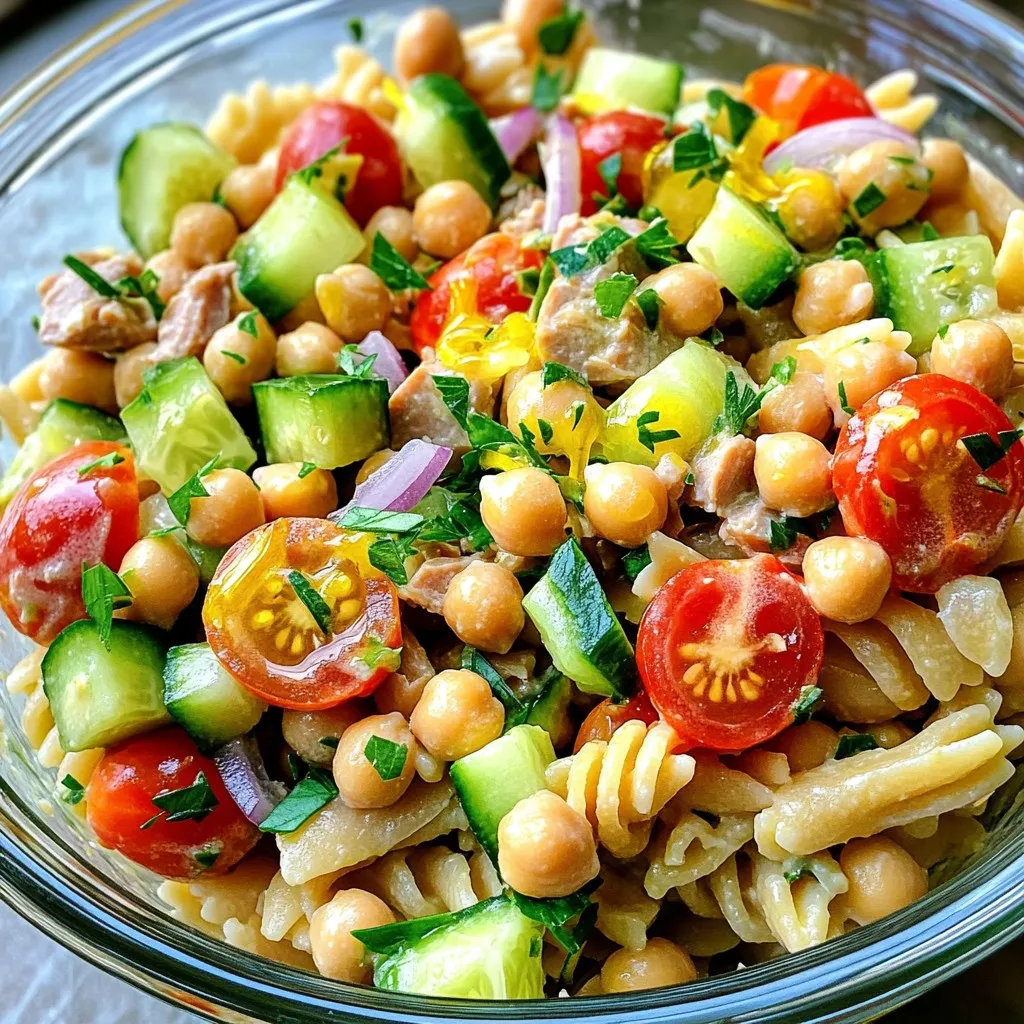
Minute Protein Packed Tuna Pasta Salad Delight
Are you ready to whip up something quick, tasty, and packed with protein? My Minute Protein Packed Tuna Pasta Salad Delight is your new go-to
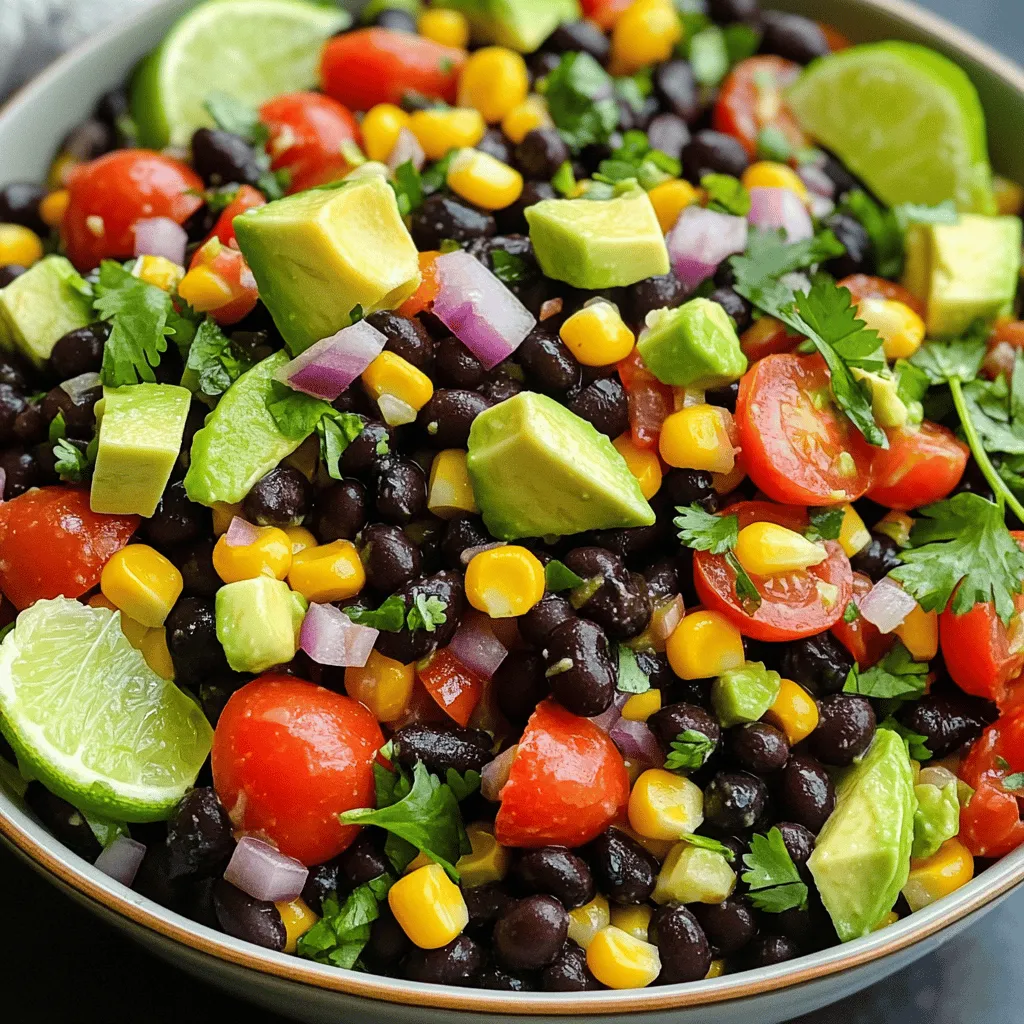
Fiesta Black Bean Corn Salad Fresh and Flavorful Recipe
Looking for a fresh and tasty dish that’s perfect for any gathering? My Fiesta Black Bean Corn Salad is just what you need! Packed with

Sun-Dried Tomato Pesto Pasta Salad Fresh and Tasty
When you crave a fresh and tasty meal, try my Sun-Dried Tomato Pesto Pasta Salad. This dish bursts with flavor and is simple to make.
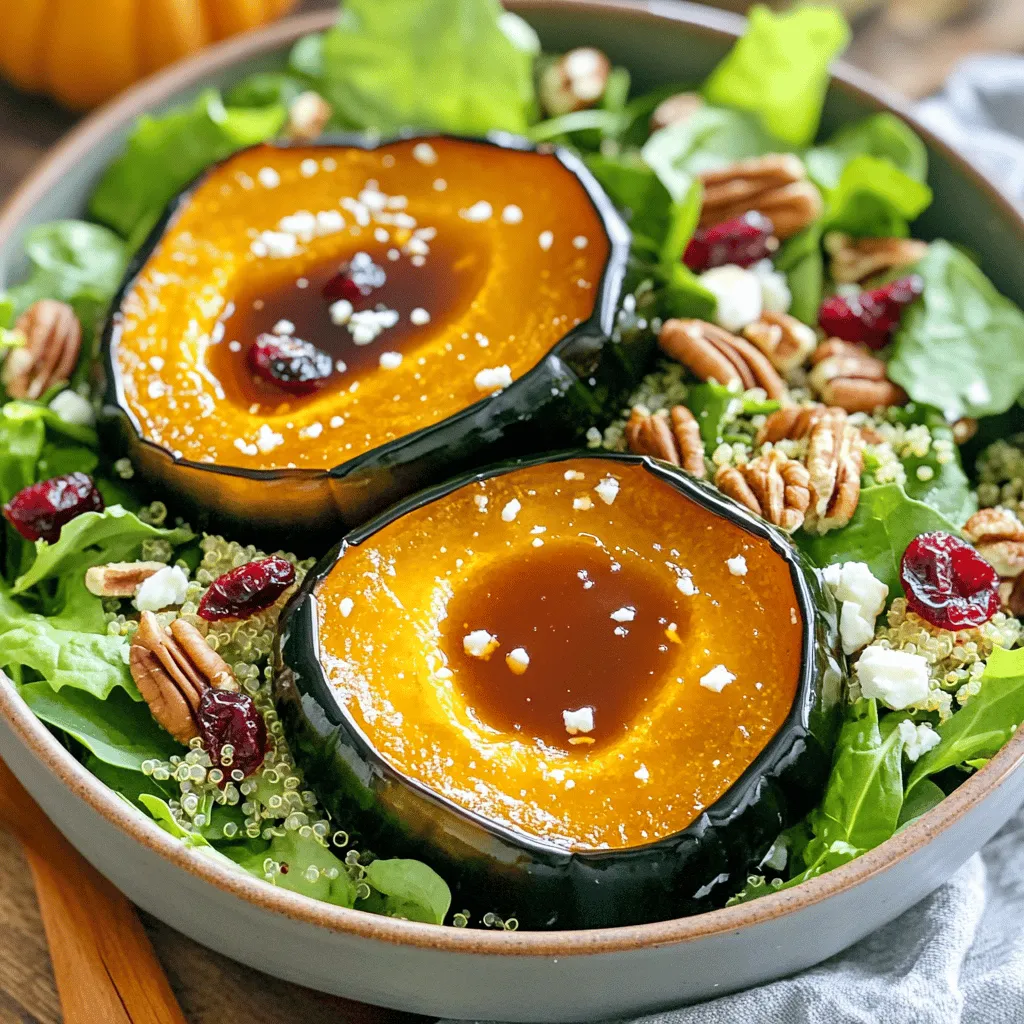
Maple Glazed Acorn Squash Quinoa Salad Delight
Looking for a fresh and tasty meal? You’ll love my Maple Glazed Acorn Squash Quinoa Salad! It’s colorful, sweet, and packed with nutrition. This salad
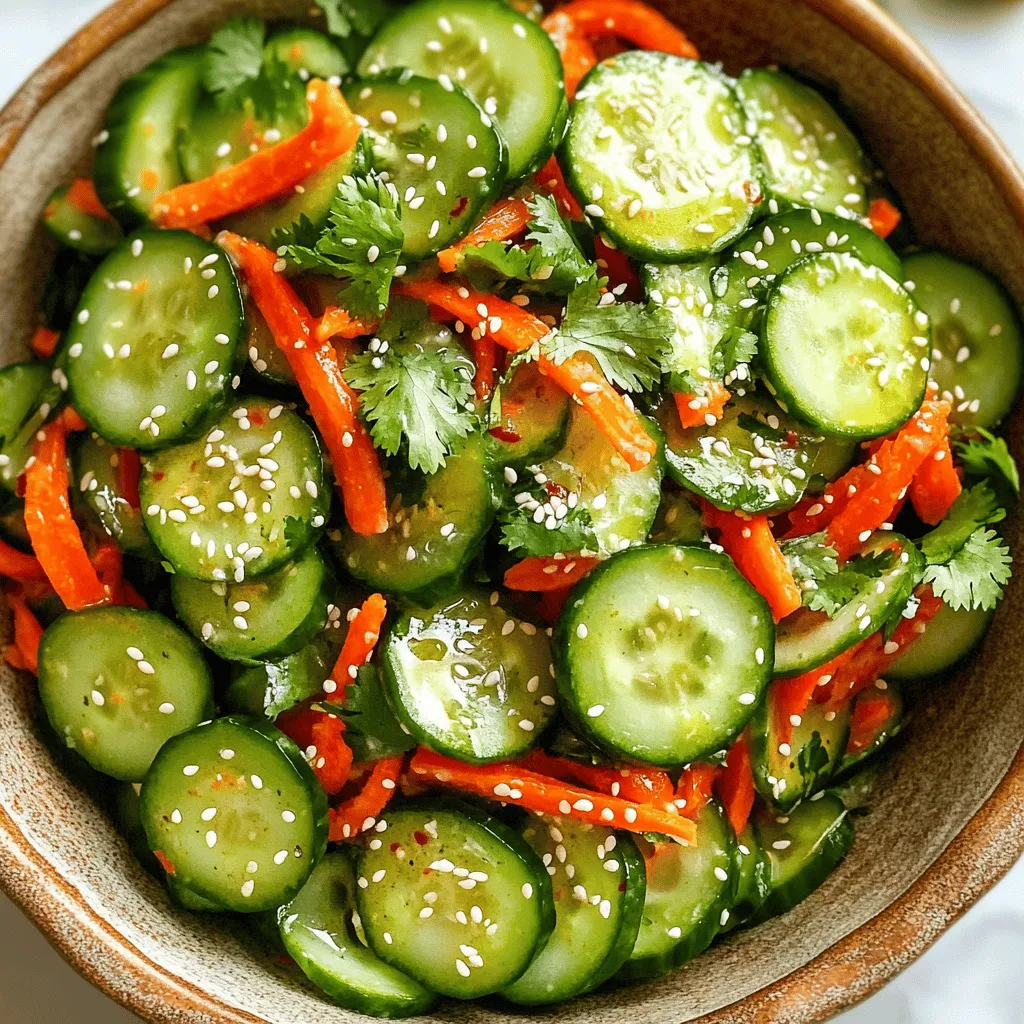
Spicy Cucumber Salad Fresh and Flavorful Delight
If you’re craving a dish that’s both fresh and bursting with flavor, look no further! My Spicy Cucumber Salad combines crisp cucumbers, vibrant red bell

Easy Zesty Southwest Chicken Salad Flavor Boost
Are you ready to spice up your lunch with a burst of flavor? My Easy Zesty Southwest Chicken Salad is your perfect go-to. It’s packed