Dinner
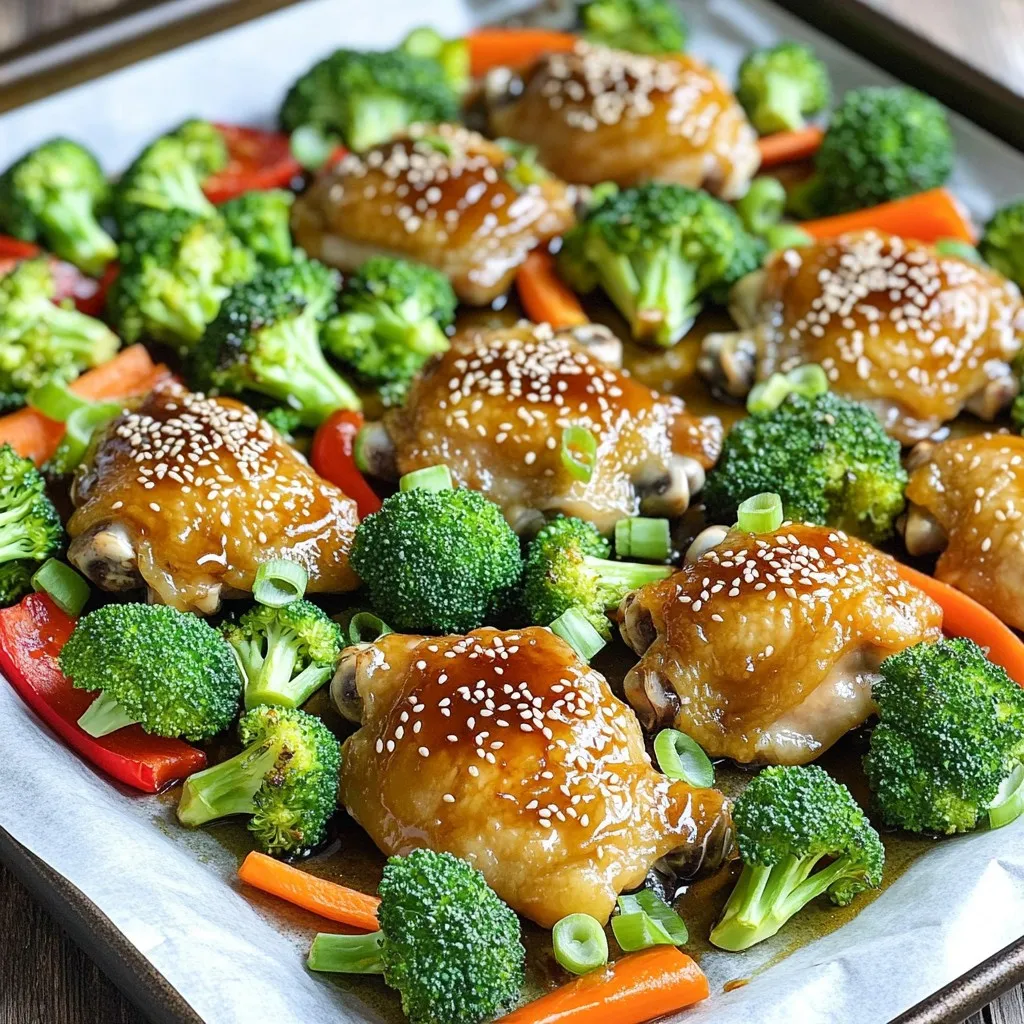
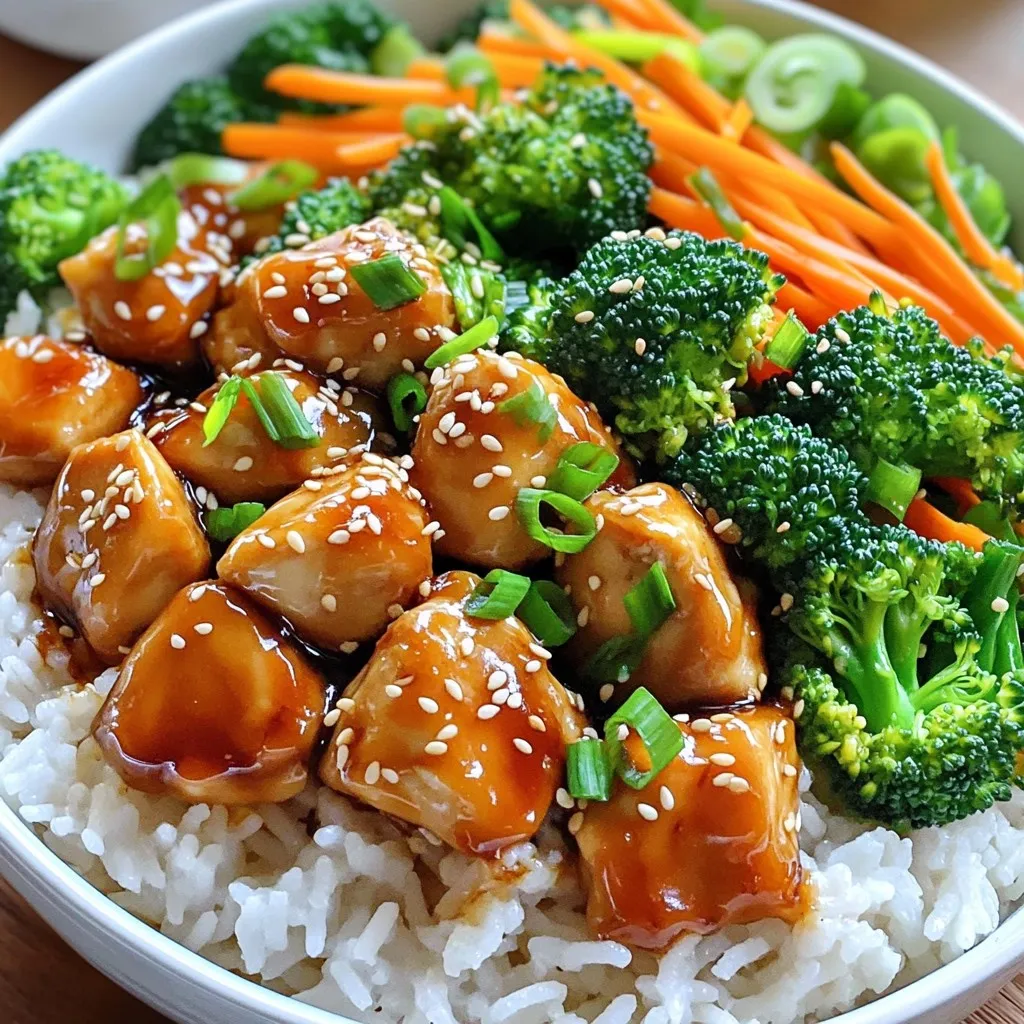
Sheet Pan Teriyaki Chicken & Broccoli Delight
Get ready to savor a simple yet flavor-packed dinner with my Sheet Pan Teriyaki Chicken & Broccoli Delight! This easy recipe brings together juicy chicken
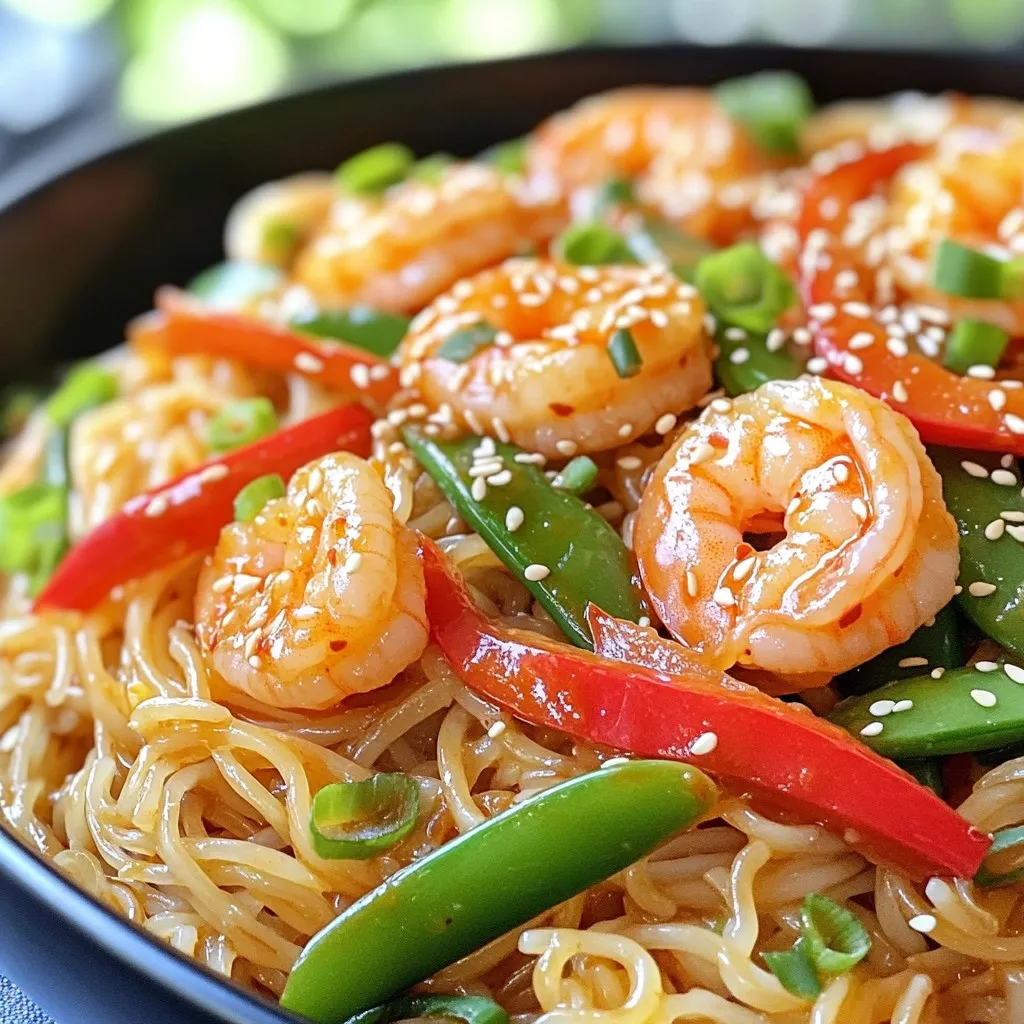
Minute Sweet Chili Shrimp Noodles Quick and Tasty Meal
Looking for a quick and tasty meal? Look no further! These Minute Sweet Chili Shrimp Noodles pack a punch in flavor and come together in
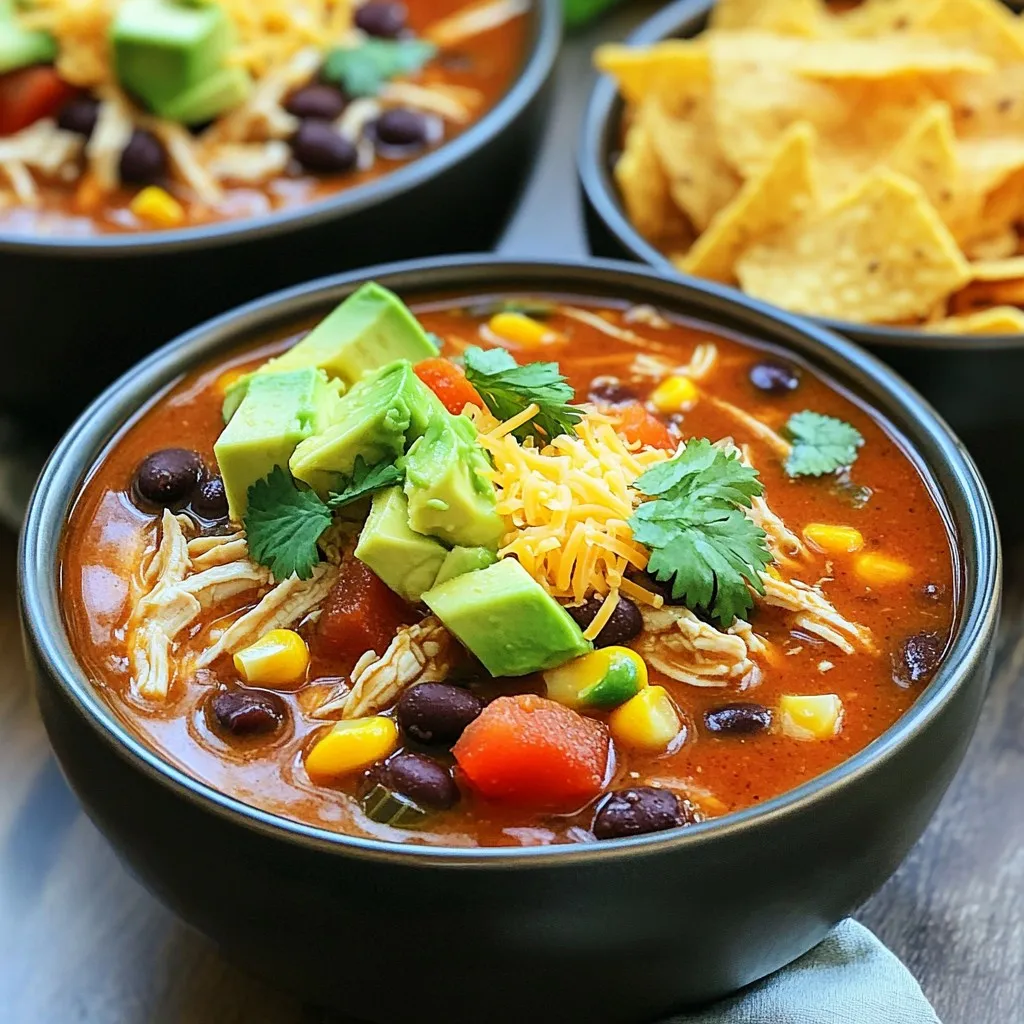
Savory Slow Cooker Chicken Enchilada Soup Recipe
If you crave a warm, hearty meal, this Savory Slow Cooker Chicken Enchilada Soup is perfect for you. With tender chicken, beans, and spices, it’s
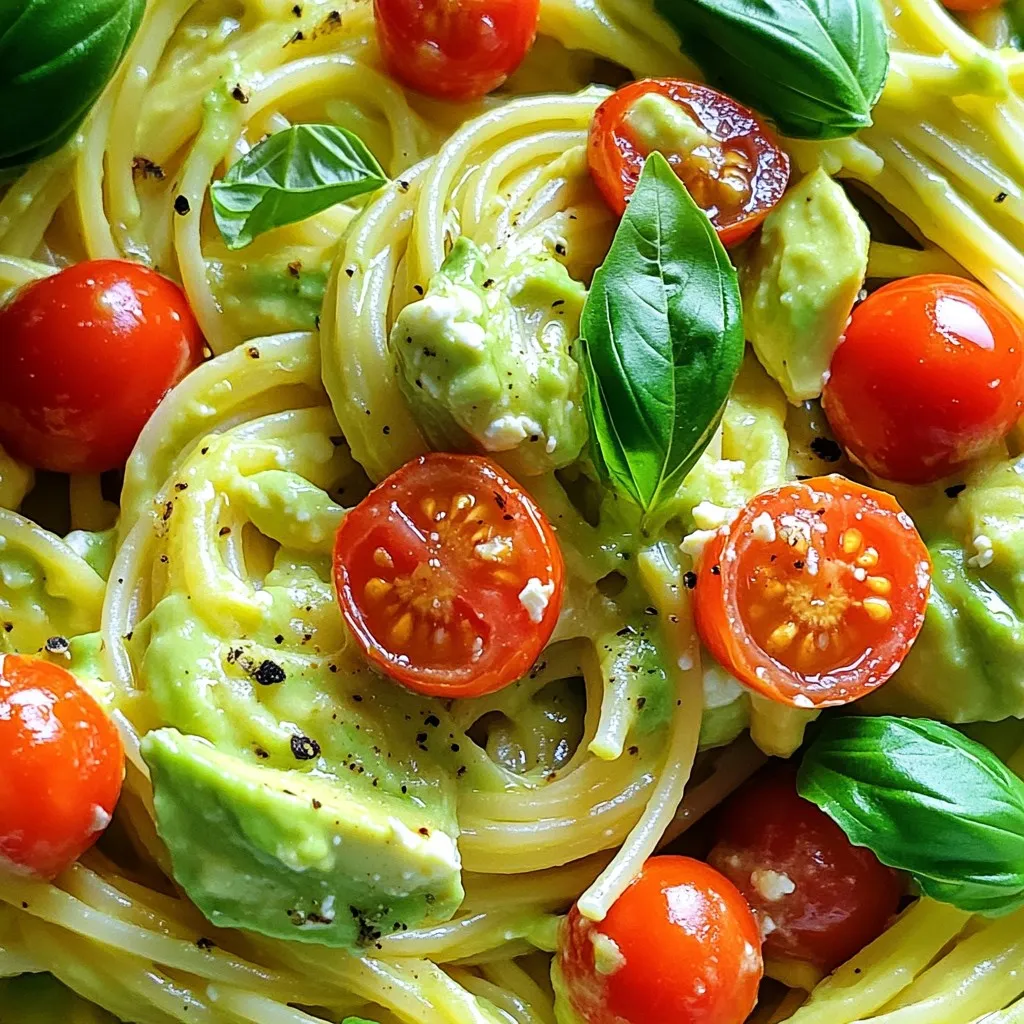
Minute Avocado Feta Pasta Quick and Tasty Recipe
Looking for a fast and tasty meal? Try my Minute Avocado Feta Pasta! This quick recipe packs a punch of flavor and freshness in every
Instant Pot Teriyaki Chicken Rice Bowls Simple Delight
Looking for a quick and tasty meal? Instant Pot Teriyaki Chicken Rice Bowls are your answer! In just a few steps, you can enjoy juicy

Air Fryer Maple Brown Sugar Salmon Delightful Dish
Are you ready for a flavorful meal? This Air Fryer Maple Brown Sugar Salmon is simple and tasty! With just a few ingredients, you can
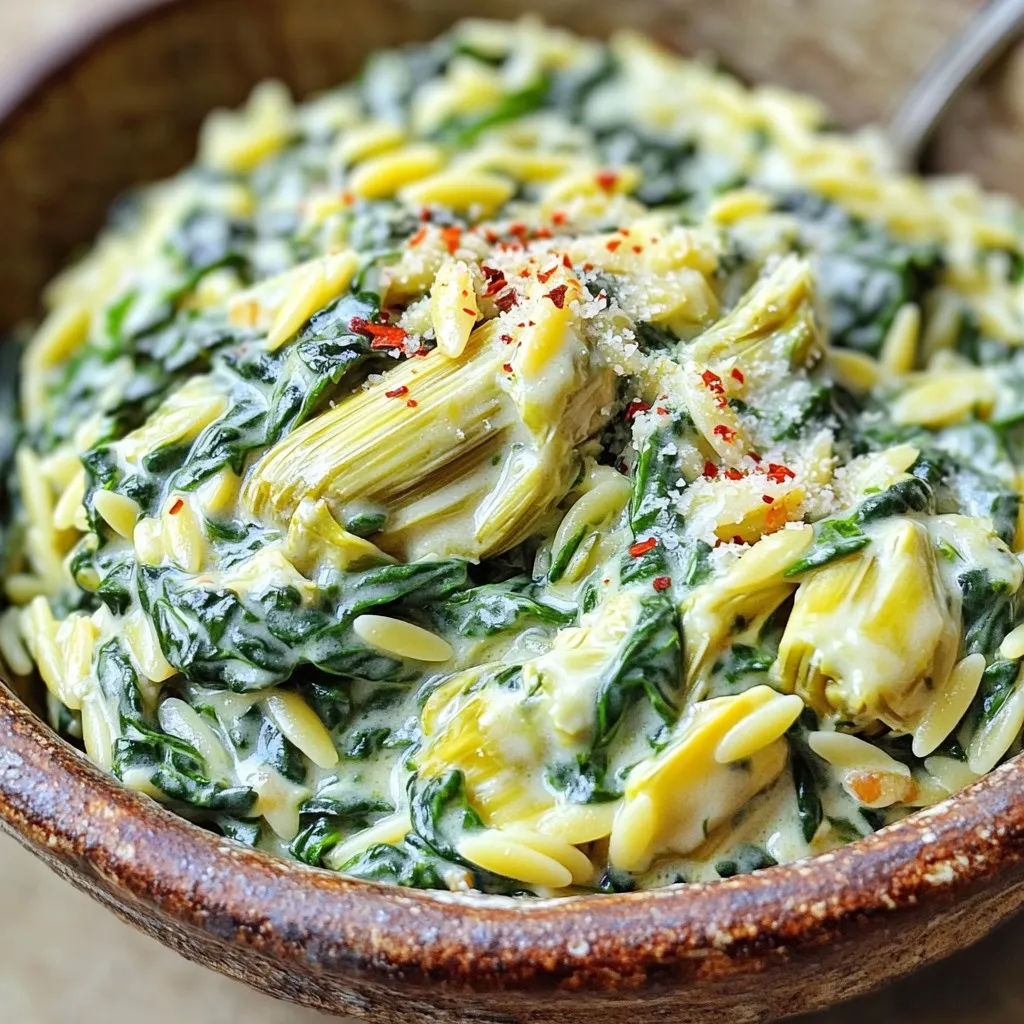
Creamy Spinach Artichoke Orzo Delightful and Simple
Are you ready to whip up a dish that’s both creamy and comforting? I’m talking about Creamy Spinach Artichoke Orzo! This delightful recipe combines savory
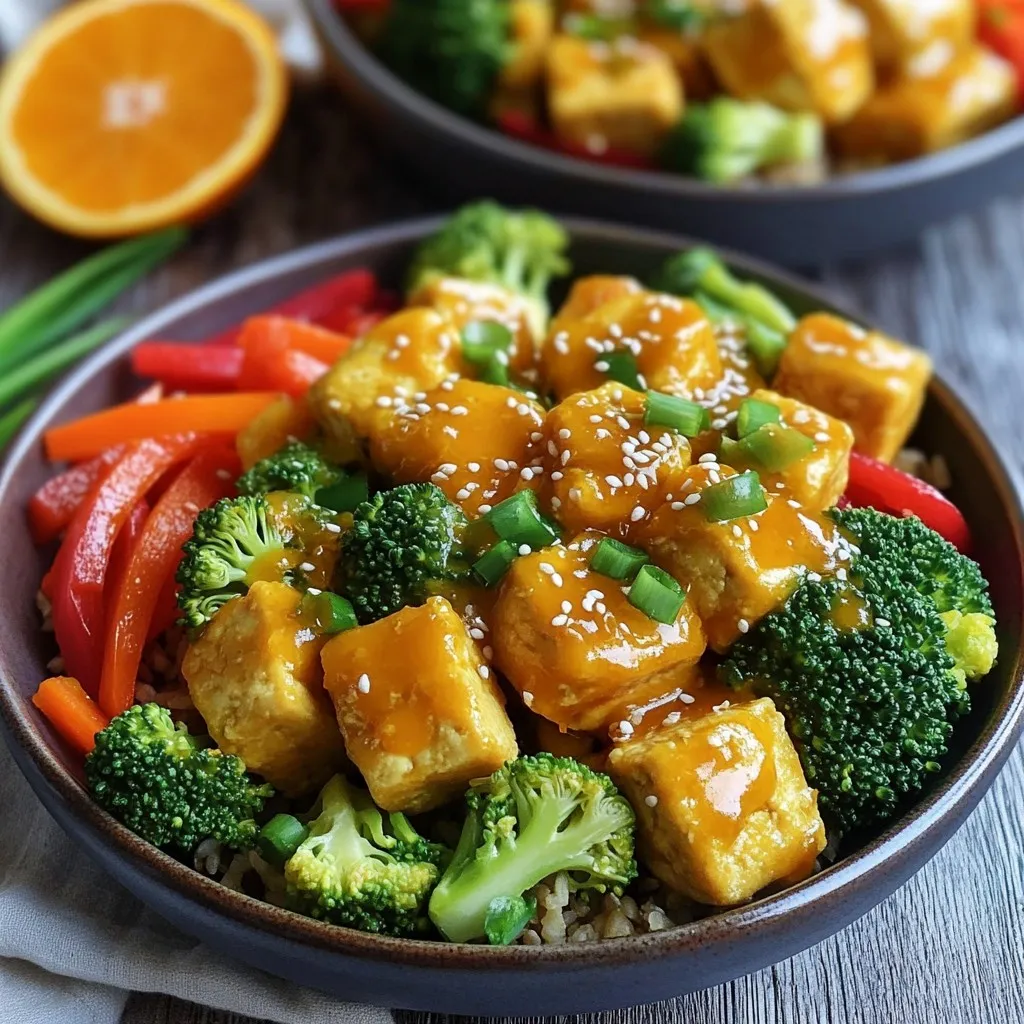
Orange Tofu Bowls Flavorful Takeout Alternative
Looking for a tasty takeout alternative that’s easy to make at home? Orange Tofu Bowls are the answer! Packed with vibrant veggies and a sweet,
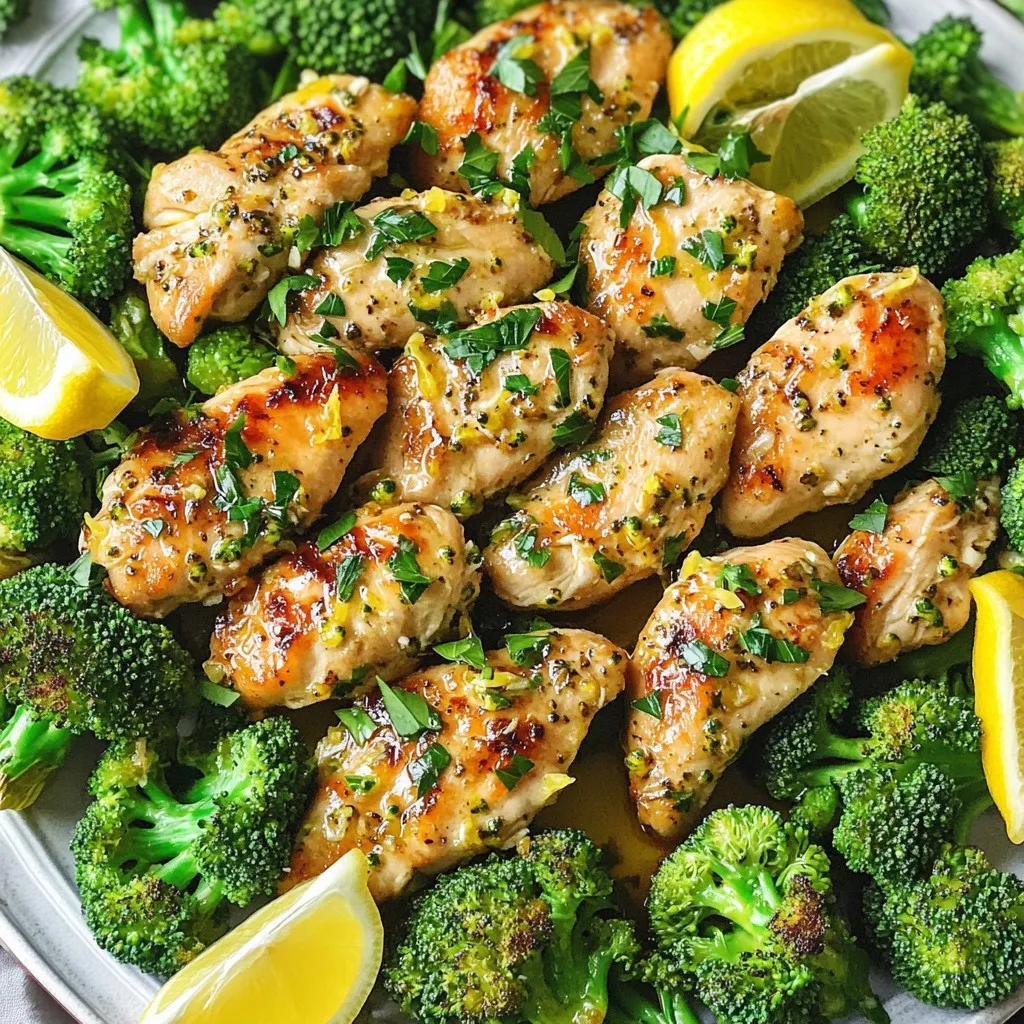
Sheet-Pan Lemon Garlic Chicken & Broccoli Delight
Get ready to enjoy a meal that’s quick, easy, and full of flavor! My Sheet-Pan Lemon Garlic Chicken & Broccoli Delight is the perfect choice
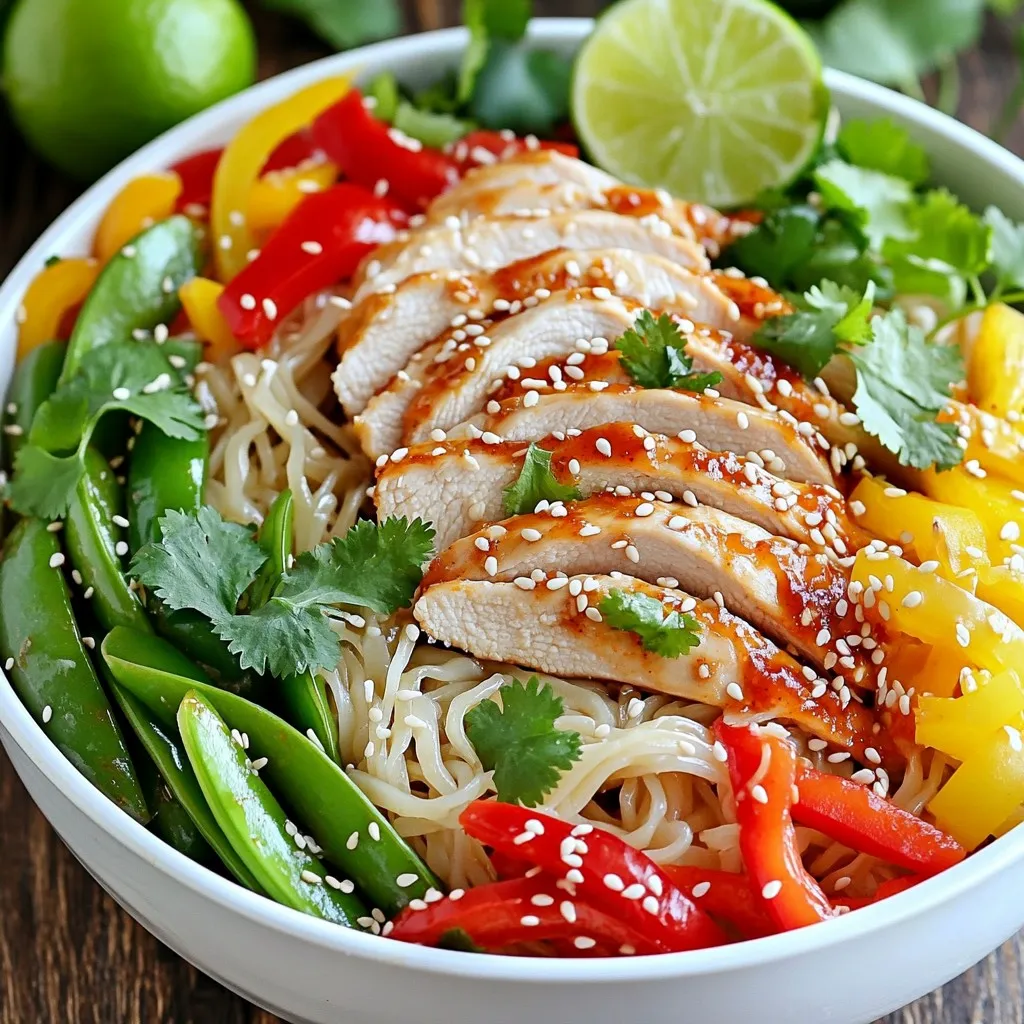
Savory Sweet Chili Chicken Noodle Bowls Tonight
Craving a quick, tasty meal? You’ll love these Sweet Chili Chicken Noodle Bowls. With tender chicken, fresh veggies, and a sweet kick, this dish is