Dinner
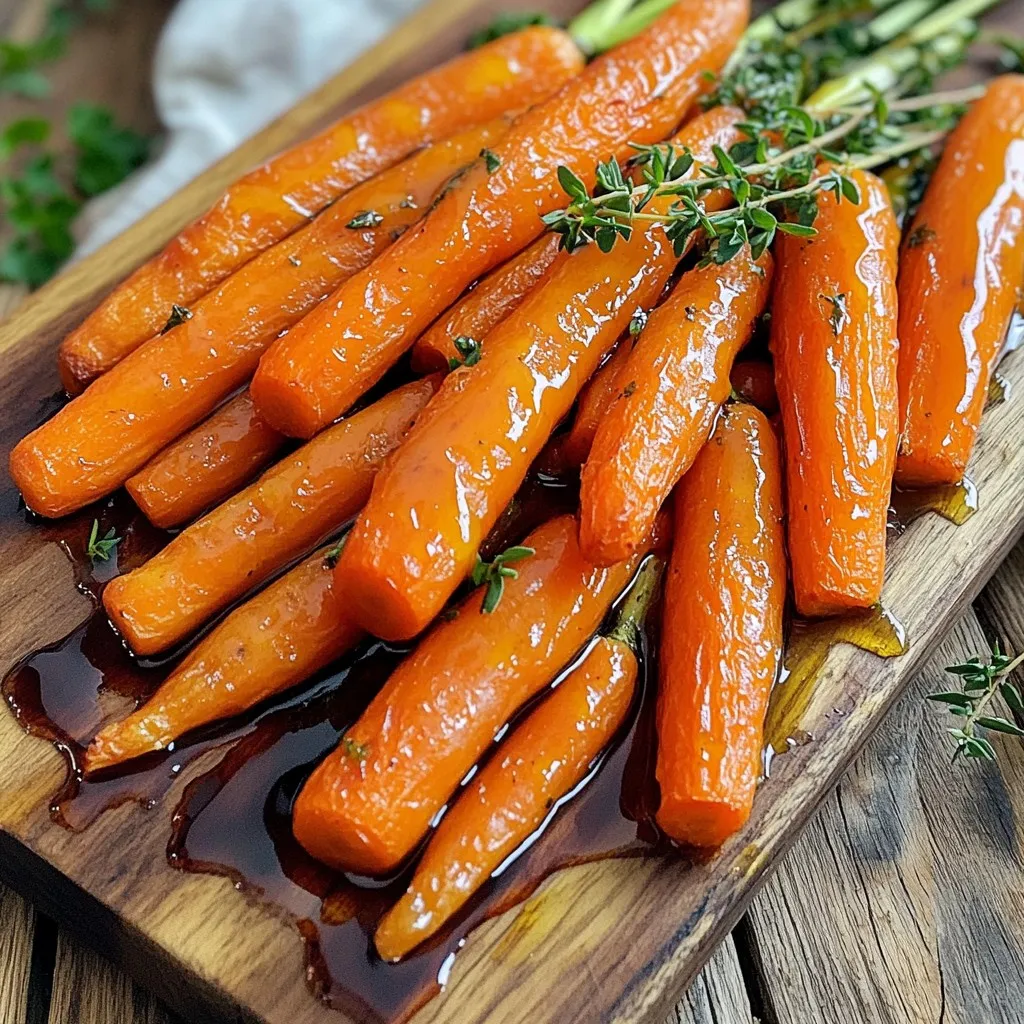
Maple Dijon Roasted Carrots Flavorful Dinner Side
Looking for a tasty and simple side dish? Maple Dijon Roasted Carrots are the answer! These sweet and tangy veggies brighten up any dinner plate.
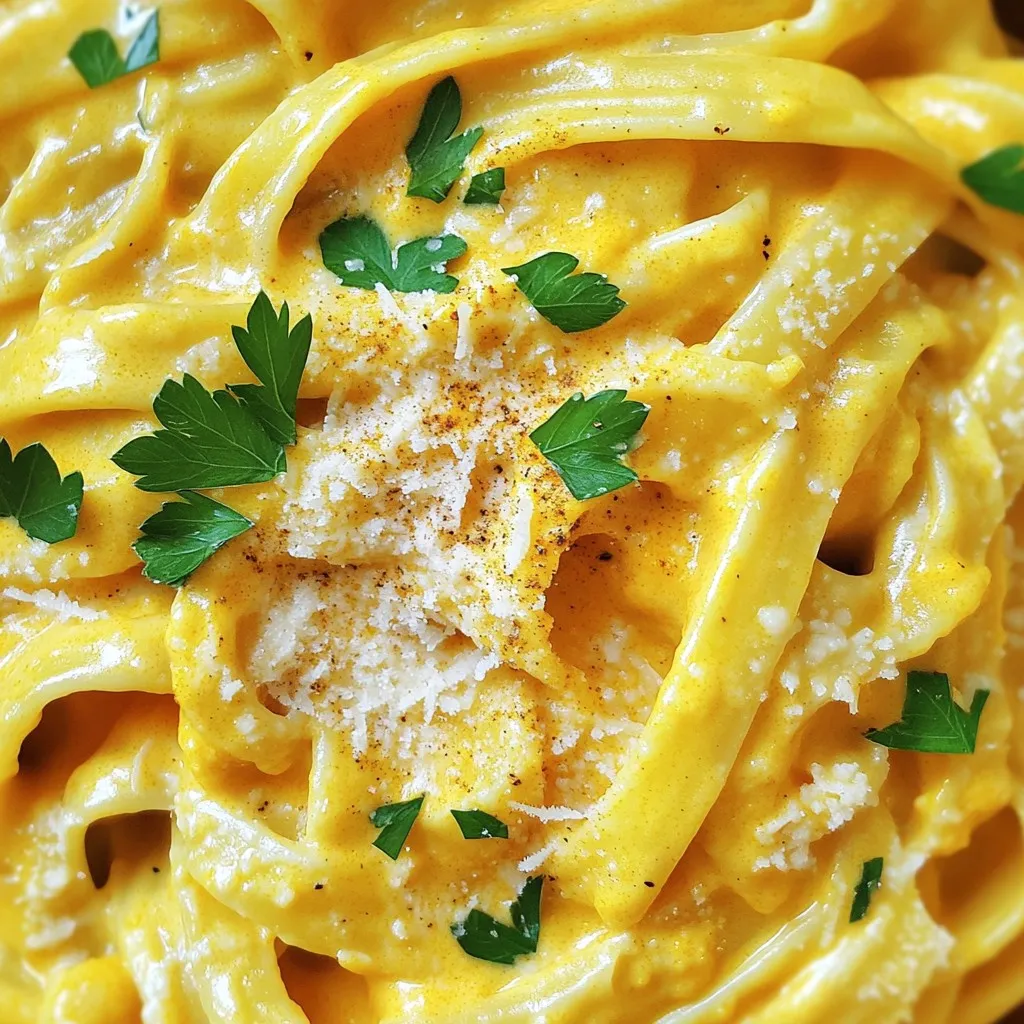
Creamy Pumpkin Alfredo Pasta Simple and Savory Dish
Looking for a cozy meal that bursts with flavor? I’ve got a treat for you: Creamy Pumpkin Alfredo Pasta! This simple and savory dish combines
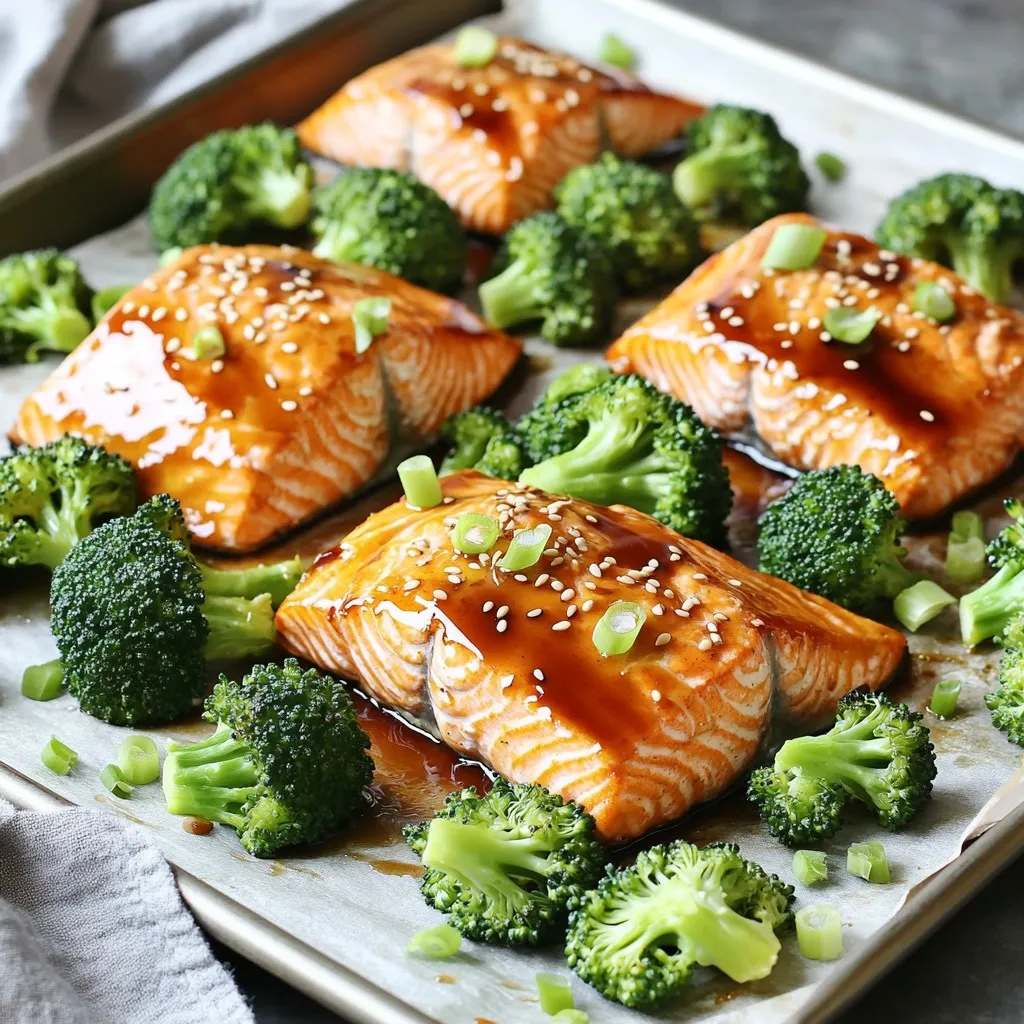
Sheet-Pan Miso Maple Salmon & Broccoli Delight
Want a quick and tasty dinner that’s loaded with flavor? Look no further than my Sheet-Pan Miso Maple Salmon & Broccoli Delight! This easy recipe

Crispy Sweet and Sour Chicken Better Than Takeout
Tired of takeout that just doesn’t hit the spot? You’re in for a treat! My crispy sweet and sour chicken recipe packs all the flavor
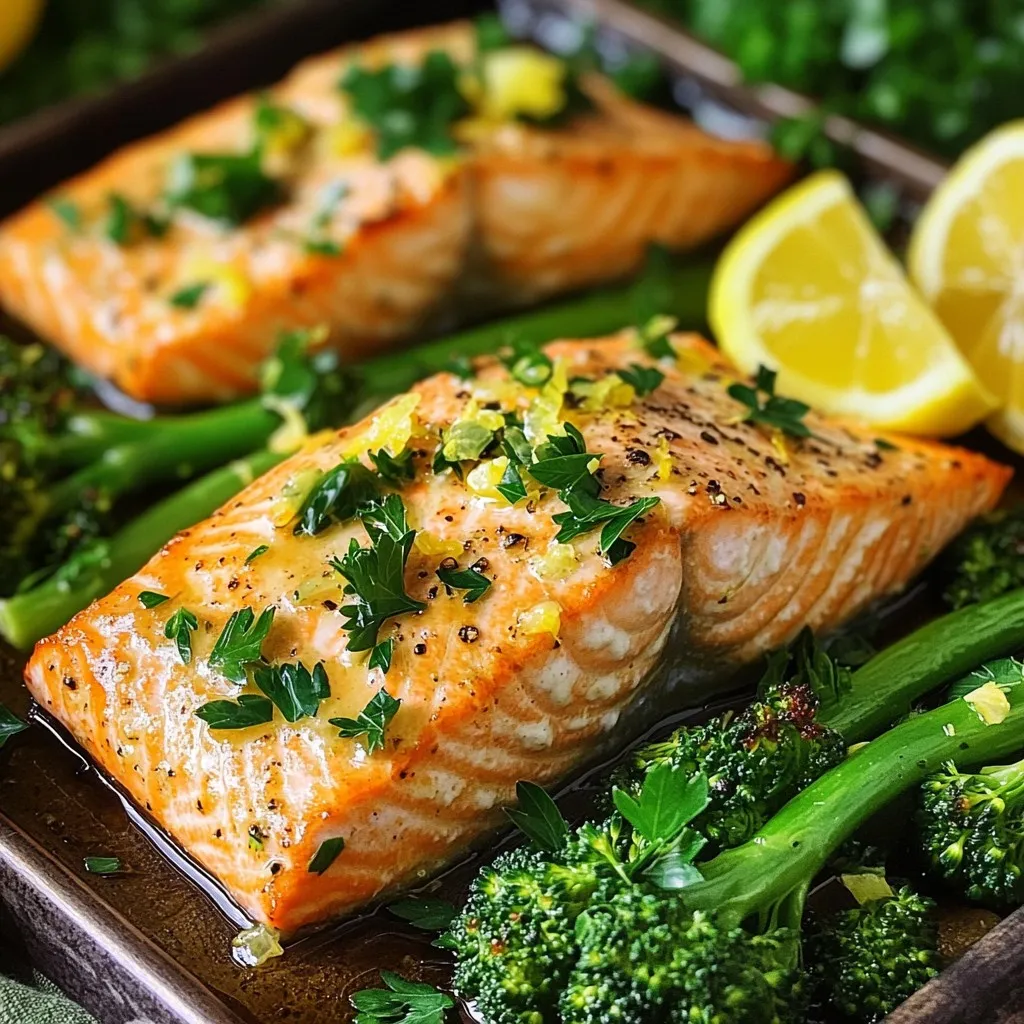
Sheet Pan Lemon Garlic Salmon and Broccolini Delight
Are you ready for a simple yet delicious meal? My Sheet Pan Lemon Garlic Salmon and Broccolini is the perfect choice! With bright flavors and
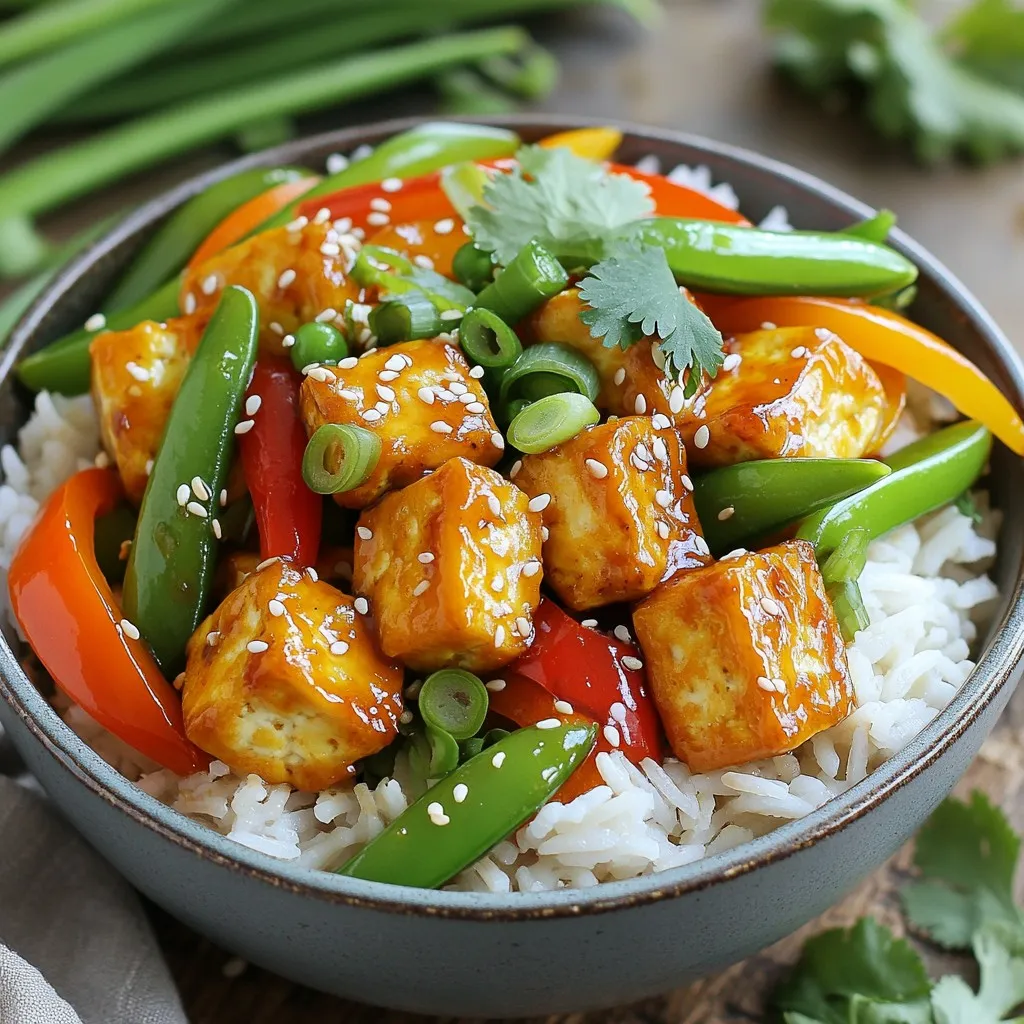
Minute Sweet Chili Garlic Tofu Bowls With Bold Flavors
Looking for a quick, tasty meal packed with flavor? My Minute Sweet Chili Garlic Tofu Bowls are here to satisfy your cravings. These bowls feature
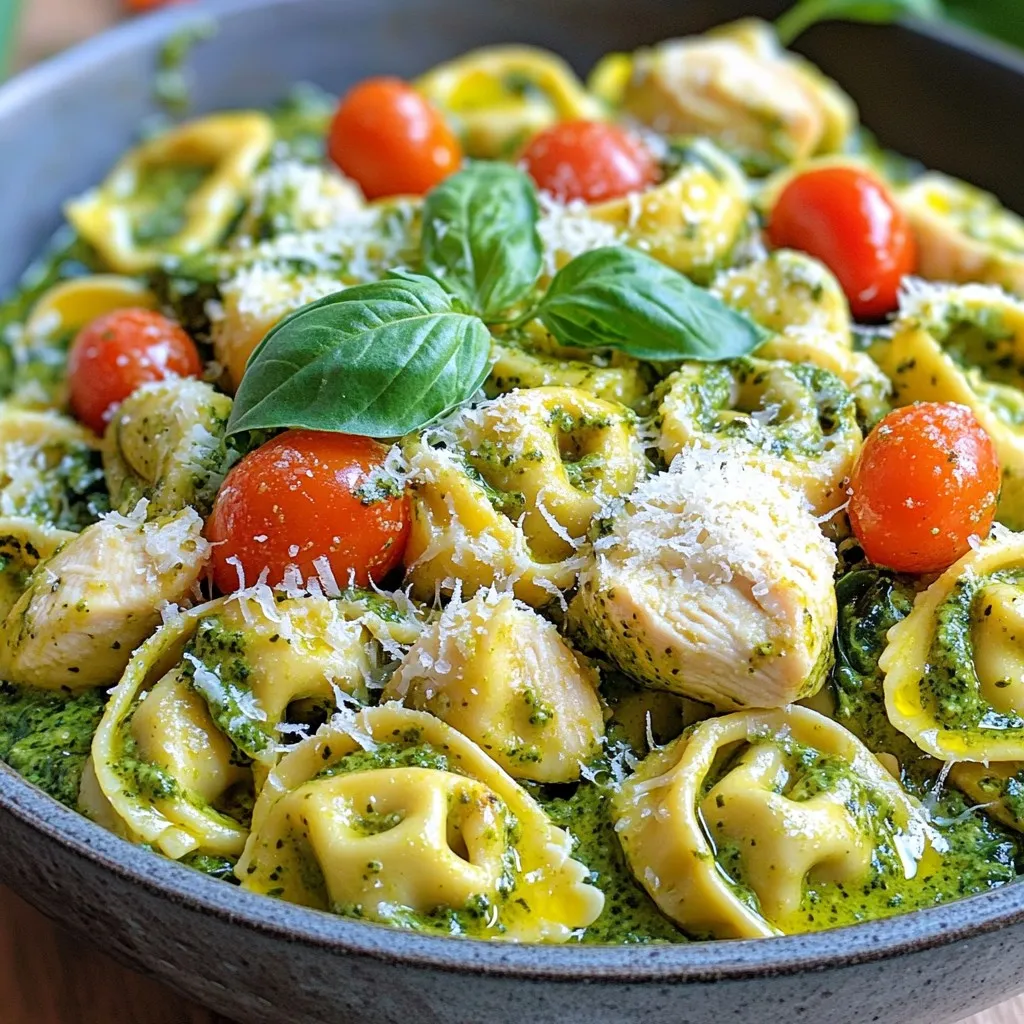
One Pot Creamy Pesto Chicken Tortellini Delight
Craving a dinner that is both creamy and satisfying? Look no further than this One Pot Creamy Pesto Chicken Tortellini Delight! In just a few
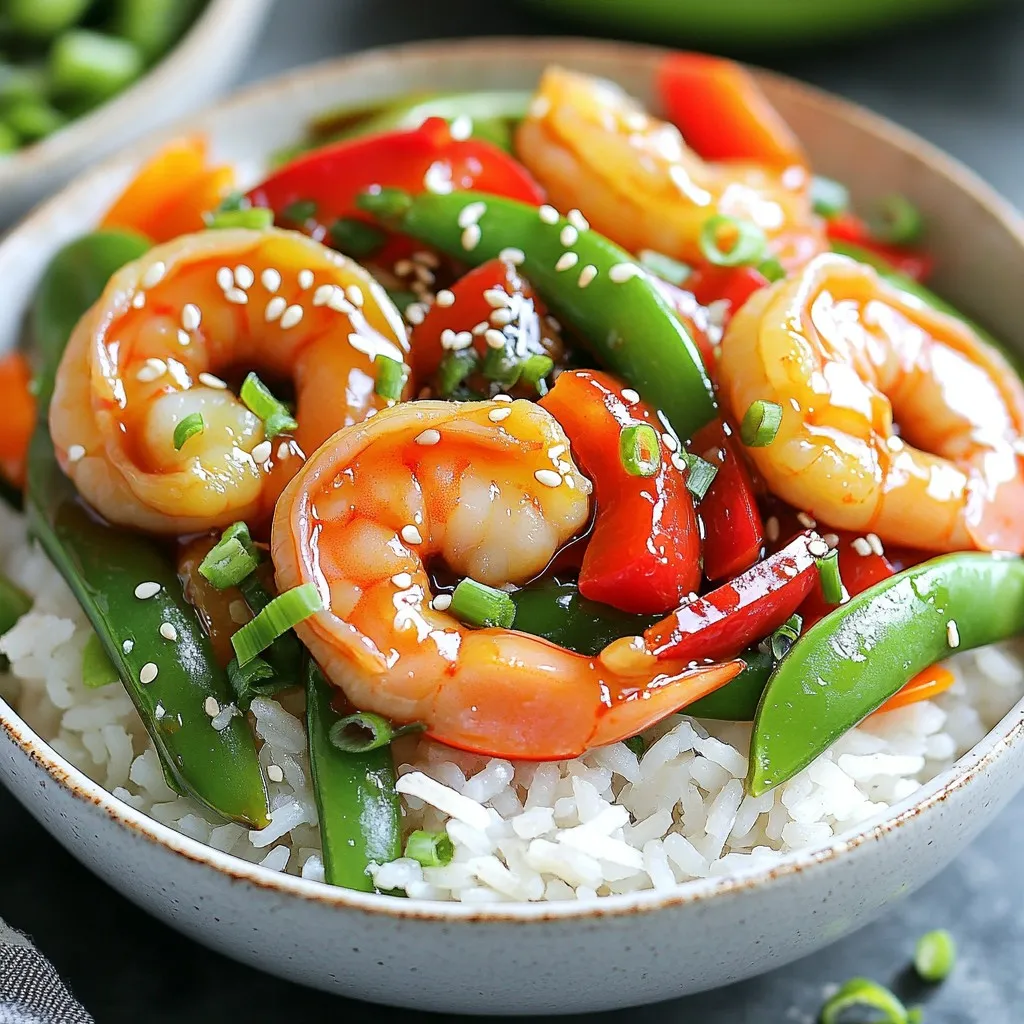
Sweet Soy Shrimp Rice Bowls Quick and Tasty Meal
Are you craving a quick and tasty meal? Look no further! My Sweet Soy Shrimp Rice Bowls take just 15 minutes to make, combining juicy
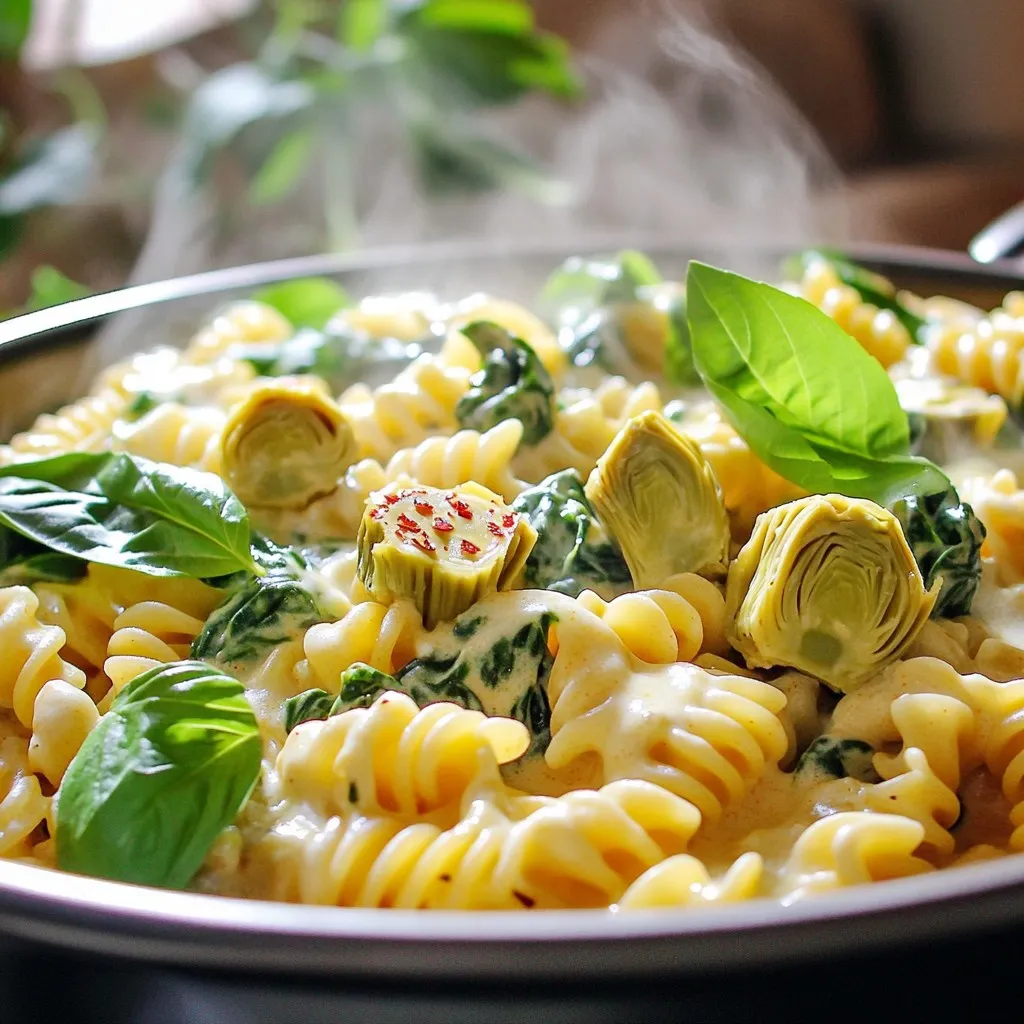
Spinach Artichoke One-Pot Pasta Simple and Tasty Dish
Are you ready for a simple and tasty meal that saves time? This Spinach Artichoke One-Pot Pasta is perfect for busy weeknights. With just one
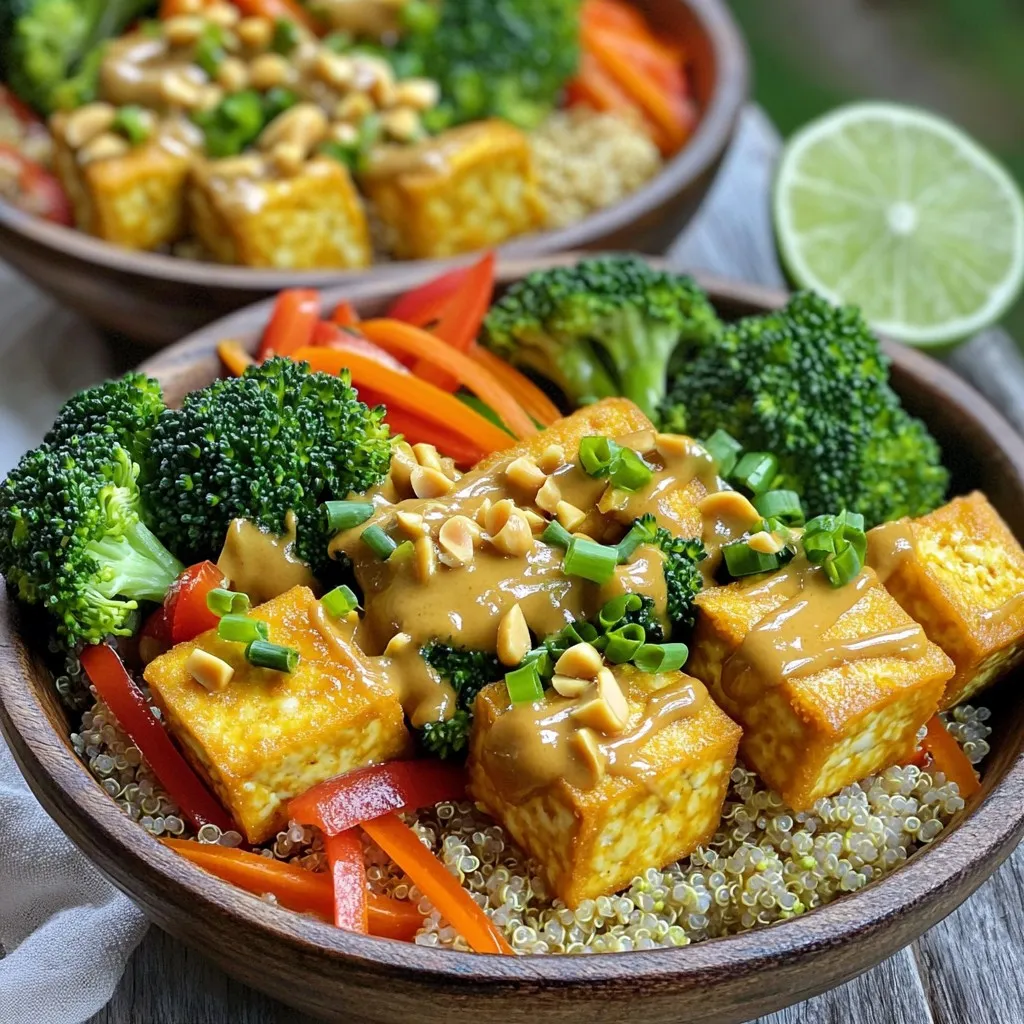
Spicy Peanut Tofu Bowls Flavorful and Nutritious Meal
Looking for a meal that’s both tasty and good for you? Let’s dive into my Spicy Peanut Tofu Bowls! This dish is packed with flavor