Dinner
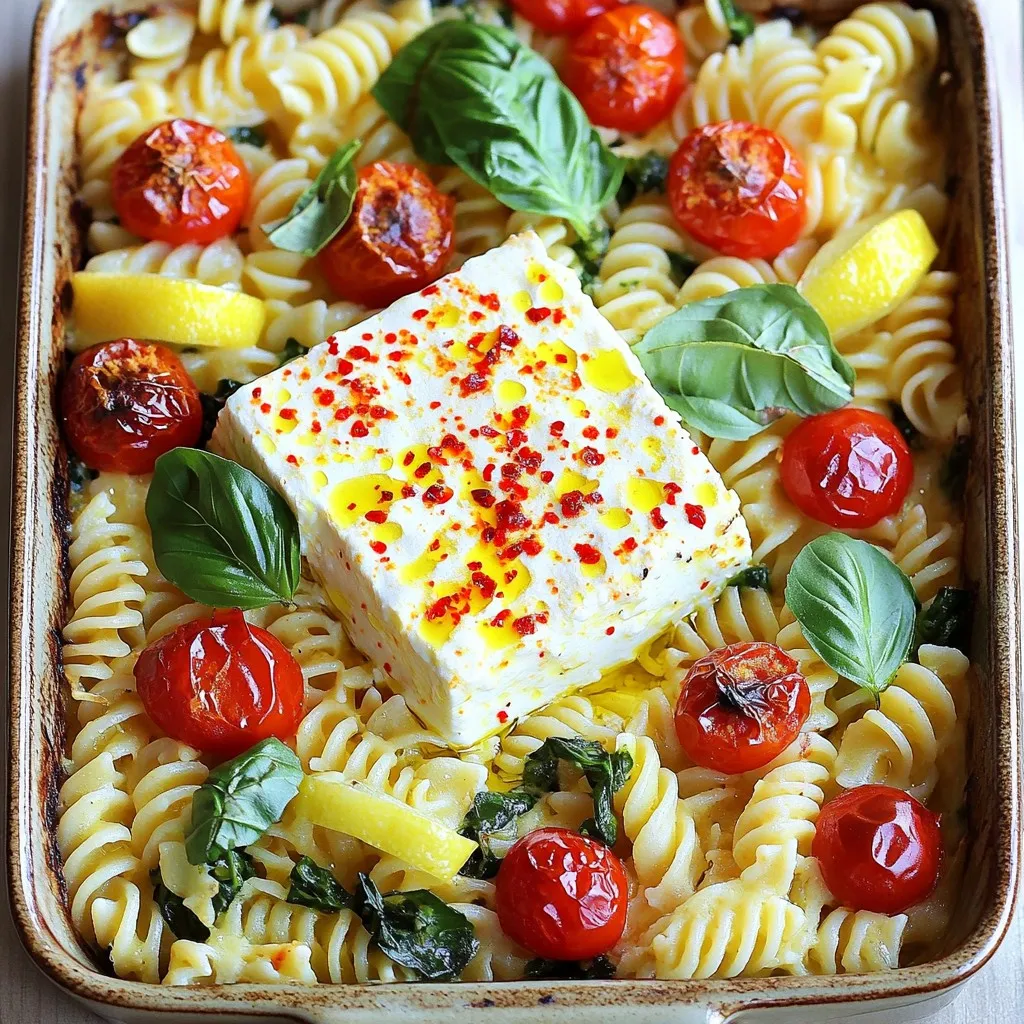
Viral Baked Feta Pasta Easy and Flavorful Recipe
Are you ready to dive into the delicious world of viral baked feta pasta? This easy and flavorful recipe has taken the internet by storm,

Slow Cooker Sweet Chili Chicken Tacos Delightful Meal
Looking for a meal that’s both easy to make and full of flavor? Try my Slow Cooker Sweet Chili Chicken Tacos! This dish brings together
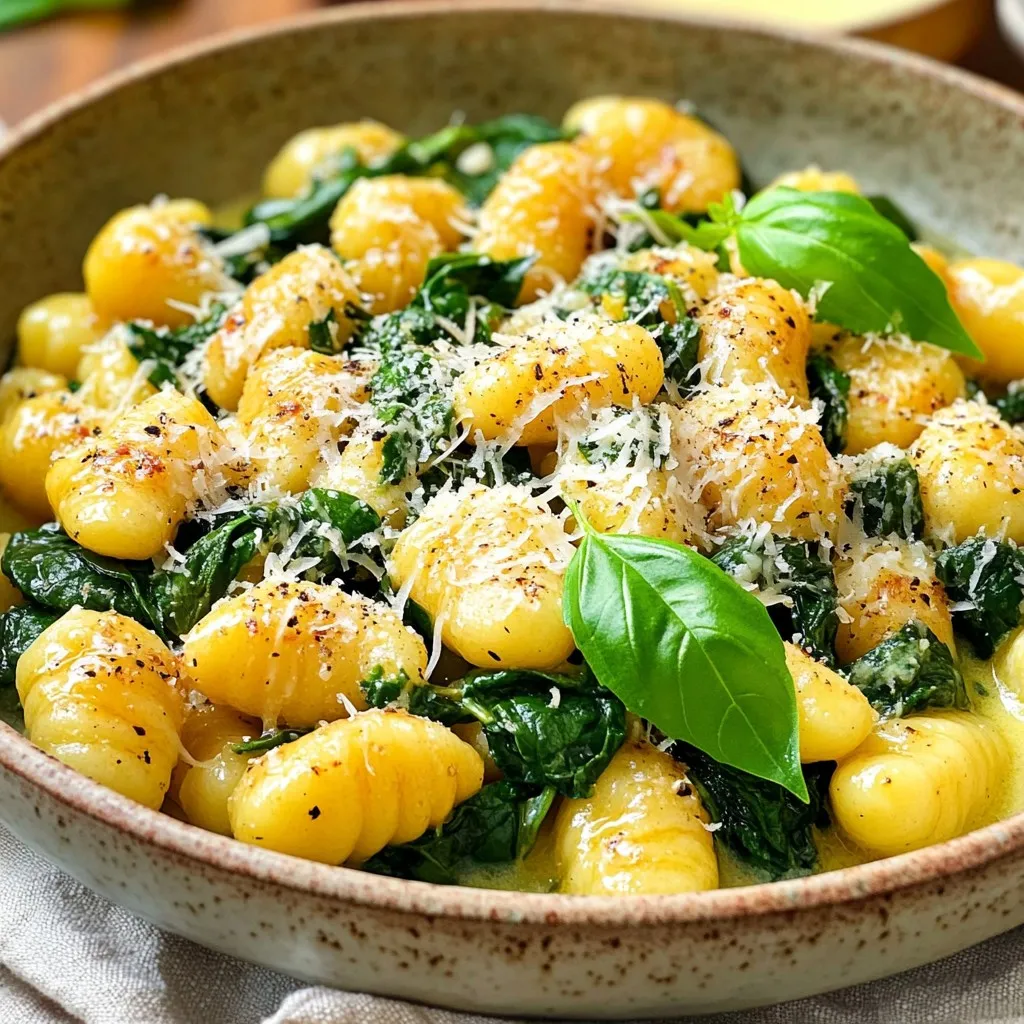
Garlic Butter Gnocchi with Spinach Rich and Simple Meal
Looking for a quick yet satisfying meal? Garlic Butter Gnocchi with Spinach is a winning choice! This dish combines soft gnocchi with a rich garlic
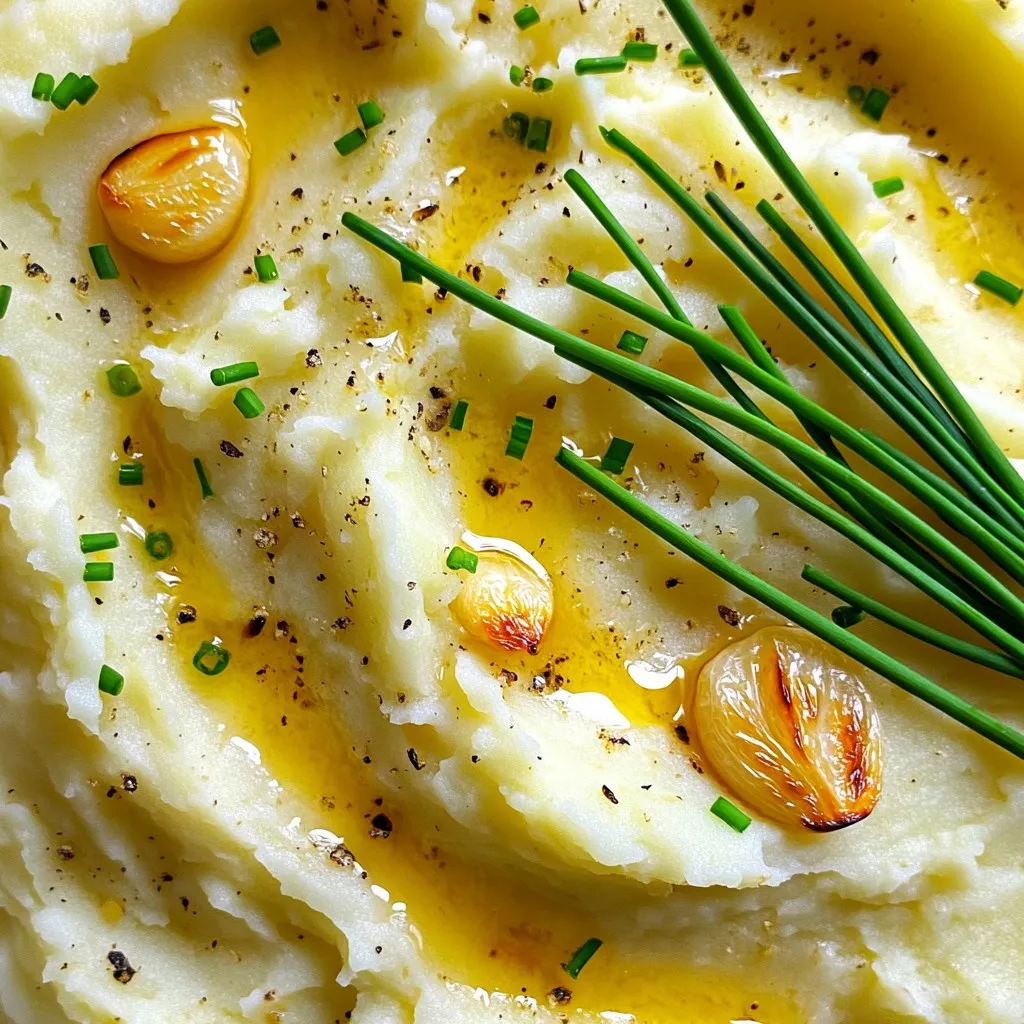
Creamy Roasted Garlic Mashed Potatoes Delightful Dish
Are you ready to elevate your mashed potato game? In this blog post, I’ll share my secret to making creamy roasted garlic mashed potatoes that
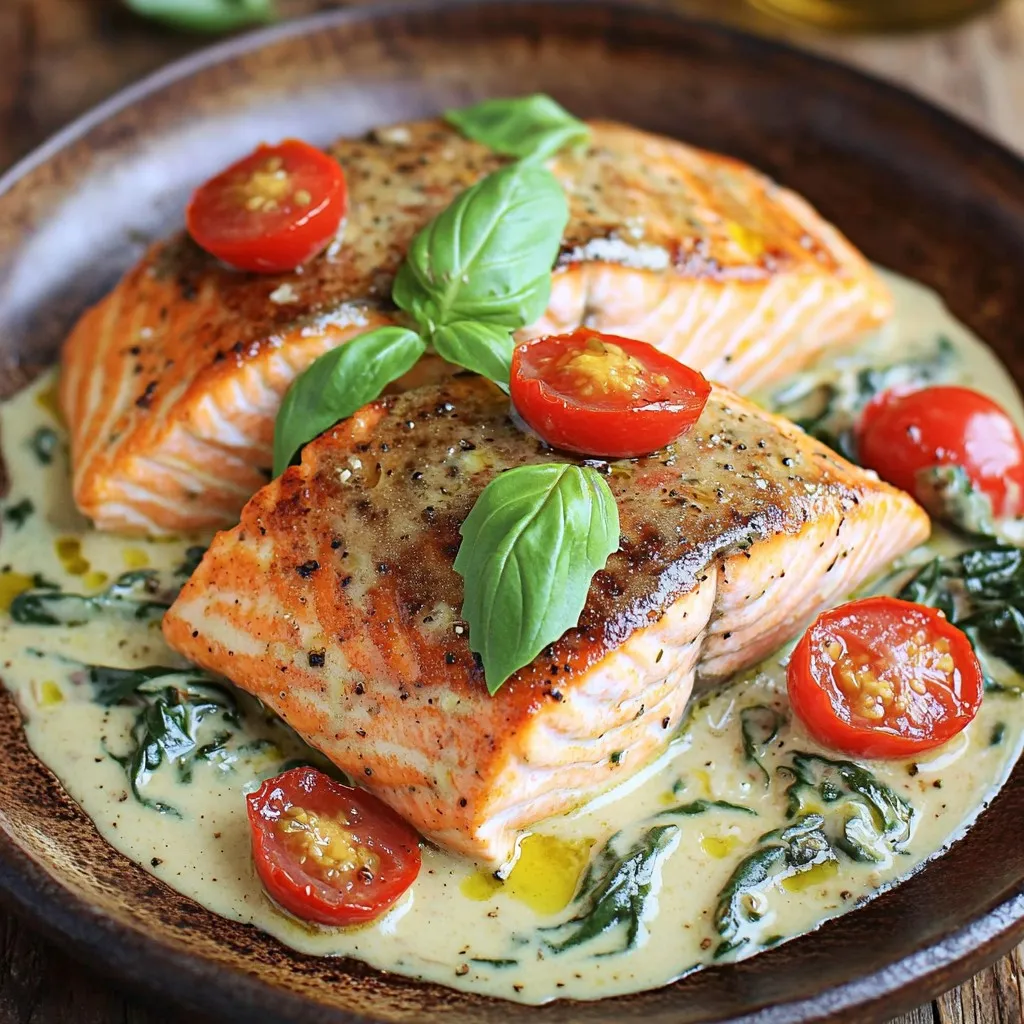
Minute Creamy Tuscan Salmon Flavorful and Quick Meal
If you’re looking for a quick and tasty dinner, my Minute Creamy Tuscan Salmon is perfect for you! In just a few steps, you can
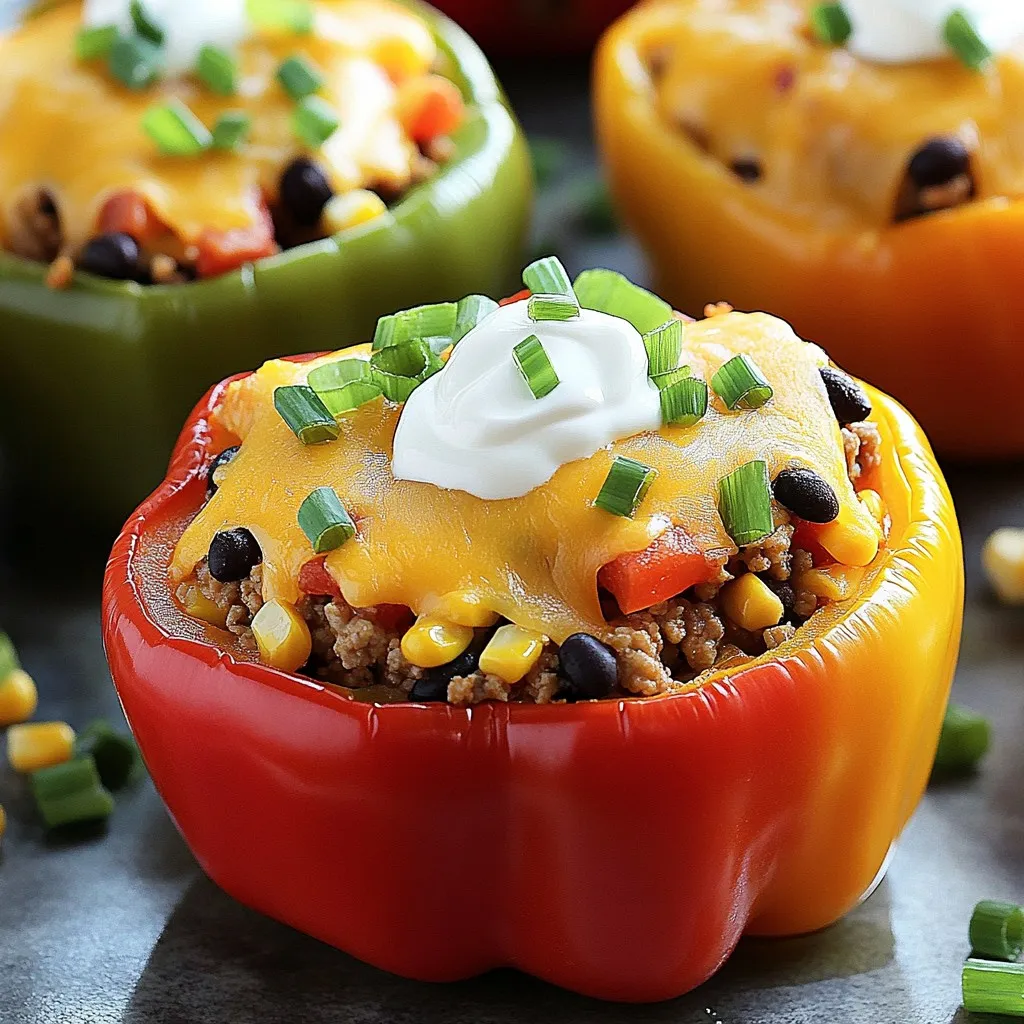
Cheesy Taco Stuffed Peppers Flavorful Family Meal
Looking for a simple and tasty dinner that your whole family will love? Cheesy Taco Stuffed Peppers are the perfect answer! These colorful bell peppers
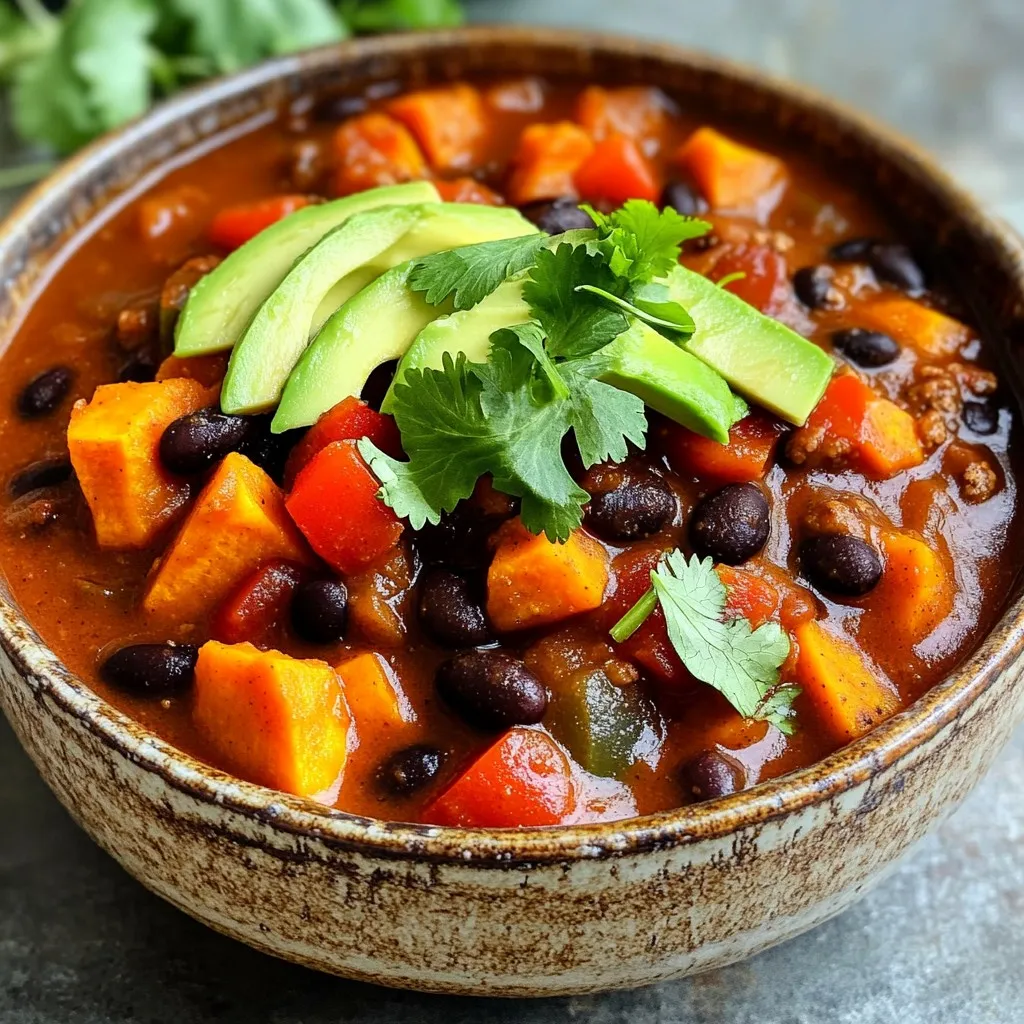
Savory Slow Cooker Sweet Potato Black Bean Chili Recipe
Welcome to my kitchen! Today, I’m sharing a savory Slow Cooker Sweet Potato Black Bean Chili recipe that’s easy, hearty, and full of flavor. Perfect
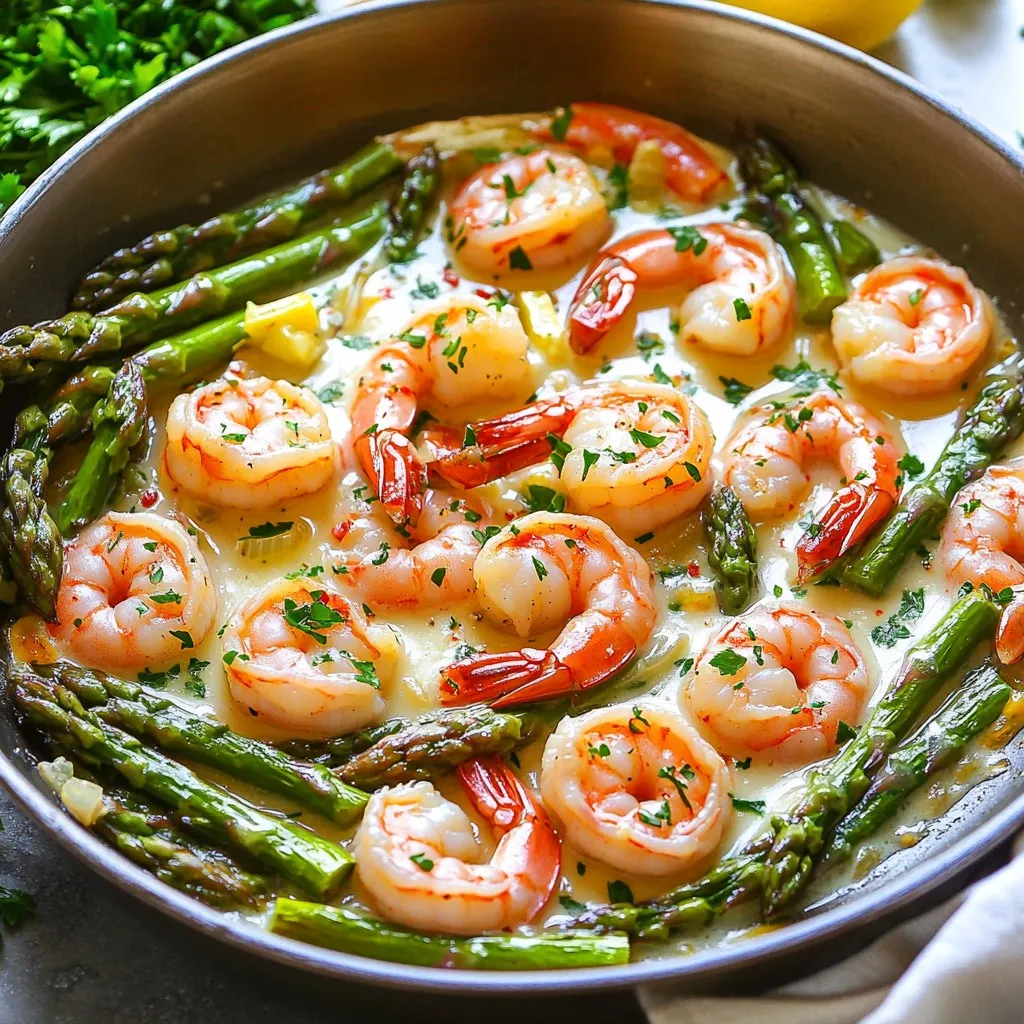
Garlic Butter Shrimp & Asparagus Skillet Recipe
If you crave a quick, flavorful meal that shines in taste and ease, then this Garlic Butter Shrimp & Asparagus Skillet recipe is for you!
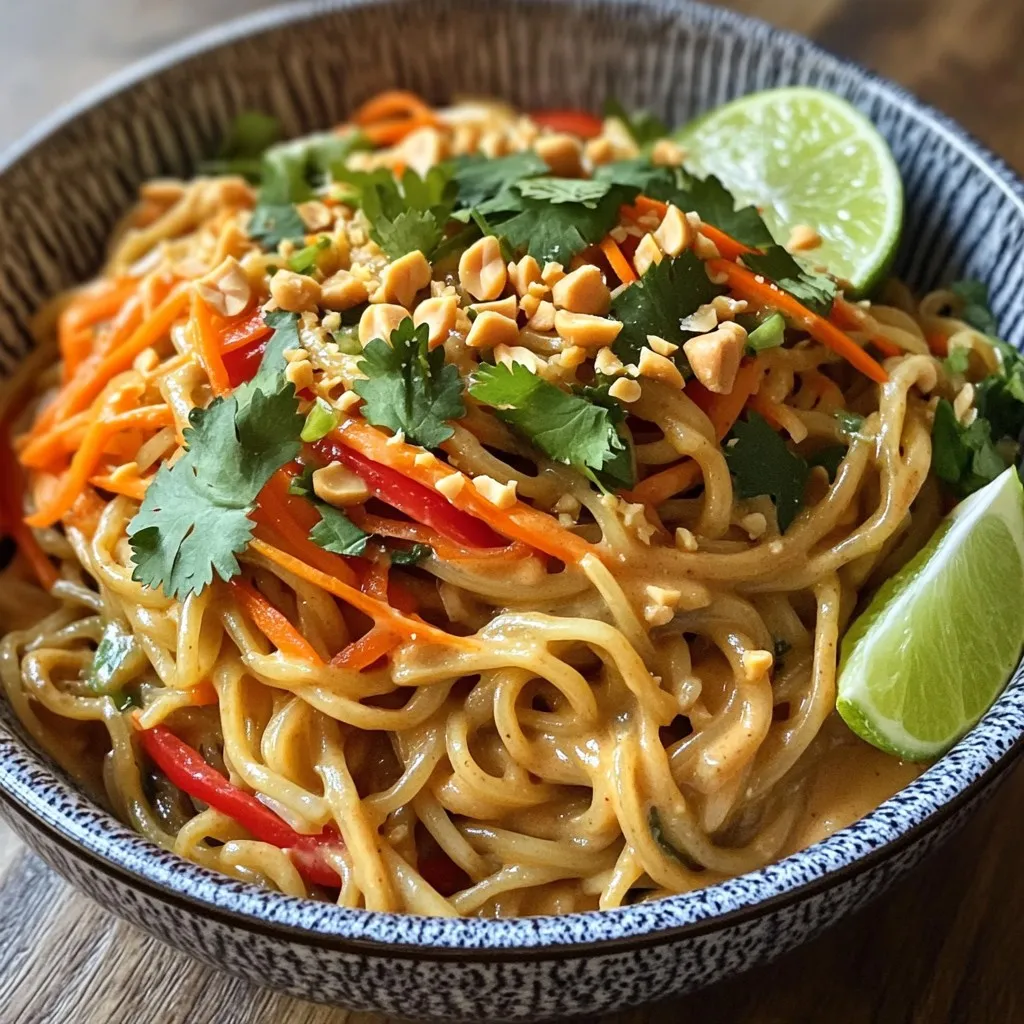
Minute Thai Peanut Noodles Quick and Flavorful Meal
Looking for a quick, tasty dish? Minute Thai Peanut Noodles are your answer! This meal is ready in just minutes, perfect for busy days. With
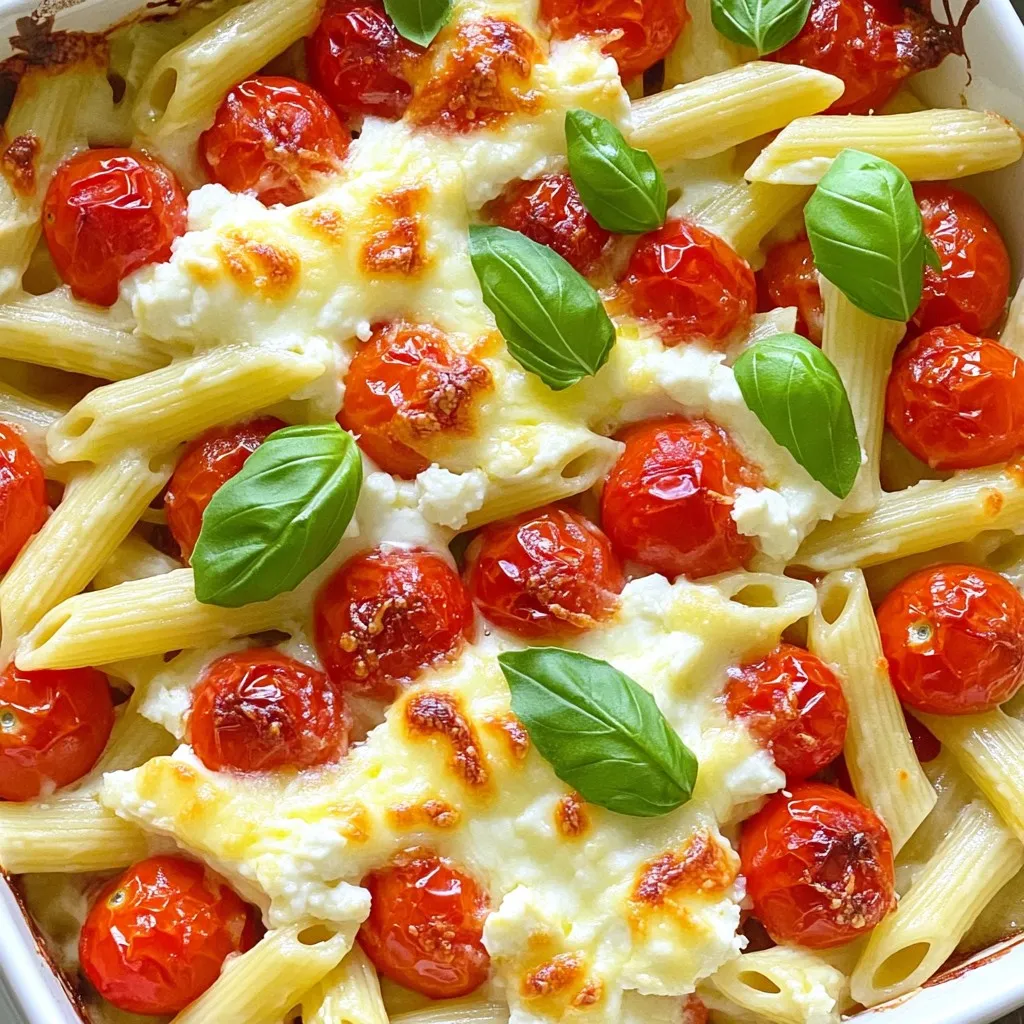
TikTok Feta Tomato Pasta Bake Flavorful and Easy Dish
Have you heard about the TikTok Feta Tomato Pasta Bake? This dish took the internet by storm, and for a good reason! It’s not just