Dinner
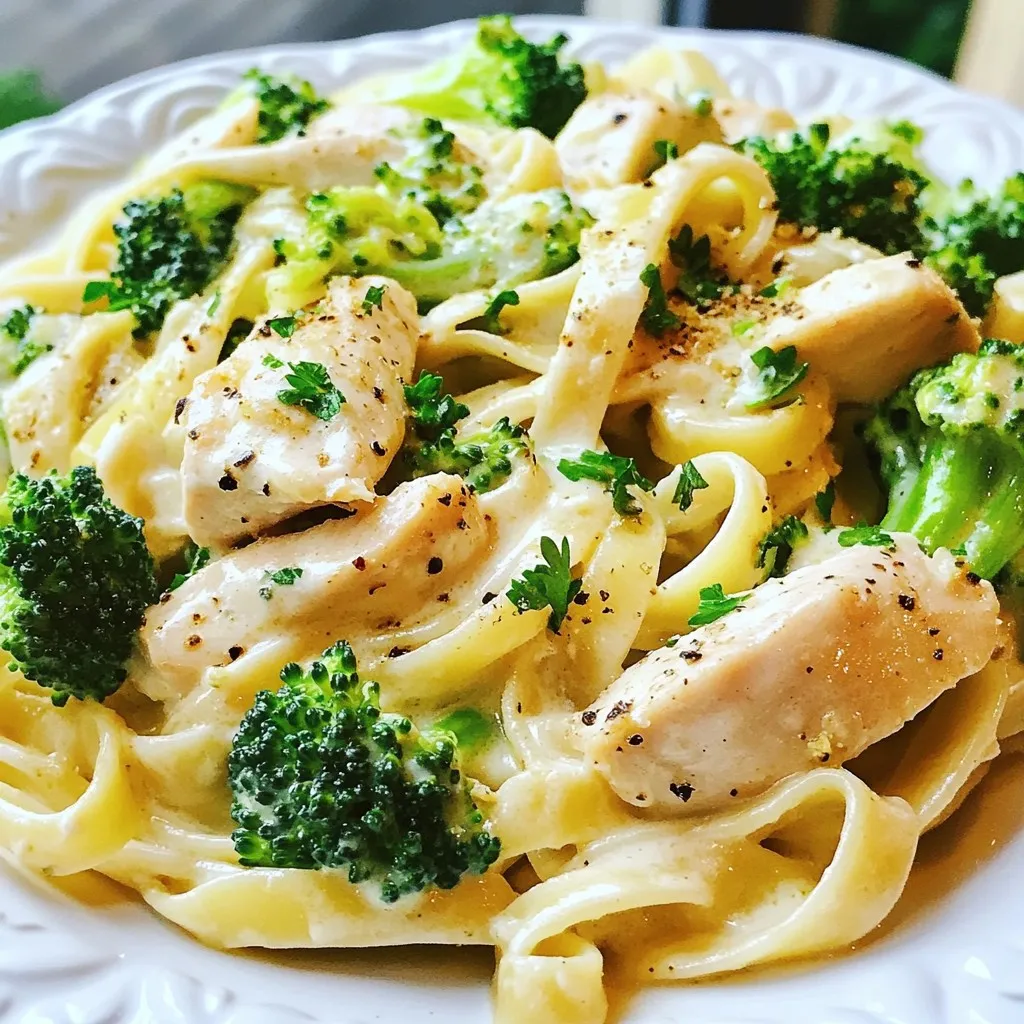
Skinny Chicken Broccoli Alfredo Healthy and Tasty Recipe
Looking for a dish that’s both healthy and delicious? You’ve landed in the right spot! This Skinny Chicken Broccoli Alfredo is packed with flavor while

Viral TikTok Feta Pasta Bake Quick and Tasty Recipe
You may have heard of the Viral TikTok Feta Pasta Bake and wondered what the fuss is all about. This dish blends creamy feta with
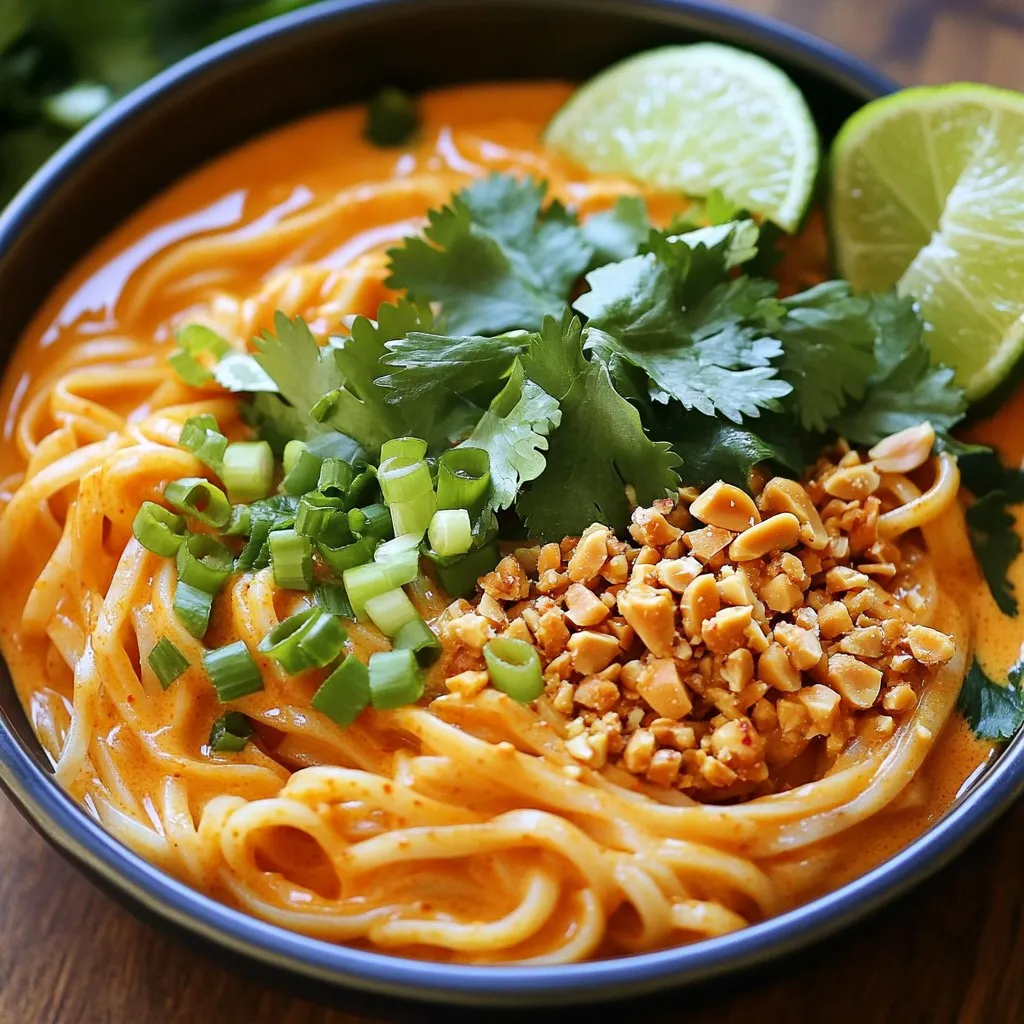
Minute Creamy Gochujang Noodle Bowls Simple Dish
Craving a quick and tasty meal? Dive into the world of Minute Creamy Gochujang Noodle Bowls! This simple dish combines spicy gochujang, rich coconut milk,
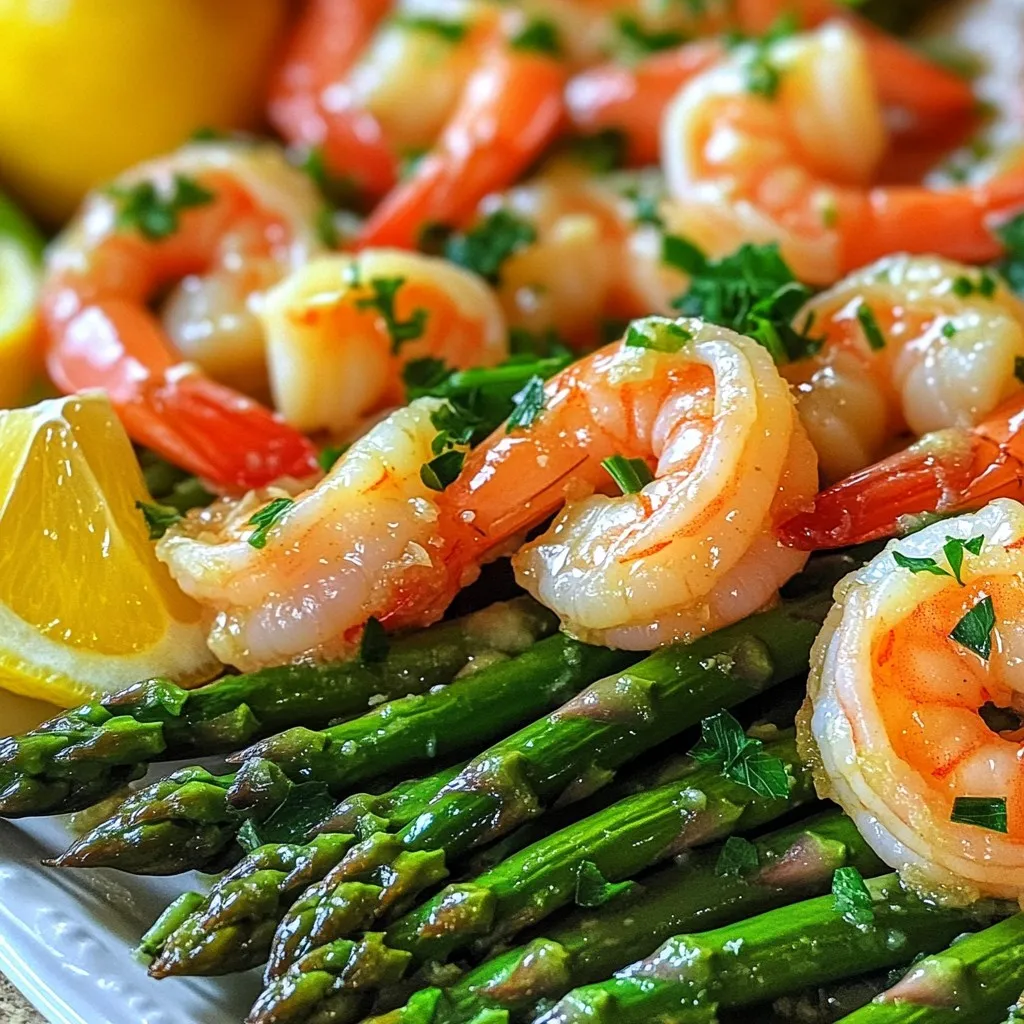
Garlic Butter Shrimp & Asparagus Sheet-Pan Delight
Get ready to savor a delightful meal with my Garlic Butter Shrimp & Asparagus Sheet-Pan recipe! This dish is quick, easy, and bursting with flavor.
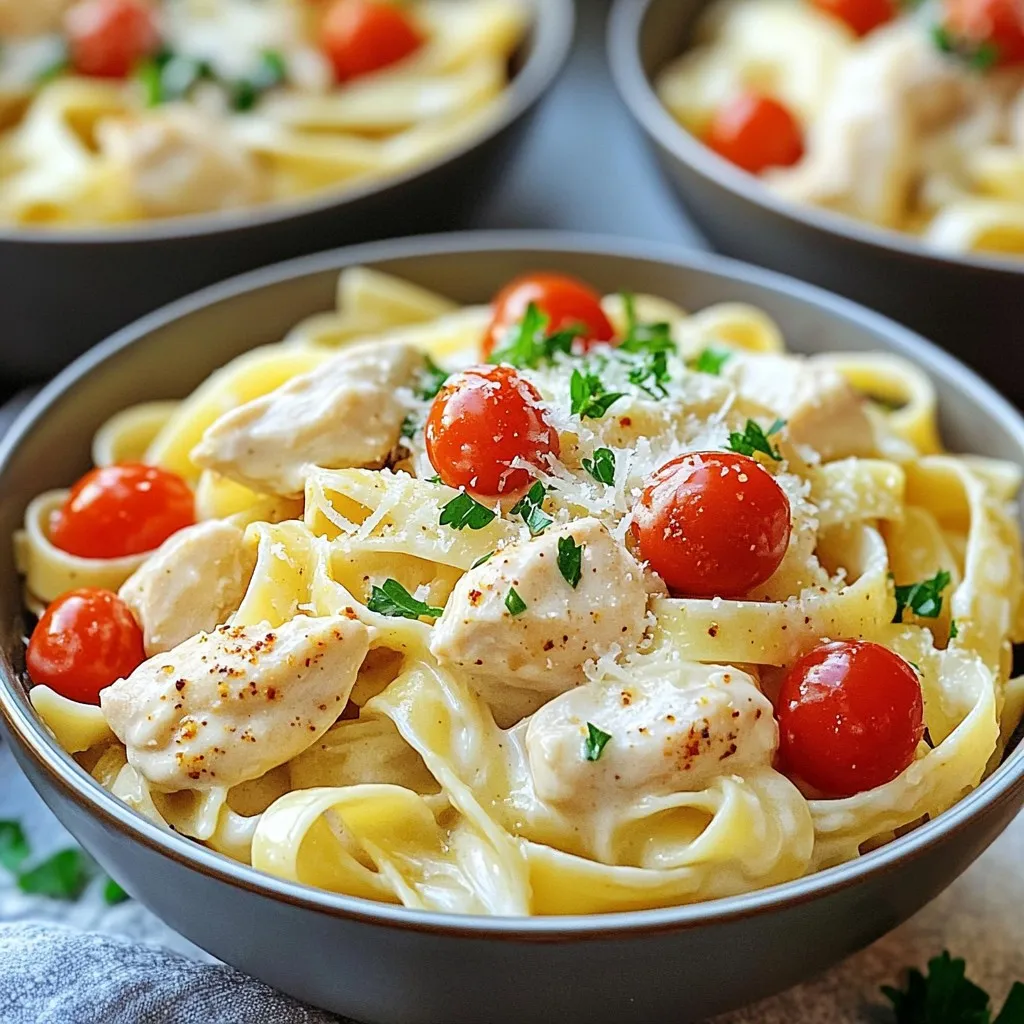
Creamy One-Pot Cajun Chicken Alfredo Delight
Welcome to a flavorful journey with my Creamy One-Pot Cajun Chicken Alfredo Delight! This dish combines rich, creamy sauce with the bold flavors of Cajun

Minute Thai Coconut Curry Ramen Flavorful Comfort Bowl
Are you ready for a tasty twist on ramen? My Minute Thai Coconut Curry Ramen is a warm hug in a bowl. With creamy coconut
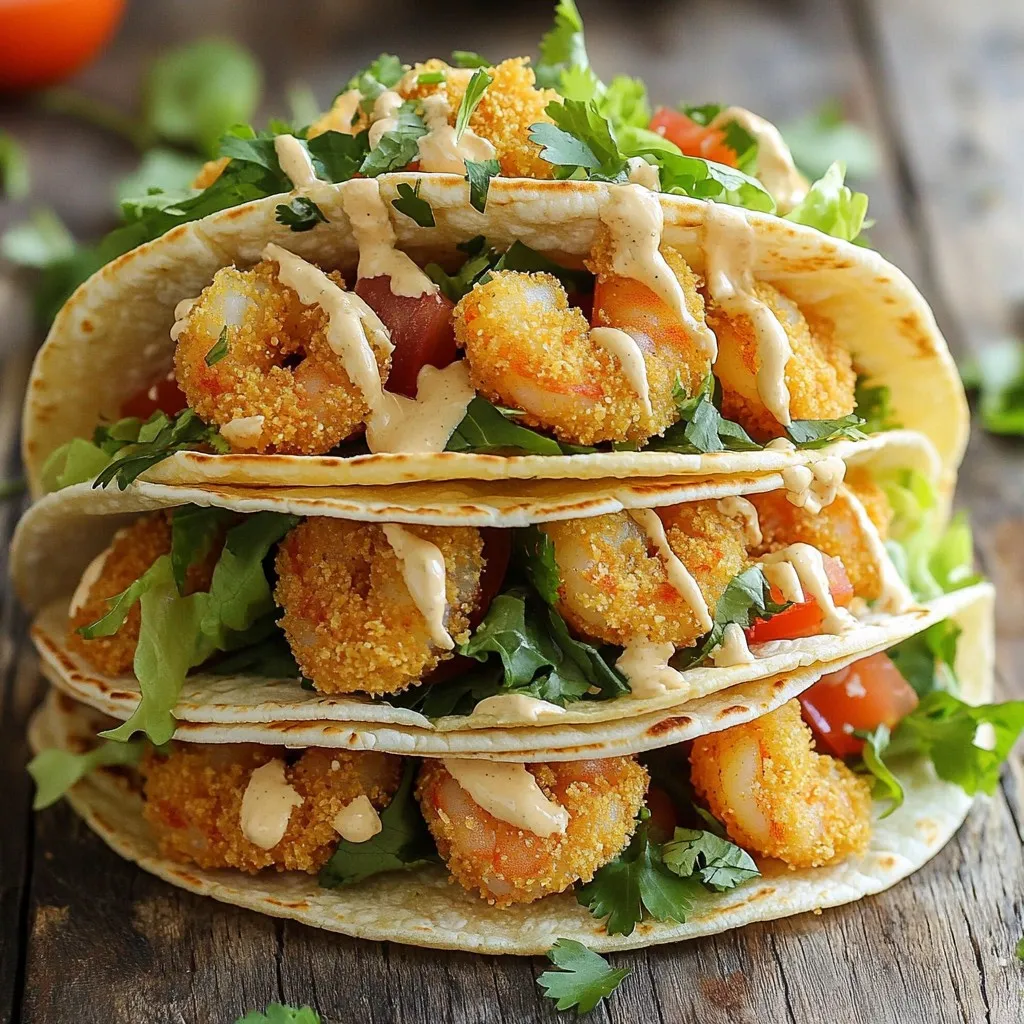
Air Fryer Bang Bang Shrimp Tacos Tasty and Crisp Meal
Get ready to enjoy a restaurant-quality meal at home with Air Fryer Bang Bang Shrimp Tacos! This dish combines crispy, flavorful shrimp with a spicy
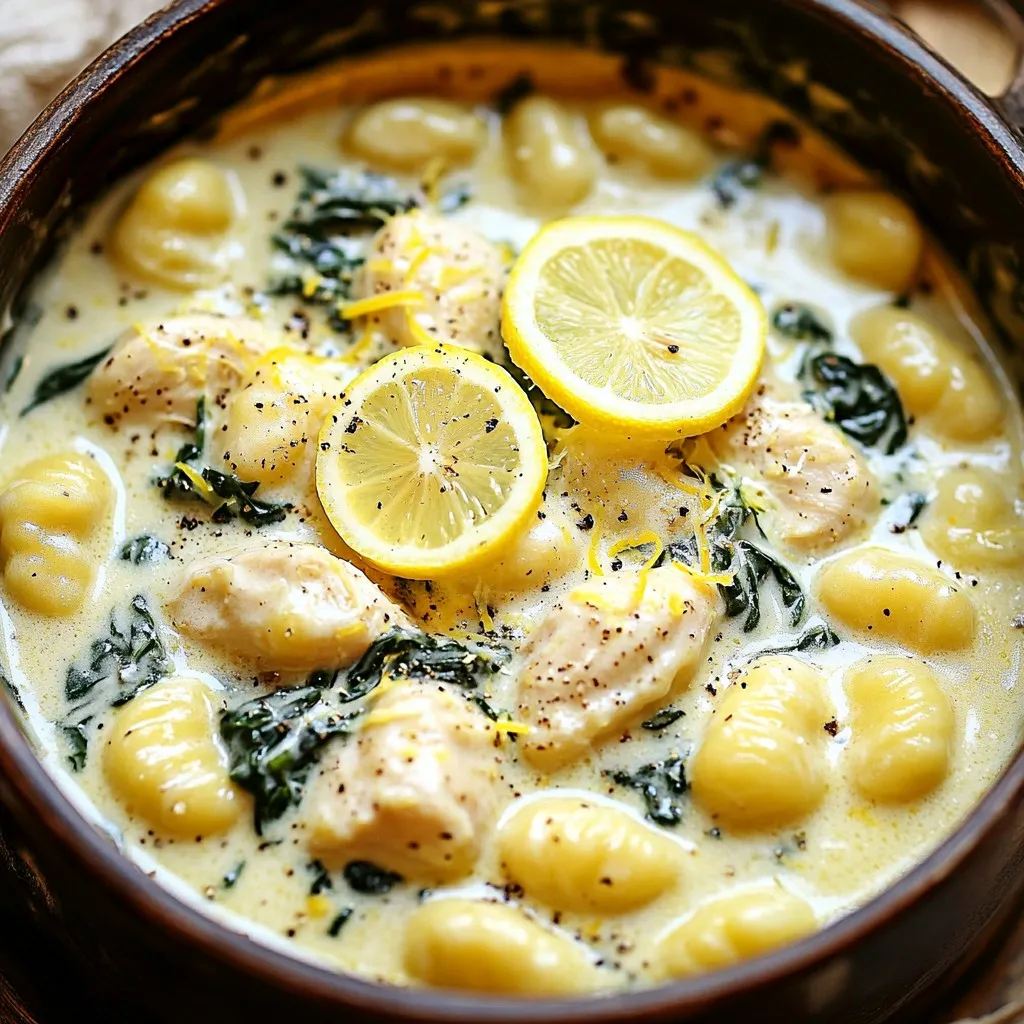
One-Pot Creamy Lemon Chicken Gnocchi Delightful Meal
Are you ready to whip up a delightful meal in just one pot? This creamy lemon chicken gnocchi recipe combines tender chicken, fresh spinach, and
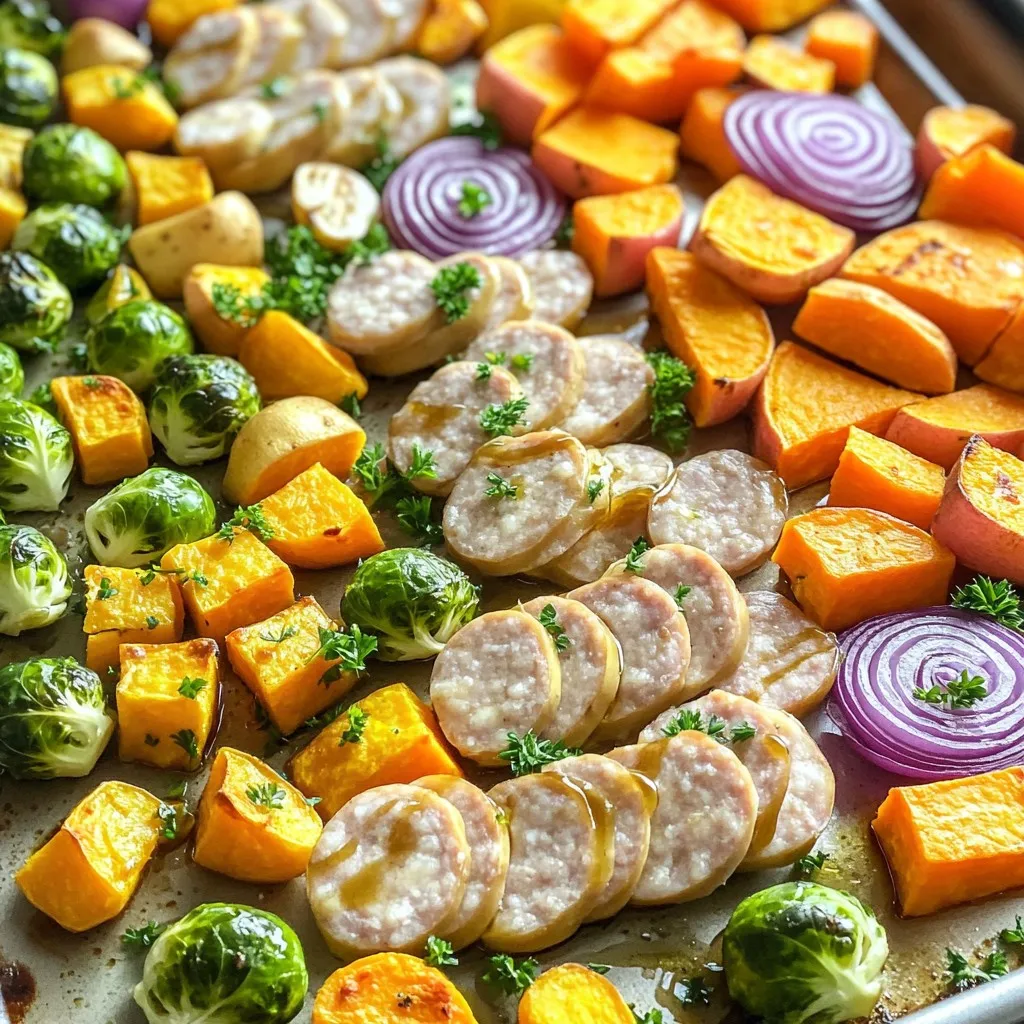
Sheet-Pan Maple Glazed Sausage & Fall Veggies Delight
Get ready to savor every bite of this Sheet-Pan Maple Glazed Sausage & Fall Veggies Delight! This dish brings together juicy sausage and fresh, seasonal
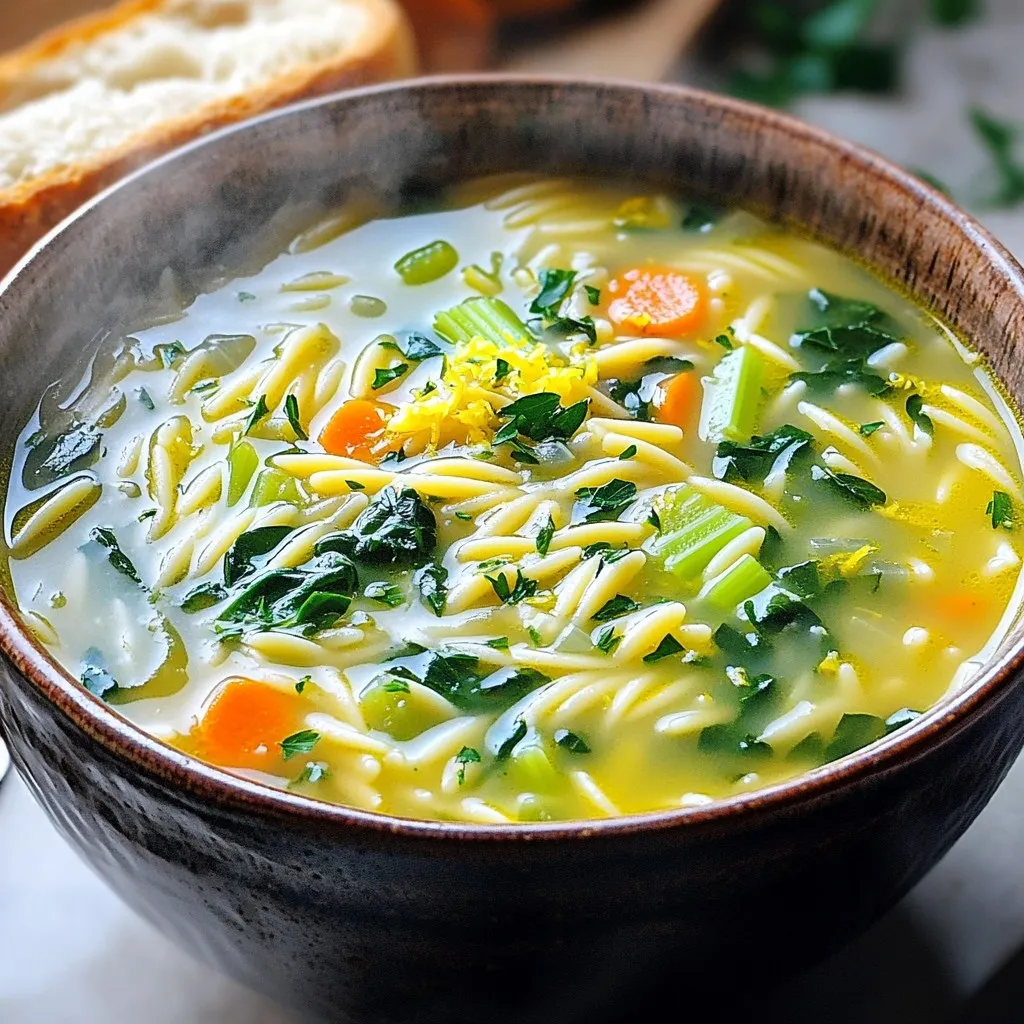
Savory One Pot Lemon Garlic Orzo Soup Recipe
Craving a comforting bowl of soup? You need to try this Savory One Pot Lemon Garlic Orzo Soup! It’s quick to make, uses simple ingredients,