Dinner
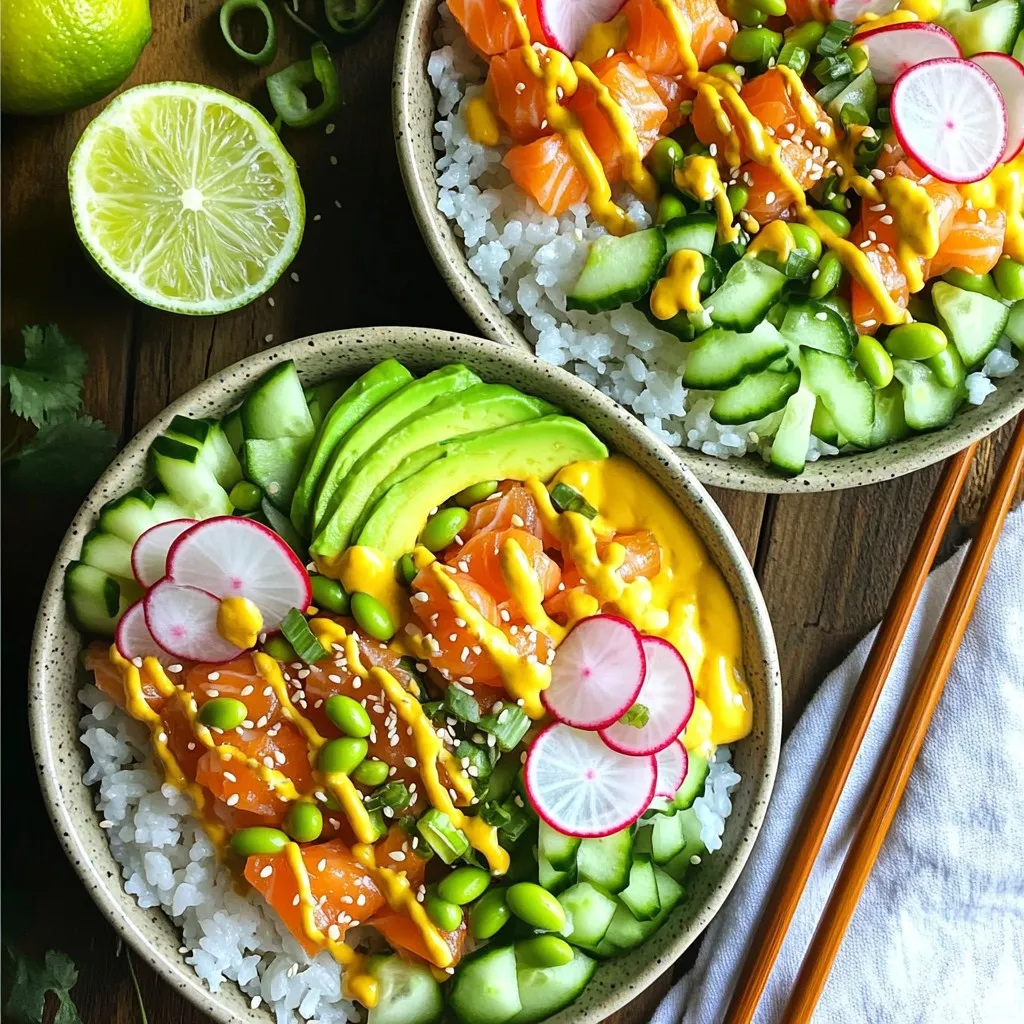
TikTok Salmon Sushi Bowls Fresh and Flavorful Delight
Are you ready to elevate your home cooking? TikTok Salmon Sushi Bowls are not just a trend; they’re a fresh and tasty meal you can
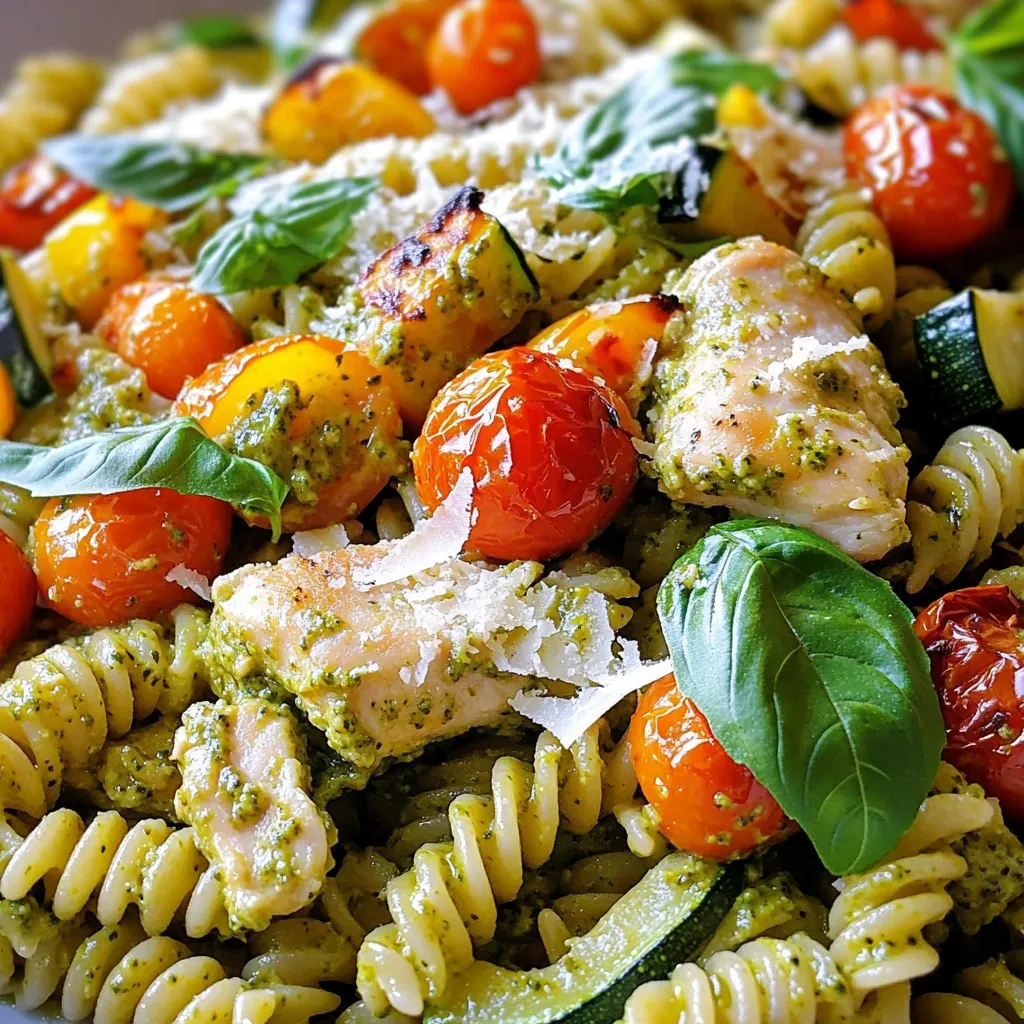
Creamy Pesto Chicken & Roasted Veggie Pasta Recipe
Are you ready to impress your family with a delicious meal? My Creamy Pesto Chicken & Roasted Veggie Pasta is both easy to make and
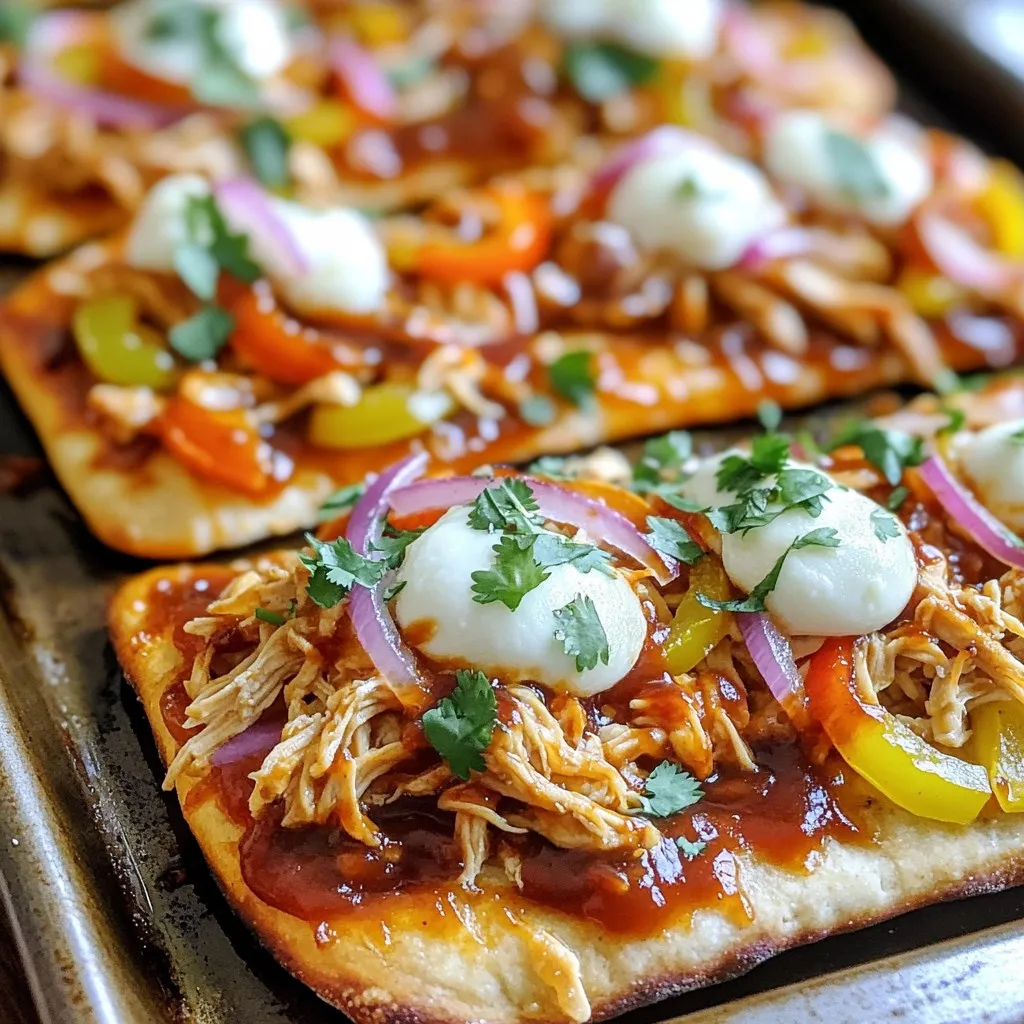
Savory Sheet-Pan BBQ Chicken Flatbreads Recipe
Get ready to satisfy your cravings with my easy Sheet-Pan BBQ Chicken Flatbreads! This recipe is perfect for busy weeknights and uses simple ingredients like
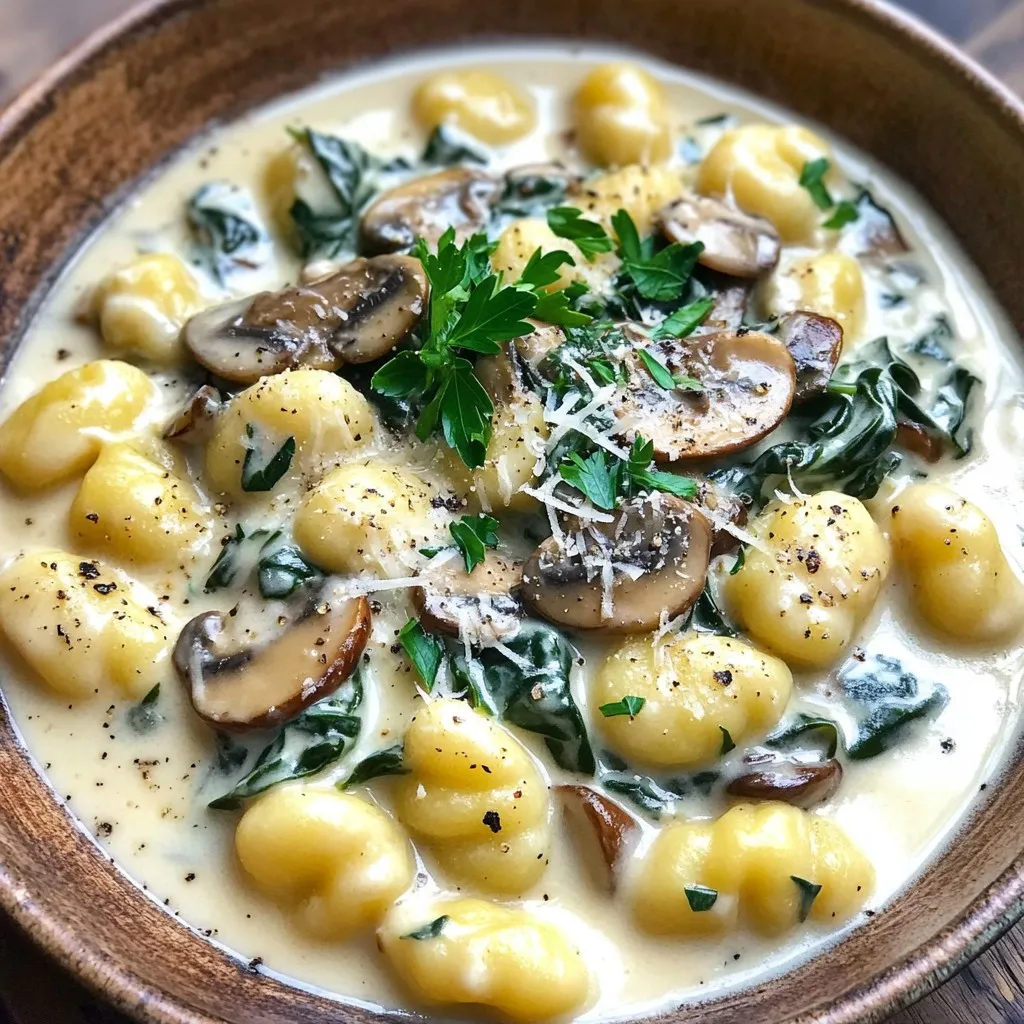
One-Pan Creamy Mushroom Spinach Gnocchi Delight
Are you ready to whip up a comforting meal in just one pan? In this post, I’ll share my easy recipe for One-Pan Creamy Mushroom
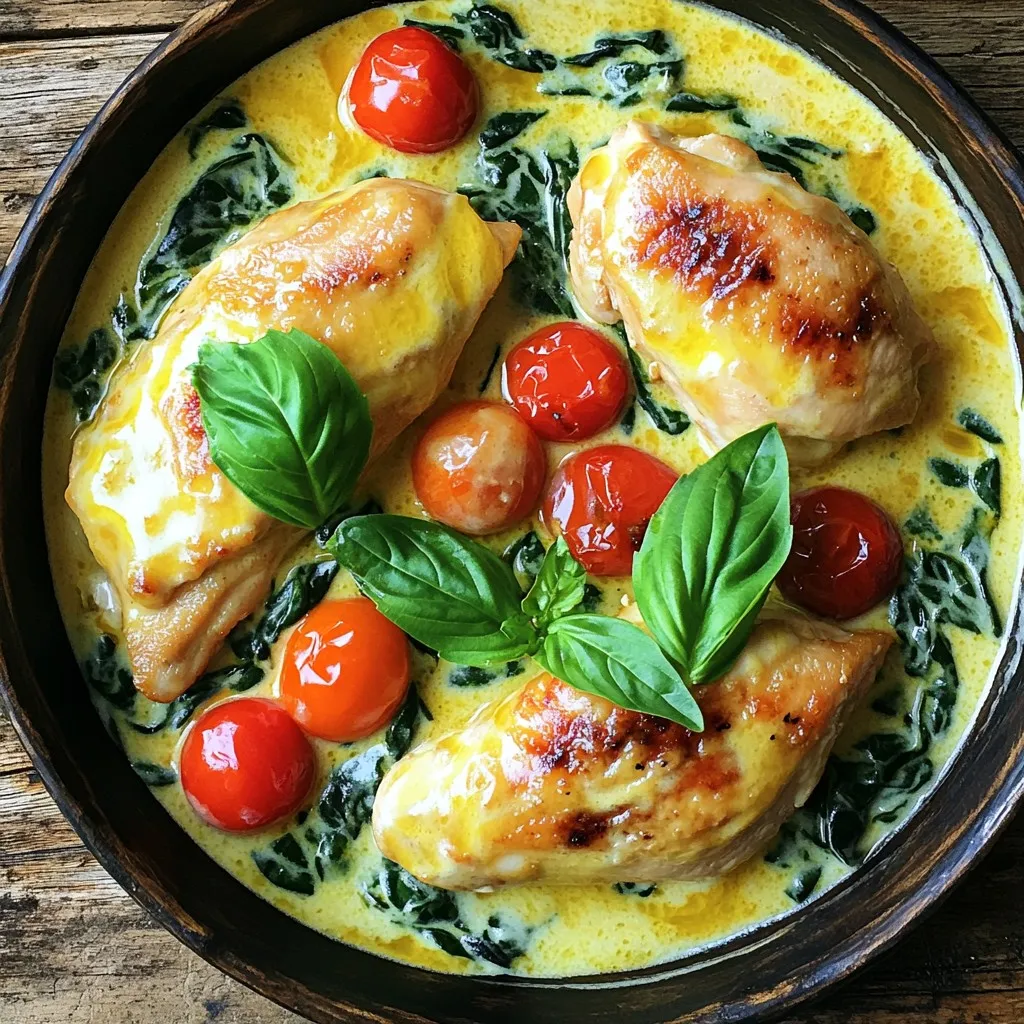
Instant Pot Creamy Tuscan Chicken Flavorful Delight
Get ready to savor a dish that combines rich flavors and creamy goodness! My Instant Pot Creamy Tuscan Chicken is not just easy to make;
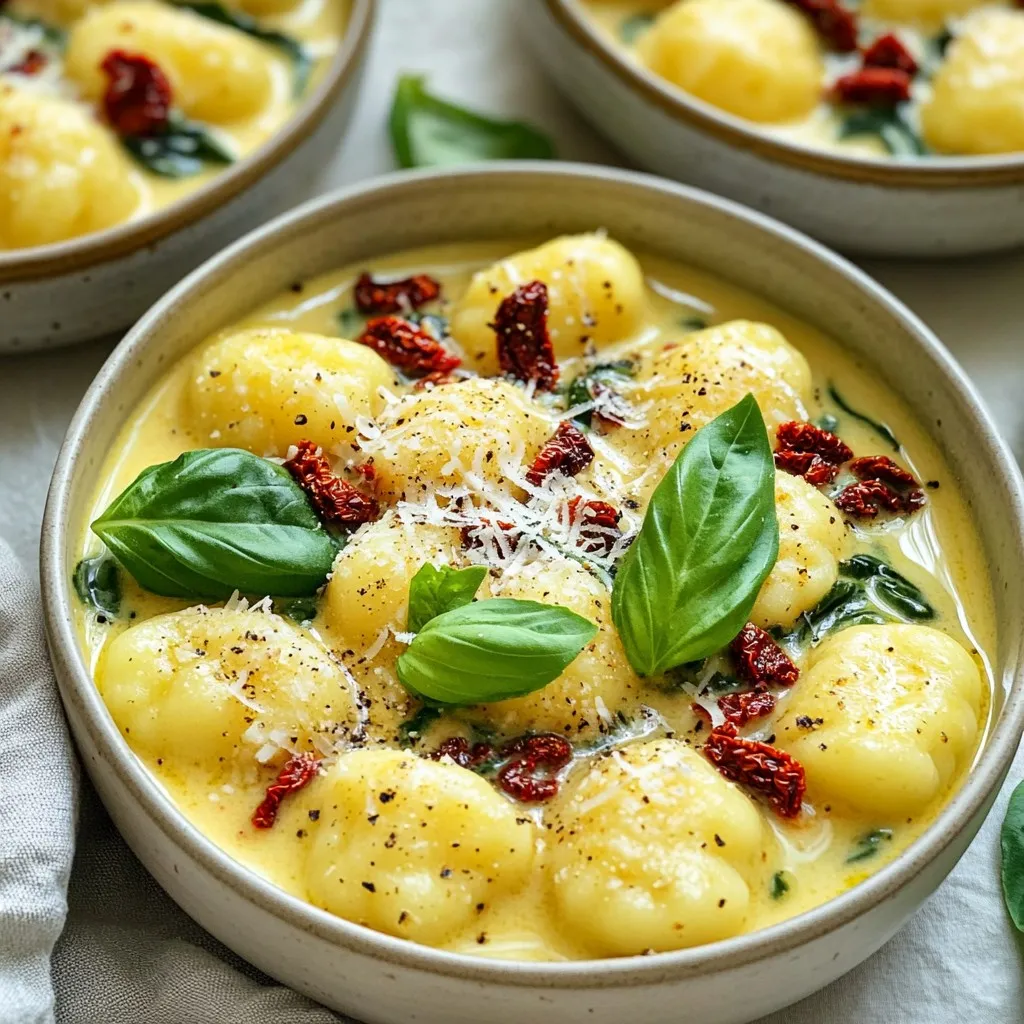
One-Pot Creamy Sun-Dried Tomato Gnocchi Delight
Are you ready to impress your family with a delicious meal that’s easy to make? In this blog post, I’ll share my simple recipe for
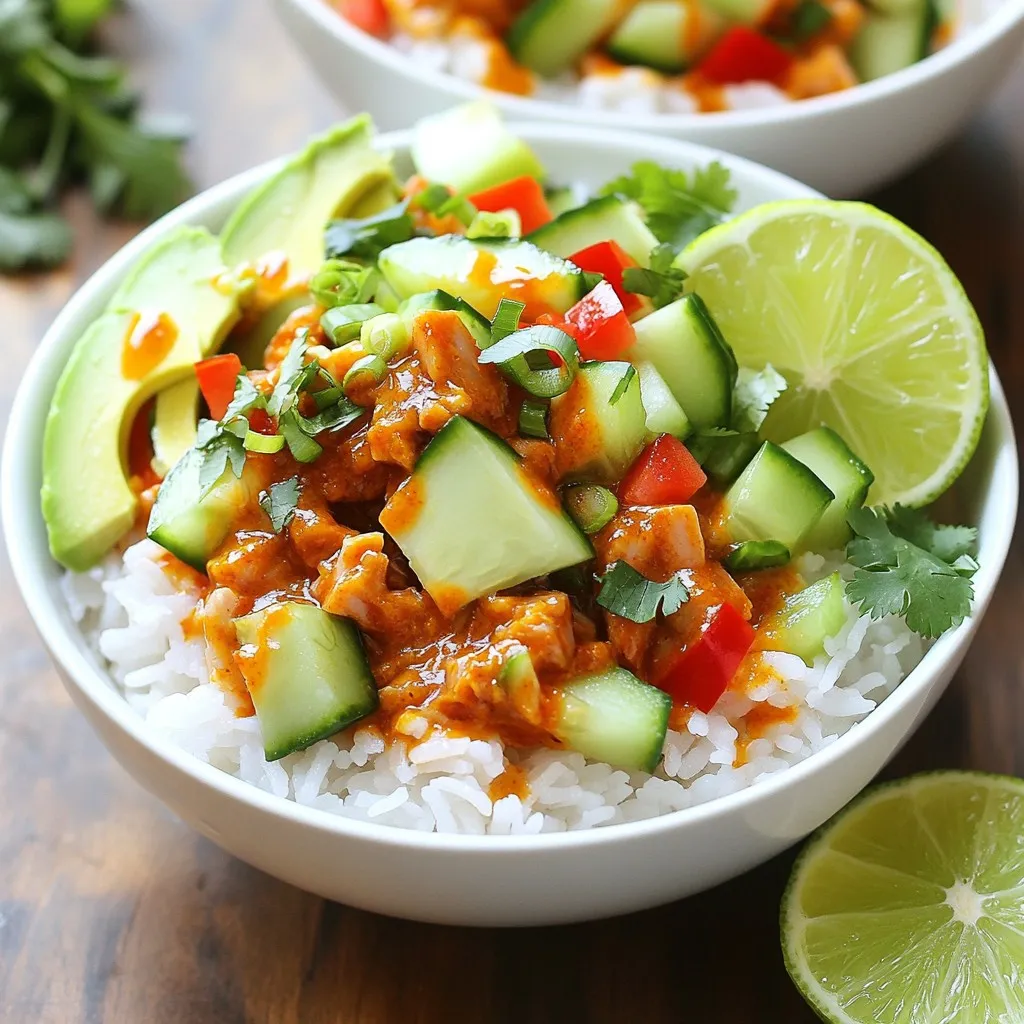
Minute Chili Lime Tuna Rice Bowls Flavorful and Easy
Are you craving a quick, flavorful meal? Look no further than my Minute Chili Lime Tuna Rice Bowls! This easy dish combines zesty flavors with
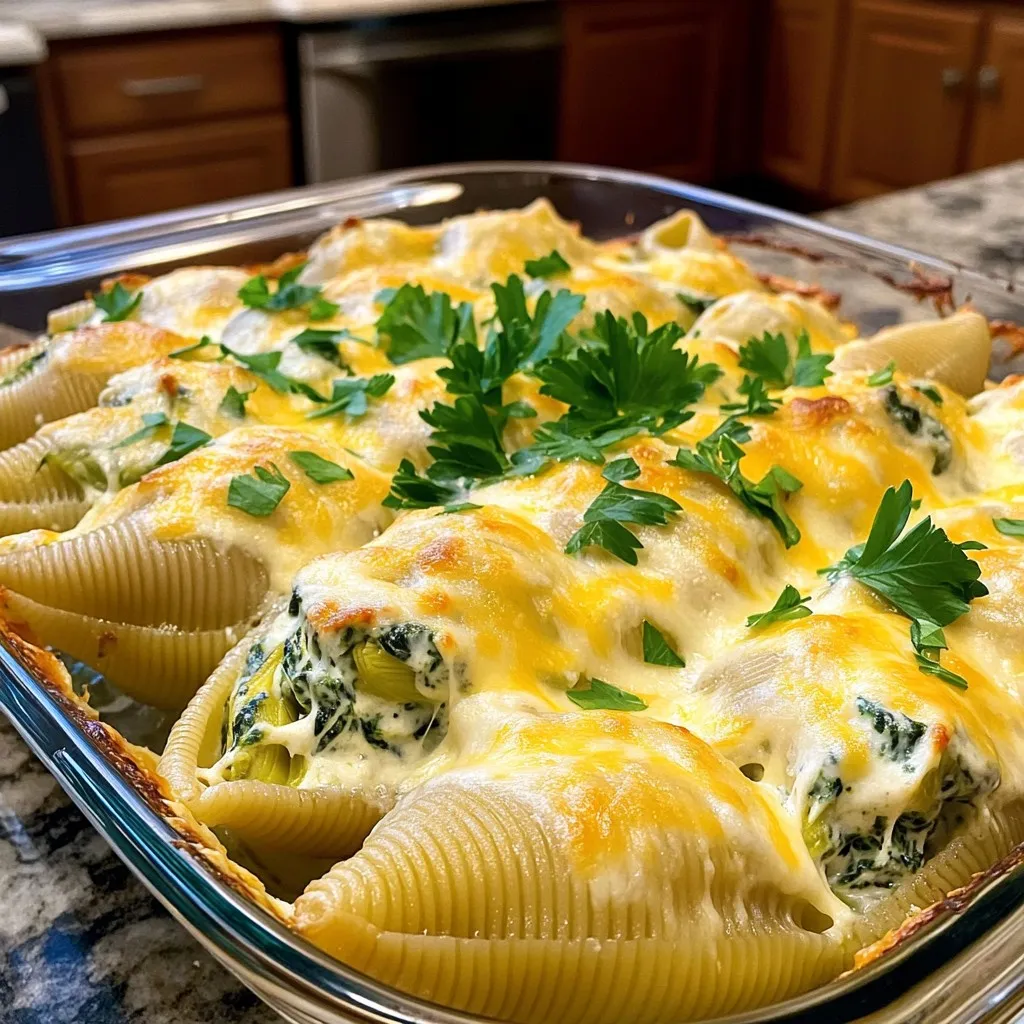
Creamy Spinach Artichoke Stuffed Shells Flavor Boost
Get ready to dive into a dish that’s a crowd-pleaser! Creamy Spinach Artichoke Stuffed Shells bring a burst of flavor to your table. I’ll guide
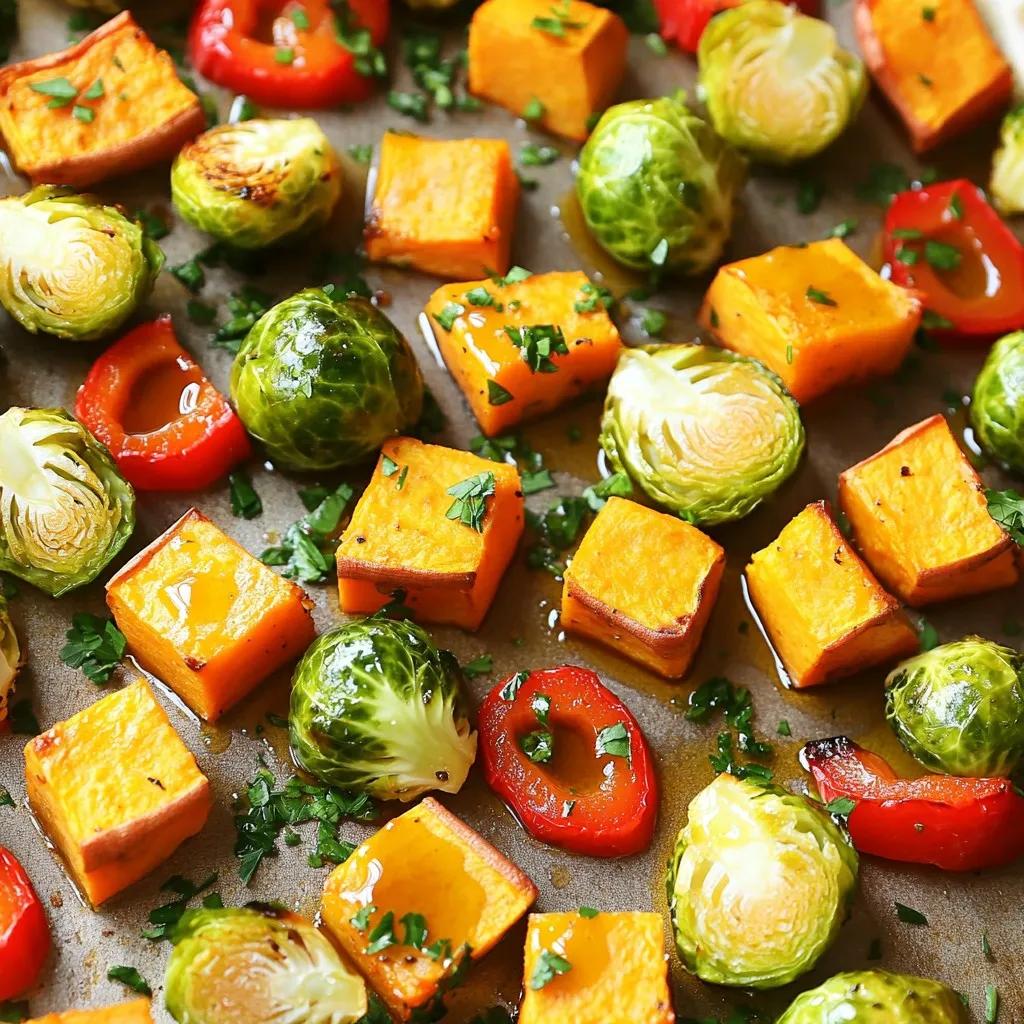
Sheet Pan Roasted Fall Veggies Flavorful and Simple
Autumn brings a bounty of fresh veggies just waiting to be roasted! In this guide, I’ll show you how to make flavorful and simple sheet
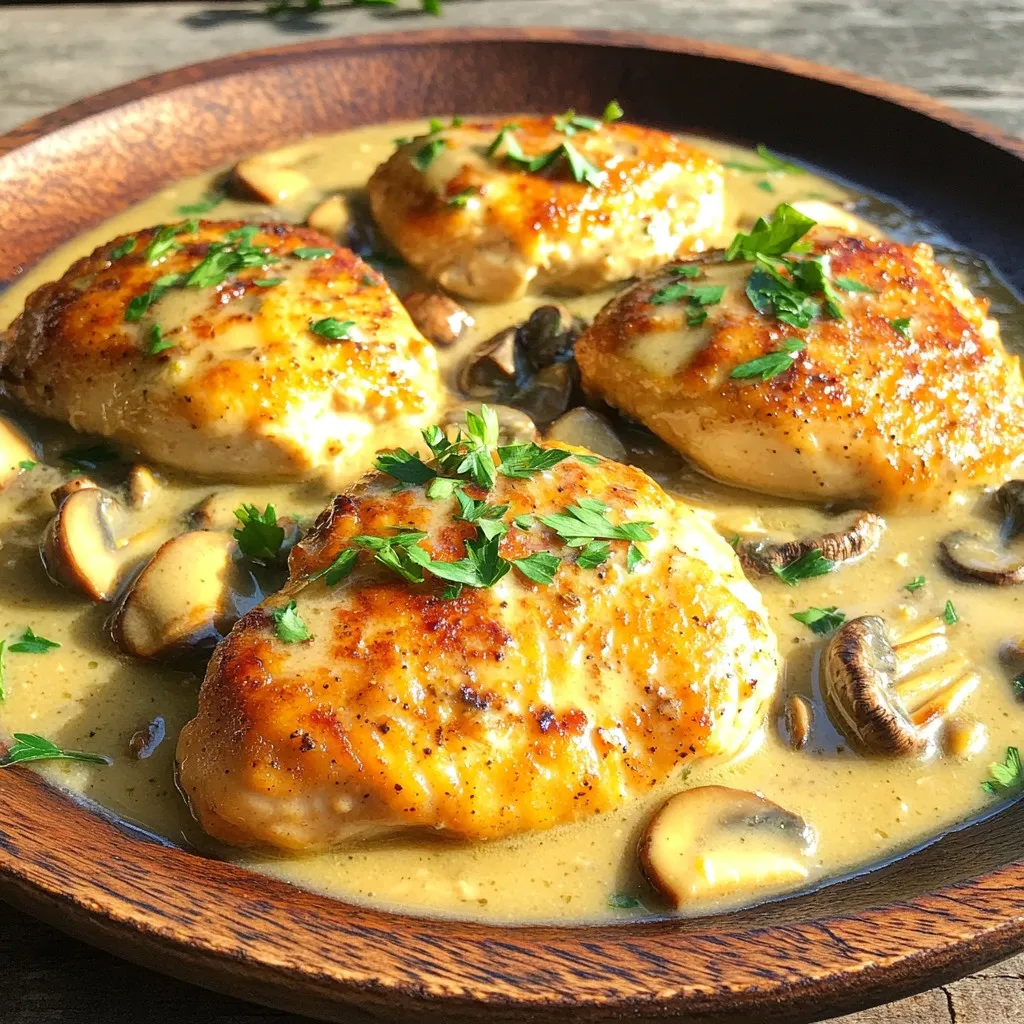
One-Pan Creamy Garlic Mushroom Chicken Cutlets Delight
Welcome to a dish that’s simple yet packed with flavor: One-Pan Creamy Garlic Mushroom Chicken Cutlets! In just one skillet, you’ll create tender chicken cutlets