Dinner
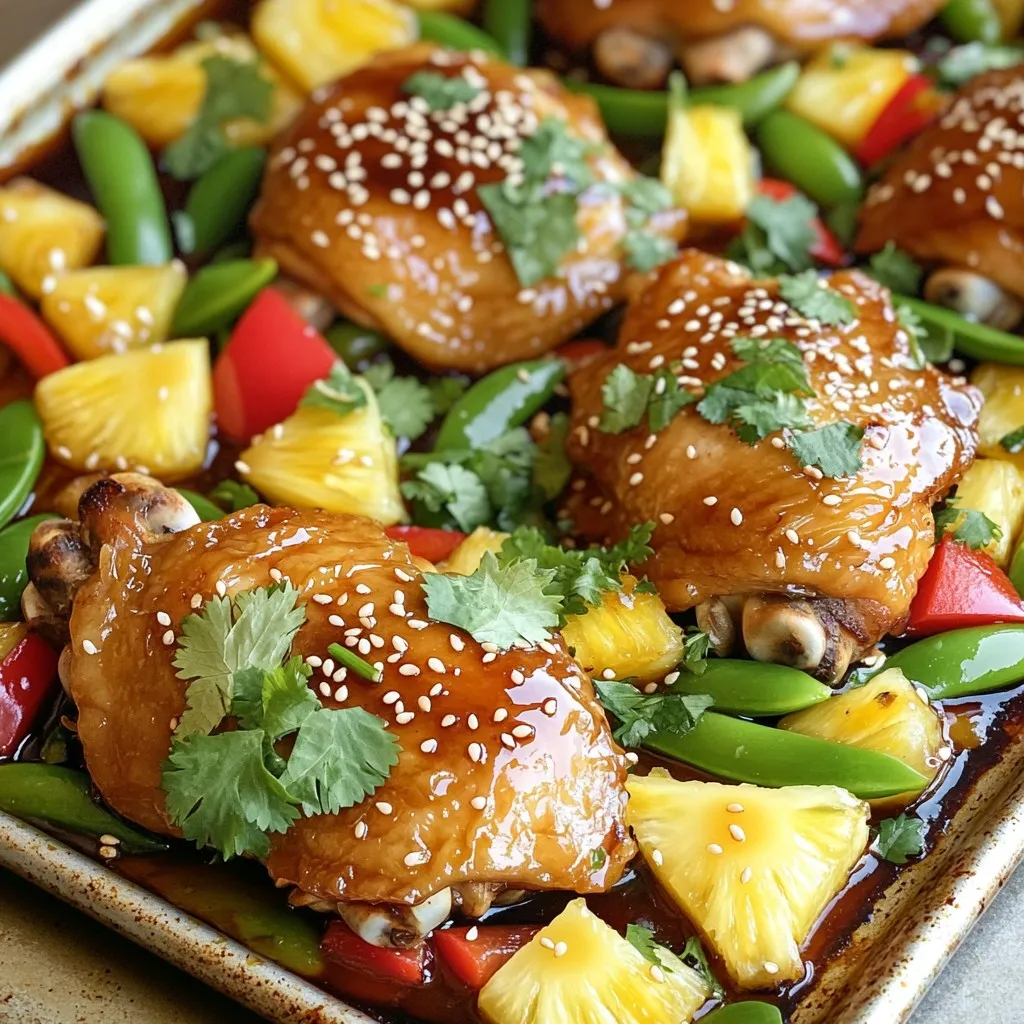
Sheet-Pan Teriyaki Pineapple Chicken Fresh Flavor Meal
Are you ready for a fresh and tasty meal that’s easy to make? My Sheet-Pan Teriyaki Pineapple Chicken is the perfect weeknight dinner. This dish

One-Pot Thai Coconut Curry Noodles Simple and Fast Dish
If you’re craving a tasty, quick meal that warms your soul, I’ve got just the dish for you! My One-Pot Thai Coconut Curry Noodles are
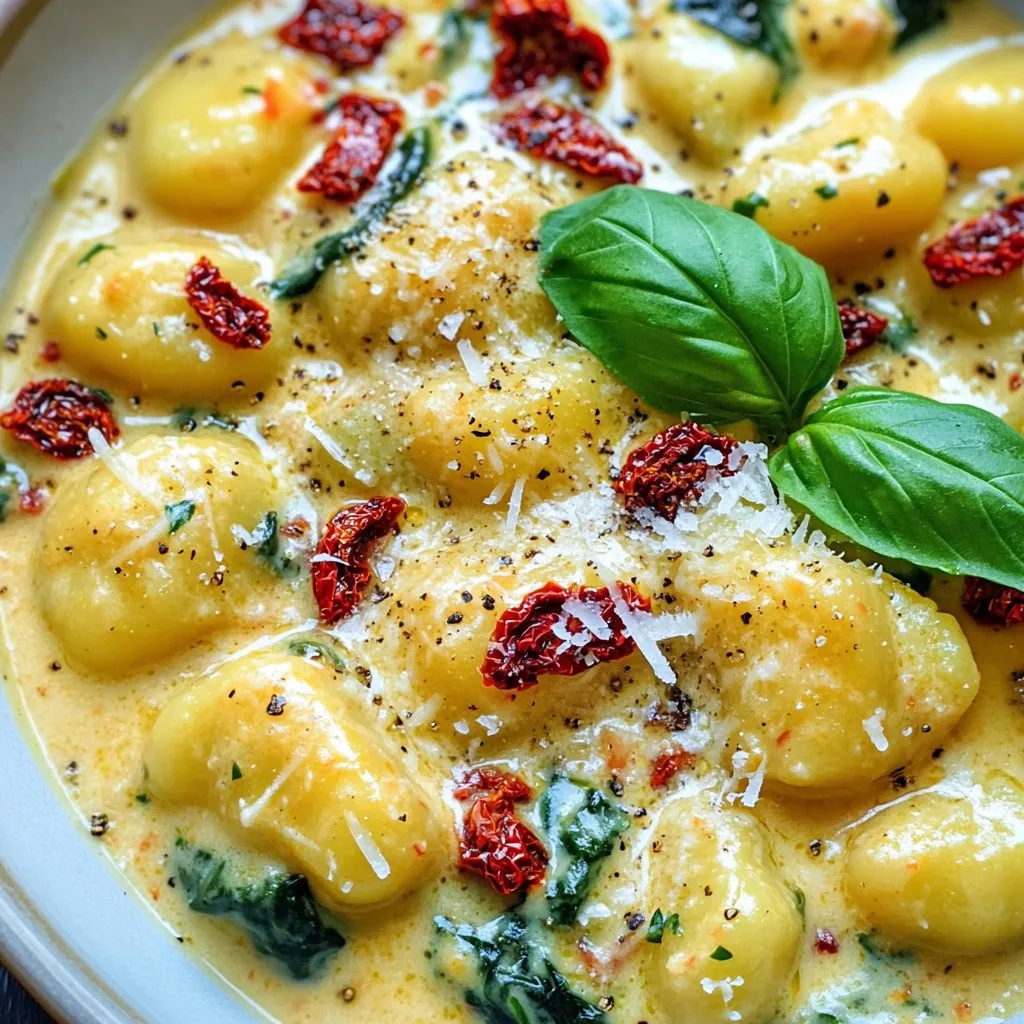
Minute Creamy Sun-Dried Tomato Gnocchi Delight
If you’re in the mood for a quick, tasty meal, I have you covered! My Minute Creamy Sun-Dried Tomato Gnocchi is easy and packed with
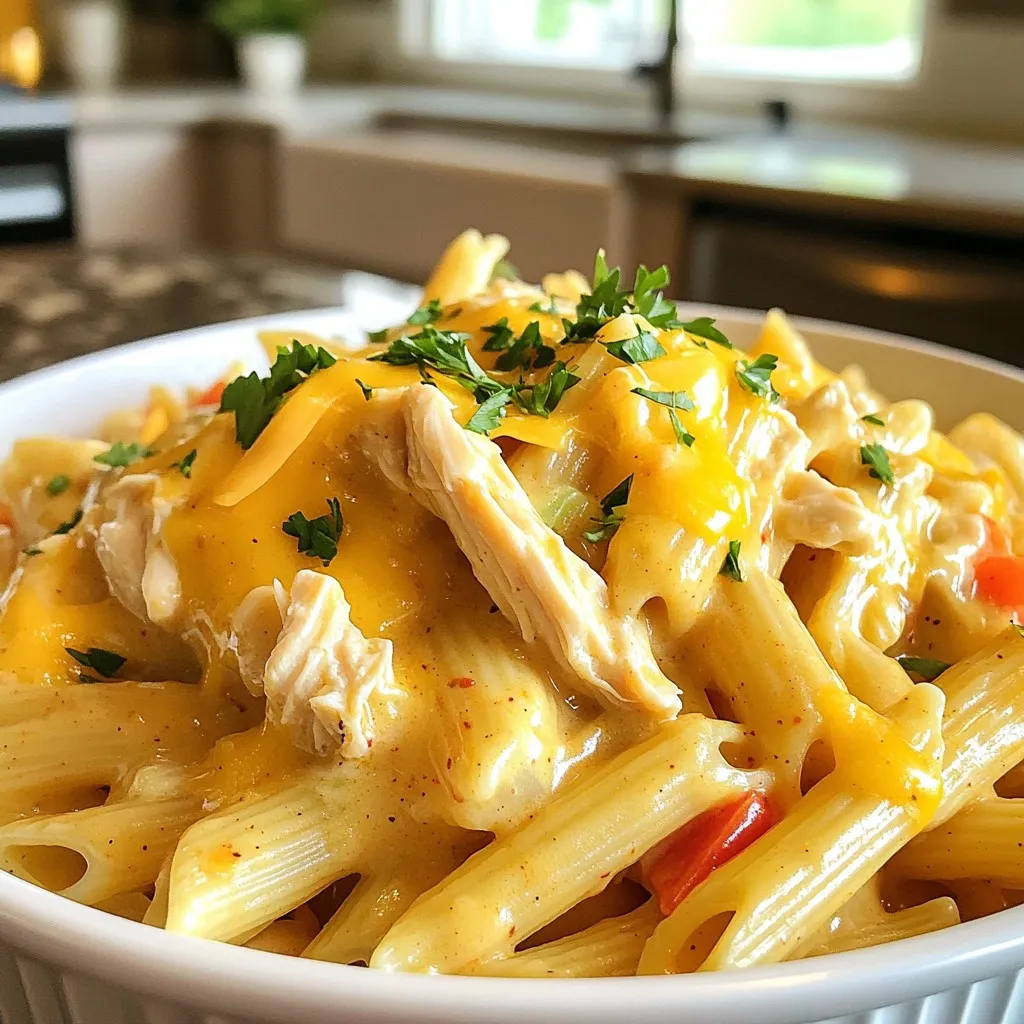
Slow Cooker Creamy Cajun Chicken Pasta Delight
Welcome to your new favorite meal: Slow Cooker Creamy Cajun Chicken Pasta Delight! This dish brings a burst of flavor and creaminess to your dinner

Lemon Pepper Salmon & Green Beans Sheet Pan Delight
Are you ready for a quick and tasty meal? My Lemon Pepper Salmon & Green Beans Sheet Pan Delight is the answer! This dish combines

One-Pan Honey BBQ Chicken & Rice Simple Delight
Are you looking for a quick and delicious meal? Let me introduce you to my One-Pan Honey BBQ Chicken & Rice! This recipe is simple,
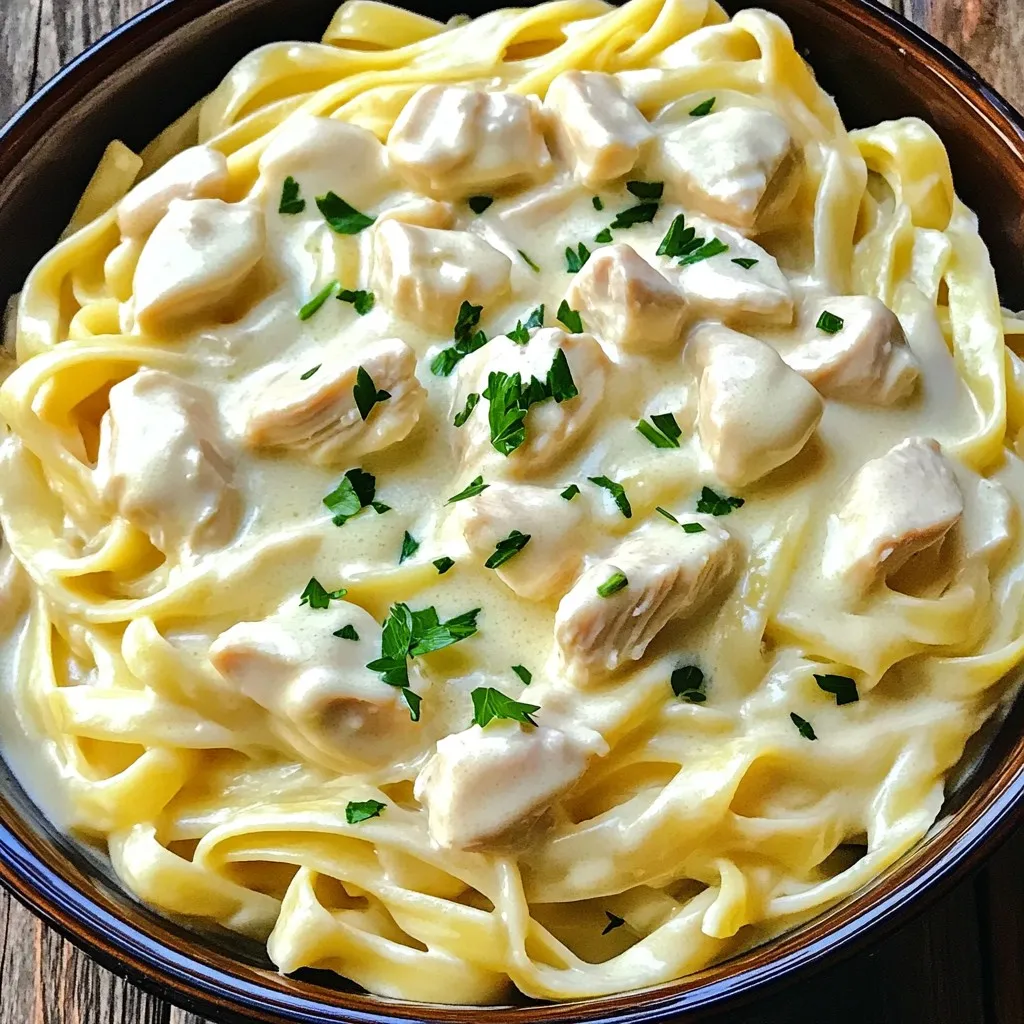
Instant Pot Creamy Chicken Alfredo Simple Dinner Recipe
Looking for a quick and creamy dinner idea? You’ve stumbled upon the perfect recipe! My Instant Pot Creamy Chicken Alfredo is not just simple; it’s
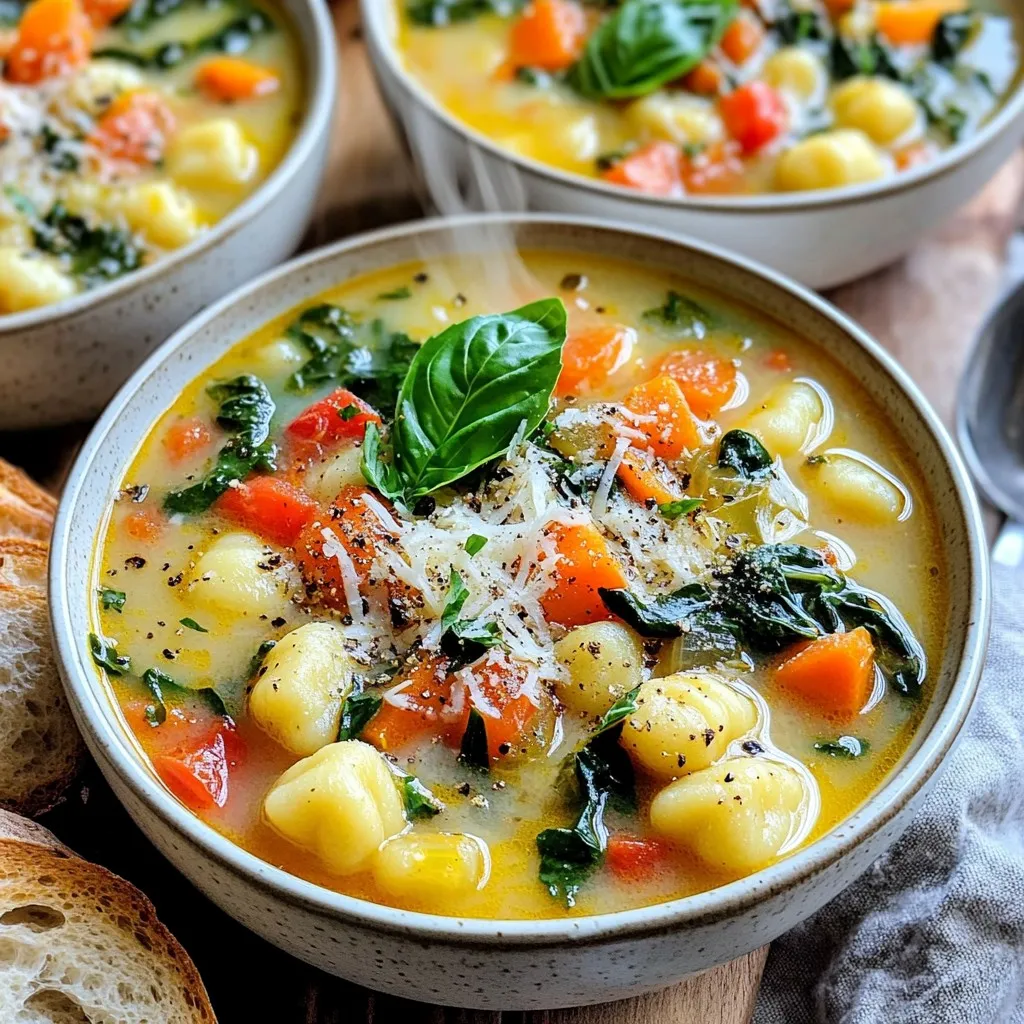
Slow Cooker Tuscan Gnocchi Soup Flavorful and Easy Dish
Looking for a warm, comforting dish that’s simple to make? I’ve got you covered with my Slow Cooker Tuscan Gnocchi Soup. This tasty soup is
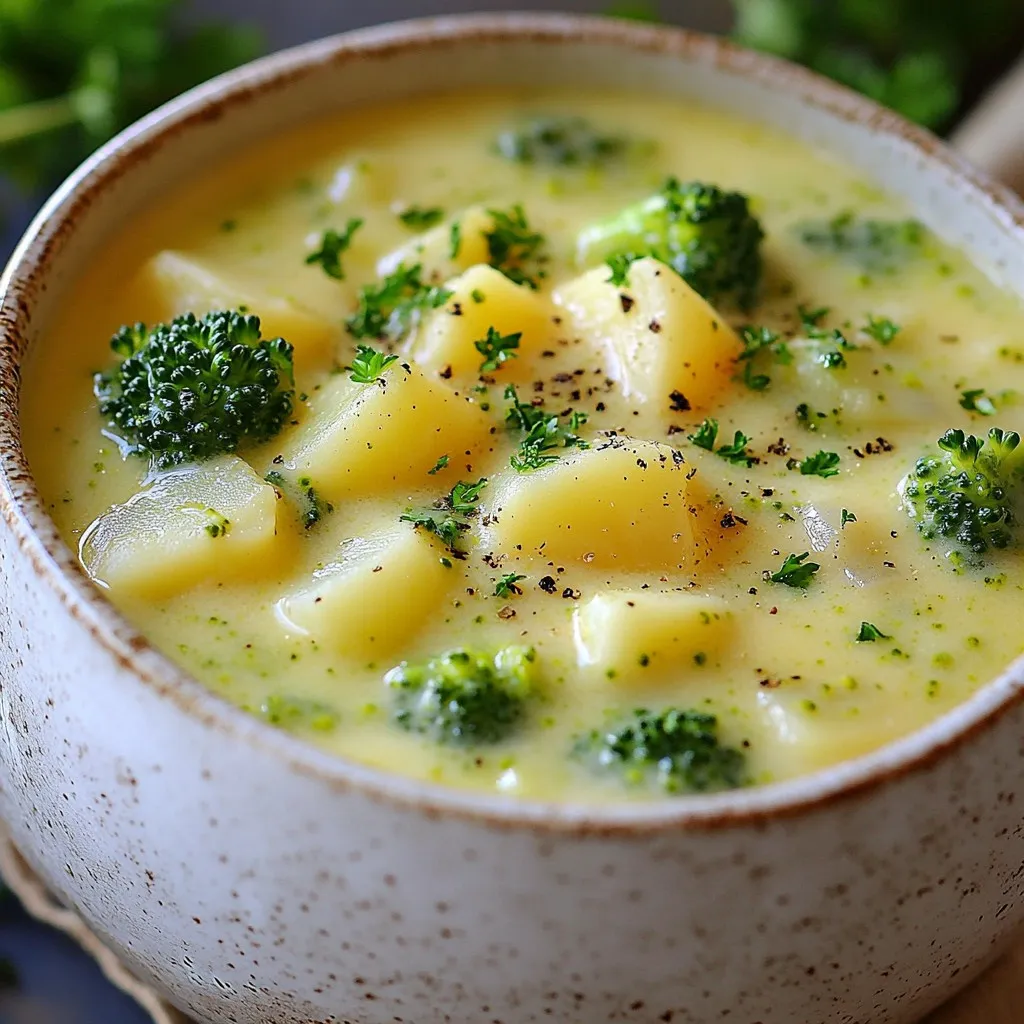
Broccoli Potato Cheese Soup Creamy and Comforting Dish
Cozy up with a bowl of Broccoli Potato Cheese Soup, where comfort meets creamy goodness. This dish is packed with wholesome broccoli, tender potatoes, and
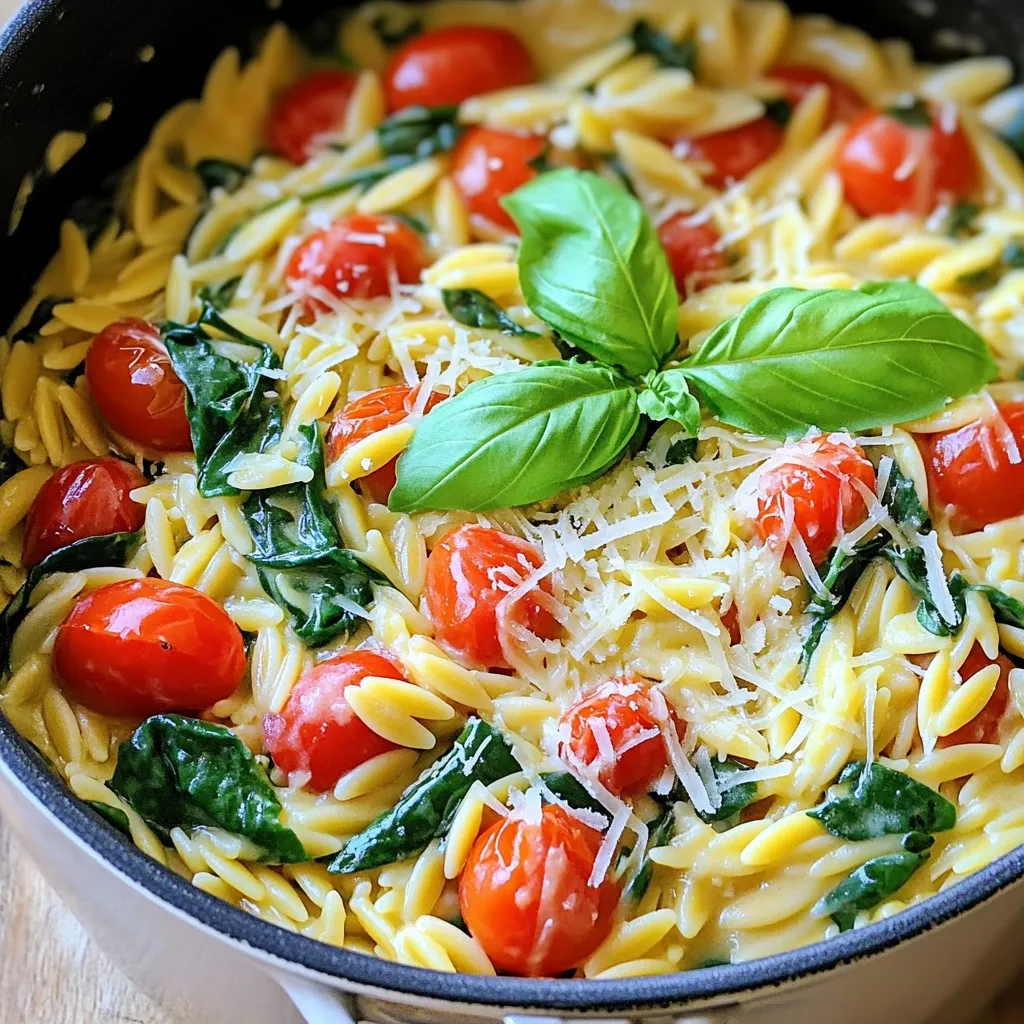
One-Pot Creamy Tuscan Orzo Easy and Delicious Meal
Are you ready to impress your taste buds with a delightful dish? One-Pot Creamy Tuscan Orzo is not just easy; it’s a meal that bursts