Dinner
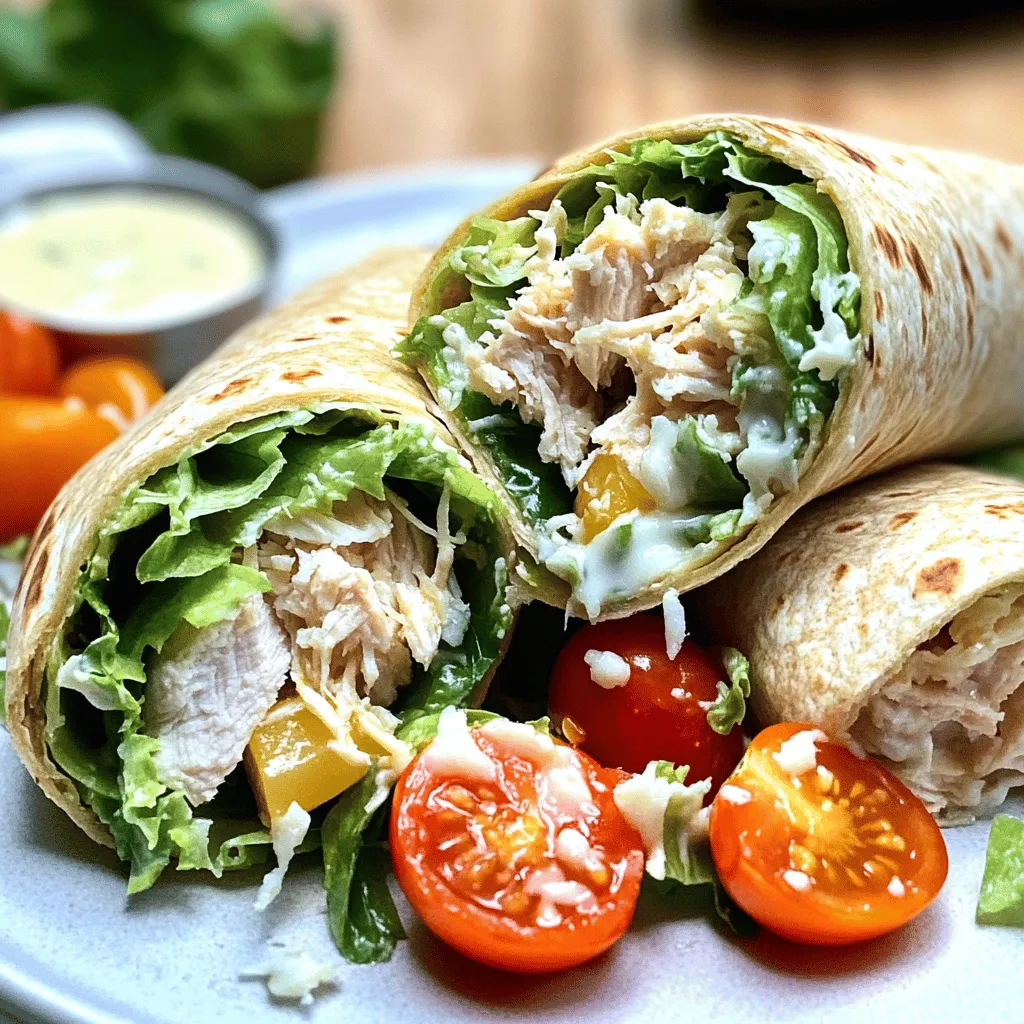
Chicken Caesar Wrap Flavorful and Simple Recipe
Are you ready to dive into a delicious Chicken Caesar Wrap that’s both tasty and easy? This simple recipe packs flavor and nutrition, making it
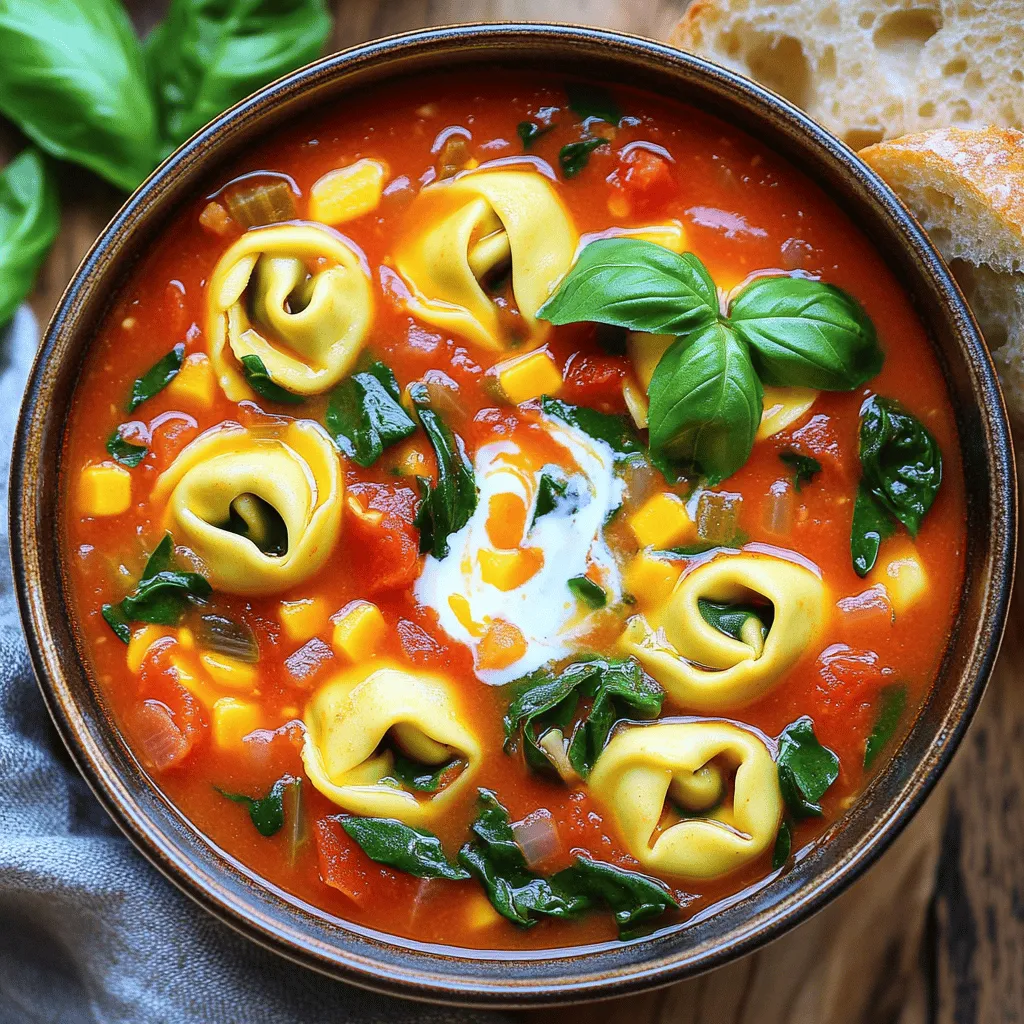
Tomato Tortellini Soup Flavorful and Comforting Meal
Looking for a meal that warms your heart and fills your belly? Tomato Tortellini Soup is just what you need! This soup blends fresh veggies,

Potato Gratin Savory and Comforting Family Dish
If you’re looking for a dish that captures the essence of comfort food, potato gratin is it. This creamy, cheesy delight is perfect for family
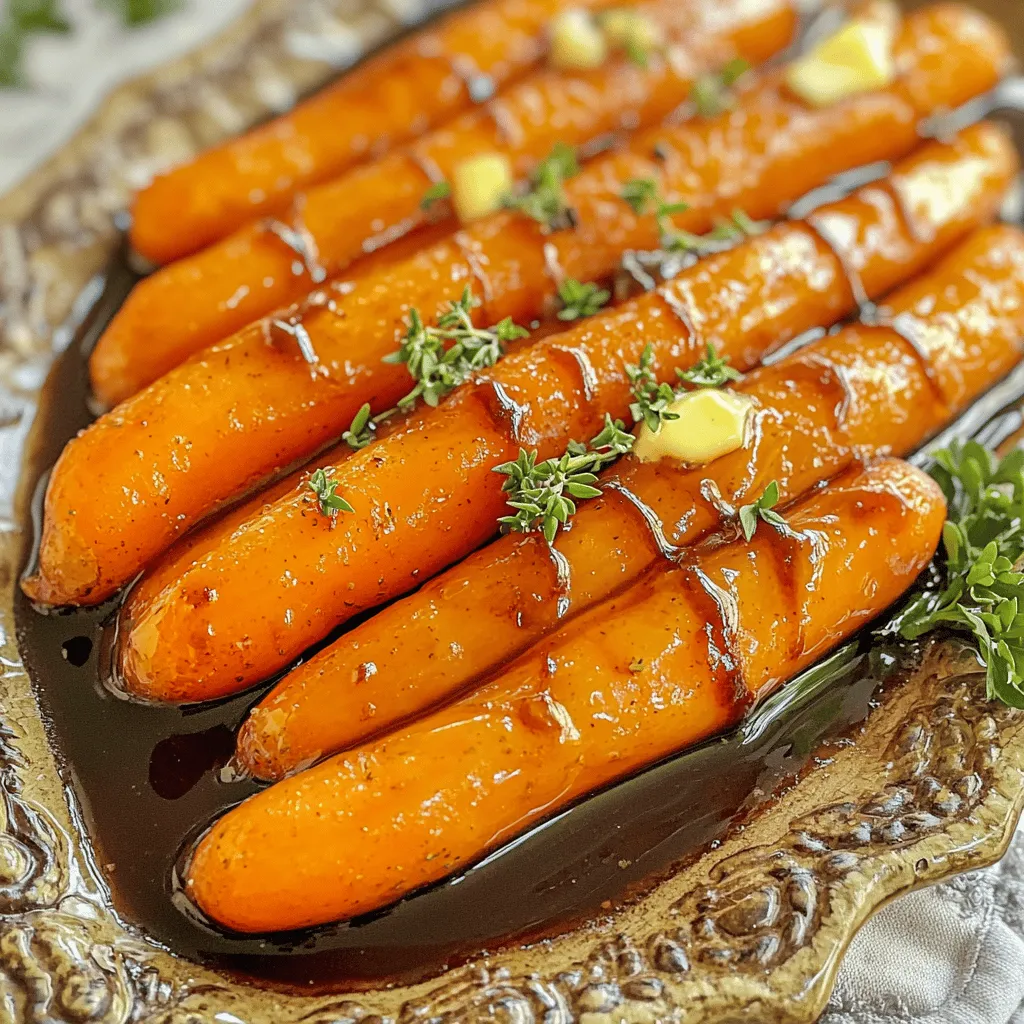
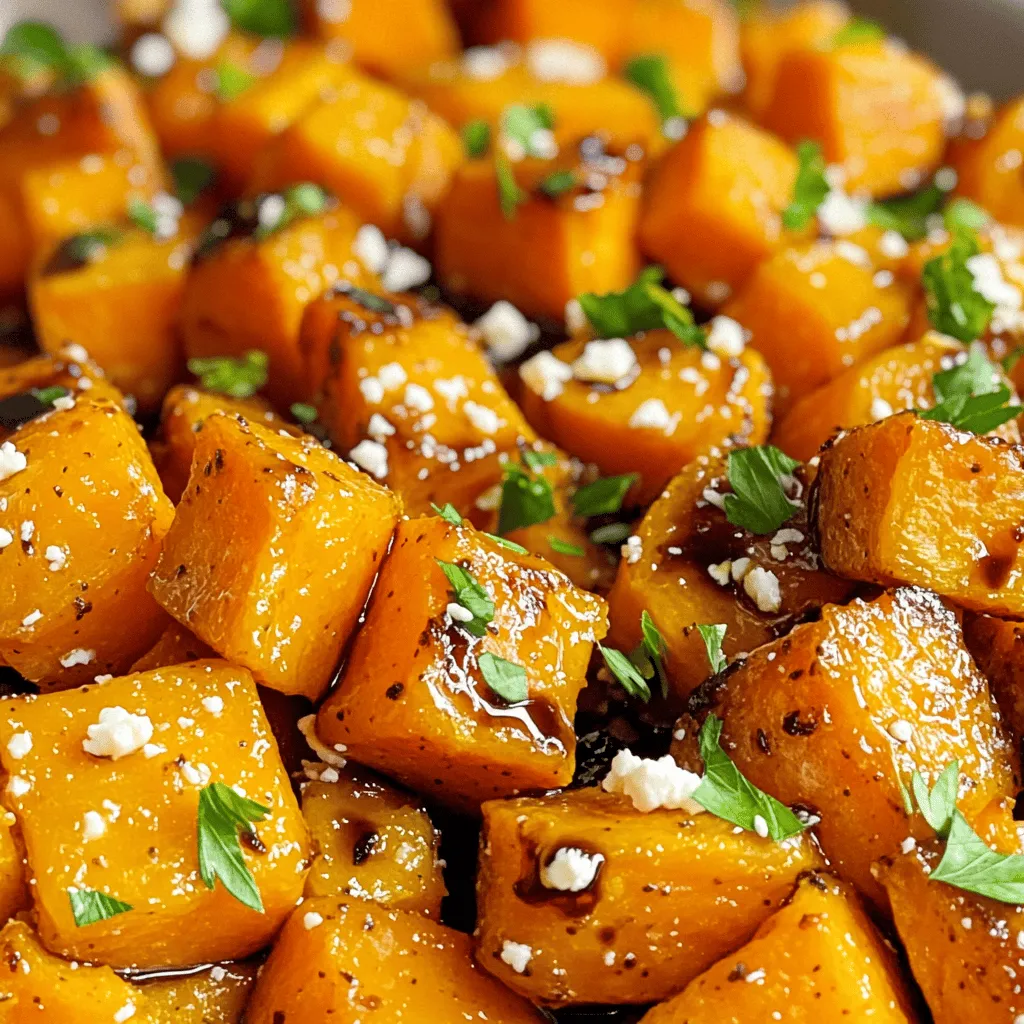
Honey-Balsamic Glazed Carrots Tasty and Simple Recipe
If you want to impress your family at dinner, try my Honey-Balsamic Glazed Carrots! This simple recipe transforms ordinary baby carrots into a sweet and
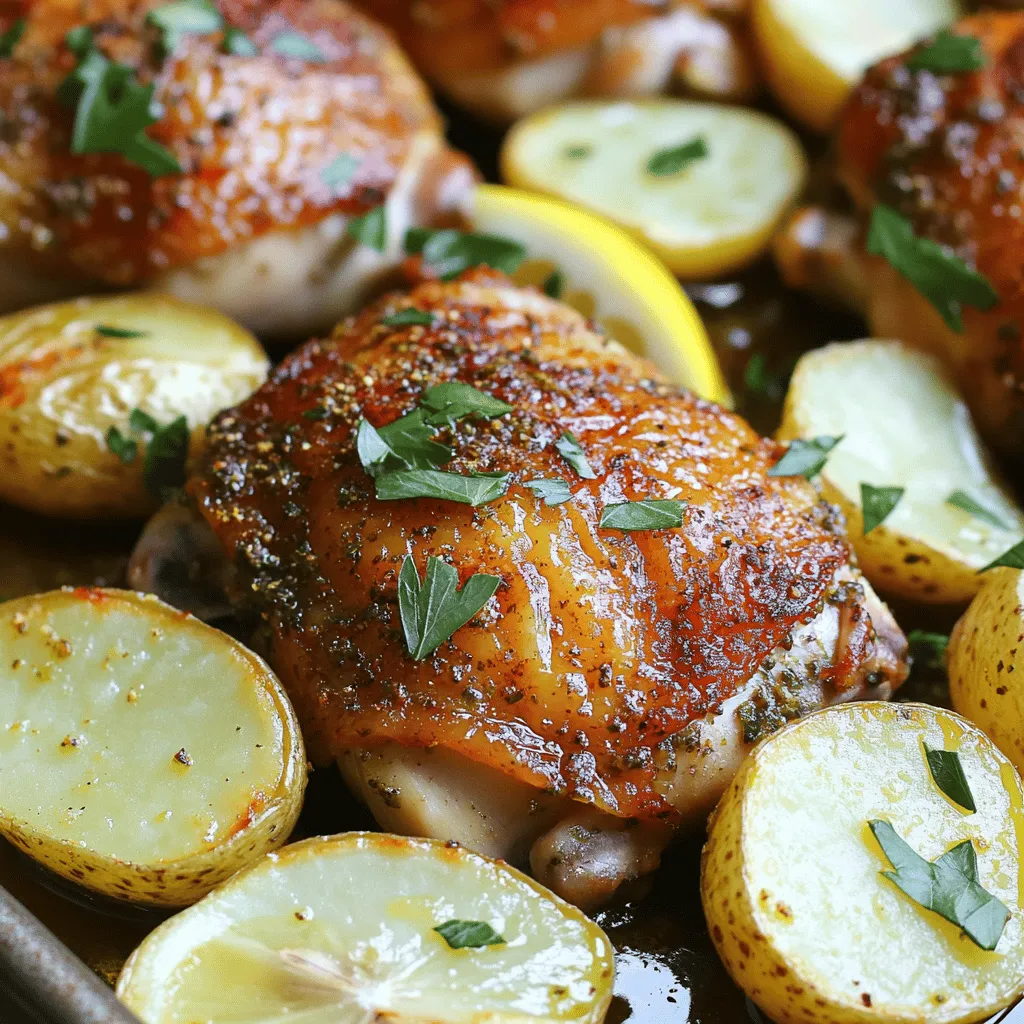
Keto One-Pan Chicken & Potatoes Simple and Tasty Dish
Looking for a quick meal that’s both keto-friendly and full of flavor? This Keto One-Pan Chicken & Potatoes dish is your answer! With juicy chicken
Balsamic Sweet Potatoes Flavorful Easy Side Dish
Looking for a simple yet delicious side dish? Balsamic sweet potatoes are your answer! This recipe combines the natural sweetness of sweet potatoes with tangy

Crockpot Creamy Ranch Chicken Flavorful Dinner Delight
Looking for an easy, tasty meal that your whole family will love? My Crockpot Creamy Ranch Chicken delivers big flavor with minimal effort. You’ll savor
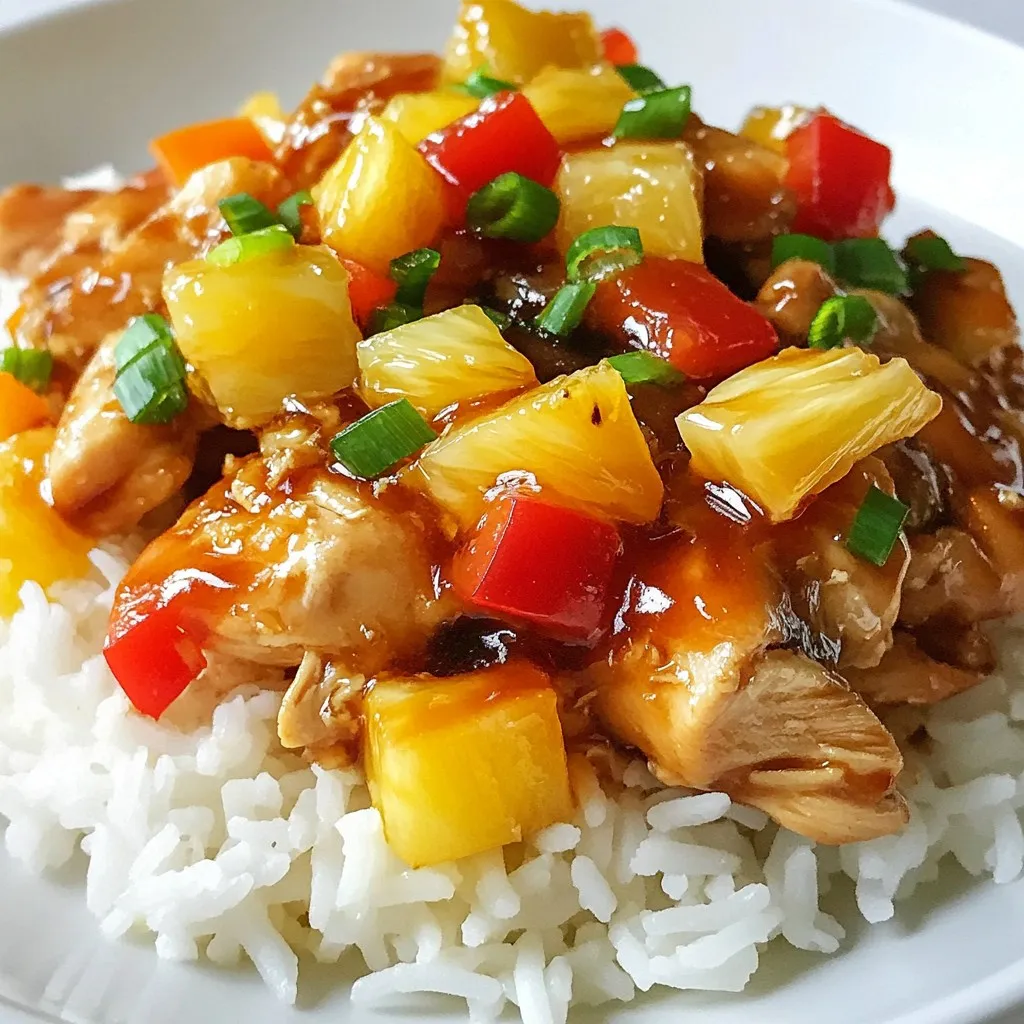
Sweet Hawaiian Crockpot Chicken Easy Family Meal
Looking for a simple and tasty meal that your family will love? Try my Sweet Hawaiian Crockpot Chicken! This dish combines juicy chicken thighs with
![To make taco stuffed sweet potatoes, gather these ingredients: - Sweet potatoes - Ground turkey or beef - Olive oil - Onion and garlic - Taco seasoning (store-bought or homemade) - Black beans - Corn - Diced tomatoes - Shredded cheddar cheese - Avocado and cilantro for topping - Lime wedges for serving These ingredients create a great blend of flavors. Sweet potatoes give a soft, sweet base. Ground turkey or beef adds protein and richness. Olive oil helps cook the onion and garlic, giving the dish a nice aroma. Taco seasoning brings that classic taco flavor. Black beans and corn add texture and nutrients. Diced tomatoes bring juiciness and freshness. Shredded cheddar cheese melts to a perfect topping. Avocado and cilantro add a fresh touch. Lime wedges add zest when served. By using these simple ingredients, you can make a meal that is both tasty and healthy. For the full recipe, check out the detailed steps to prepare this dish. - Preheat your oven to 400°F (200°C). - Scrub 4 medium sweet potatoes well and pierce them with a fork. This helps steam escape while they bake. - Place the sweet potatoes on a baking sheet lined with parchment paper. Bake for 45-50 minutes or until they are soft. You can check by poking them with a fork. - In a large skillet, heat 1 tablespoon of olive oil over medium heat. - Add 1 small diced onion and 2 minced garlic cloves. Sauté these until soft, about 3-4 minutes. - Next, add 1 pound of ground turkey or beef. Break it up with a spatula and cook until browned, which takes about 5-7 minutes. - After the meat is cooked, stir in a packet of taco seasoning, 1 cup of rinsed black beans, 1 cup of corn, and 1 cup of diced tomatoes. - Mix everything well and let it simmer for about 5-10 minutes. This helps all the flavors come together nicely. - When the sweet potatoes are baked, take them out and let them cool for a bit. Cut each potato in half lengthwise. - Use a fork to fluff the insides of the sweet potatoes gently. - Spoon the taco mixture into each potato half. Top generously with 1 cup of shredded cheddar cheese. - Put the potatoes back in the oven for about 5-10 minutes, just until the cheese is melted. - Once done, remove them from the oven and top with diced avocado, fresh cilantro, and a squeeze of lime juice. For the full recipe, check out the detailed instructions above. Enjoy your tasty taco stuffed sweet potatoes! - To ensure sweet potatoes are tender, bake them at 400°F for 45-50 minutes. - Use a fork to pierce them before baking. This helps steam escape. - For taco filling, keep the mixture moist but not watery. Add just enough liquid from the tomatoes. - Present your taco stuffed sweet potatoes on a bright platter. - Garnish with lime wedges and fresh cilantro for color. - Pair with a refreshing side salad or corn salsa for extra crunch. - Sweet potatoes are rich in vitamins A and C, fiber, and potassium. - If you need to modify this dish, swap ground turkey for beans for a vegetarian option. - Use low-fat cheese or skip it for a lighter meal. {{image_2}} You can change the protein in this recipe easily. If you prefer chicken, use shredded rotisserie chicken. For a vegetarian option, try black beans or lentils instead of meat. Both choices taste great and are filling. Cheese is another area where you can mix things up. Instead of cheddar, try Monterey Jack or pepper jack for a kick. You can even use a dairy-free cheese if you want a vegan option. The cheese adds creaminess to the dish. Adjusting the spice level is simple. If you like heat, add cayenne pepper or chili flakes to the taco seasoning. For mild flavors, skip the heat altogether. This flexibility lets you customize each taco stuffed sweet potato to your liking. Adding toppings is a fun way to change the flavor. Try sliced jalapeños for extra spice or a dollop of sour cream for creaminess. You could also add salsa or guacamole for a fresh twist. The key is to make it your own! Serving taco stuffed sweet potatoes as a taco bowl is a great option. Just scoop out the sweet potato and mix it with the filling. Serve it in a bowl with toppings on the side. This style is fun and easy to share. If you want to use other vegetables, consider zucchini or bell peppers. These can become the vessel for your taco filling instead of sweet potatoes. Simply hollow them out and bake until tender. This option adds more color and different flavors to your meal. For the full recipe, you can refer to the beginning of the article. You can store leftover taco stuffed sweet potatoes in the fridge for about 3 to 5 days. To keep them fresh, place them in an airtight container. This helps prevent them from drying out or absorbing other odors. When you’re ready to eat, just take out the portion you want, and you’re all set. If you want to save the stuffed sweet potatoes for later, freezing is a great option. Wrap each sweet potato tightly in plastic wrap or aluminum foil. Then, place them in a freezer-safe bag. This way, they can stay good for up to 3 months. When you’re ready to eat, thaw them in the fridge overnight. Reheat in the oven at 350°F (175°C) for about 20 minutes. This will help keep the sweet potatoes warm and tasty. You can also microwave them, but the oven gives the best results for texture. For a quick meal, follow the [Full Recipe] and enjoy! Taco stuffed sweet potatoes last about 3 to 5 days in the fridge. Make sure to store them in an airtight container. This keeps them fresh and tasty for your next meal. Yes, you can prepare taco stuffed sweet potatoes ahead of time. Bake the sweet potatoes and make the filling. Store them separately in the fridge. When ready to eat, just assemble and heat them up. You can use regular potatoes, butternut squash, or even zucchini. Each option gives a different taste, but they all work well with taco flavors. Experiment to find your favorite! Yes, taco stuffed sweet potatoes are gluten-free. Just ensure your taco seasoning is gluten-free too. This makes them a great option for those with gluten sensitivities. Absolutely! You can use pinto beans, kidney beans, or chickpeas instead of black beans. Each bean brings a unique flavor and texture. Feel free to mix it up based on your taste. The best way to reheat stuffed sweet potatoes is in the oven. Preheat your oven to 350°F (175°C) and bake for about 15 to 20 minutes. This keeps the sweet potatoes soft and the filling warm. You can also use a microwave for quicker results, but the texture may change slightly. For the complete recipe, check out [Full Recipe]. Taco stuffed sweet potatoes are a tasty, fun dish. You bake sweet potatoes, cook ground turkey or beef, and mix in beans, seasoning, and cheese. Then you assemble and bake it all together. The dish is colorful and easy to customize. Feel free to swap ingredients or change flavors. Store leftovers well for tasty meals later. Enjoying this healthy dish can bring excitement to your table. Dive into making this recipe and impress your friends and family with your skills. It’s sure to be a hit!](https://stirredrecipes.com/wp-content/uploads/2025/07/eb730c36-a02c-4241-8435-36e8e28e4132.webp)
Taco Stuffed Sweet Potatoes Flavorful and Easy Recipe
Are you ready for a meal that’s both tasty and easy? Taco Stuffed Sweet Potatoes are the answer! Packed with flavor and nutrients, this recipe

Crockpot Creamy Ranch Chicken Flavorful Comfort Meal
Looking for a warm, comforting meal that’s easy to make? Let me share my Crockpot Creamy Ranch Chicken recipe! This dish combines tender chicken, creamy