Dinner
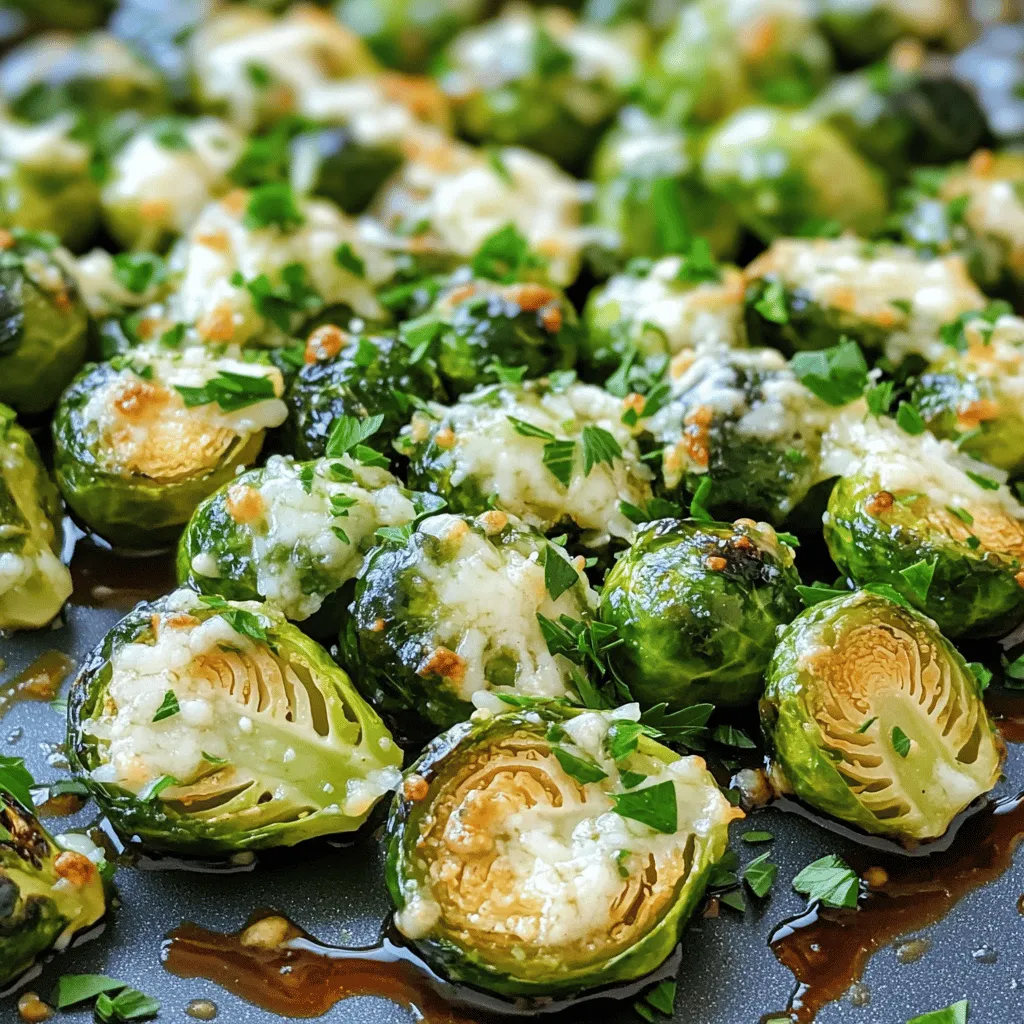
Garlic Parmesan Roasted Brussels Sprouts Delight
Ready to elevate your side dish game? Garlic Parmesan Roasted Brussels Sprouts are here to steal the show! With just a handful of fresh ingredients,
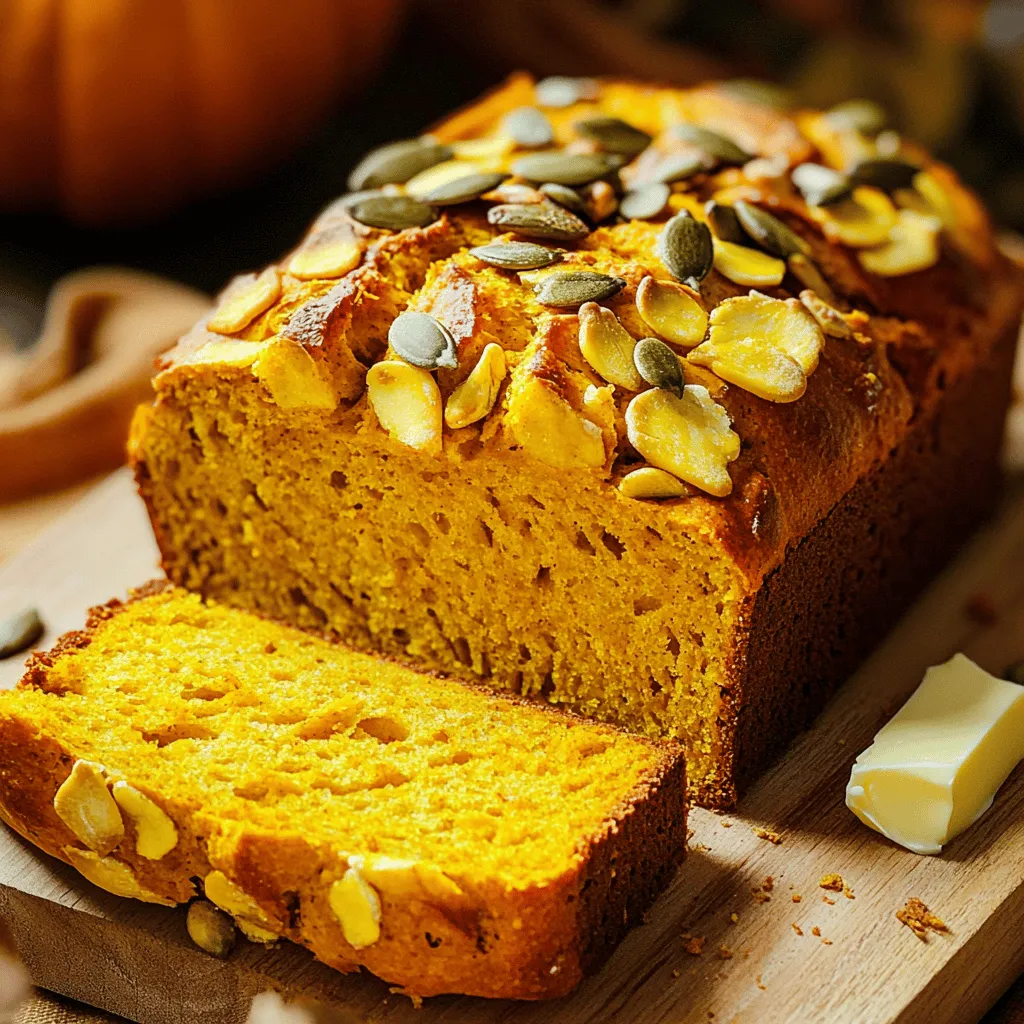
Pumpkin Sourdough Bread Delightful and Easy Recipe
Pumpkin sourdough bread is a warm and tasty treat that’s easy to make. With its rich flavor and cozy spices, this bread is perfect for

Canadian Cheddar Soup Hearty Comfort in Every Bowl
Warm, cheesy, and full of flavor, Canadian Cheddar Soup is the ultimate comfort food. This rich dish combines creamy textures and bold tastes, perfect for

Slow Cooker Beef Stroganoff Flavorful Comfort Meal
Are you ready to dive into a cozy, delicious meal that warms your heart? Slow Cooker Beef Stroganoff is the perfect dish for busy days

Instant Pot Chicken Tortilla Soup Quick and Tasty
If you crave a warm bowl of comfort, this Instant Pot Chicken Tortilla Soup is for you! With tender chicken, zesty spices, and a hint

Slow Cooker Butter Chicken Flavorful and Easy Recipe
Want a meal that’s warm, tasty, and easy? Slow Cooker Butter Chicken is your answer! This dish combines creamy sauce and tender chicken, making it
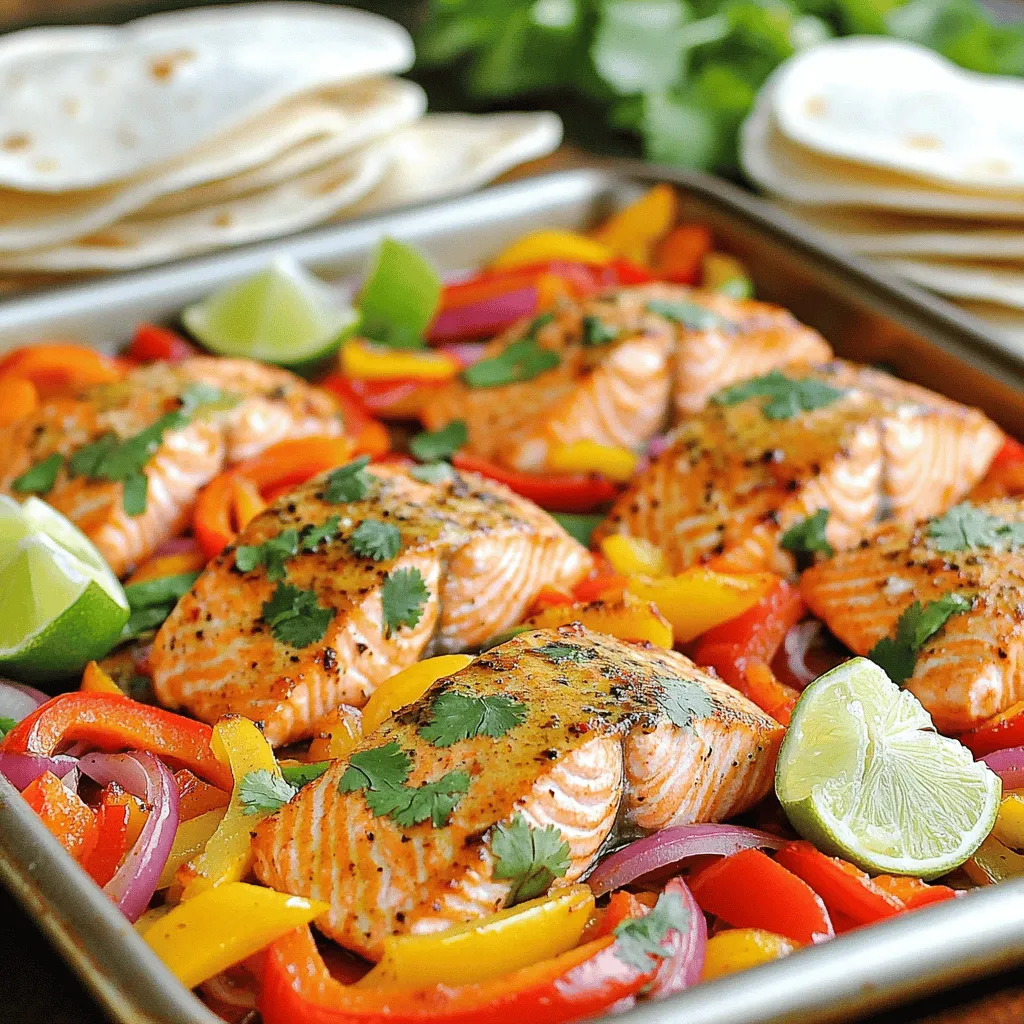
Sheet Pan Fajita Salmon Flavorful and Easy Meal
If you want a quick and tasty dinner, try my Sheet Pan Fajita Salmon. This meal packs bold flavors with minimal clean-up. You only need
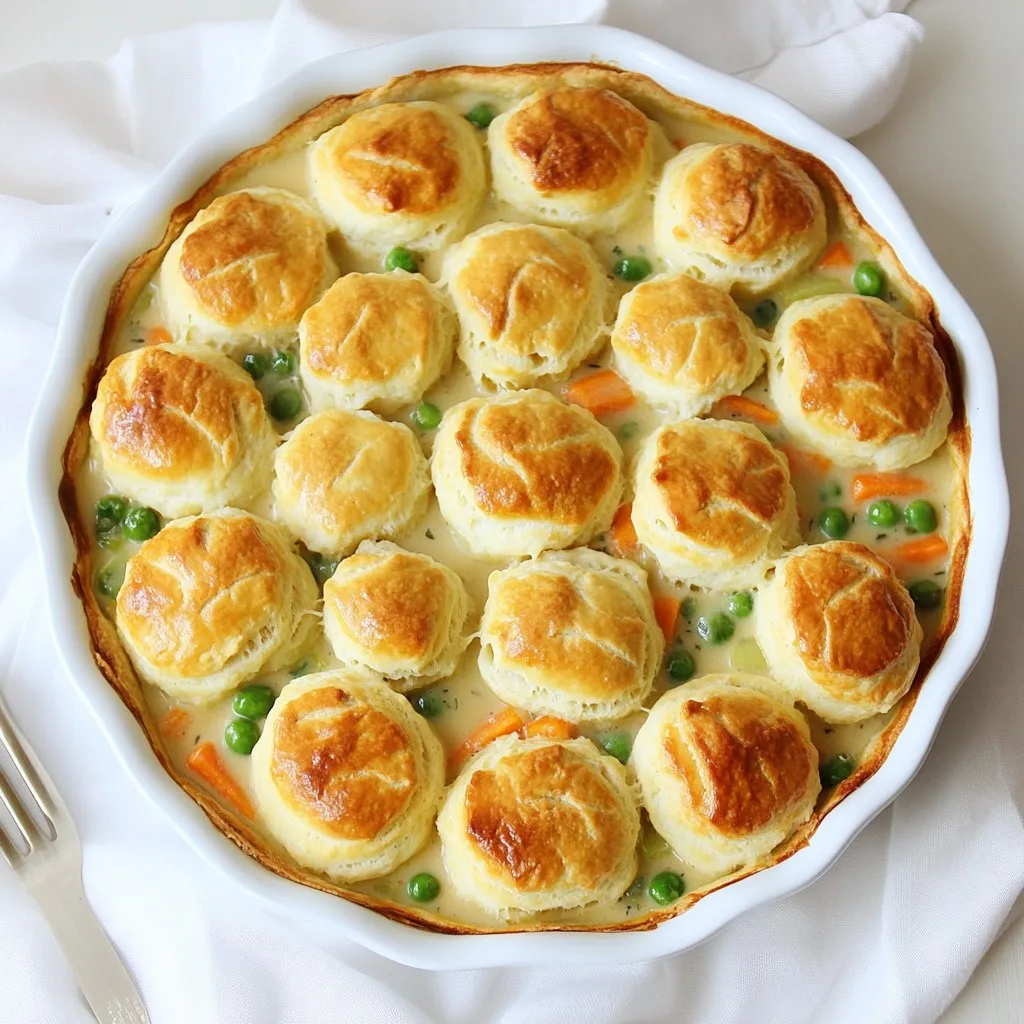
Biscuit-Top Chicken Pot Pie Comfort Food Delight
Craving comfort food? Look no further than my Biscuit-Top Chicken Pot Pie! This dish combines tender chicken, fresh veggies, and a flaky biscuit topping for
Crockpot Baked Ziti Perfectly Cheesy Comfort Meal
If you’re craving a warm, cheesy meal that requires minimal effort, look no further! Crockpot Baked Ziti combines al dente pasta, rich marinara, and a
![- 4 large russet potatoes, thinly sliced - 2 cups shredded cheddar cheese - 1 cup heavy cream - 1 cup milk - 1 medium onion, finely chopped - 2 cloves garlic, minced - 1 teaspoon fresh thyme - 1 teaspoon paprika - Salt and pepper to taste - 1 cup grated Parmesan cheese (for topping) - Fresh chives or parsley for garnish (optional) When it comes to making Slow Cooker Cheesy Scalloped Potatoes, the ingredients are key. The russet potatoes serve as the main base. Their starchy texture makes them perfect for this dish. Thinly slicing them ensures they cook evenly. I love using fresh cheddar cheese for its rich flavor. Heavy cream and milk create a lovely creamy sauce. Next, we have aromatics. Chopped onions and minced garlic bring a depth of flavor. Fresh thyme and paprika add a hint of earthiness and warmth. Salt and pepper will enhance all the flavors in this dish. For the topping, I always use grated Parmesan cheese. It melts beautifully and adds a nice crust. Fresh chives or parsley can brighten the dish when served. These ingredients come together to create a dish that is warm, cheesy, and comforting. If you want the full details on how to combine these ingredients, check out the Full Recipe. - Wash and peel the russet potatoes. - Slice potatoes using a mandoline or sharp knife. Start with clean hands and a clean workspace. Take the potatoes and wash them well. Peeling is next; you want a smooth surface. Then, slice the potatoes thinly. I recommend using a mandoline for even slices. If you don't have one, a sharp knife will work too. Just make sure the slices are even so they cook well. - First layer of potatoes, onions, and cheese. - Pour half of the cream mixture. In your slow cooker, lay down the first layer of sliced potatoes. Spread them evenly to cover the bottom. Next, add half of the chopped onions on top. Sprinkle half of the shredded cheddar cheese over the onions. This builds a great flavor base. Now, pour half of the cream mixture over the layers. The cream will soak into the potatoes and keep them moist. - Cover and cook on low for 6-8 hours. - Adding Parmesan cheese for crust 30 minutes before serving. Once your layers are complete, cover the slow cooker with the lid. Set it to cook on low for 6 to 8 hours. The longer you cook, the softer the potatoes become. About 30 minutes before serving, sprinkle the grated Parmesan cheese on top. This will create a delicious cheesy crust. After that, let it sit for a bit before serving. Enjoy your rich comfort dish! For the full recipe, check the detailed instructions. For a rich and creamy texture, I recommend using heavy cream. Heavy cream gives the dish a smooth base that makes each bite feel indulgent. You can use milk, but it won't be as rich. Thin potato slices are key. Aim for slices about 1/8-inch thick. This allows the potatoes to cook evenly and absorb all that creamy goodness. Adding herbs and spices can transform your dish. Fresh thyme brings a lovely earthiness. You can also try rosemary or oregano for a twist. For cheese, I love using sharp cheddar for its bold flavor. Mixing in Gruyère or Monterey Jack adds another layer of taste. These cheese combinations create a delightful melt that keeps you wanting more. Pair these cheesy scalloped potatoes with meats like roasted chicken or grilled steak. They also go well with a fresh salad for a balanced meal. For presentation, serve them in the slow cooker. This keeps them warm and inviting. Garnish with fresh chives or parsley for a pop of color. It makes the dish look beautiful and adds a hint of freshness. For the complete process, don't forget to check the Full Recipe. {{image_2}} You can enjoy this dish even if you avoid gluten. Use gluten-free flour for thickening. Replace heavy cream with coconut cream or almond milk for a dairy-free option. Nutritional yeast can mimic cheese flavor for a vegan touch. To add a savory kick, toss in cooked bacon or diced ham. This adds depth and richness. You can also mix in vegetables like fresh spinach or colorful bell peppers. These ingredients not only add flavor but also make the dish more nutritious. If you prefer oven-baked cheesy scalloped potatoes, layer the ingredients in a baking dish. Bake at 350°F for about 1 hour, or until the potatoes are tender. For a quicker option, use an Instant Pot. Set it to high pressure for 20 minutes. Quick release the steam, and you’ll have creamy potatoes in no time! Check the [Full Recipe] for detailed steps. To keep your cheesy scalloped potatoes fresh, place leftovers in an airtight container. Make sure to cool them to room temperature first. Store them in the fridge for up to 3 days. You can freeze cheesy scalloped potatoes for longer storage. Just make sure to use a freezer-safe container. They can last in the freezer for about 2 months. To reheat without losing texture, use the oven. Preheat your oven to 350°F (175°C). Place the potatoes in an oven-safe dish and cover it with foil. Heat them for about 20-30 minutes, or until warmed through. You can also microwave portions for a quick fix, but the oven gives a better texture. In the fridge, expect your cheesy scalloped potatoes to last about 3 days. If frozen, they should be safe for about 2 months. Always check for signs of spoilage, like off smells or mold. If you see any, it's best to throw them away. Yes, you can prepare this dish a day before. Slice the potatoes and mix the cream. Layer them in the slow cooker and cover. Store in the fridge overnight. In the morning, cook as usual. This makes for a quick and easy meal. For scalloped potatoes, russet potatoes work best. They are starchy and creamy when cooked. Yukon Gold potatoes are also great. They hold their shape better and have a buttery flavor. Avoid waxy potatoes, as they won't give that creamy texture. To add some heat, try adding cayenne pepper or crushed red pepper. You can also mix in jalapeños or hot sauce. Adjust the amount to fit your taste. A little spice can really enhance the creamy flavor. To make this dish healthier, consider using low-fat cheese and skim milk. You can also swap heavy cream for a lighter option, like Greek yogurt. Adding more veggies, like spinach or broccoli, can boost nutrition, too. In this post, we explored how to make creamy, cheesy scalloped potatoes. We covered essential ingredients like russet potatoes and cheddar cheese. The cooking methods ensure a rich flavor and perfect texture. We also discussed various tips and variations to customize. These potatoes can impress at any meal. Use the guidance here to create your version. Enjoy this dish fresh or as leftovers. With a few tweaks, you can make it your own. Dive into your cooking adventure!](https://stirredrecipes.com/wp-content/uploads/2025/08/e96cc5ac-a5c1-4e74-8c5f-990455bbf72a.webp)
Slow Cooker Cheesy Scalloped Potatoes Rich Comfort Dish
Looking for the ultimate comfort food? Look no further! My Slow Cooker Cheesy Scalloped Potatoes bring creamy goodness to your plate with minimal effort. Just