Dinner
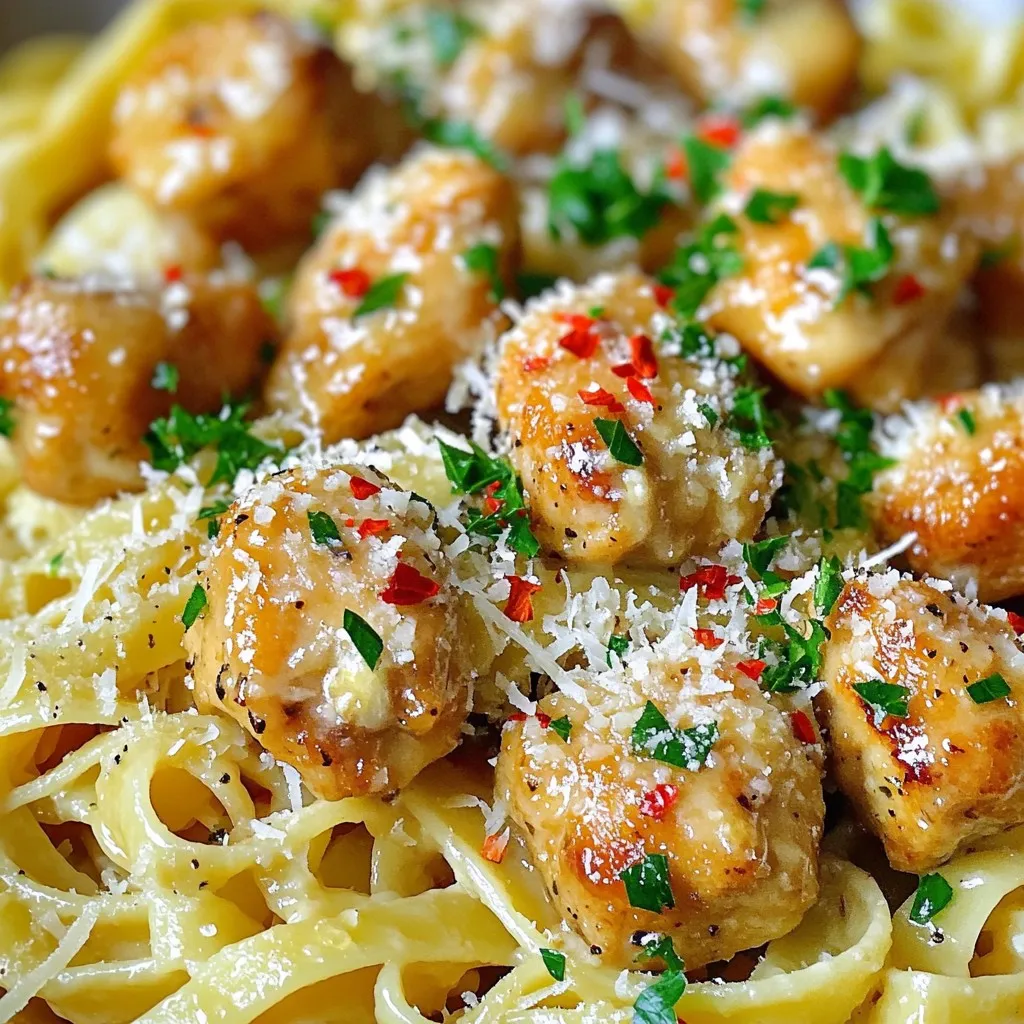
Garlic Butter Chicken Bites with Pasta Delight
If you’re craving a dish that’s both easy to make and delicious, look no further! My Garlic Butter Chicken Bites with Pasta is packed with
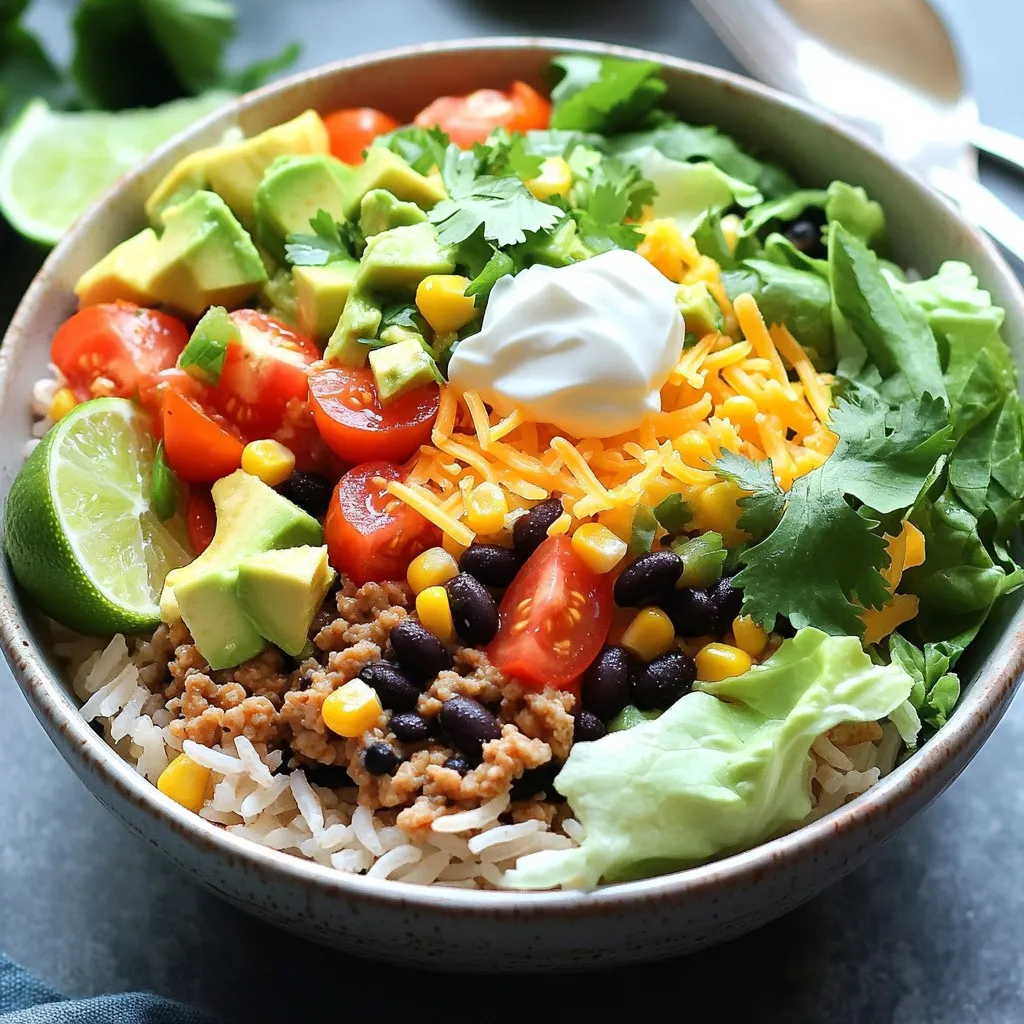
Taco Rice Bowl Flavorful and Easy to Make Meal
Craving a fun and easy meal? Dive into the world of Taco Rice Bowls! This dish combines rich flavors and fresh ingredients, making it a
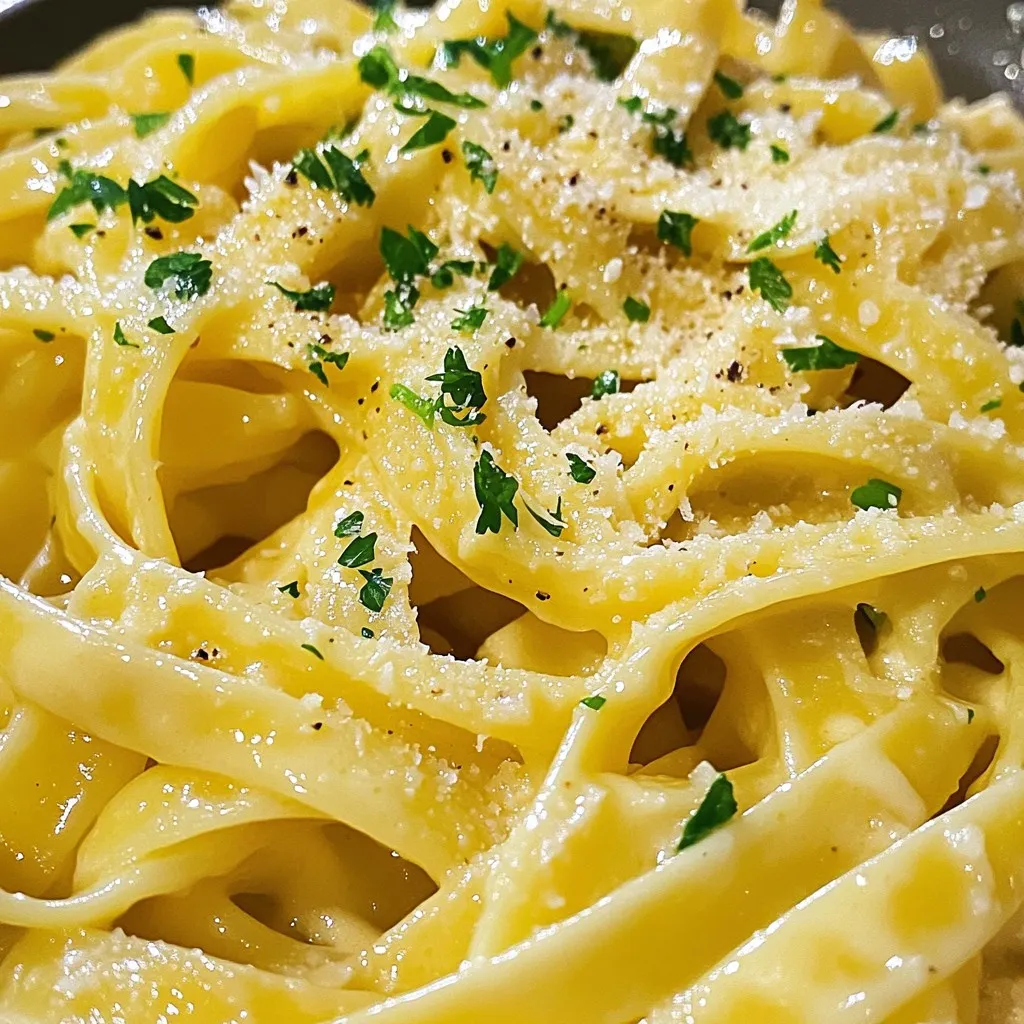
Garlic Parmesan Pasta Deliciously Simple Recipe
Are you ready to whip up a dish that combines comfort and flavor? My Garlic Parmesan Pasta is the answer! This recipe is simple, quick,
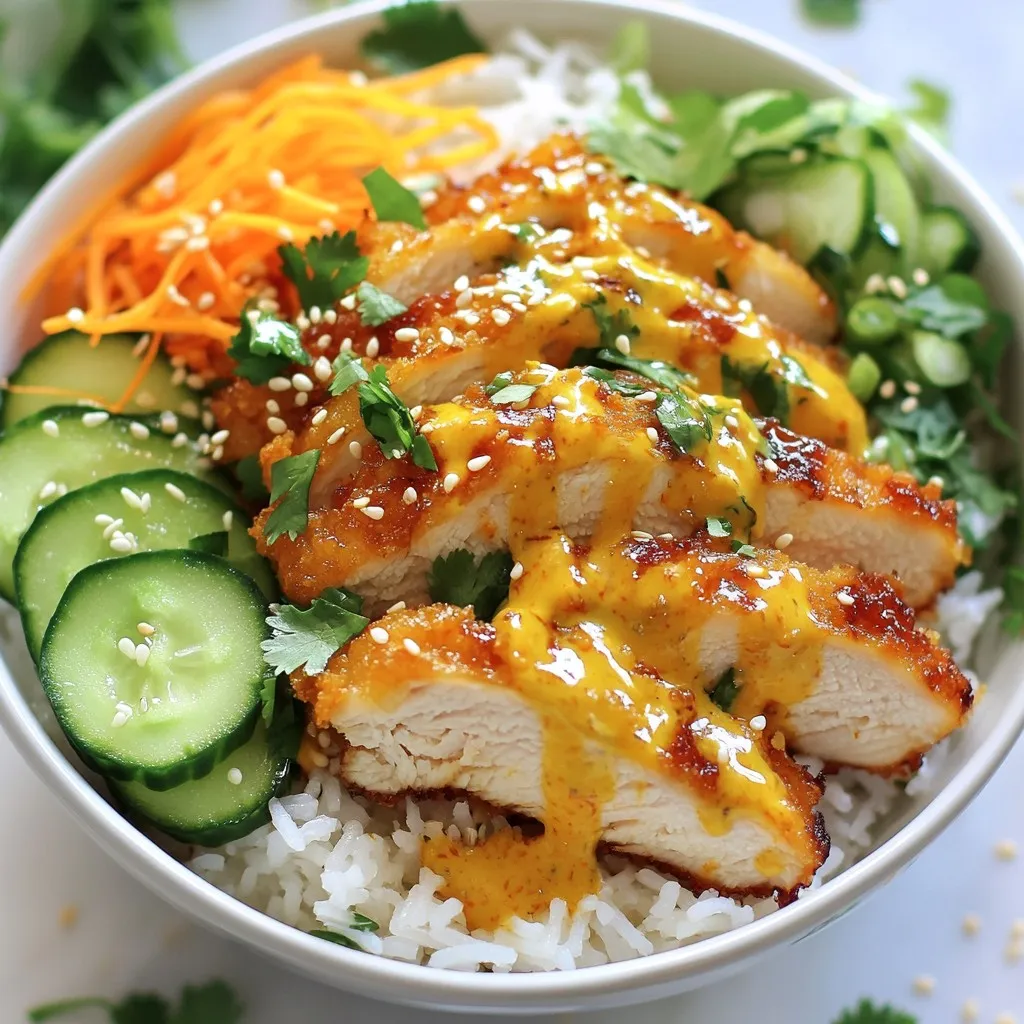
Bang Bang Chicken Bowl Flavorful and Quick Recipe
Looking for a quick and tasty meal? The Bang Bang Chicken Bowl is your answer! This flavorful dish combines crispy chicken, a spicy sauce, and
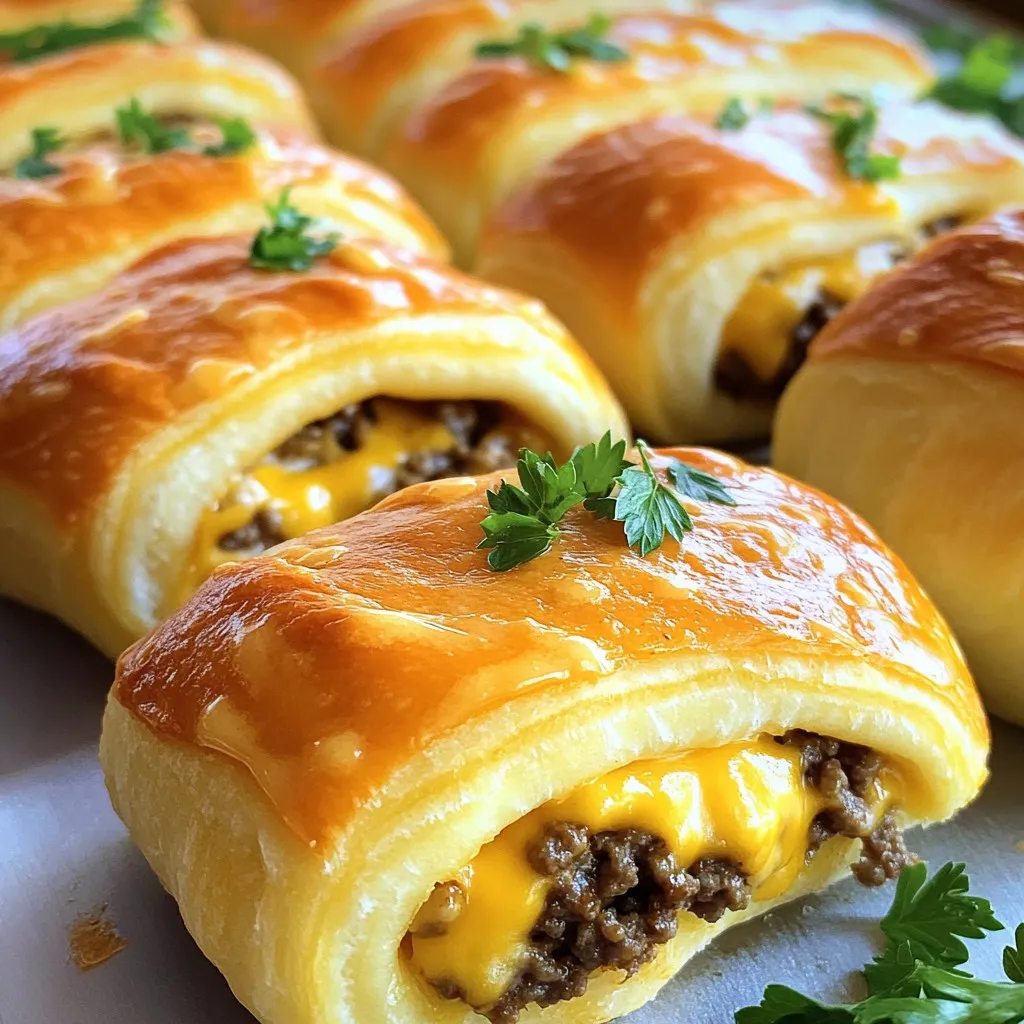
Garlic Butter Cheeseburger Rollups Irresistible Delight
If you’re craving a tasty treat that’s easy to make and totally satisfying, you’ve come to the right place! Garlic Butter Cheeseburger Rollups are a
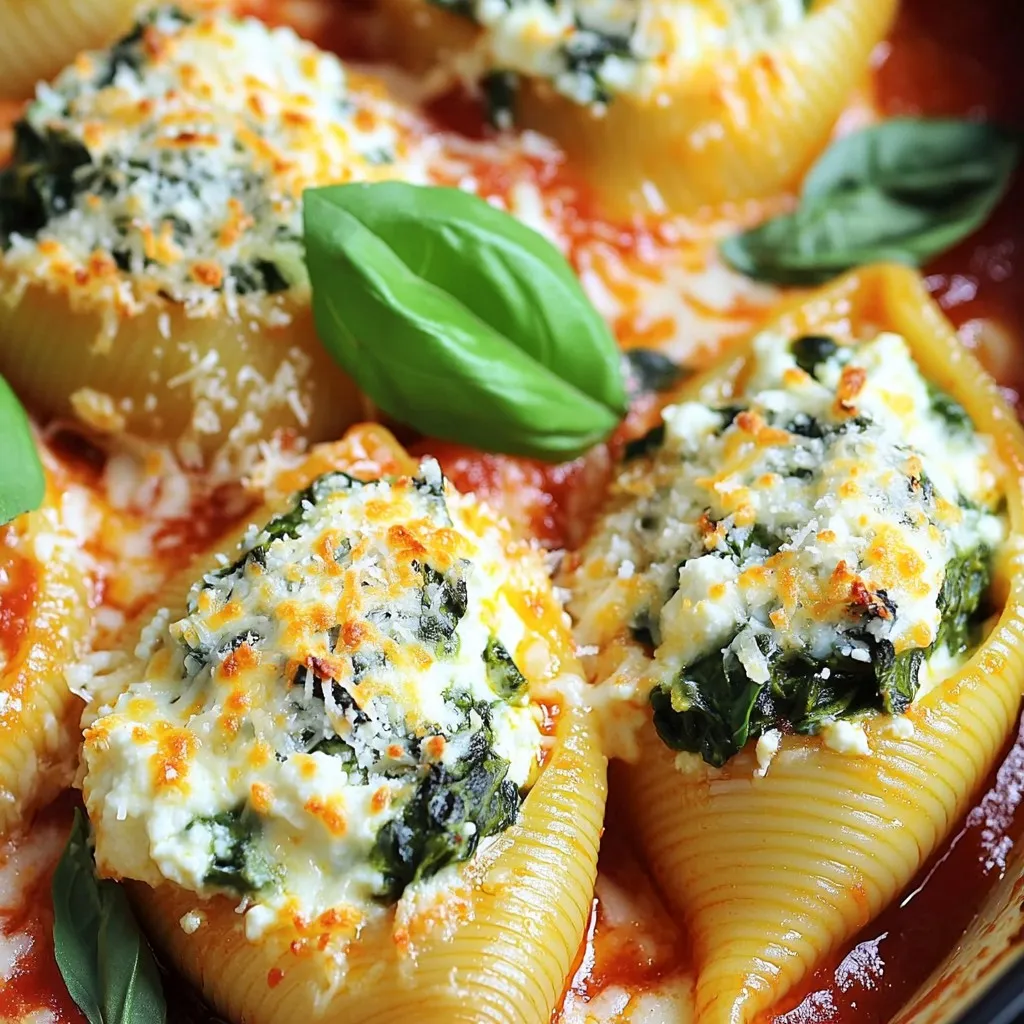
Savory Spinach and Ricotta Stuffed Shells Delight
Get ready to indulge in a dish that’s both rich in flavor and easy to make: Spinach and Ricotta Stuffed Shells! Perfect for dinner or
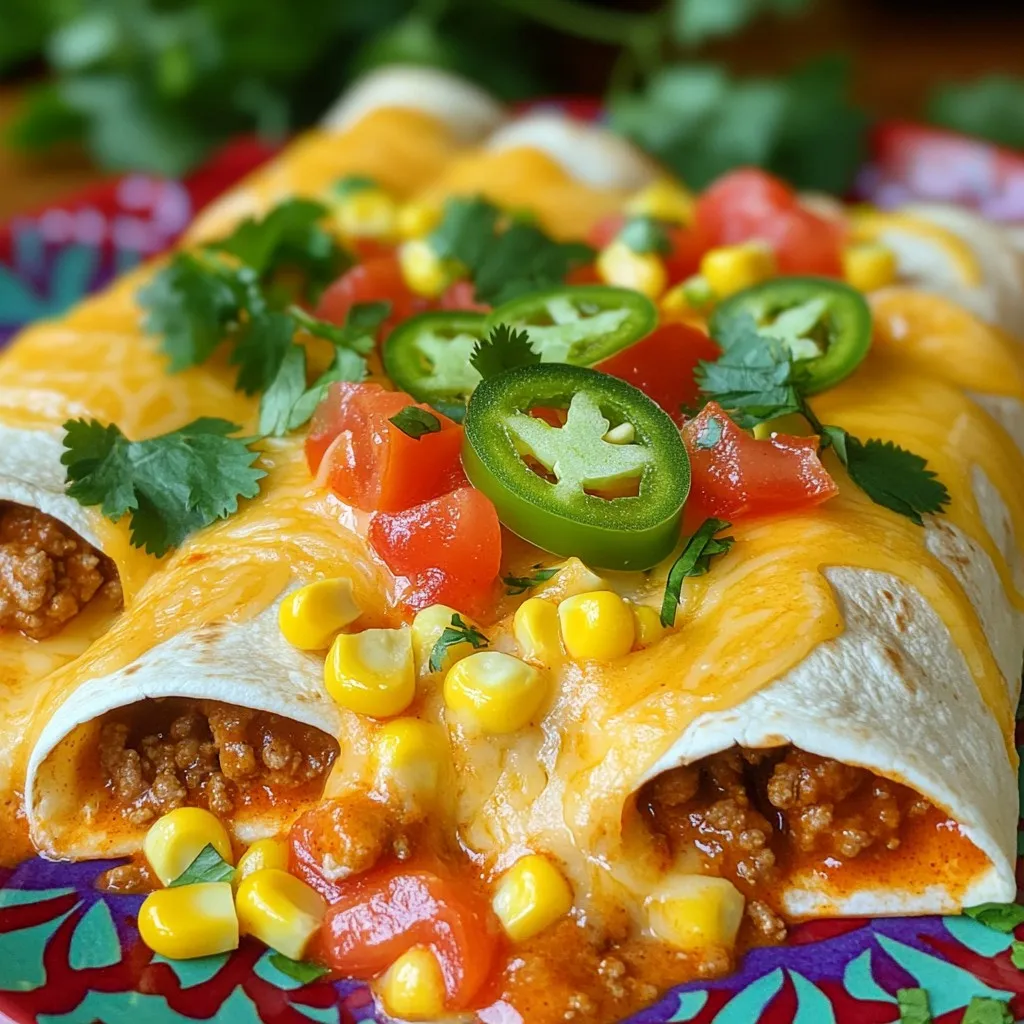
Cheesy Ground Beef Enchiladas Easy and Tasty Recipe
Are you ready to whip up a flavorful dinner that’s sure to please everyone? These Cheesy Ground Beef Enchiladas are easy to make and taste
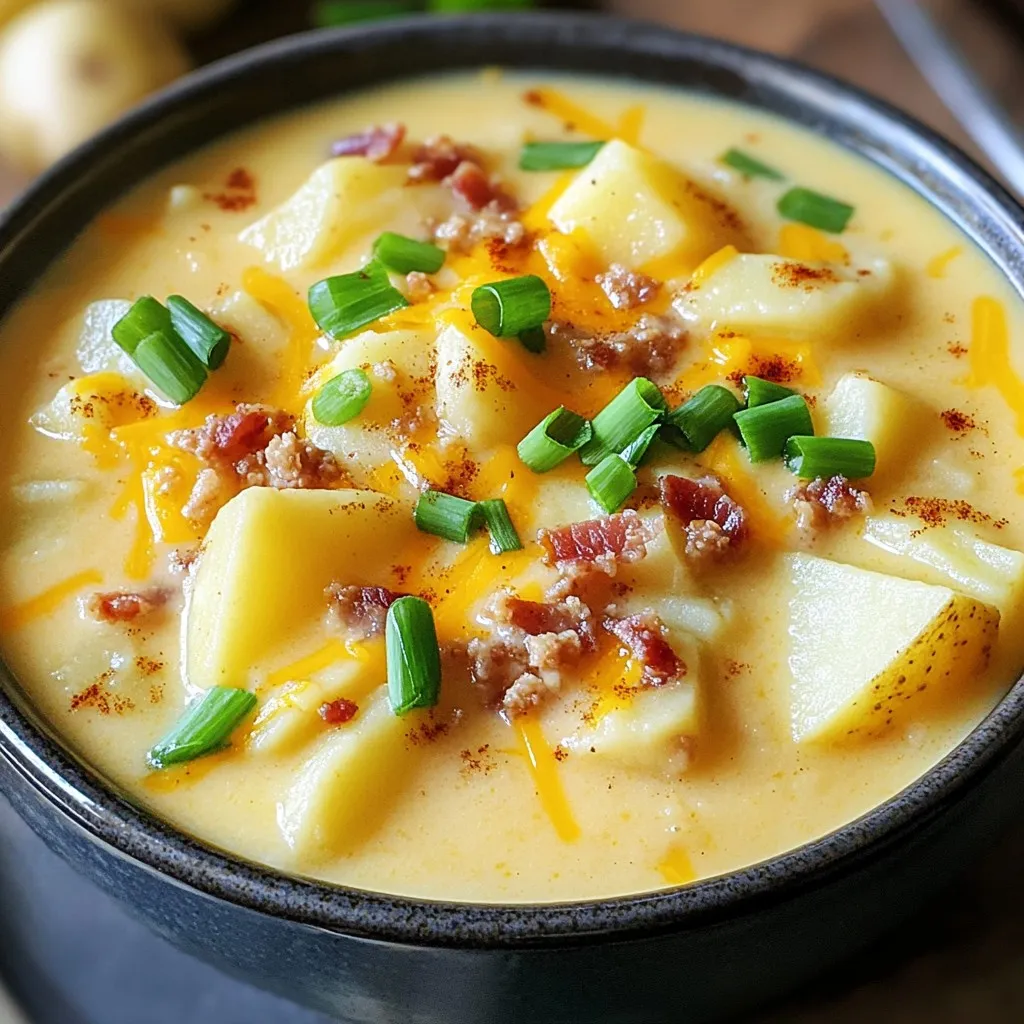
Crockpot Crack Potato Soup Creamy and Comforting Dish
Get ready for a bowl of pure comfort! My Crockpot Crack Potato Soup is rich, creamy, and packed with flavor. This easy recipe combines fresh
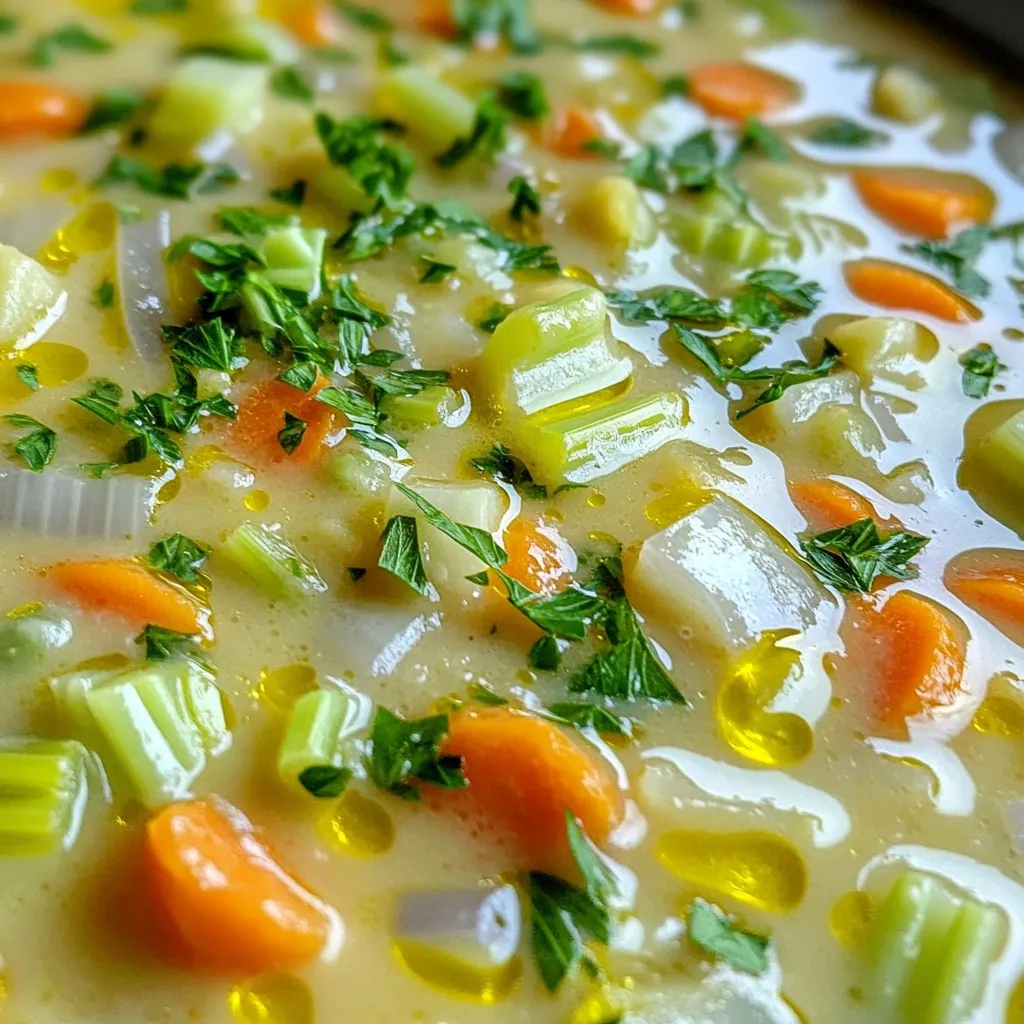
Creamy Vegetable Soup Easy and Flavorful Recipe
Are you ready for a warm bowl of comfort? My Creamy Vegetable Soup recipe is both easy and full of flavor. It’s perfect for chilly
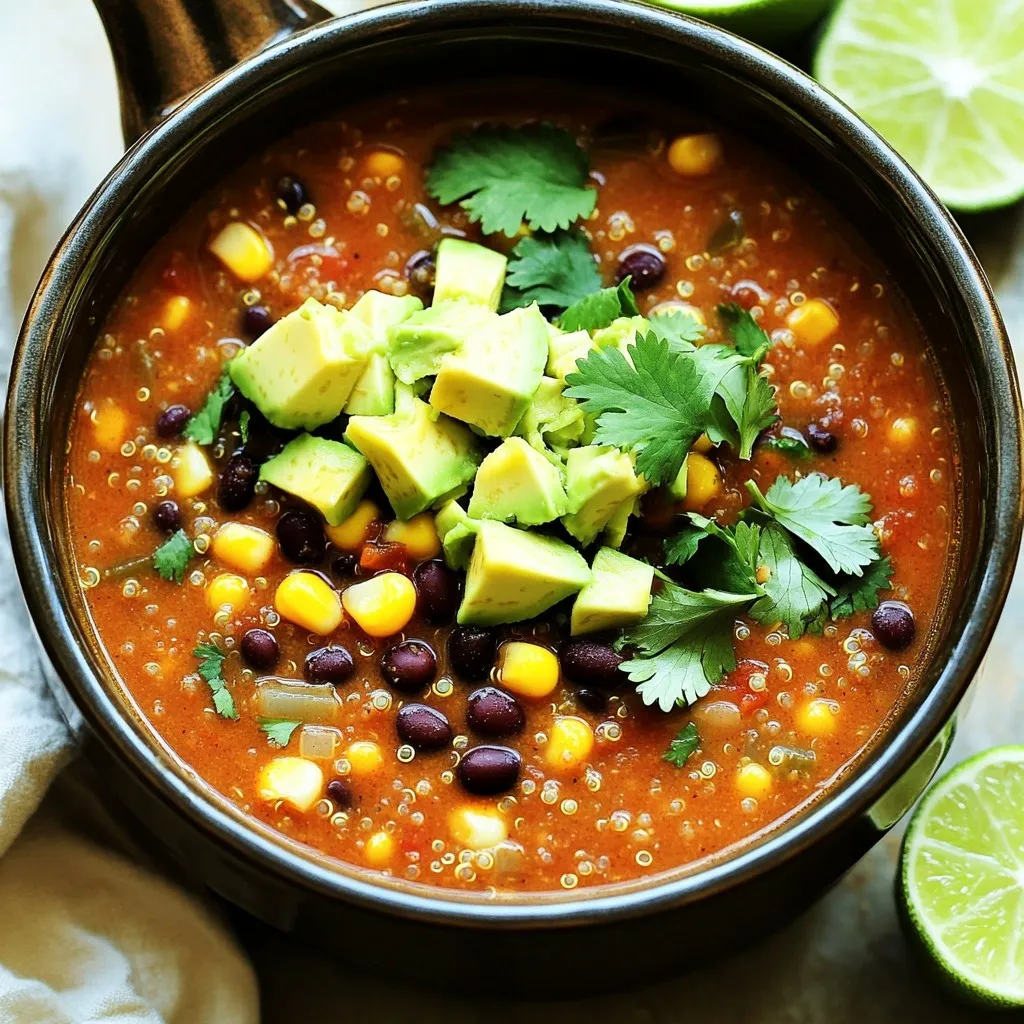
Slow Cooker Quinoa Enchilada Soup Flavorful Delight
Get ready for a cozy meal with my Slow Cooker Quinoa Enchilada Soup! This dish packs a punch with healthy ingredients like quinoa, black beans,