Dinner

High-Protein Philly Cheesesteak Casserole Recipe
Are you craving a hearty dish that’s both tasty and packed with protein? This High-Protein Philly Cheesesteak Casserole Recipe is your answer! It’s easy to

Spicy Thai Peanut Noodle Bowl Flavorful and Easy Dish
Are you ready to dive into a bowl of deliciousness? My Spicy Thai Peanut Noodle Bowl is packed with flavor and super easy to make.
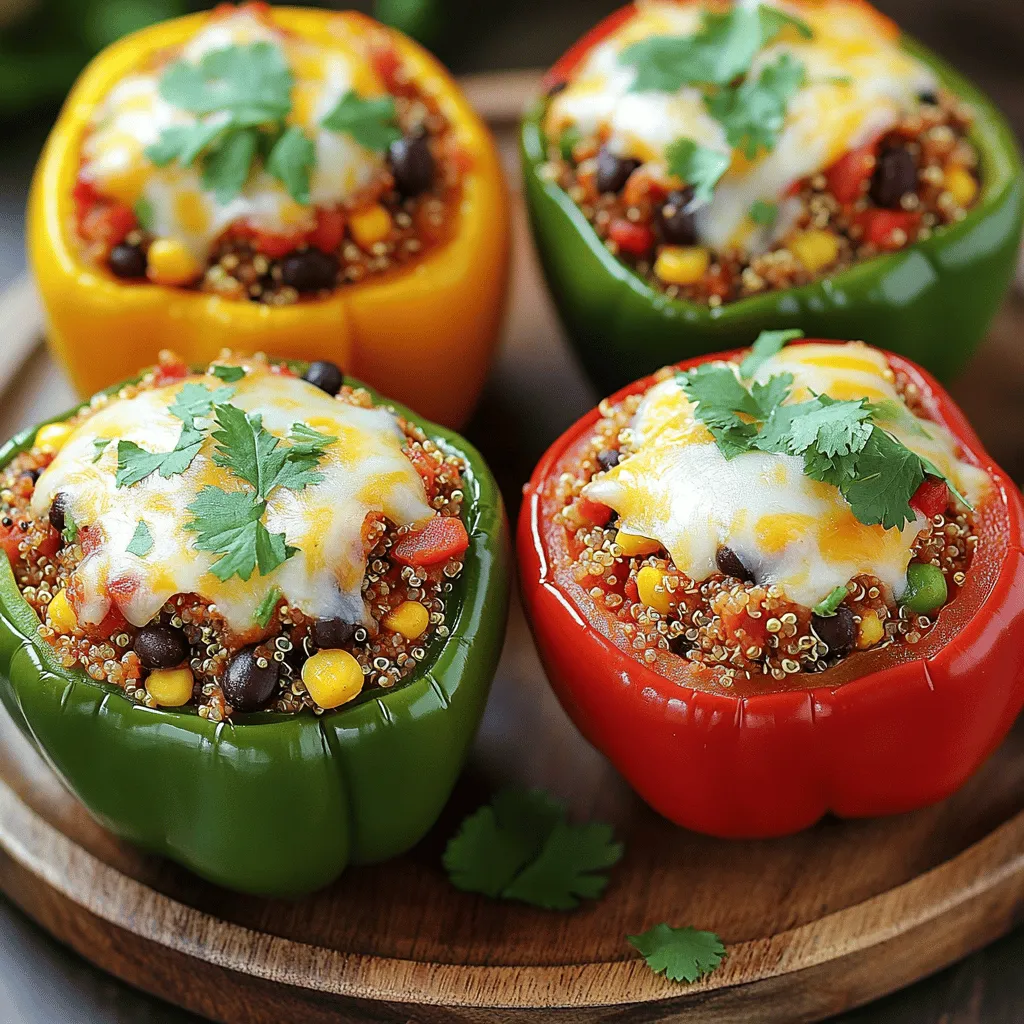
Slow Cooker Stuffed Bell Peppers Flavorful and Easy Meal
Looking for a simple, flavorful meal that impresses? You’ve found it! These Slow Cooker Stuffed Bell Peppers are easy to make and packed with taste.

One Pot Sausage Black Beans & Rice Flavorful Meal
Looking for a meal that combines bold flavors with easy prep? You’ve found it! My One Pot Sausage Black Beans & Rice is a delicious
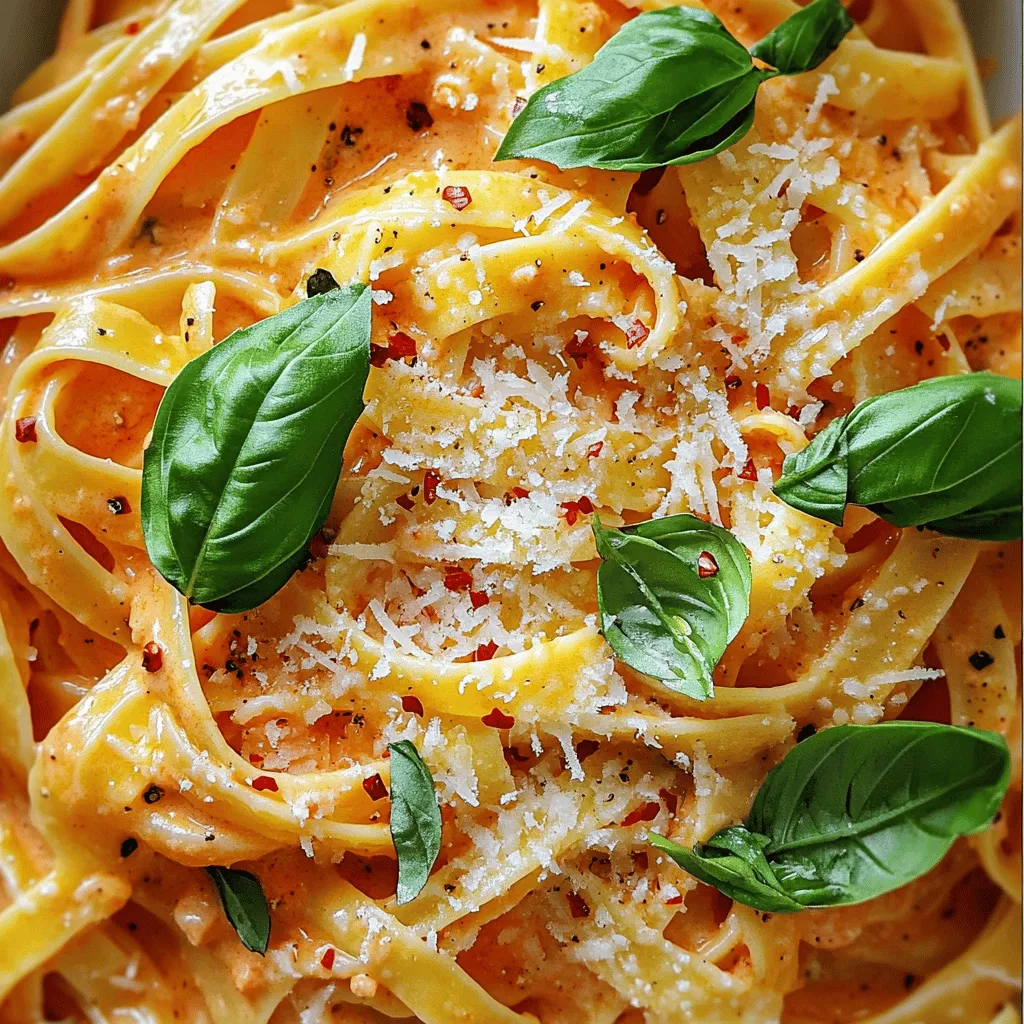
Creamy Garlic Tomato Pasta Comforting Dinner Delight
Looking for a dish that feels like a warm hug? My Creamy Garlic Tomato Pasta is your answer! This recipe combines rich flavors with creamy
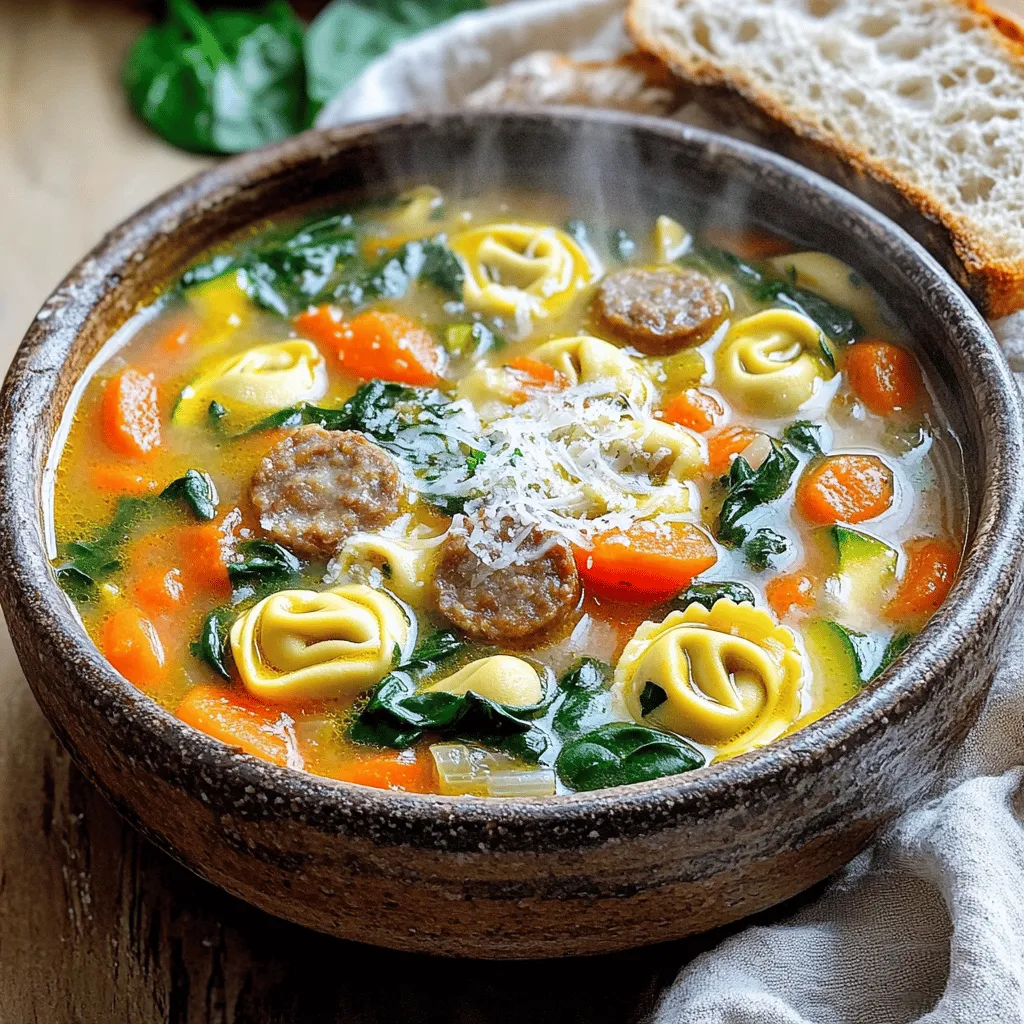
Sausage Spinach Tortellini Soup Comforting Meal Idea
Looking for a cozy meal that warms both body and soul? This Sausage Spinach Tortellini Soup is just the answer! It’s packed with flavor and
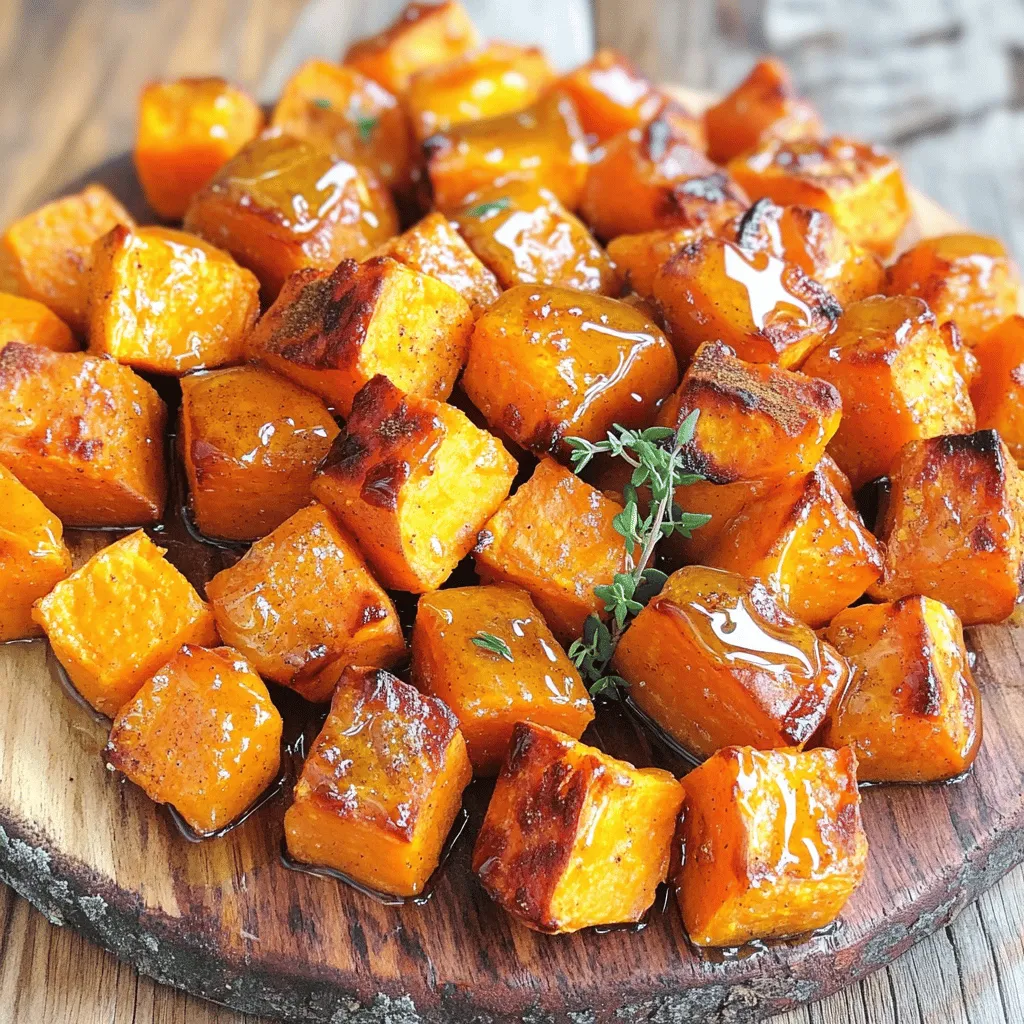
Cinnamon Honey Roasted Sweet Potatoes Easy Recipe
Are you ready to enjoy a sweet and savory side dish? Cinnamon honey roasted sweet potatoes are a delight for the senses! This easy recipe
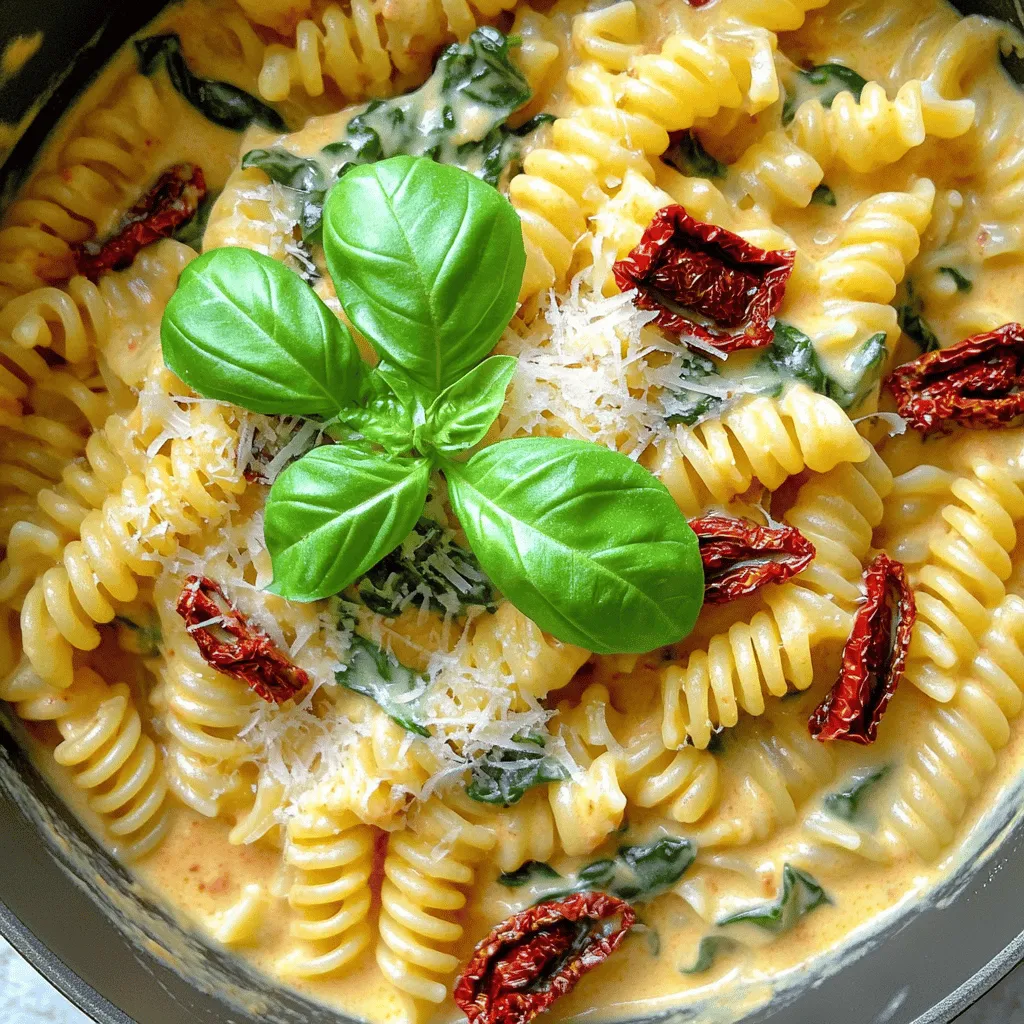
One Pot Creamy Sun Dried Tomato Pasta Delight
Looking for a quick and tasty dinner? You’ve found it with my One Pot Creamy Sun Dried Tomato Pasta Delight! This dish is simple, creamy,

Award Winning Short Rib and Chorizo Chili Recipe
Get ready for a flavor explosion with my Award Winning Short Rib and Chorizo Chili! This dish combines tender short ribs and spicy chorizo for
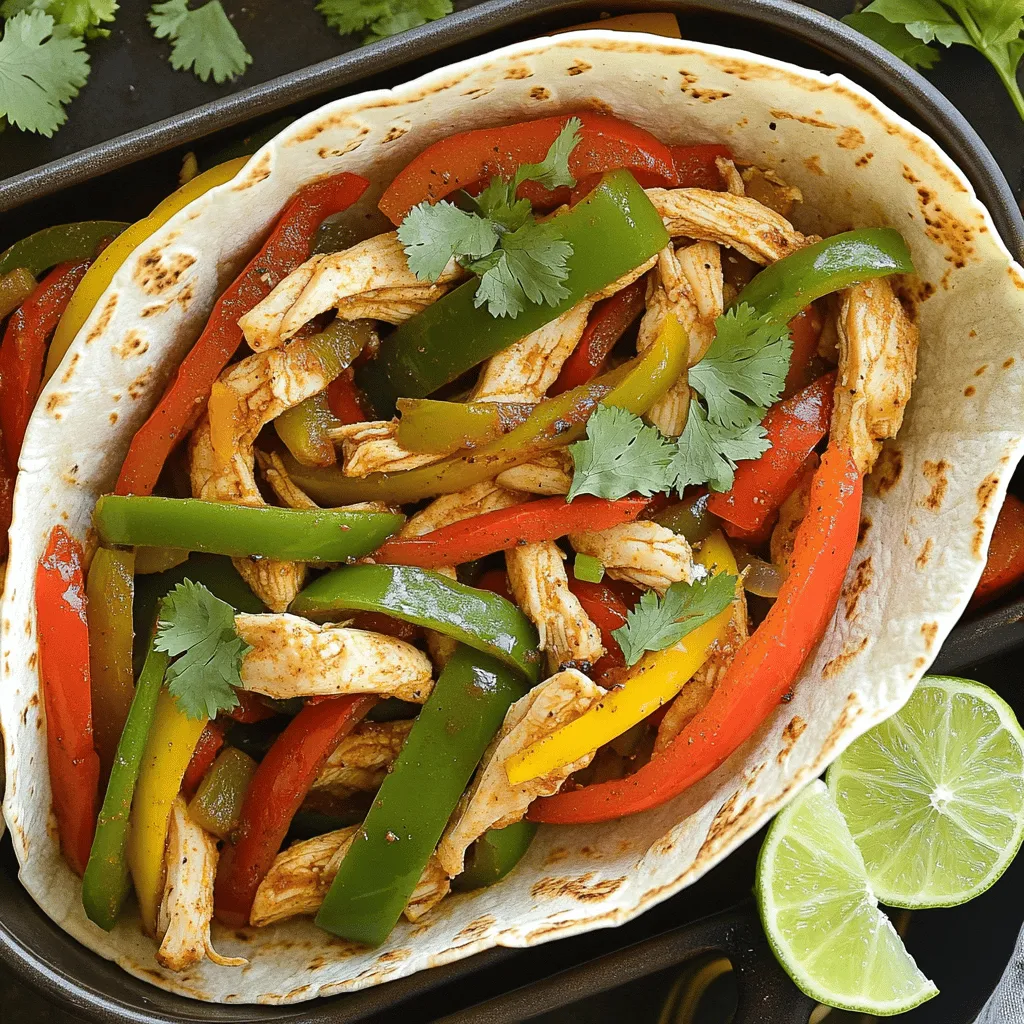
Easy Slow Cooker Fajitas Flavorful and Quick Meal
If you’re seeking a hassle-free, tasty meal, you’ve hit the jackpot with Easy Slow Cooker Fajitas! These flavorful fajitas pack a punch with simple ingredients