Dinner
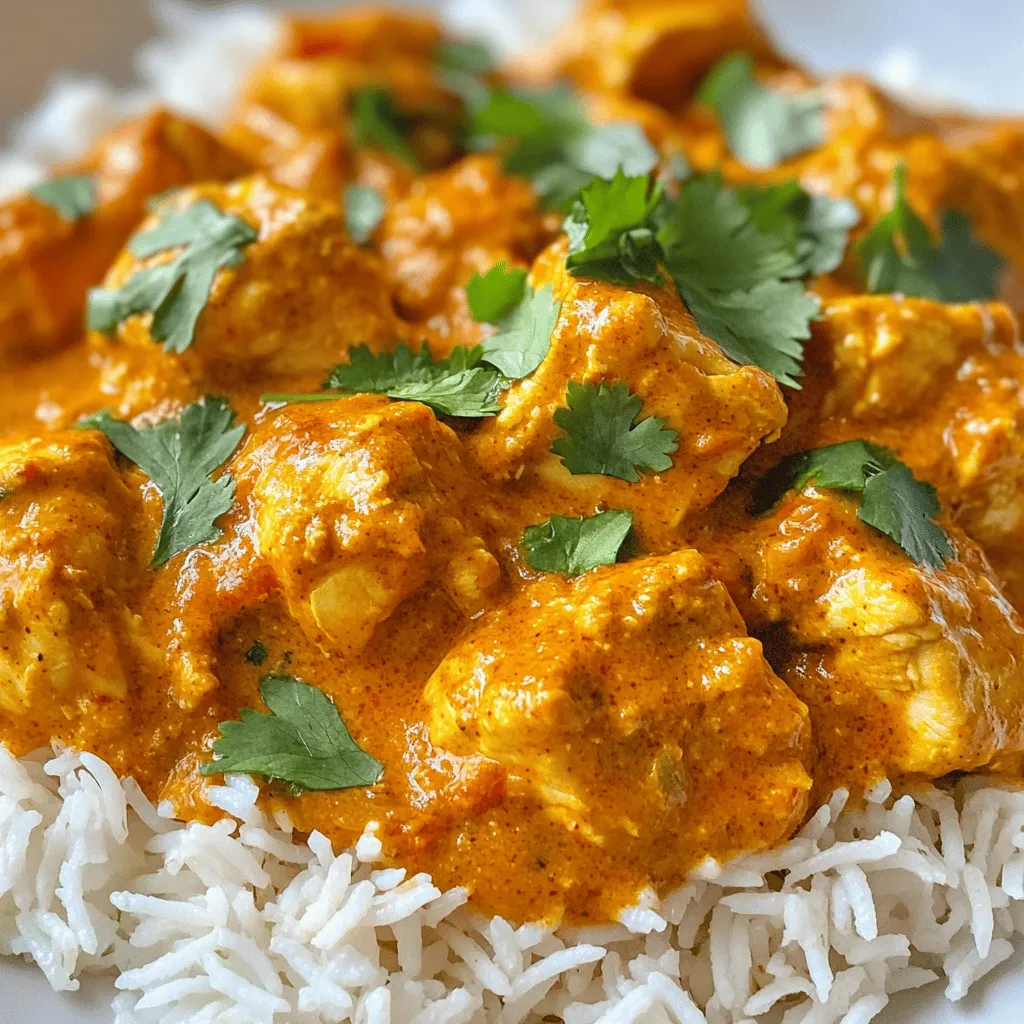
Instant Pot Chicken Tikka Masala Quick and Flavorful
Craving a rich and tasty meal that’s ready in no time? My Instant Pot Chicken Tikka Masala is the answer! This dish packs bold flavors
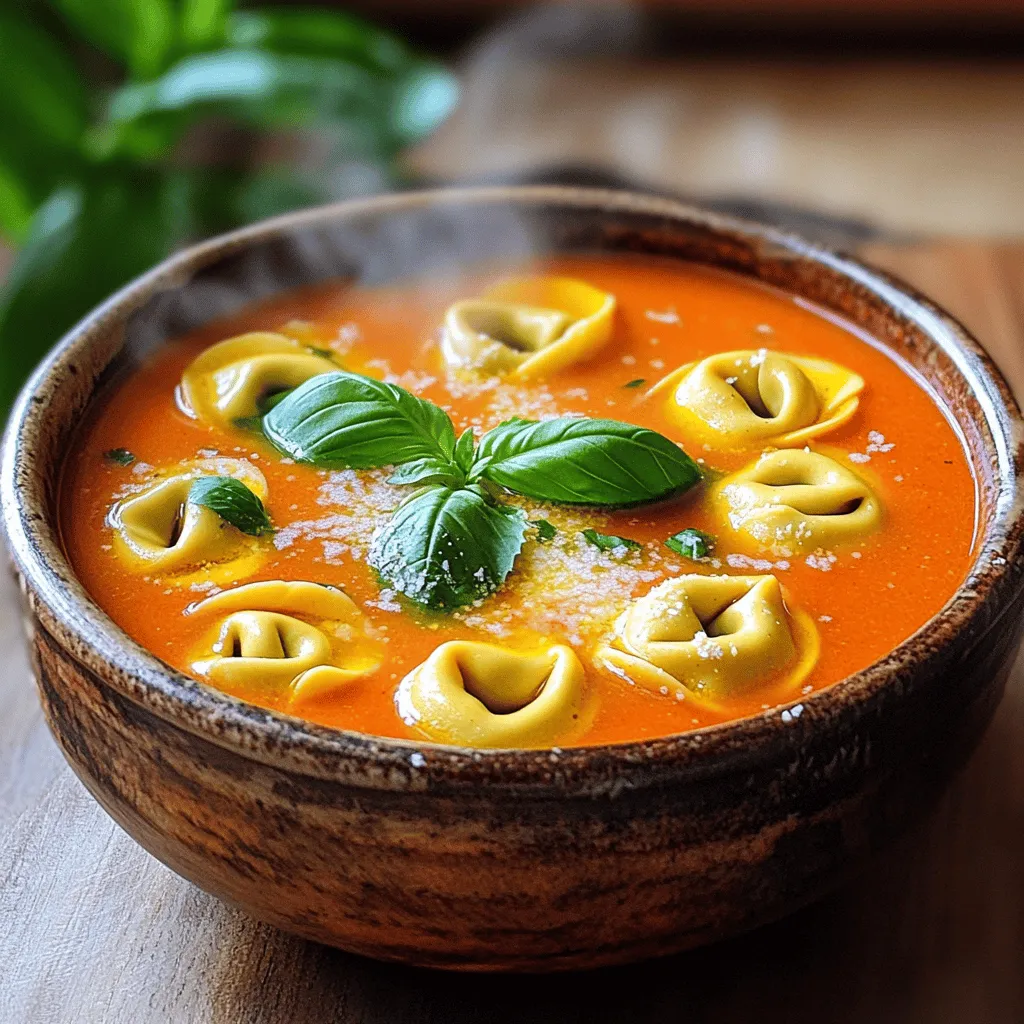
Creamy Tomato Basil Tortellini Soup Flavorful Delight
Are you ready for a warm and comforting bowl of Creamy Tomato Basil Tortellini Soup? This dish brings rich flavors and creamy goodness, perfect for
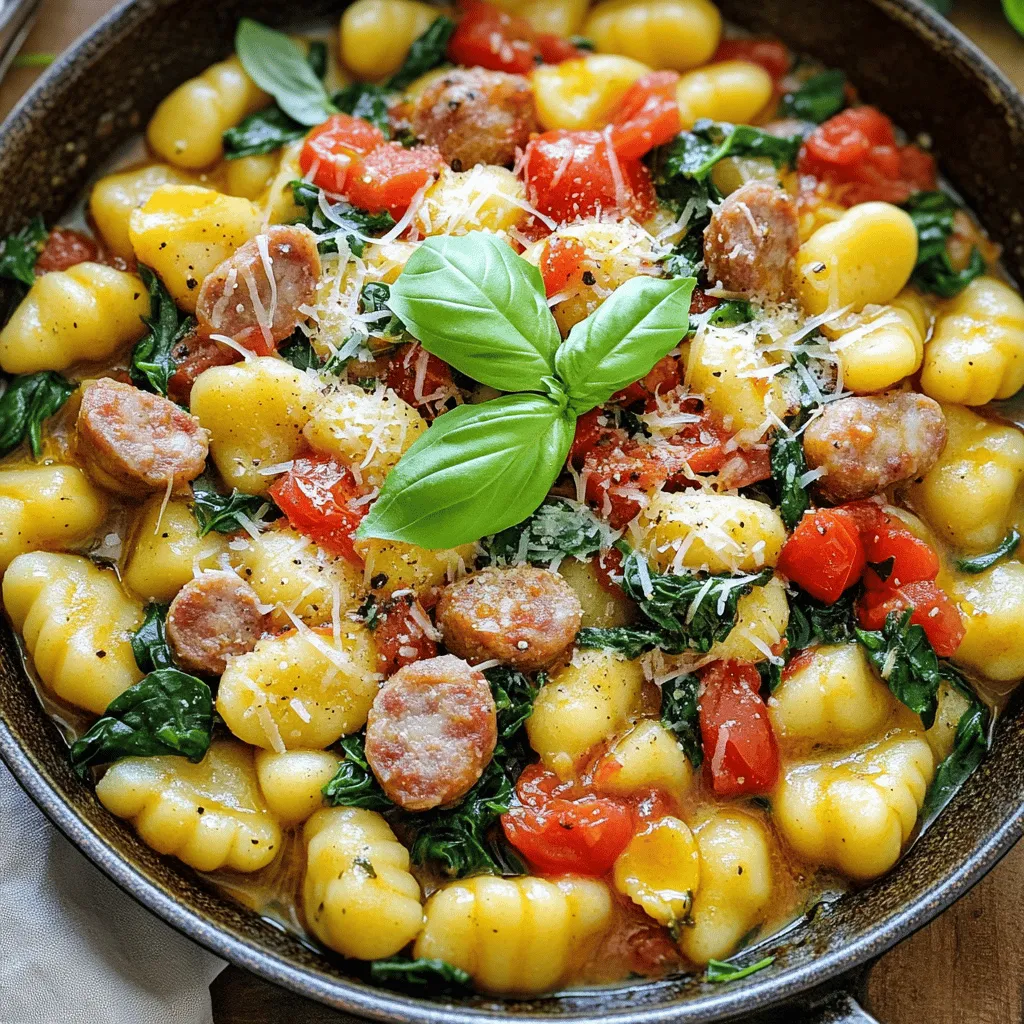
Savory Minute Tuscan Sausage Gnocchi Recipe Guide
Craving a quick and tasty meal? Let me introduce you to my Savory Minute Tuscan Sausage Gnocchi! This dish combines the rich flavors of Italian
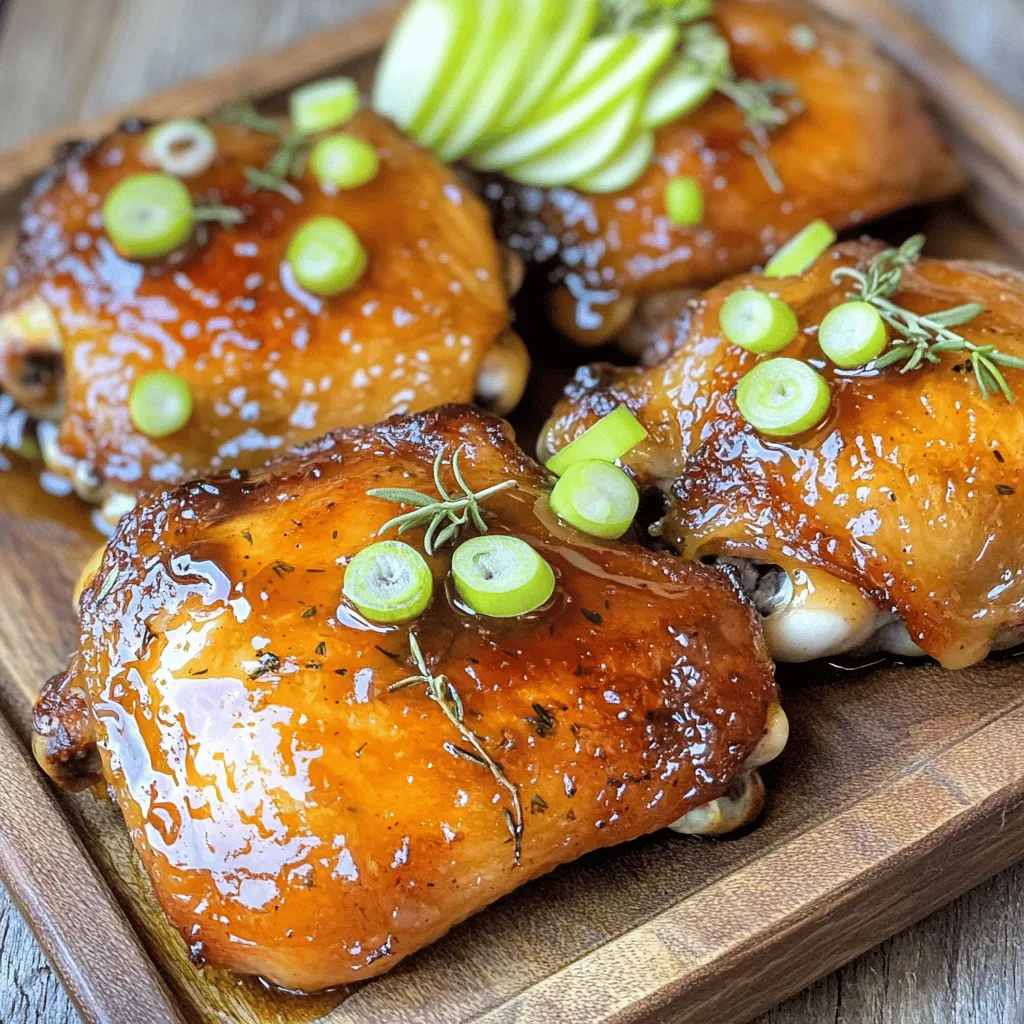
Apple Cider Glazed Chicken Thighs Savory Delight
Looking to impress your family with a delicious dinner? Try my Apple Cider Glazed Chicken Thighs! The sweet and tangy glaze combines apple cider, honey,

One-Pot Creamy Pumpkin Pasta Cozy and Comforting Dish
Are you ready for a warm, cozy meal that’s simple to make? This One-Pot Creamy Pumpkin Pasta is your answer. With just a few easy

Creamy Buffalo Chicken Stuffed Shells Flavorful Delight
Are you ready for a flavor explosion? My Creamy Buffalo Chicken Stuffed Shells will blow your taste buds away! These cheesy pasta shells packed with
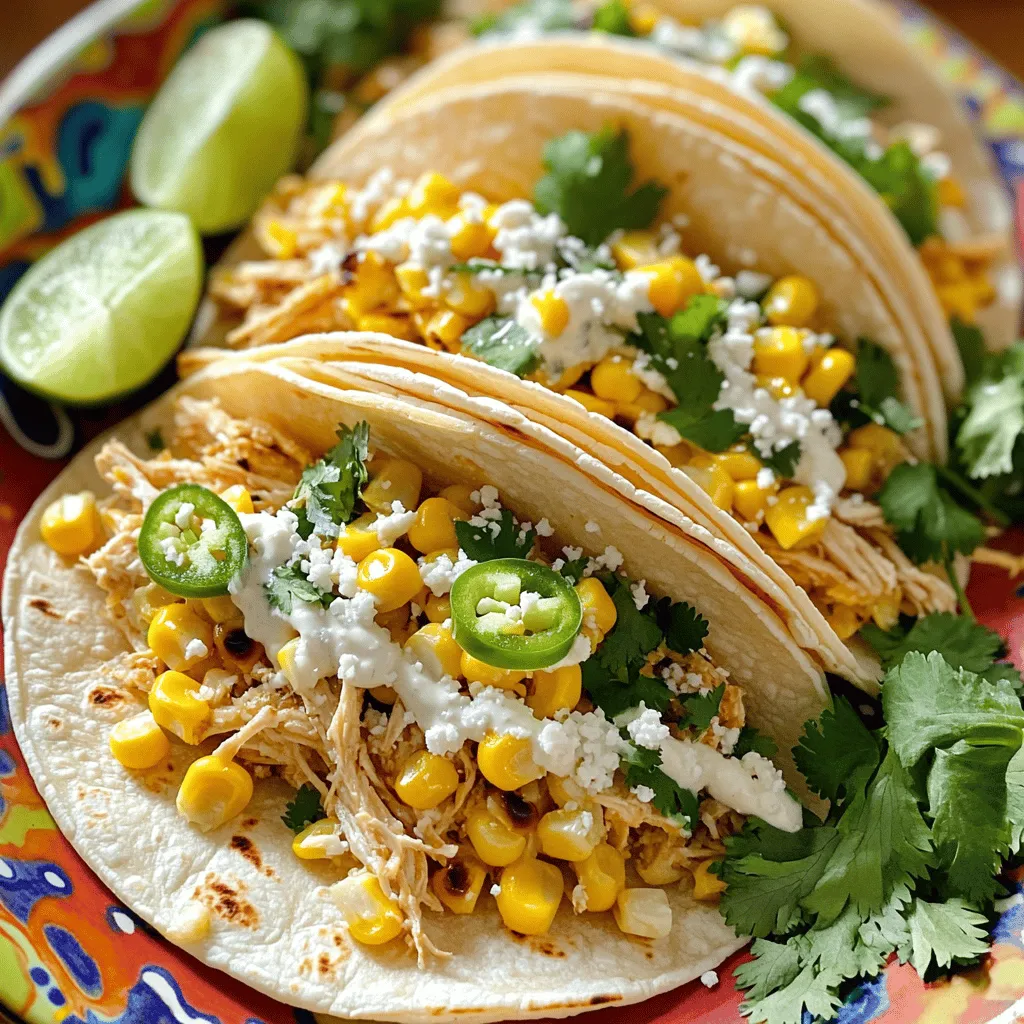
Mexican Street Corn Chicken Tacos Flavorful Delight
Get ready to savor the bold flavors of Mexican street corn with my Chicken Tacos! This dish combines juicy chicken, sweet corn, and creamy sauce,
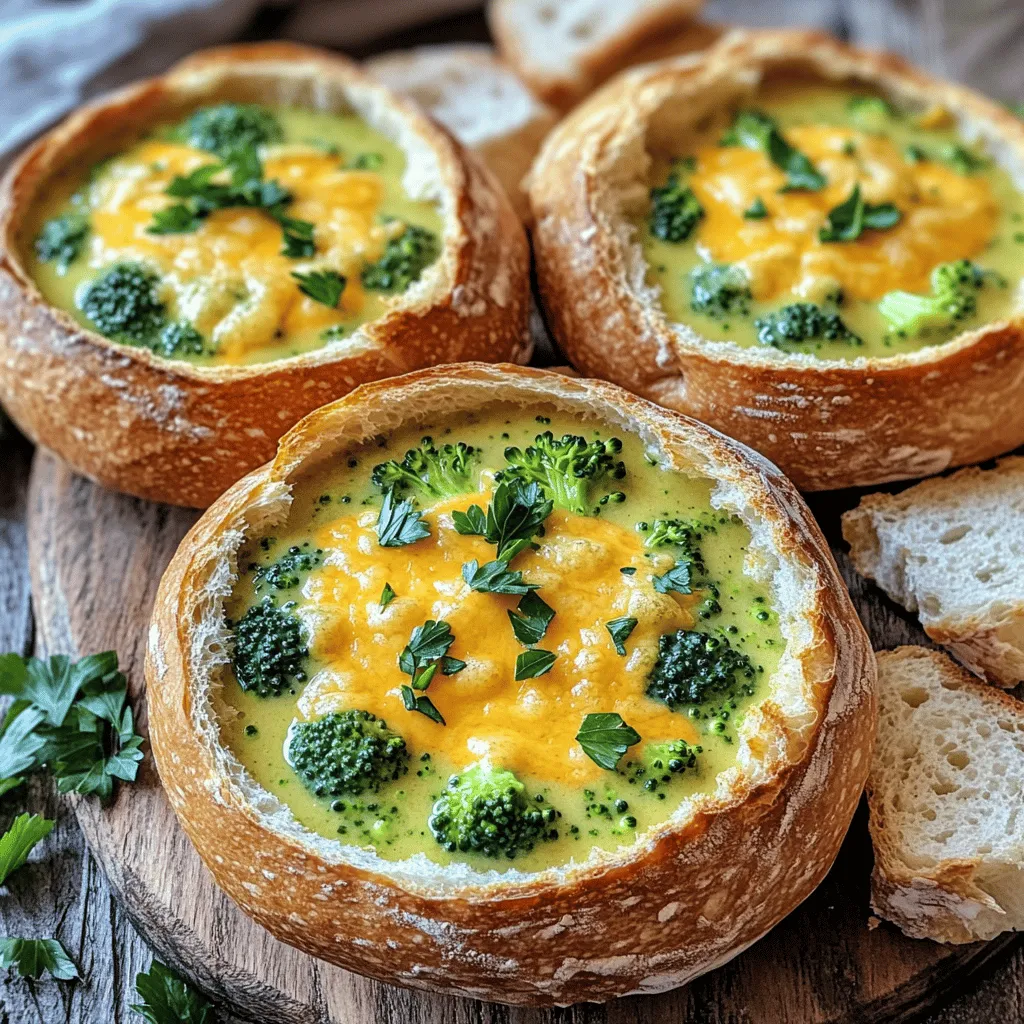
Cheesy Broccoli Cheddar Soup in Bread Bowls Delight
Welcome to your new favorite comfort food: Cheesy Broccoli Cheddar Soup in Bread Bowls! This warm dish offers a creamy and cheesy delight packed with
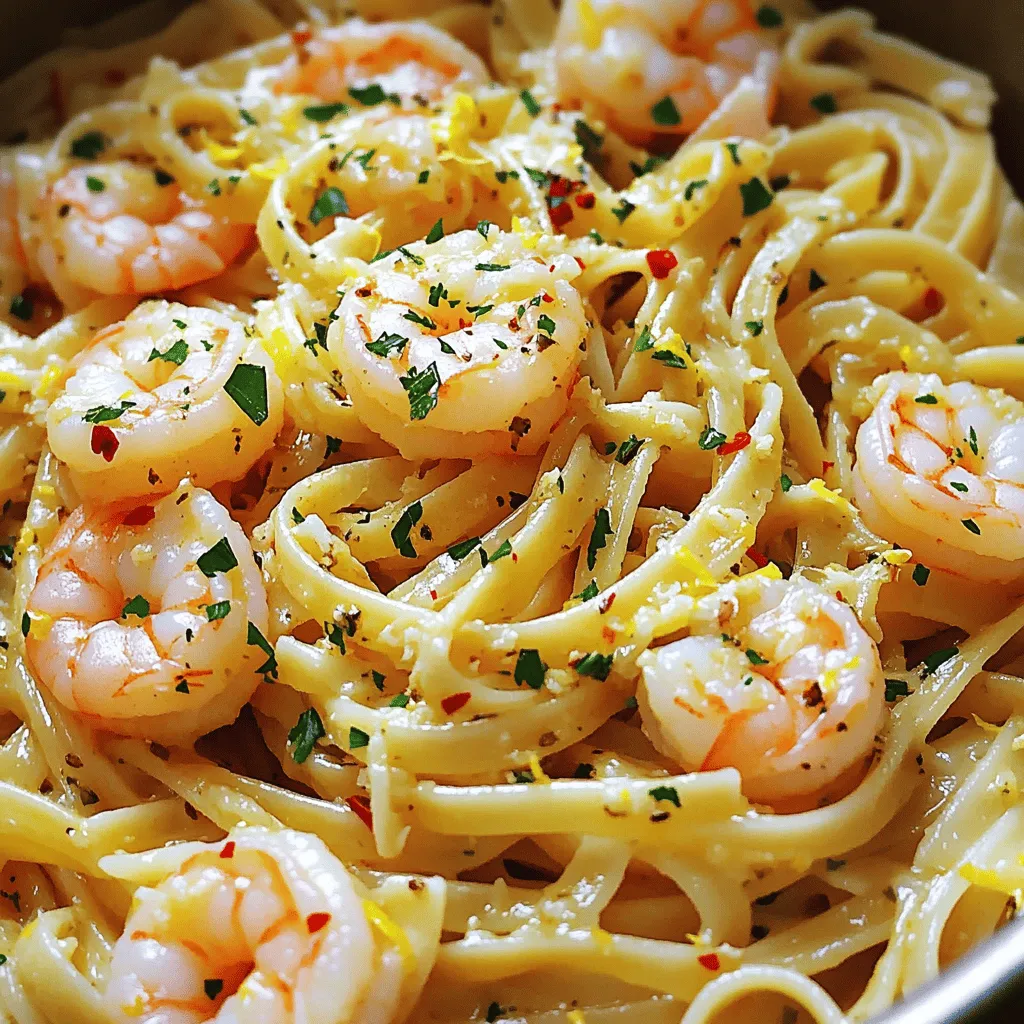
Minute Shrimp Scampi Linguine Quick and Easy Recipe
Are you craving a quick and tasty meal? This Minute Shrimp Scampi Linguine is your answer! Packed with flavor and super easy to make, it’s
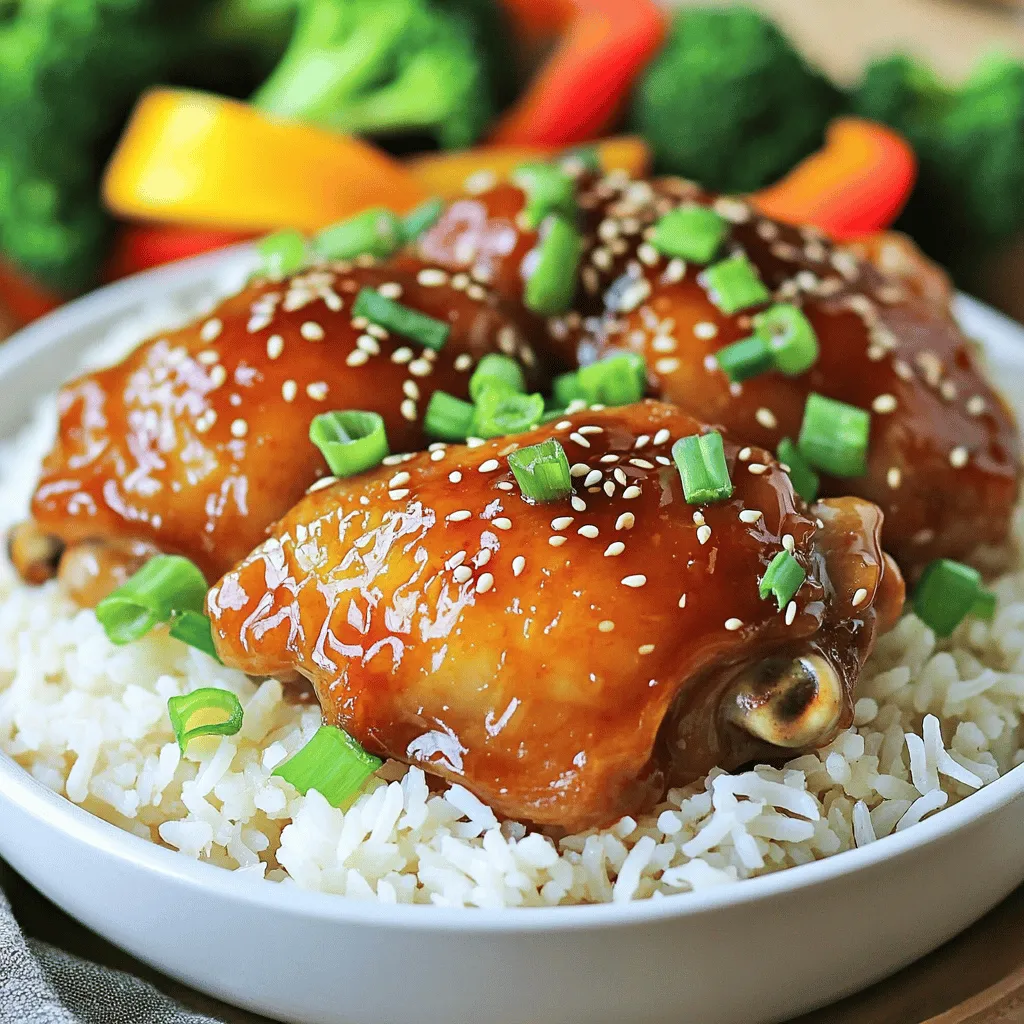
Slow Cooker Honey Garlic Chicken Thighs Delight
Welcome to my kitchen! Today, we’re diving into an easy and tasty recipe: Slow Cooker Honey Garlic Chicken Thighs. This dish is packed with flavor