Dinner
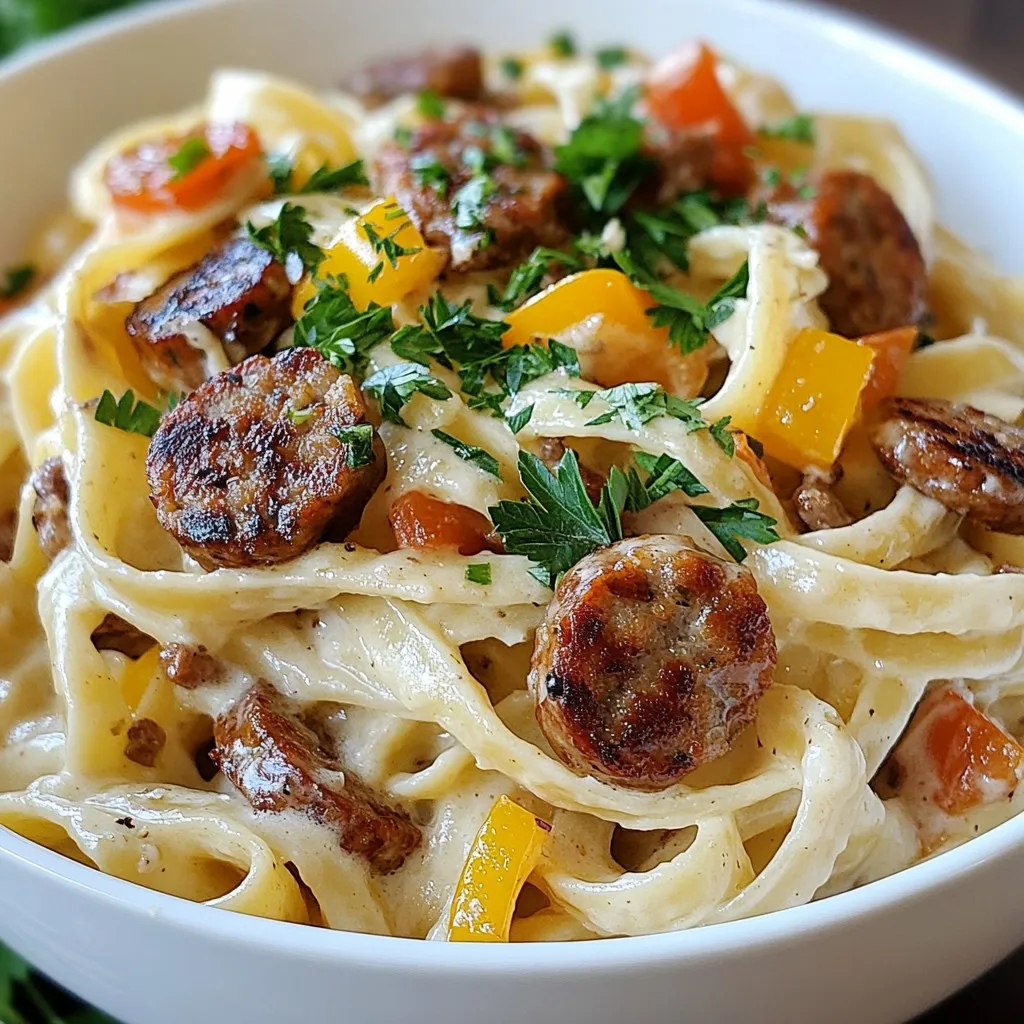
Cajun Sausage Alfredo Pasta Easy and Flavorful Meal
Craving a dish that’s both creamy and spicy? Look no further! My Cajun Sausage Alfredo Pasta is your new go-to meal. It’s easy to make
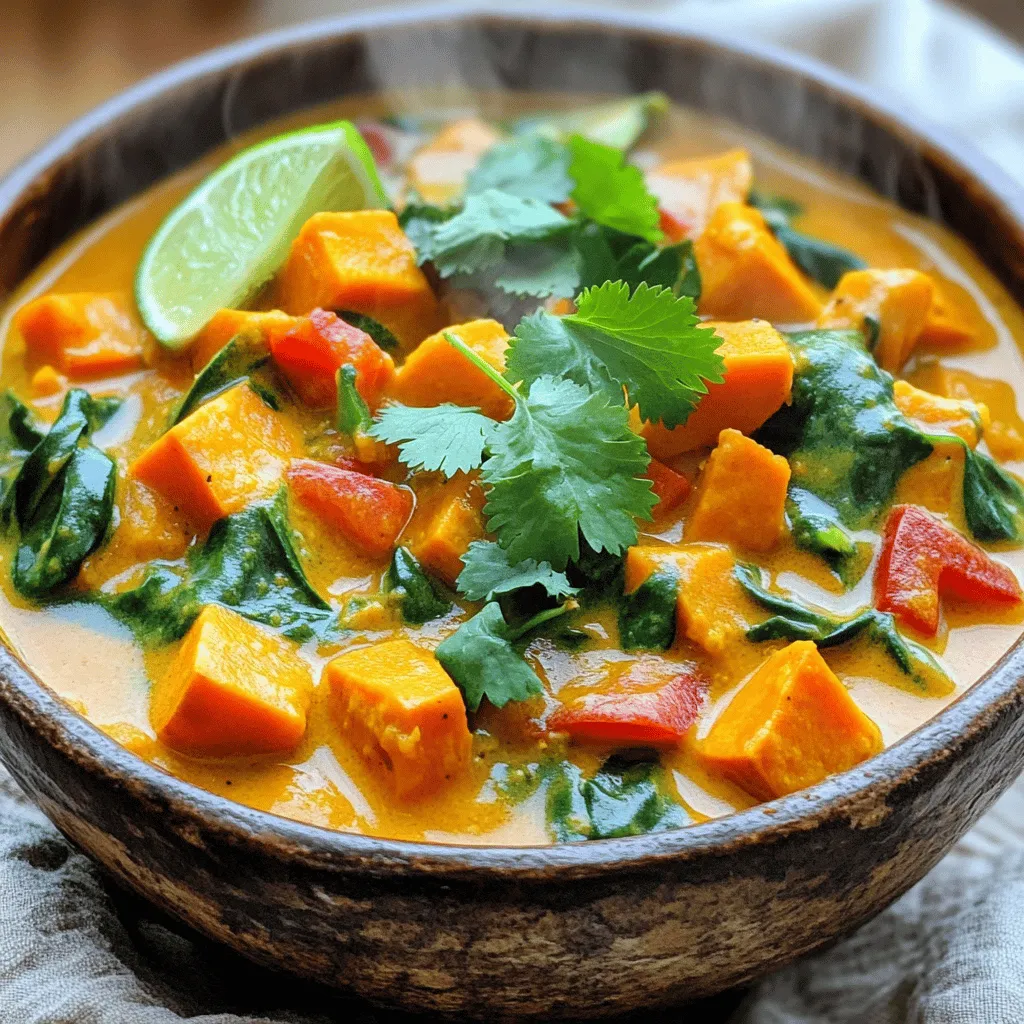
Vegan Sweet Potato Curry Flavorful and Simple Dish
If you’re searching for a hearty, delicious meal that’s both simple and vegan, look no further! My Vegan Sweet Potato Curry is packed with flavor
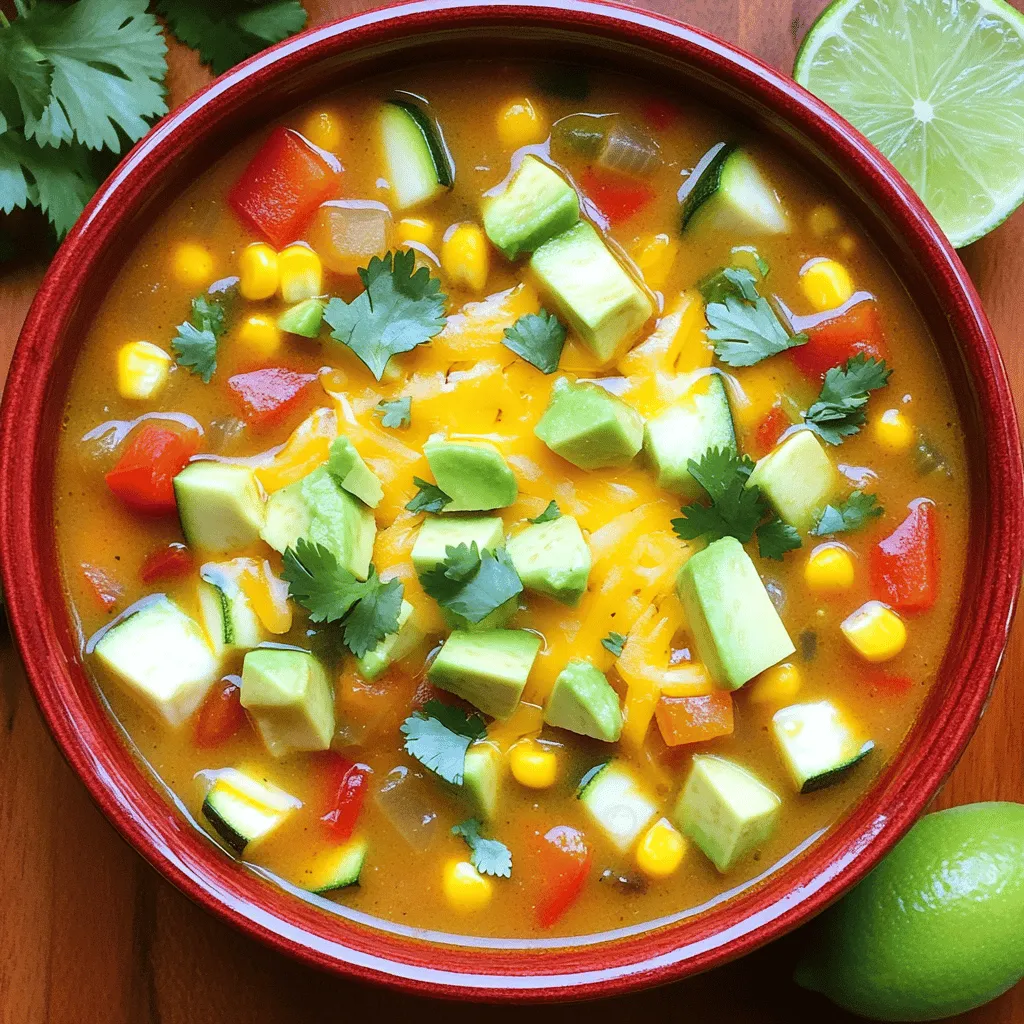
Loaded Veggie Enchilada Soup Flavorful and Filling Dish
If you crave a warm, tasty dish that’s both delicious and hearty, you’ve found it! This Loaded Veggie Enchilada Soup packs in vibrant vegetables, protein-rich
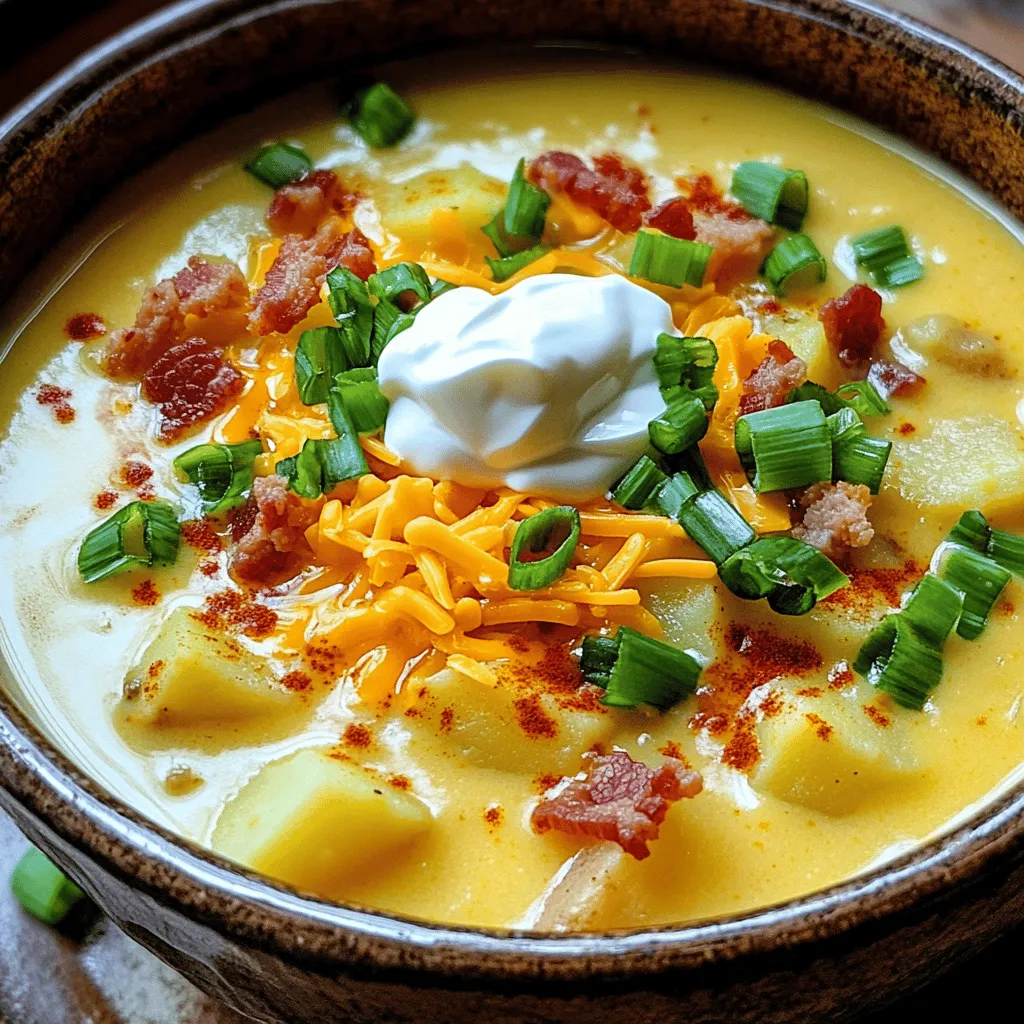
Loaded Baked Potato Soup Irresistible Comfort Dish
Welcome to the ultimate comfort dish: Loaded Baked Potato Soup! If you crave warmth and rich flavors, this soup is for you. With creamy potatoes,
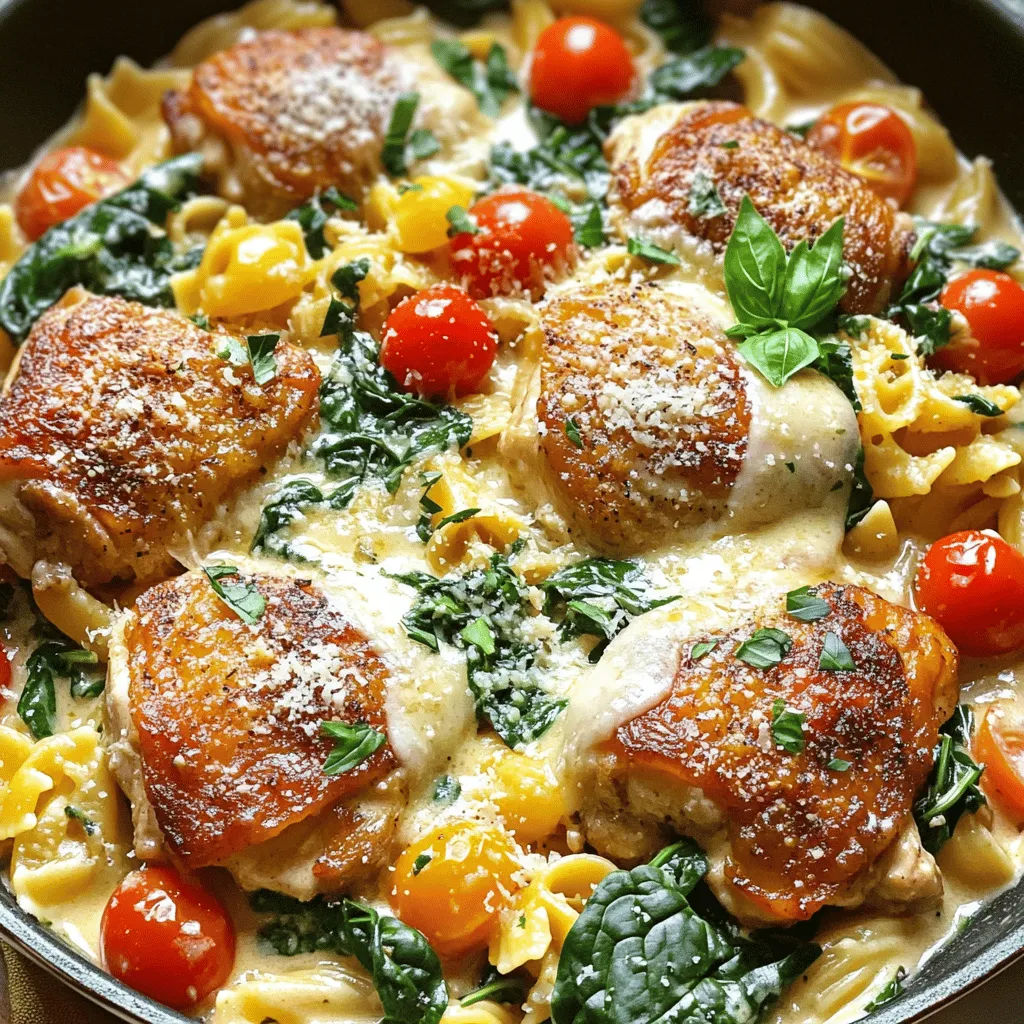
One Pot Creamy Tuscan Chicken Delightful Weeknight Meal
Ready for a simple and tasty dinner? One Pot Creamy Tuscan Chicken is your answer! This delightful weeknight meal combines juicy chicken, rich cream, and
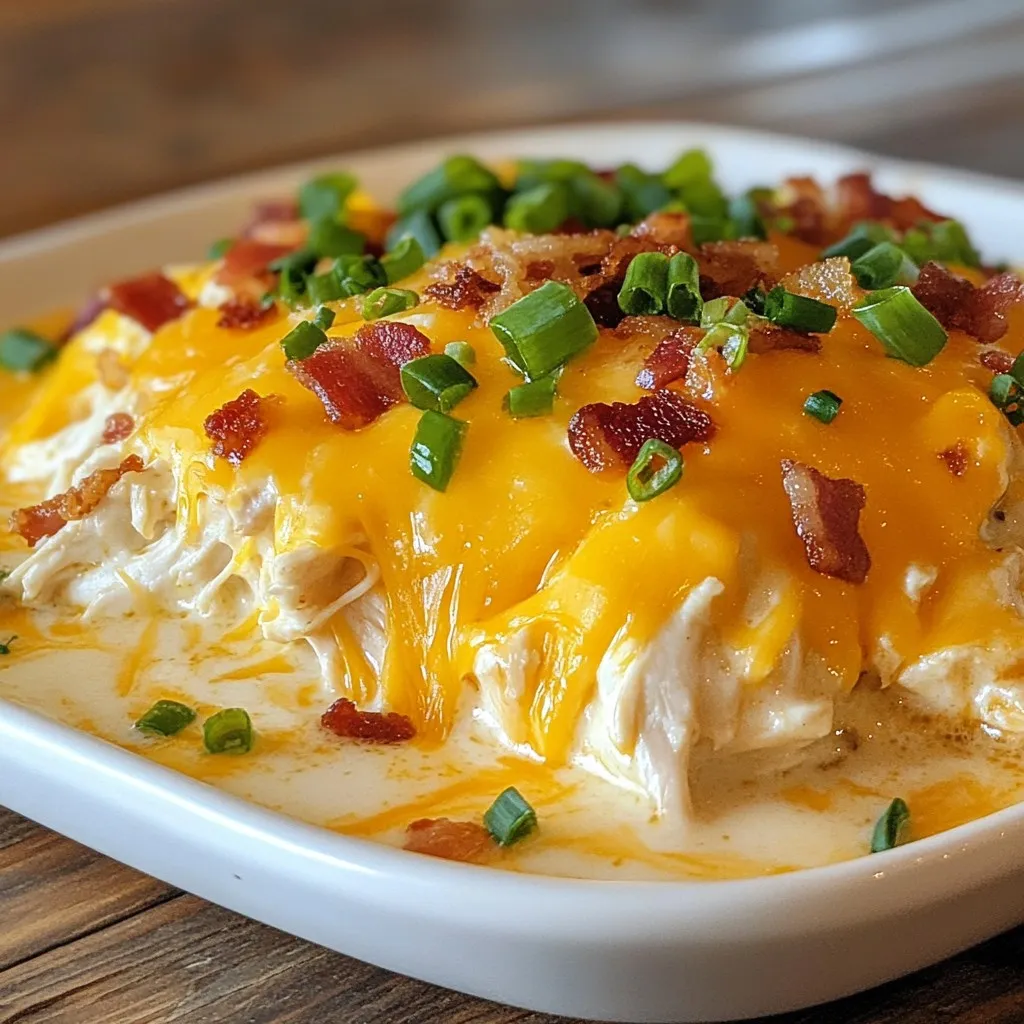
Slow Cooker Crack Chicken Cheesy and Comforting Dish
Looking for a dish that’s cheesy, creamy, and oh-so-comforting? Let me introduce you to Slow Cooker Crack Chicken! This easy recipe combines tender chicken, rich
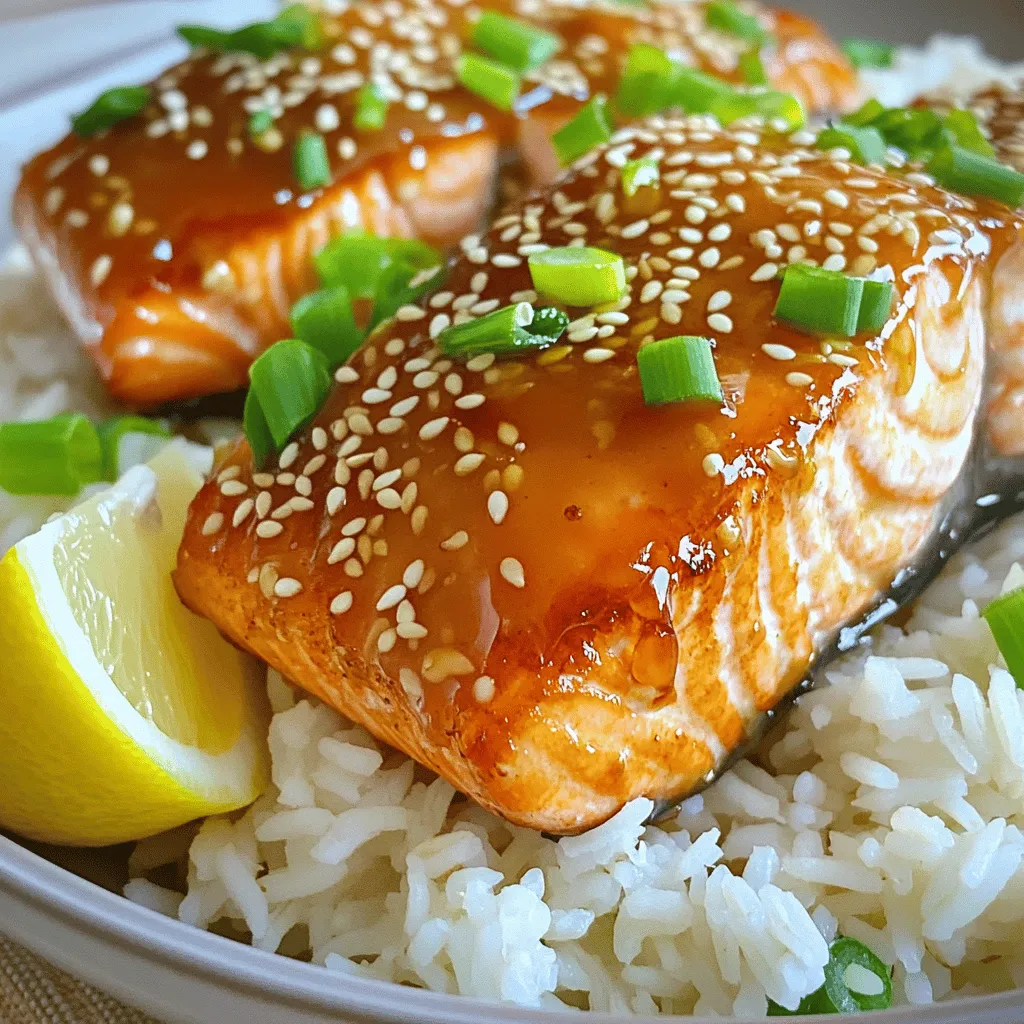
Air Fryer Honey Garlic Salmon Flavorful and Easy Dish
Are you ready to whip up a meal that’s both simple and packed with flavor? This Air Fryer Honey Garlic Salmon dish checks all the
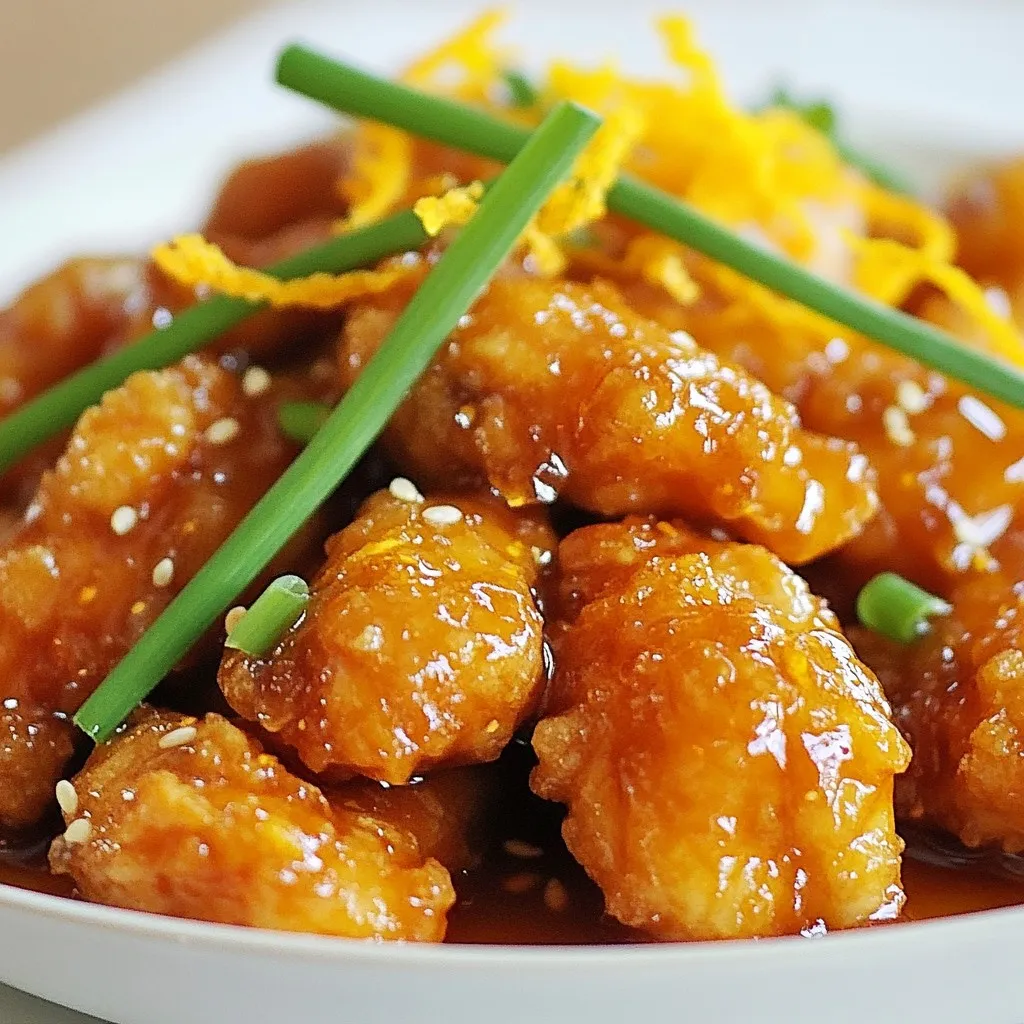
Gluten Free Orange Chicken Easy and Tasty Recipe
Craving a tasty dish that won’t upset your tummy? This Gluten Free Orange Chicken recipe is just what you need! It’s simple, delicious, and perfect
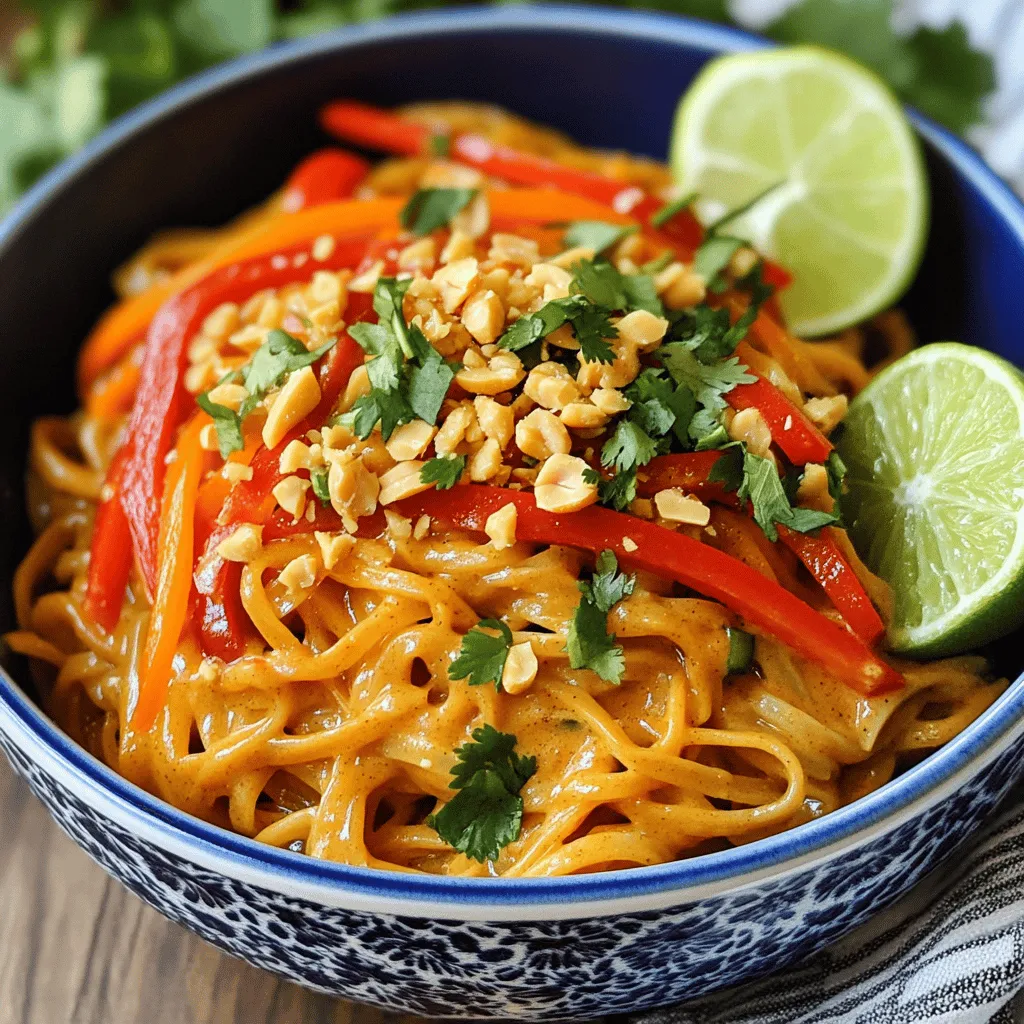
Spicy Thai Peanut Noodles Quick and Flavorful Recipe
Are you ready for a delicious trip to Thailand without leaving your kitchen? This Spicy Thai Peanut Noodles recipe is quick and full of flavor,
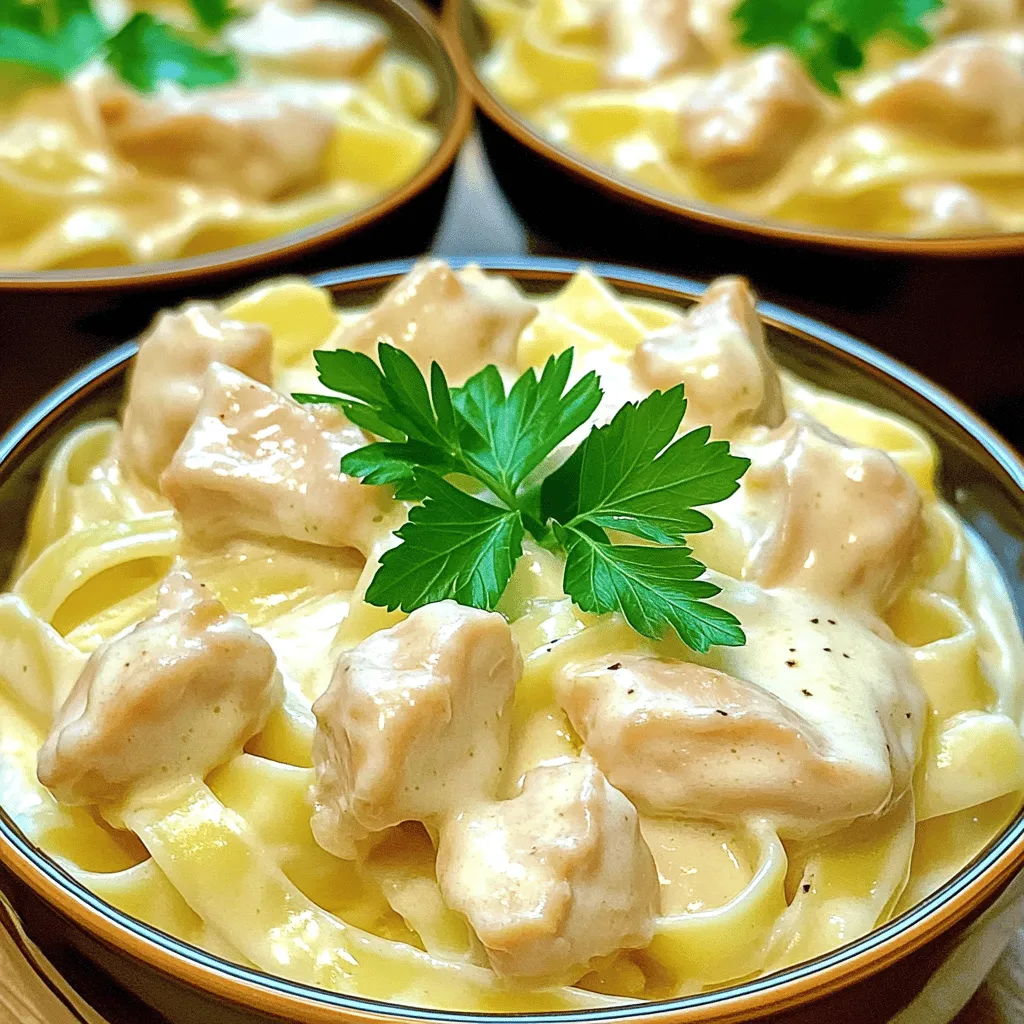
Instant Pot Chicken Alfredo Simple and Creamy Dish
Craving a creamy, comforting meal? Look no further than my Instant Pot Chicken Alfredo! This dish combines tender chicken, rich cream, and cheesy goodness, all