Dinner
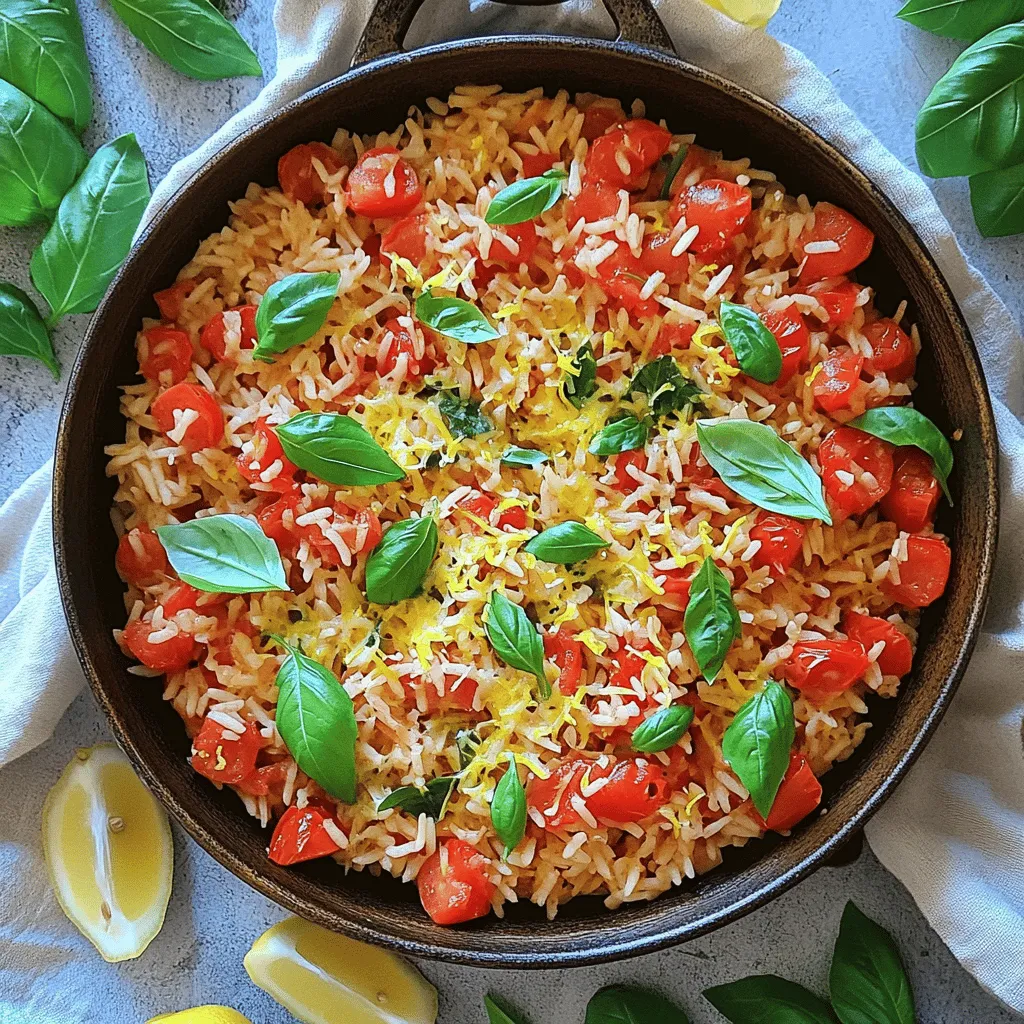
Tomato Basil Rice Skillet Flavorful and Easy Meal
Looking for an easy, delicious meal that bursts with flavor? Try my Tomato Basil Rice Skillet! This recipe is packed with vibrant ingredients and simple

Slow Cooker Chicken Gnocchi Soup Hearty and Easy Meal
Craving a warm, hearty meal that’s also easy to make? Look no further! This Slow Cooker Chicken Gnocchi Soup combines tender chicken, fresh veggies, and

Savory Sheet Pan Herb Salmon and Veggies Recipe
Looking for a quick and tasty meal? This Savory Sheet Pan Herb Salmon and Veggies recipe is your answer! With just one pan, you’ll roast
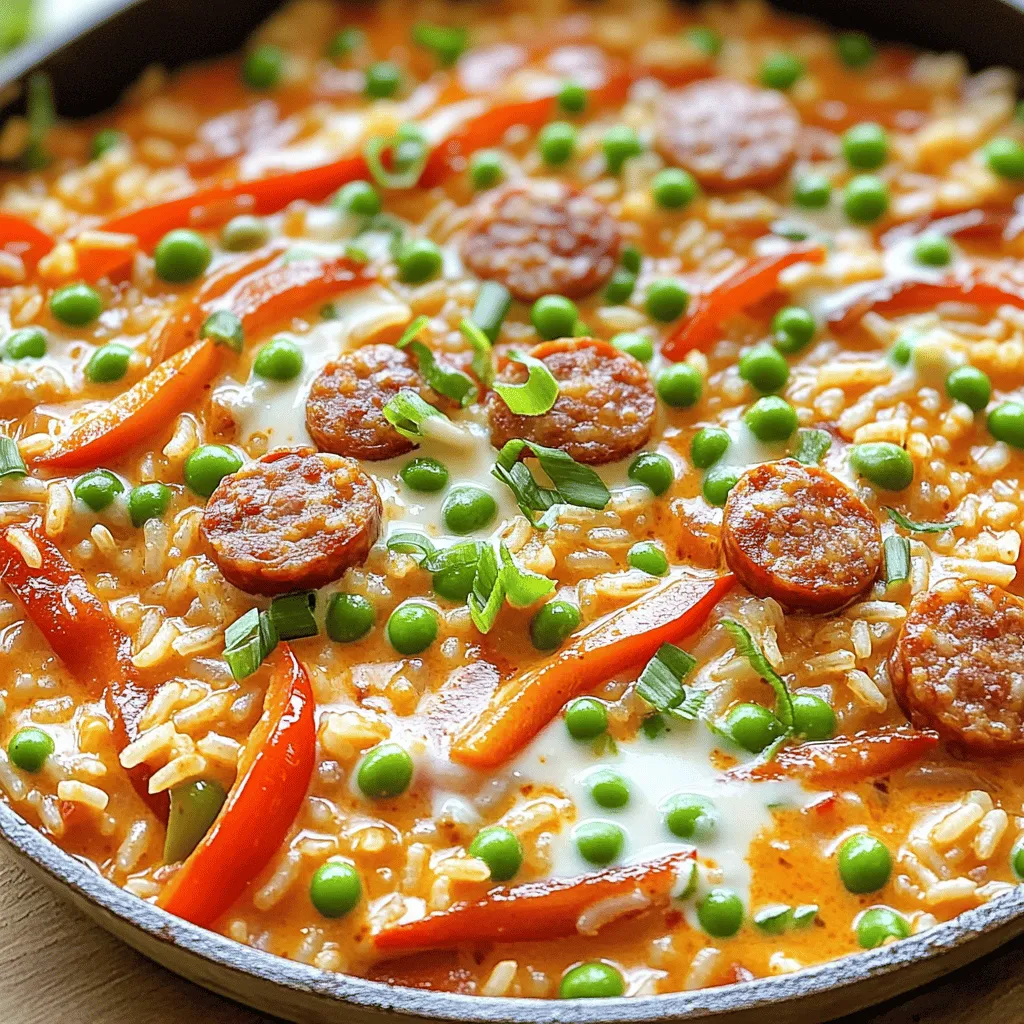
Creamy Cajun Sausage Rice Skillet Savory One-Pan Meal
If you’re craving a comforting meal that bursts with flavor, you need to try my Creamy Cajun Sausage Rice Skillet. This one-pan dish combines smoky
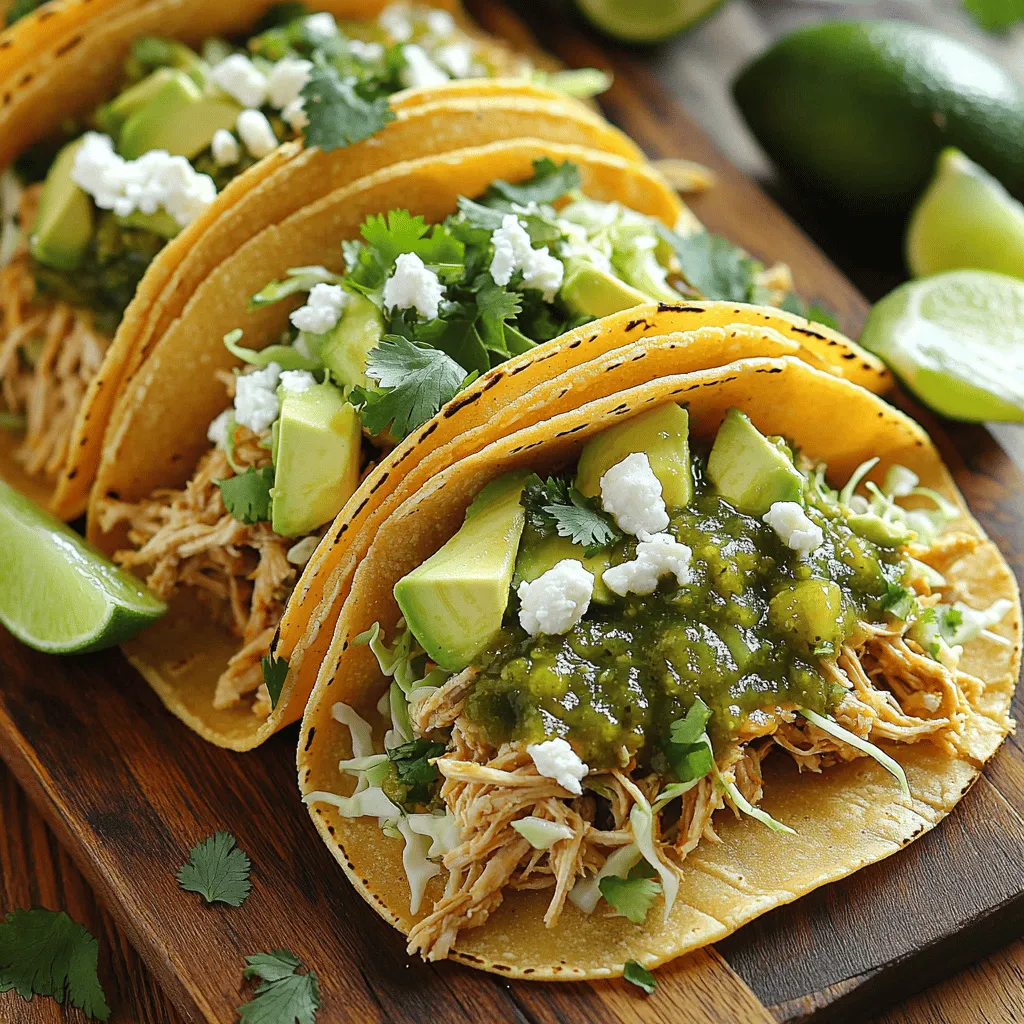
Salsa Verde Pulled Chicken Tacos Easy and Fl flavorful
Get ready for a flavor explosion! Salsa Verde Pulled Chicken Tacos are easy to make and simply delicious. Whether you choose store-bought salsa or whip
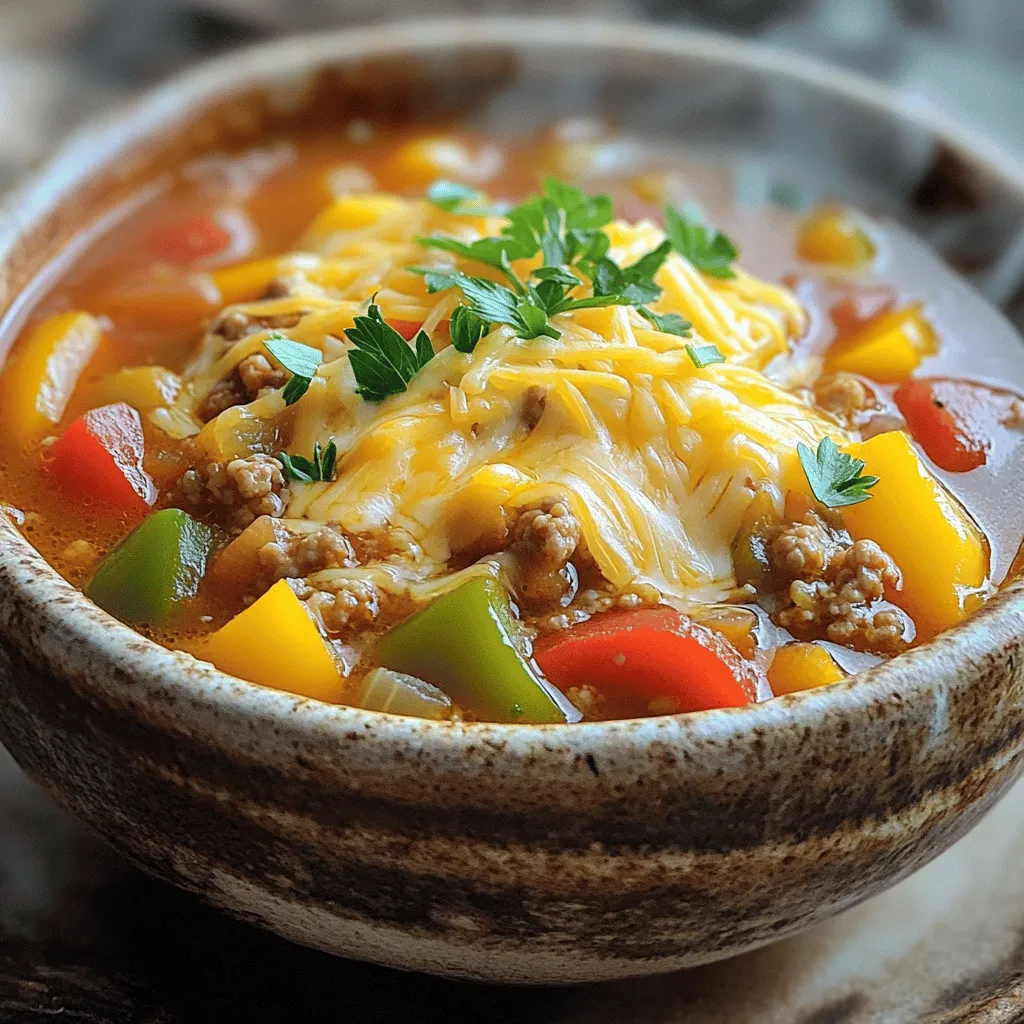
Slow Cooker Stuffed Pepper Soup Flavorful Comfort Dish
If you crave a warm, hearty meal, let me introduce you to Slow Cooker Stuffed Pepper Soup. This dish combines all the sweet flavors of
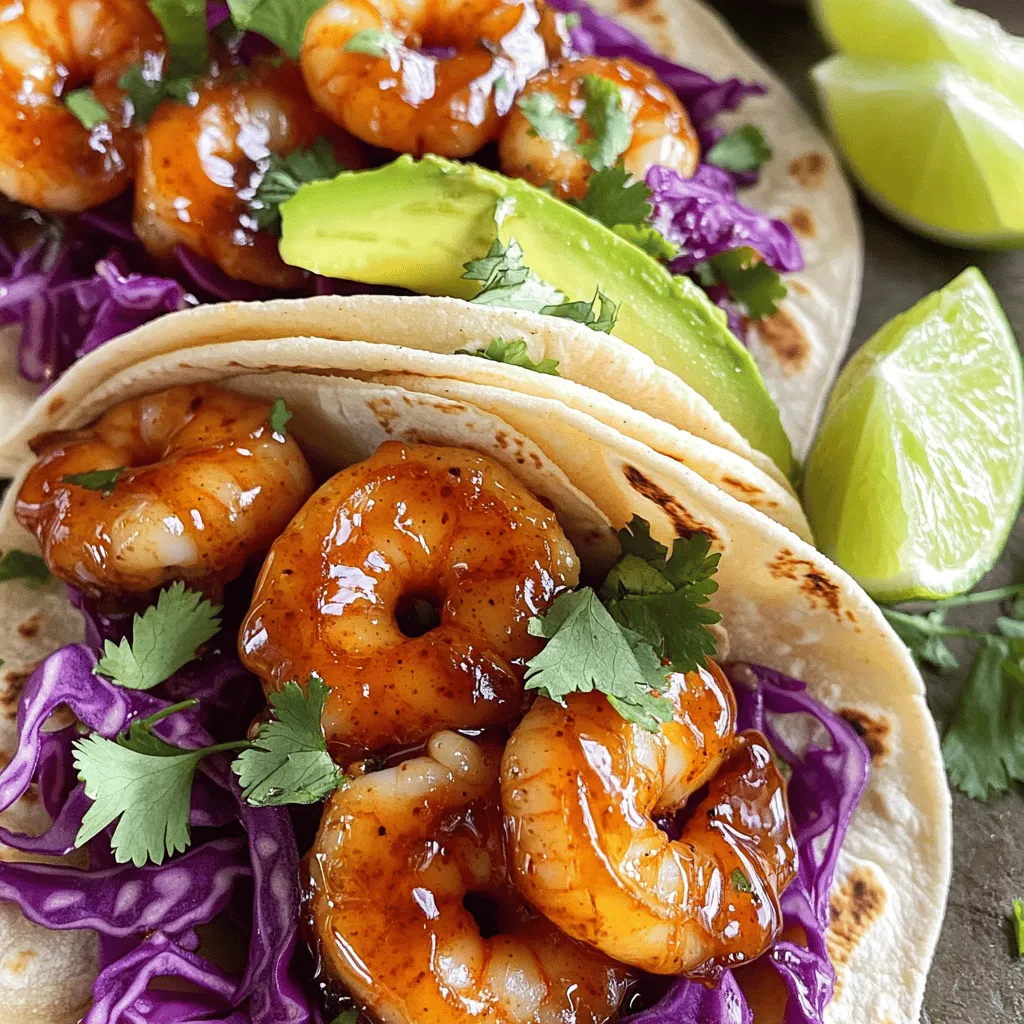
Honey Sriracha Shrimp Tacos Tangy Flavor Sensation
Are you ready to spice up your taco night? Honey Sriracha Shrimp Tacos combine sweet and spicy flavors for a delicious meal. In this blog,
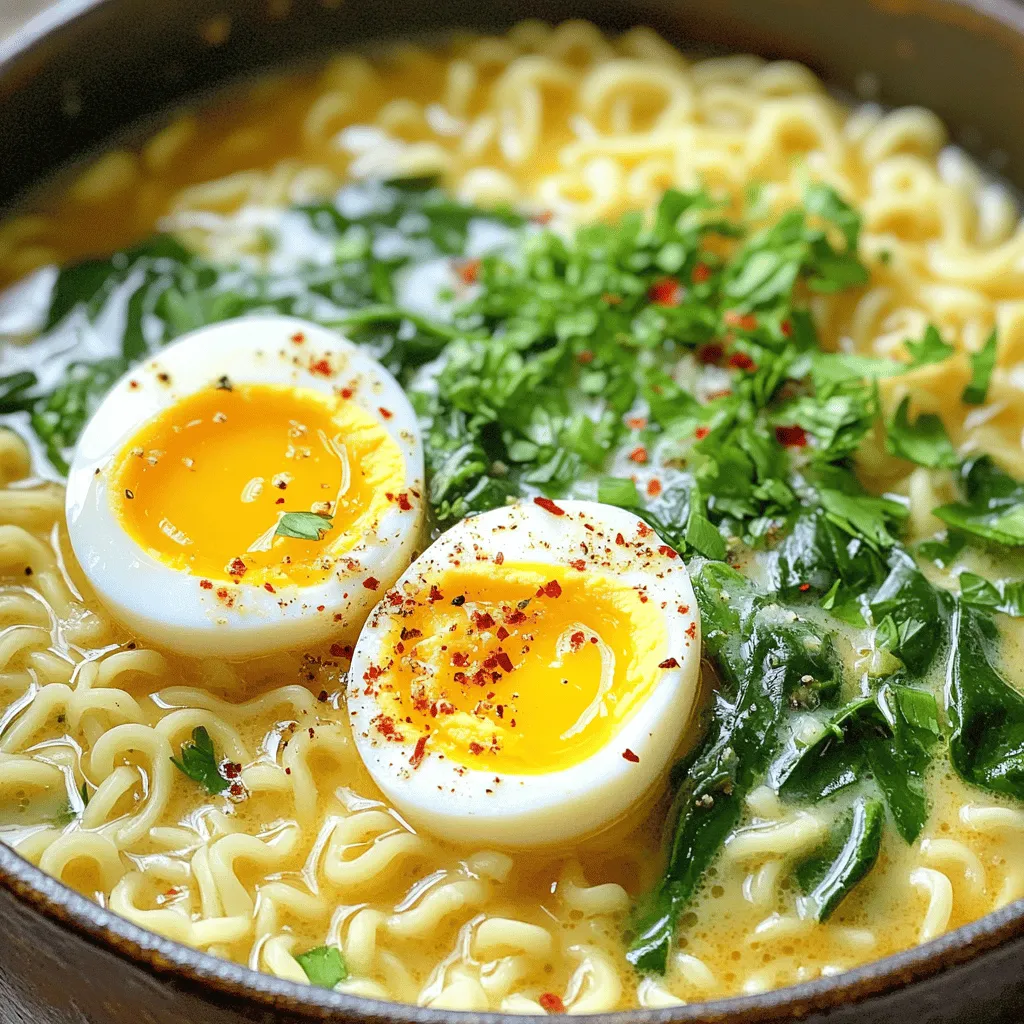
One-Pot Garlic Parmesan Ramen Creamy and Flavorful Dish
Craving a quick, tasty meal? Let me introduce you to One-Pot Garlic Parmesan Ramen! This creamy dish combines rich flavors and simple ingredients. You’ll need
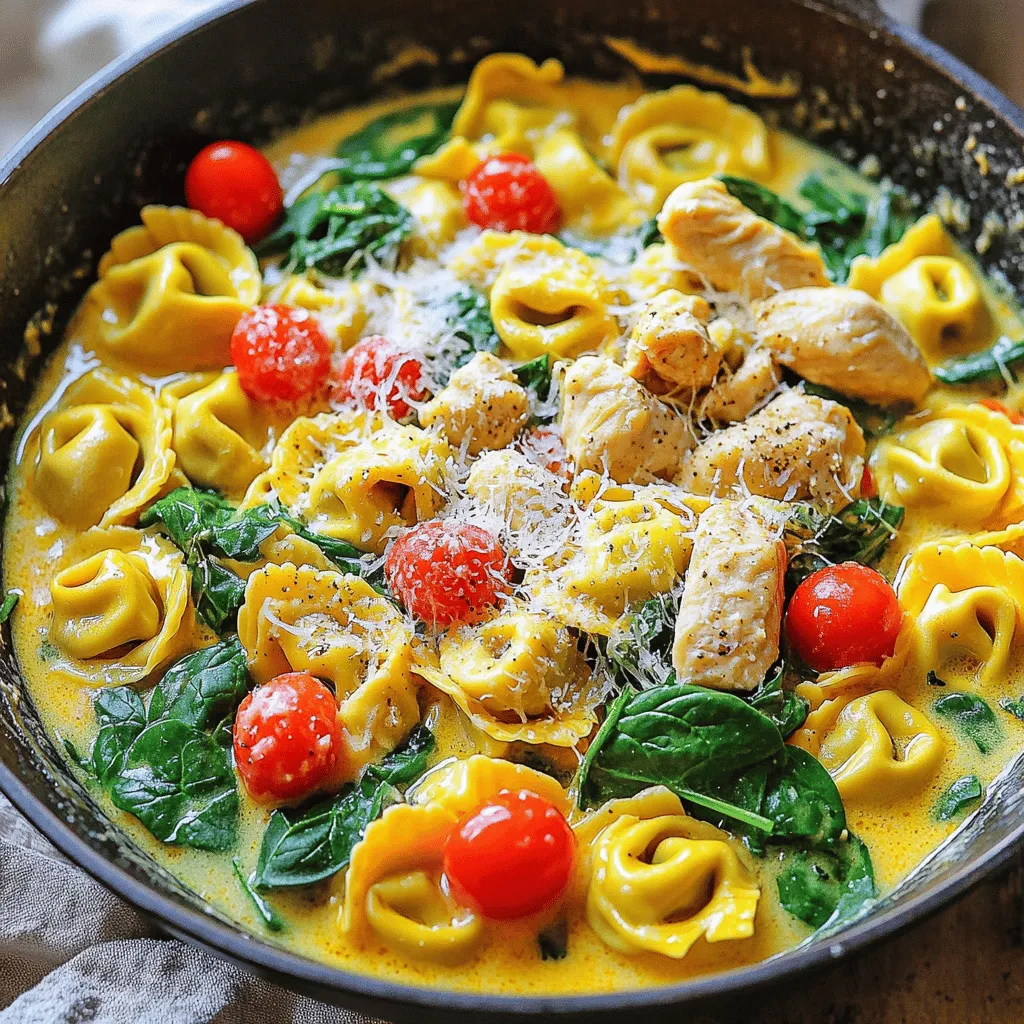
Tuscan Chicken Tortellini Skillet Delicious Recipe
Ready for a quick and tasty meal? My Tuscan Chicken Tortellini Skillet is your answer! This dish combines tender chicken, creamy sauce, and cheesy tortellini
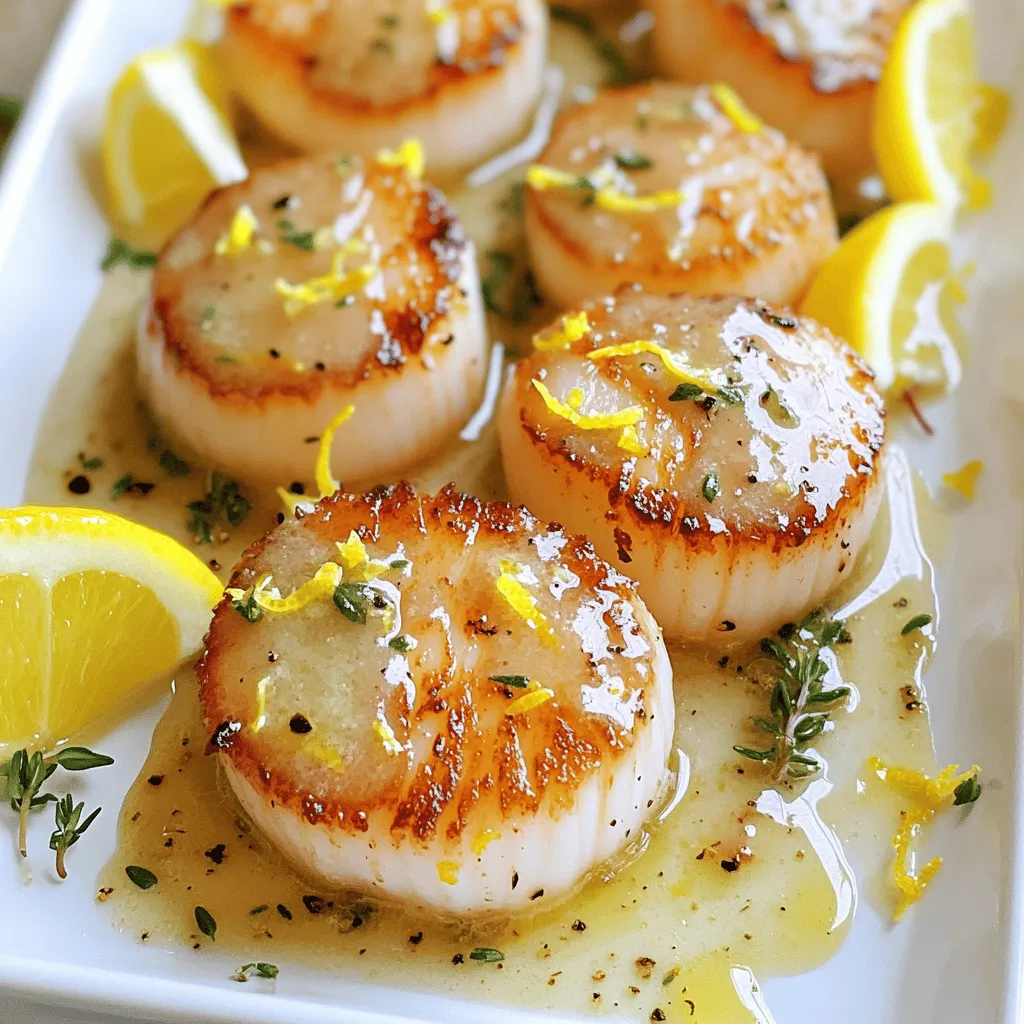
Lemon Garlic Butter Scallops Flavorful and Simple Dish
If you’re looking for a delicious seafood dish that’s easy to make, you’ve found it! Lemon Garlic Butter Scallops are flavorful and can be ready