Dinner
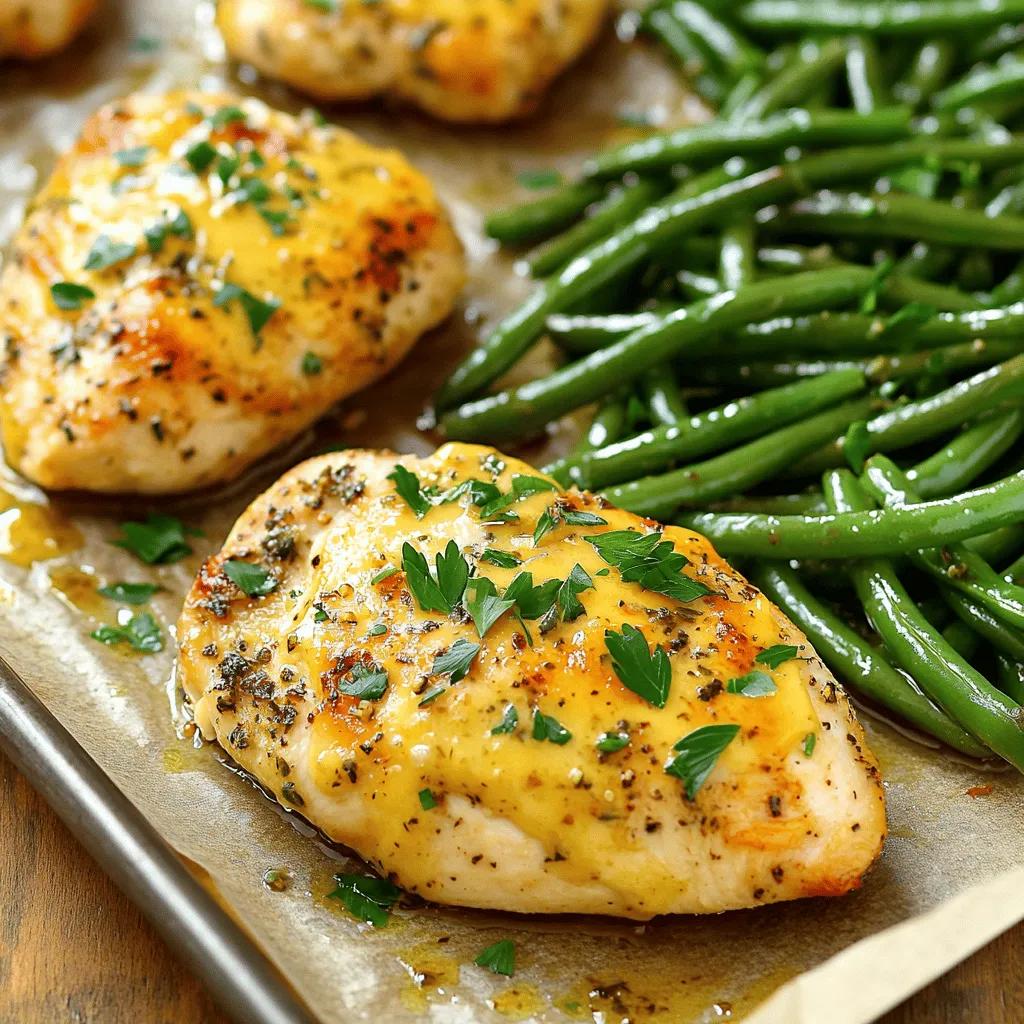
Savory Sheet-Pan Garlic Butter Chicken with Green Beans
Welcome to my kitchen, where tonight’s star is the Savory Sheet-Pan Garlic Butter Chicken with Green Beans! This easy recipe combines juicy chicken breasts with
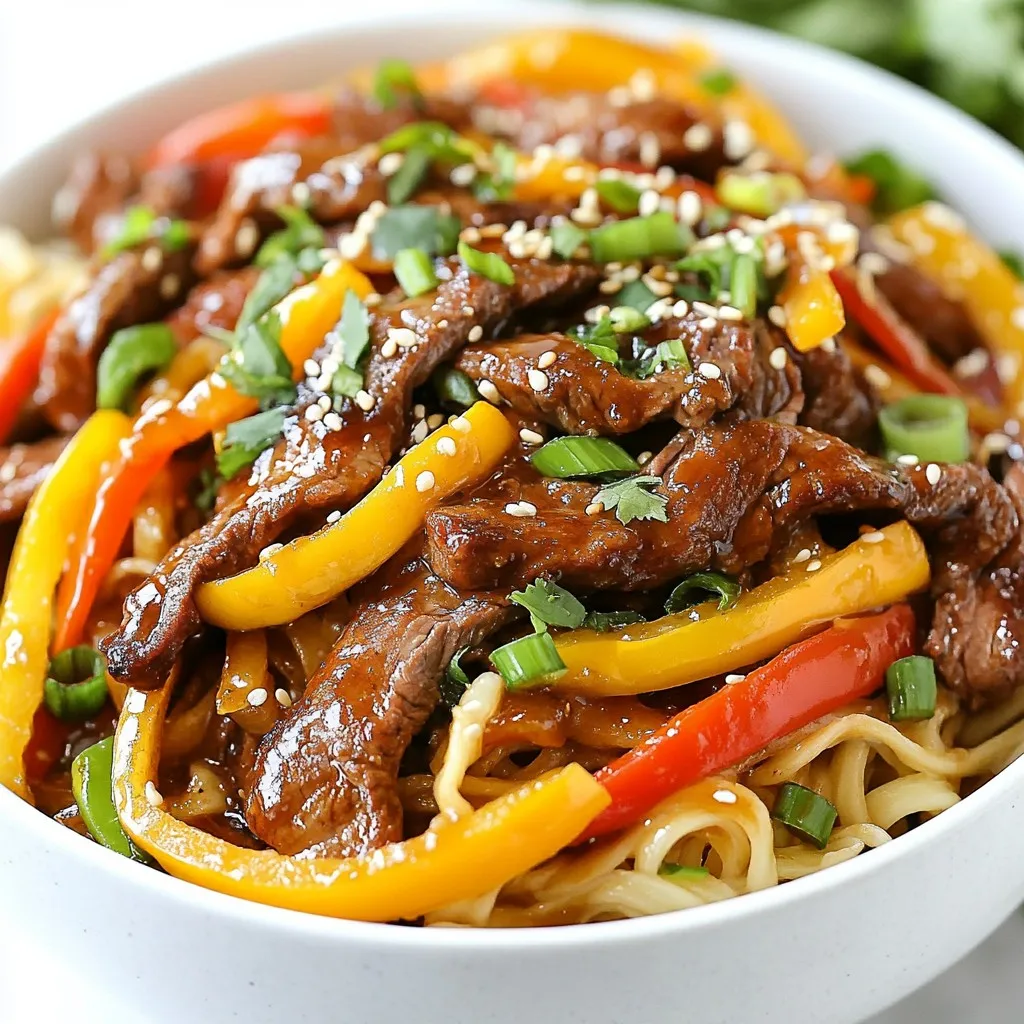
Mongolian Beef Noodles Flavorful and Easy Recipe
Are you craving a hearty meal that’s both tasty and simple? Look no further! This Mongolian Beef Noodles recipe packs a punch of flavor and
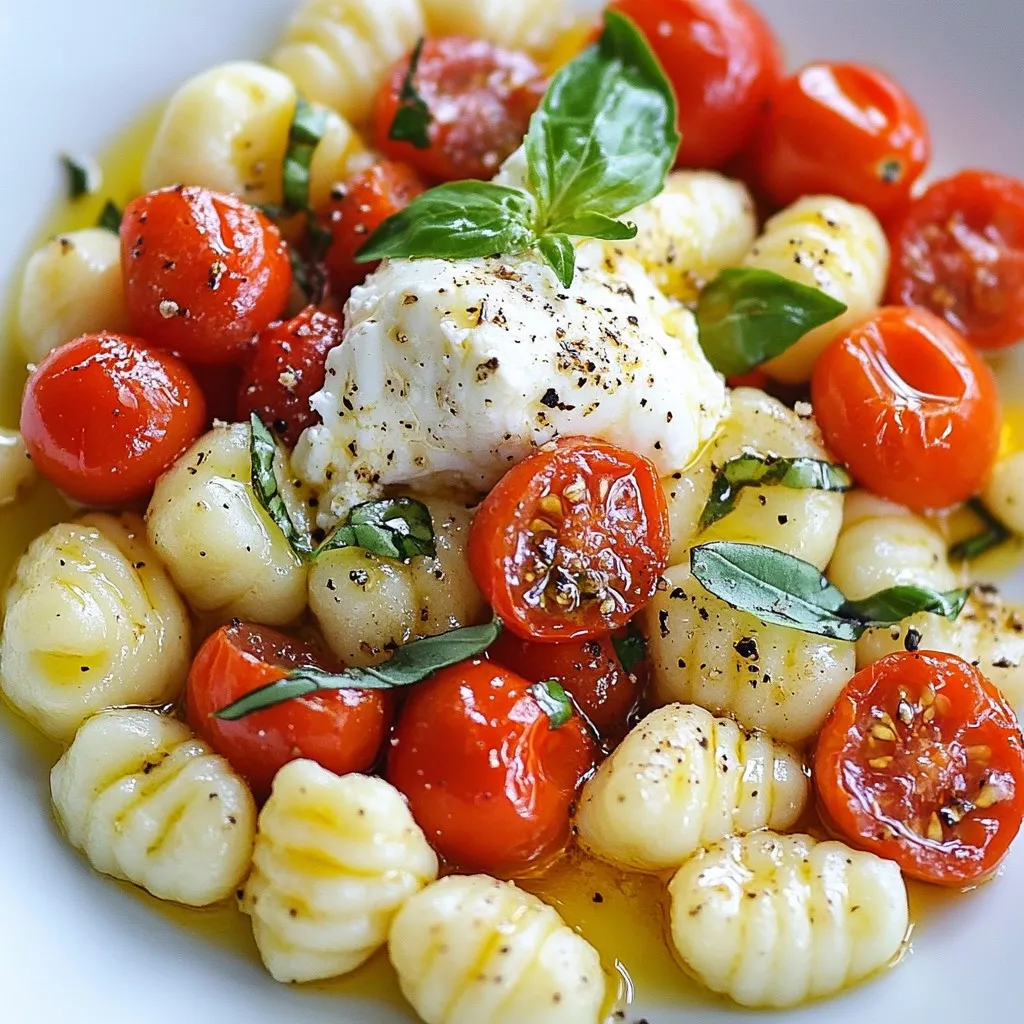
Minute Tomato Burrata Gnocchi Quick and Savory Meal
Craving a quick and tasty meal? Try my Minute Tomato Burrata Gnocchi! This vibrant dish pairs soft gnocchi with fresh tomatoes and creamy burrata for

Minute Garlic Butter Chicken & Rice Skillet Delight
Get ready to whip up a meal that’s quick, tasty, and perfect for busy days! My Minute Garlic Butter Chicken & Rice Skillet Delight brings
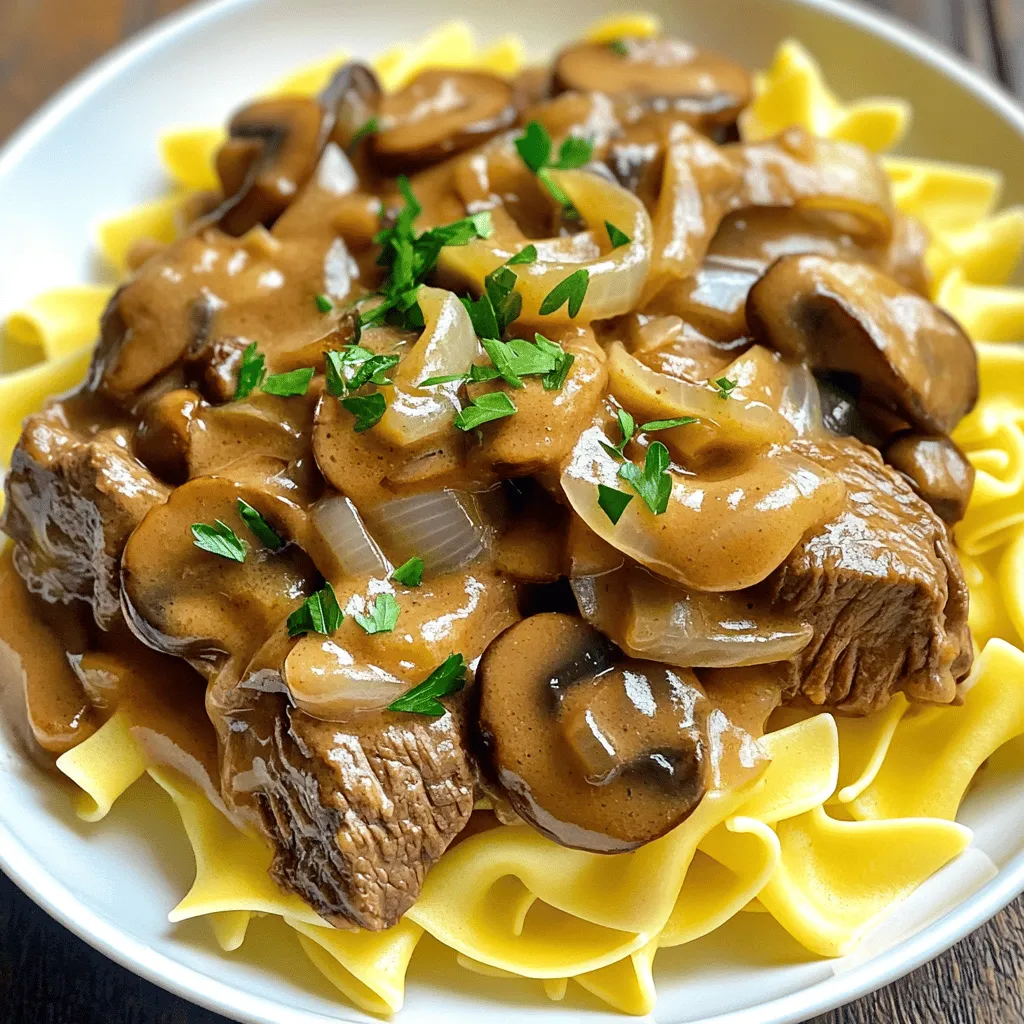
Slow Cooker Beef Stroganoff Easy Comfort Food Recipe
Looking for an easy, hearty meal that warms your soul? My Slow Cooker Beef Stroganoff recipe delivers big flavors with minimal effort. You’ll enjoy tender
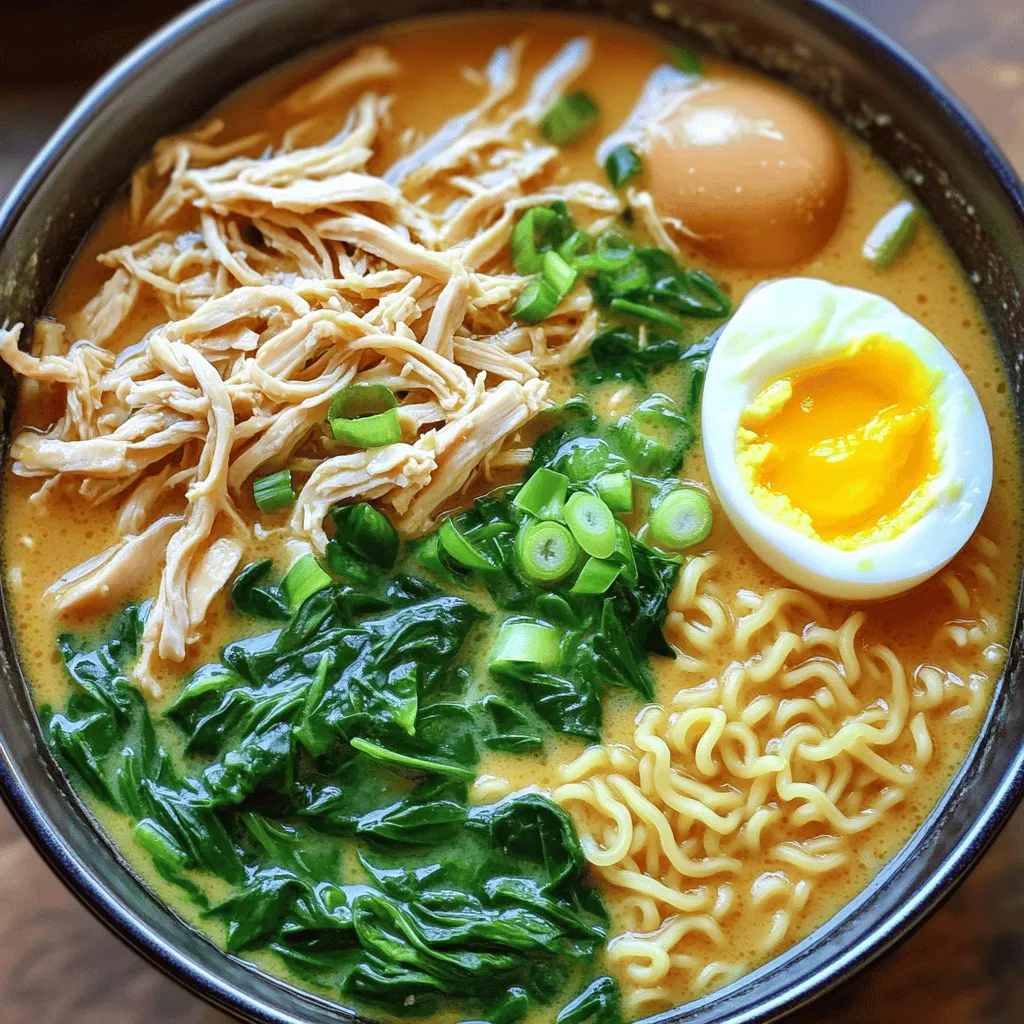
Instant Pot Creamy Chicken Ramen Simple Comfort Meal
Craving a warm, comforting meal that’s quick and tasty? My Instant Pot Creamy Chicken Ramen is perfect for you. This recipe combines rich flavors and
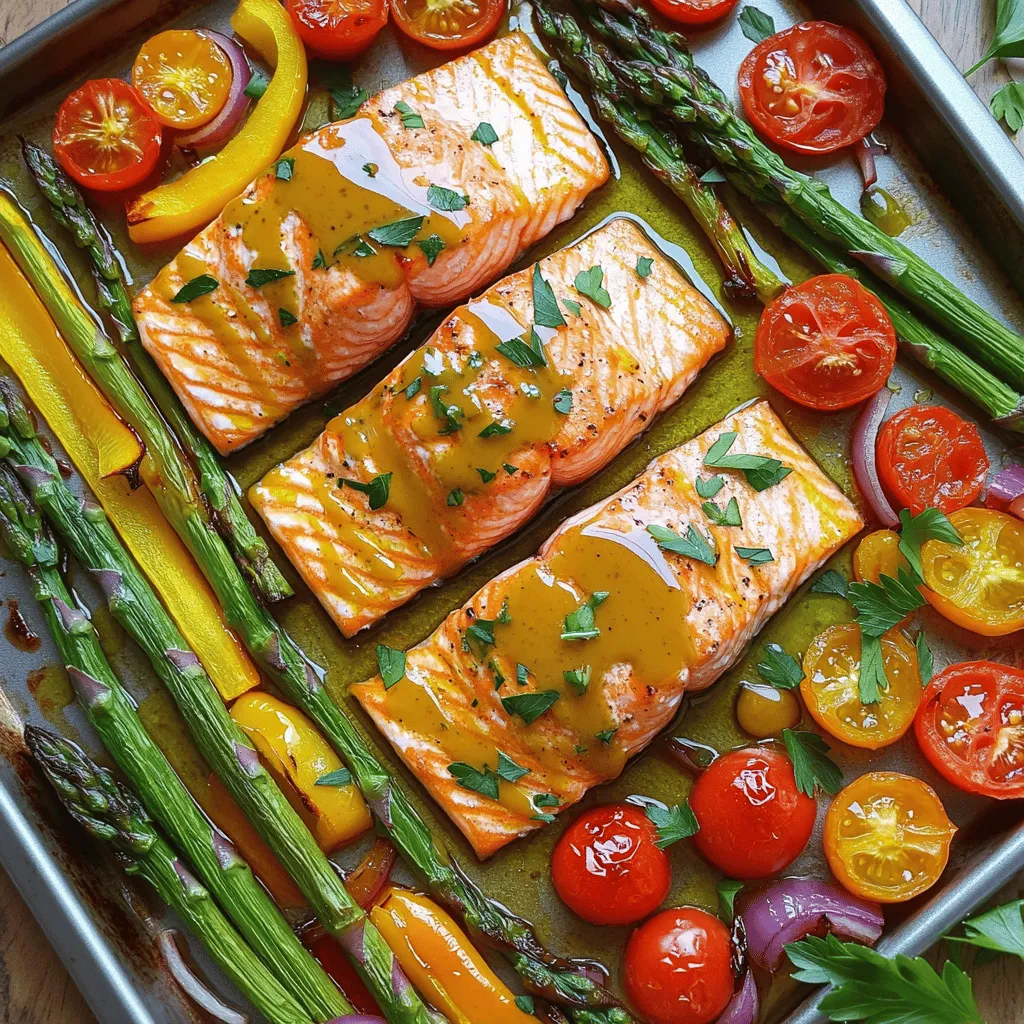
Maple Roasted Salmon & Veggies Sheet Pan Delight
Looking for a quick, healthy meal? My Maple Roasted Salmon & Veggies Sheet Pan Delight brings bold flavors to your table in just one pan.
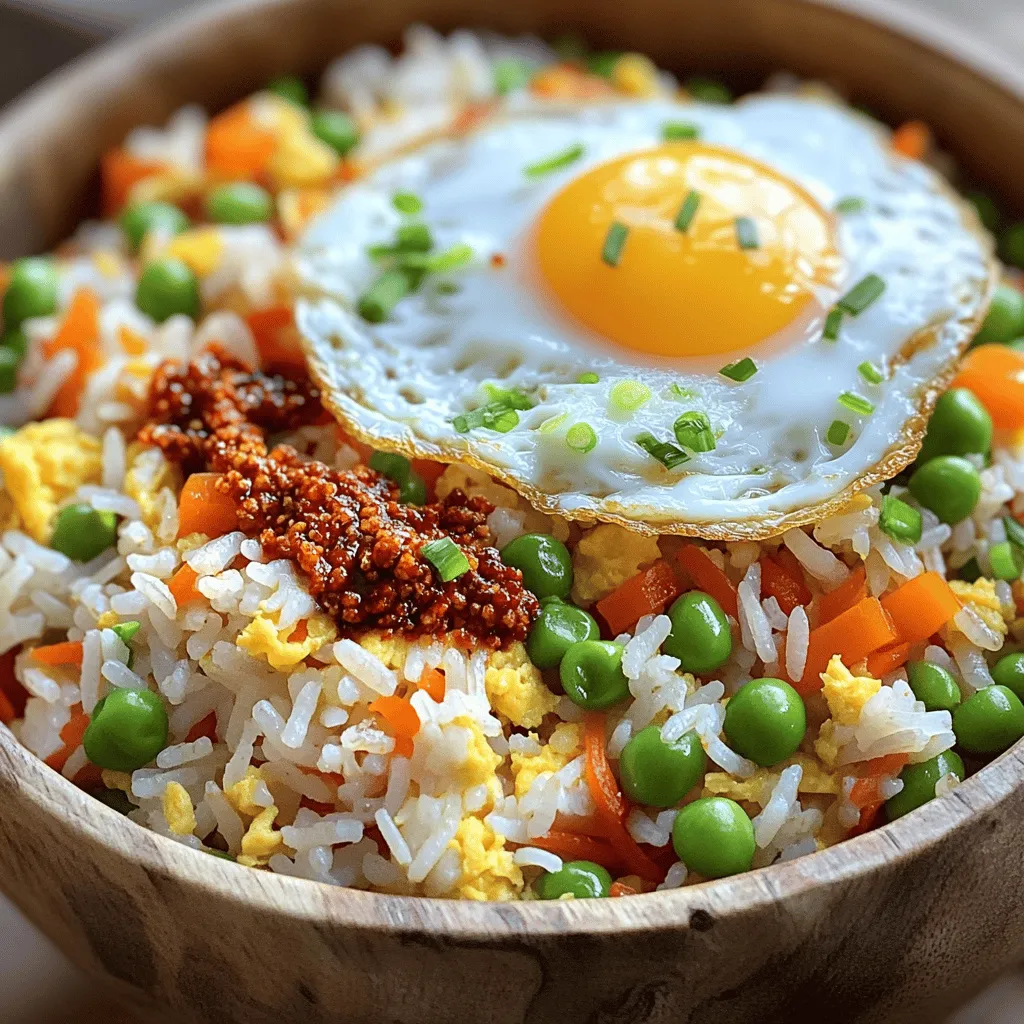
Chili Crisp Garlic Fried Rice in 15 Minutes Delight
Craving a quick and tasty meal? In just 15 minutes, you can whip up Chili Crisp Garlic Fried Rice that’s bursting with flavor. This dish
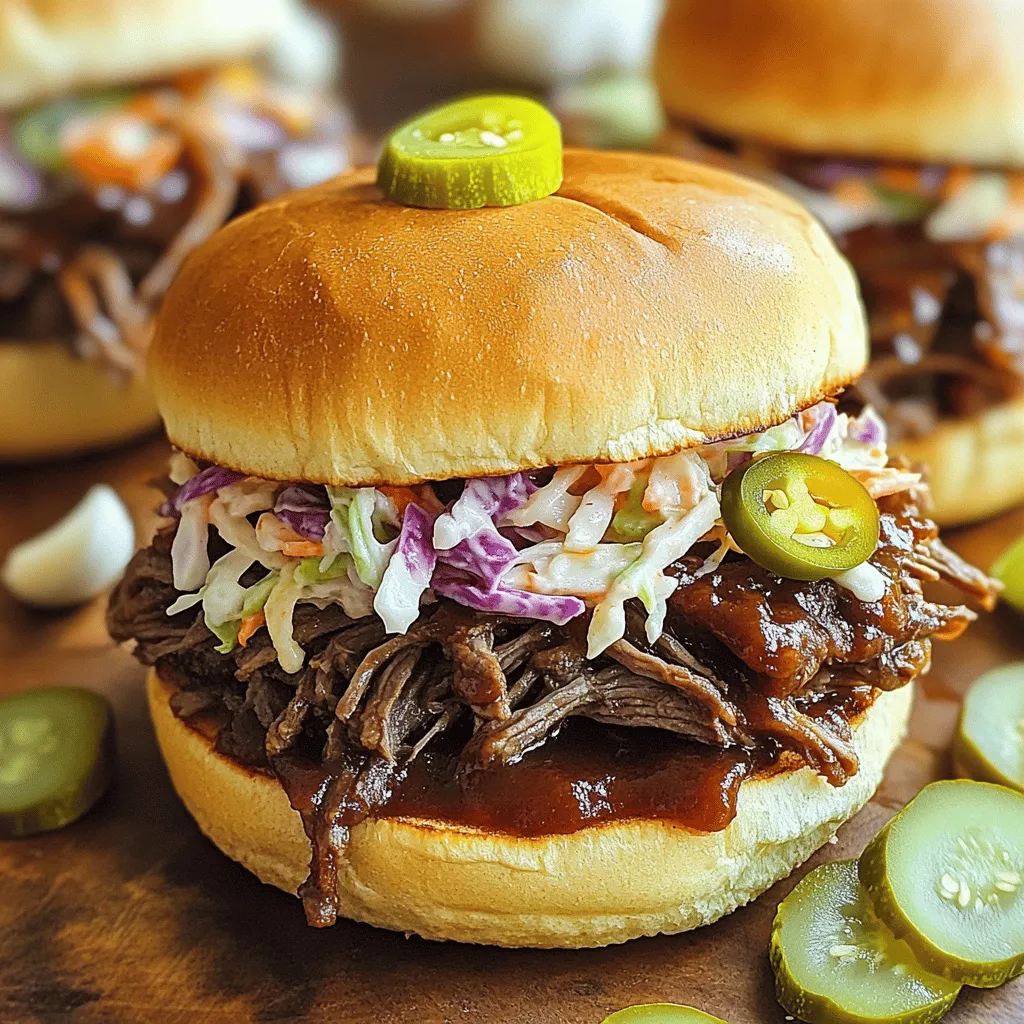
Slow Cooker BBQ Beef Sandwiches Savory and Simple Meal
Looking for a meal that’s both tasty and simple to prepare? Let me introduce you to Slow Cooker BBQ Beef Sandwiches! With just a few
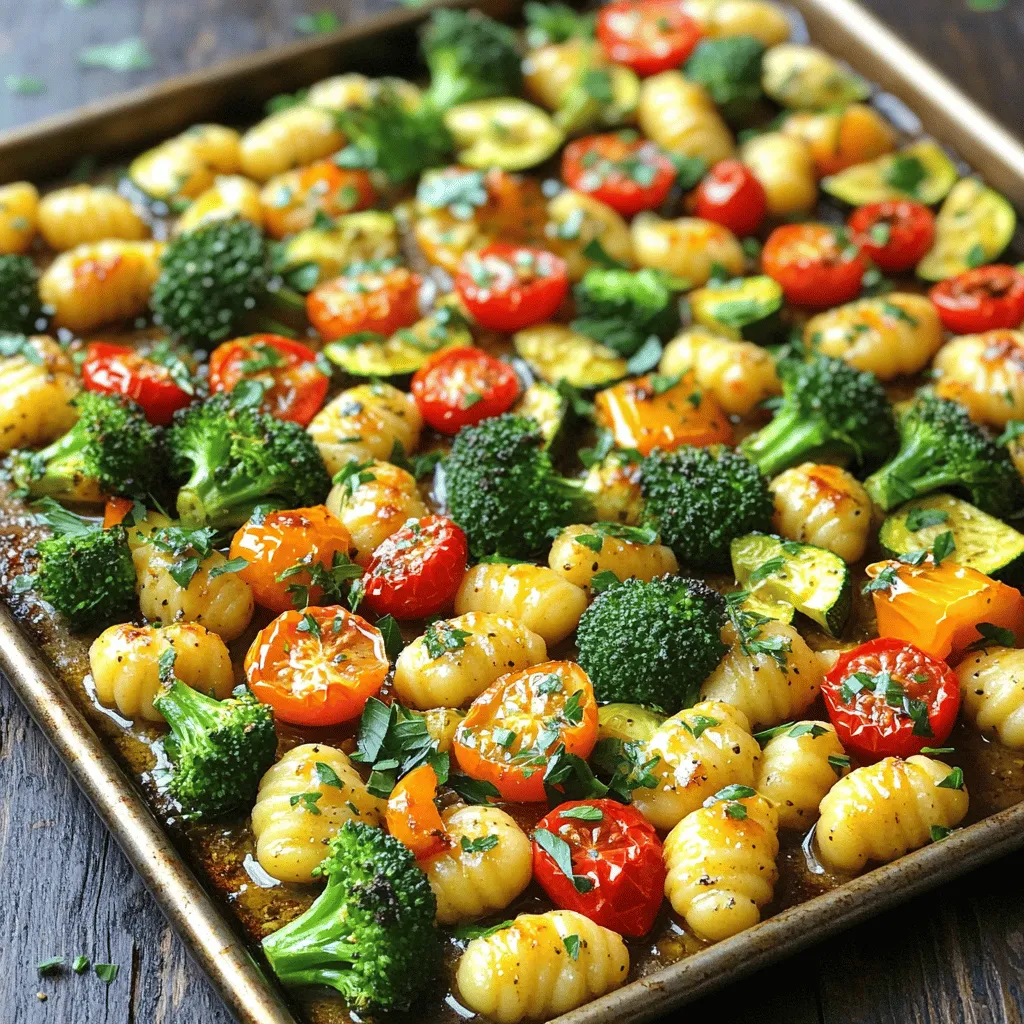
Sheet Pan Garlic Butter Gnocchi and Veggies Delight
Are you ready to savor a quick and tasty meal? This Sheet Pan Garlic Butter Gnocchi and Veggies Delight brings together soft gnocchi and fresh