Dinner
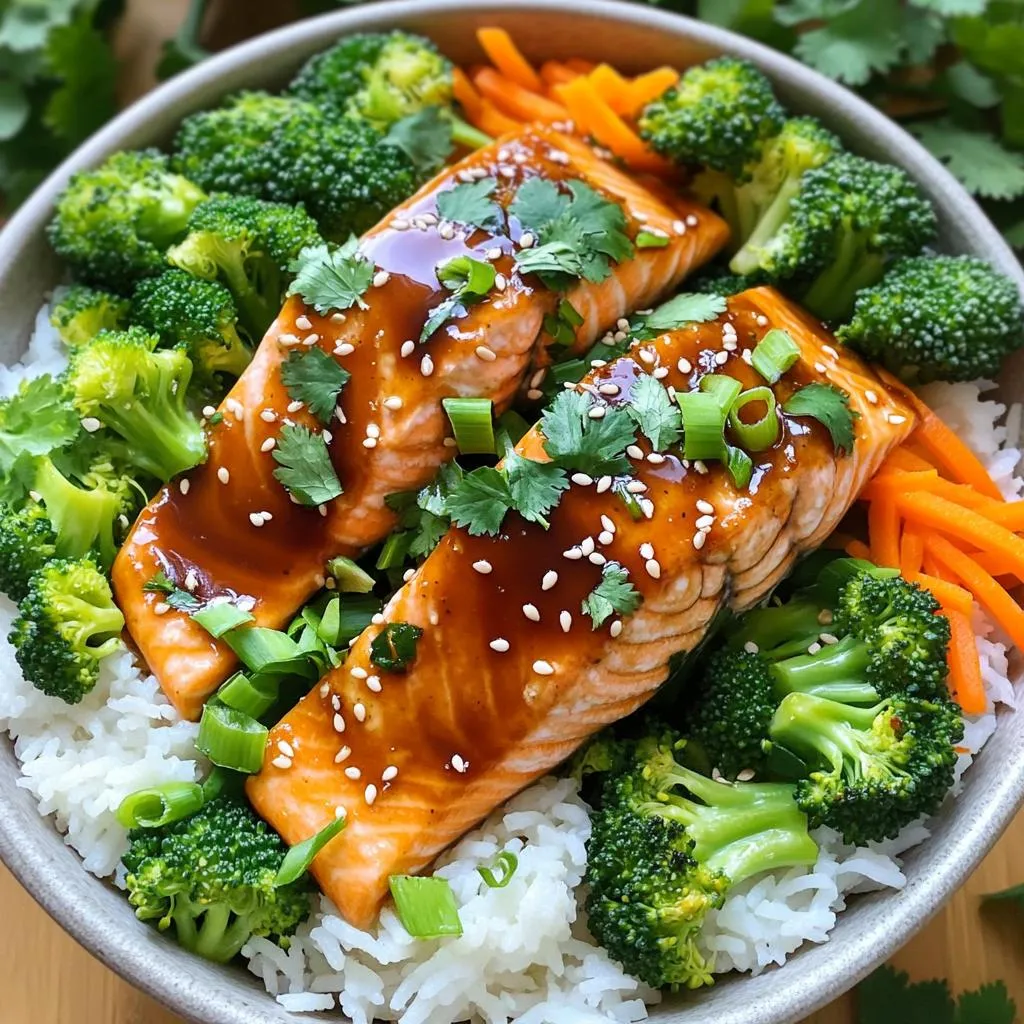
Minute Teriyaki Salmon Rice Bowls Simple and Quick
Ready for a meal that’s simple, quick, and packed with flavor? My Minute Teriyaki Salmon Rice Bowls are here to save your dinner time! With
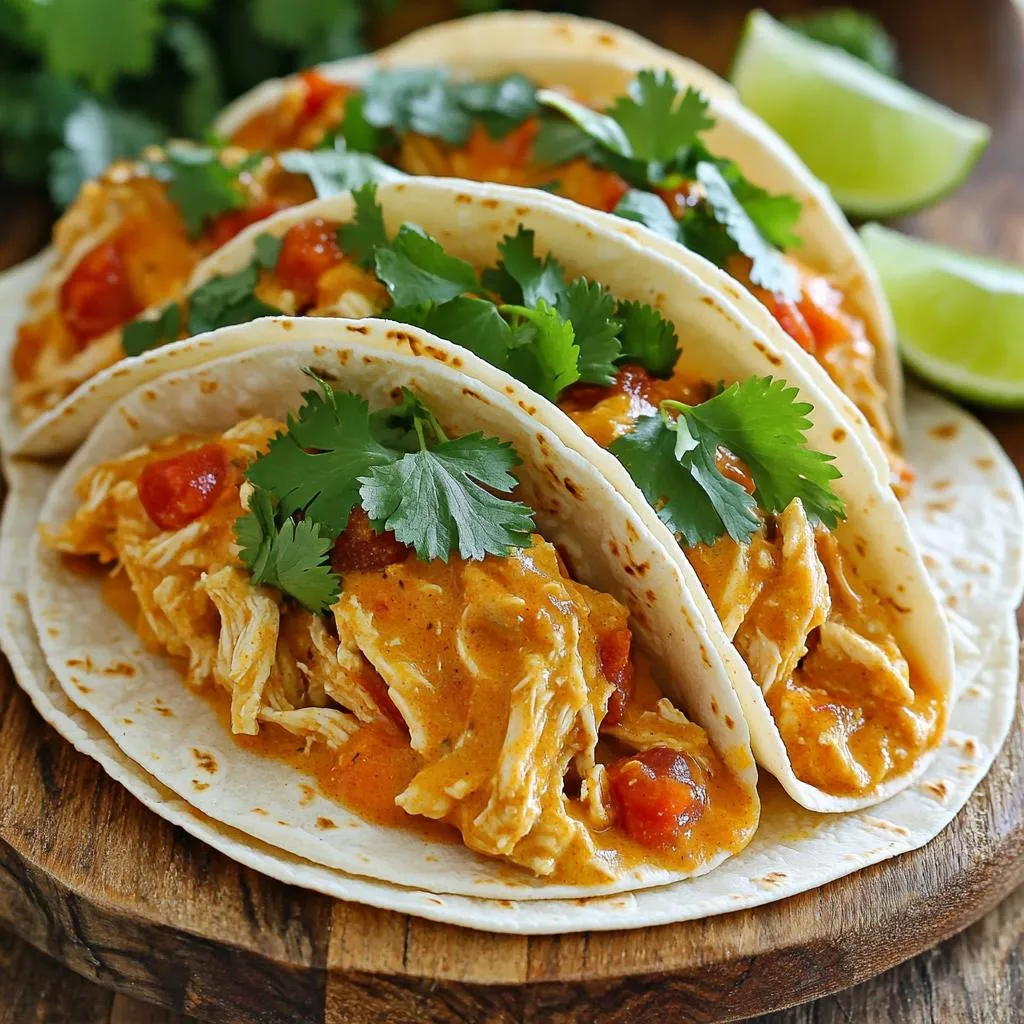
Delicious Instant Pot Butter Chicken Tacos Recipe
If you’re craving a meal that’s full of flavor and easy to make, you’re in the right place! My Instant Pot Butter Chicken Tacos combine
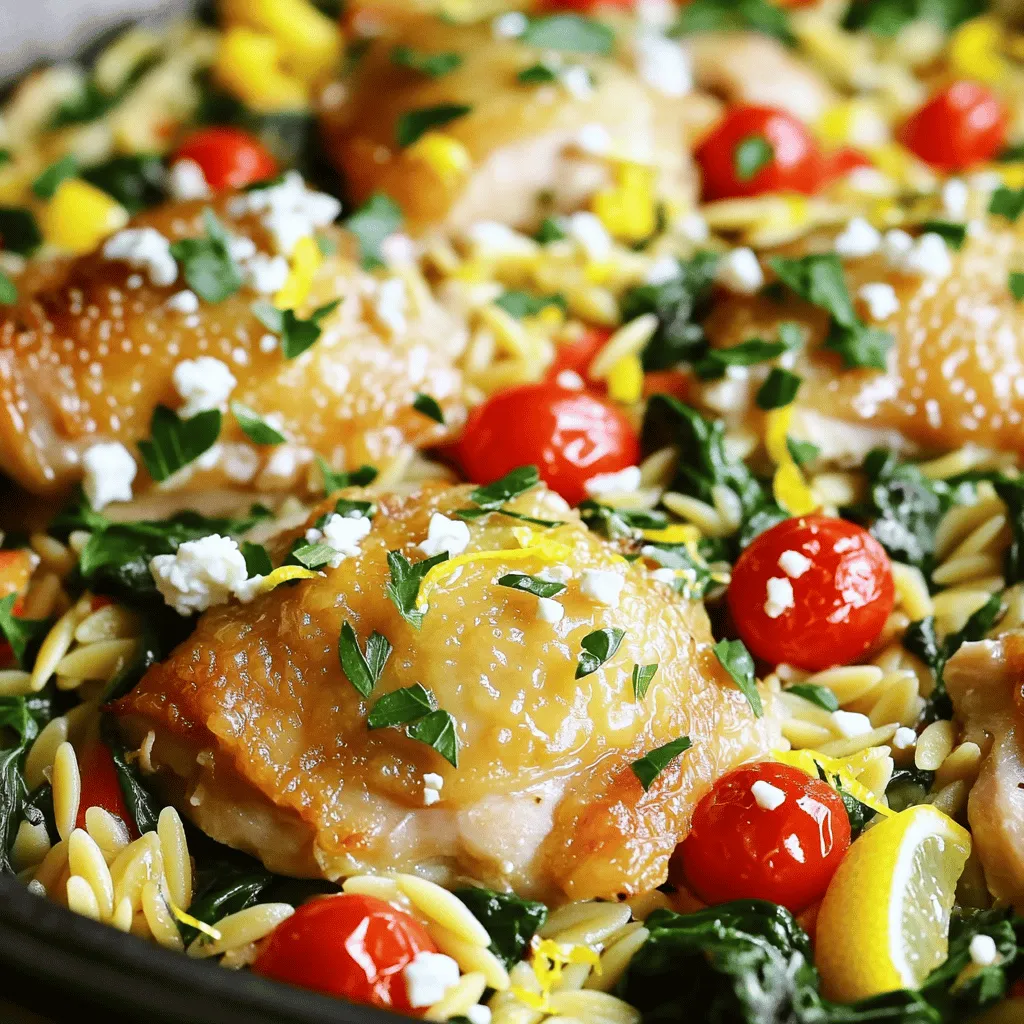
One-Pan Greek Lemon Chicken Orzo Flavorful Delight
Are you ready to savor a dish that brings together bright flavors and ease? In this post, I’ll show you how to make One-Pan Greek
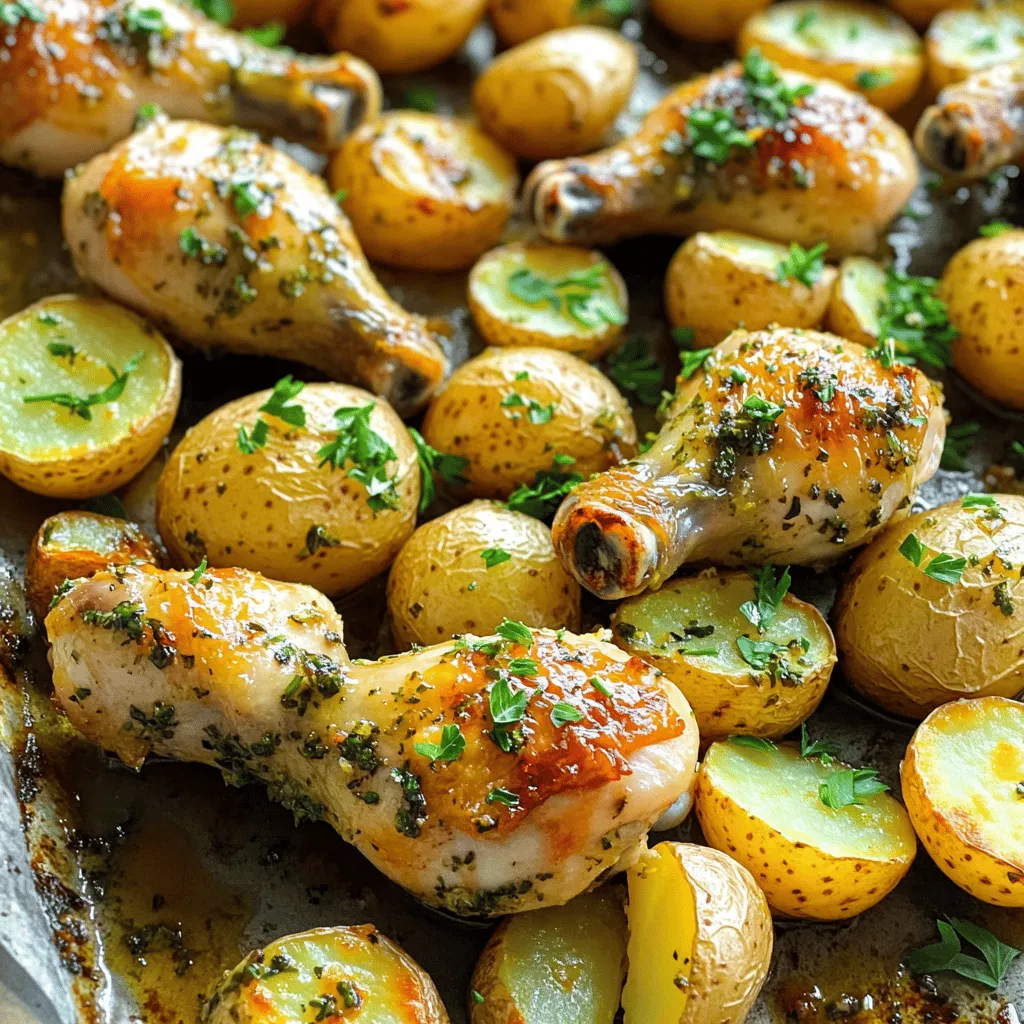
Savory Sheet Pan Garlic Herb Chicken Drumsticks & Potatoes
Get ready to impress your family with my Savory Sheet Pan Garlic Herb Chicken Drumsticks and Potatoes! This dish is a simple yet tasty way
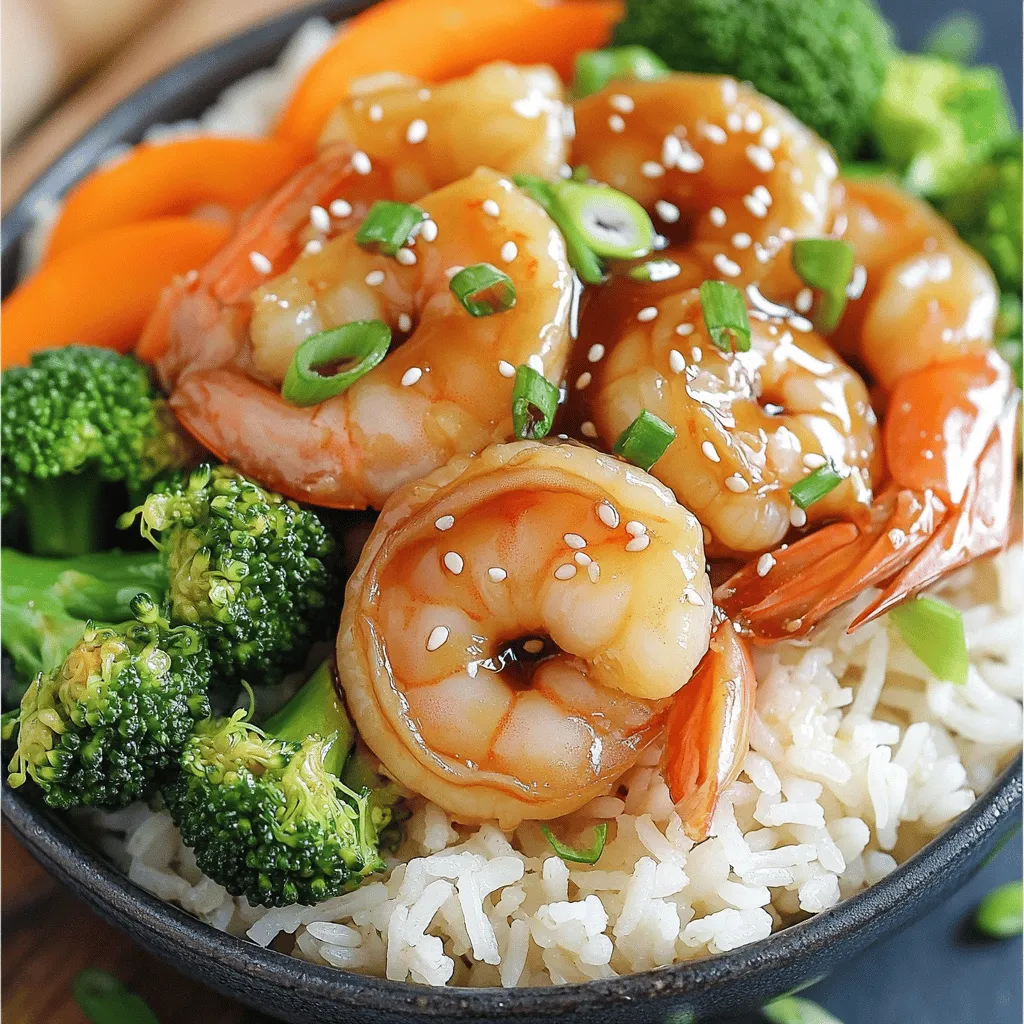
Minute Honey Garlic Shrimp Bowls Quick and Easy Meal
If you’re craving a quick and tasty meal, look no further! Minute Honey Garlic Shrimp Bowls offer a burst of flavor without the fuss. With
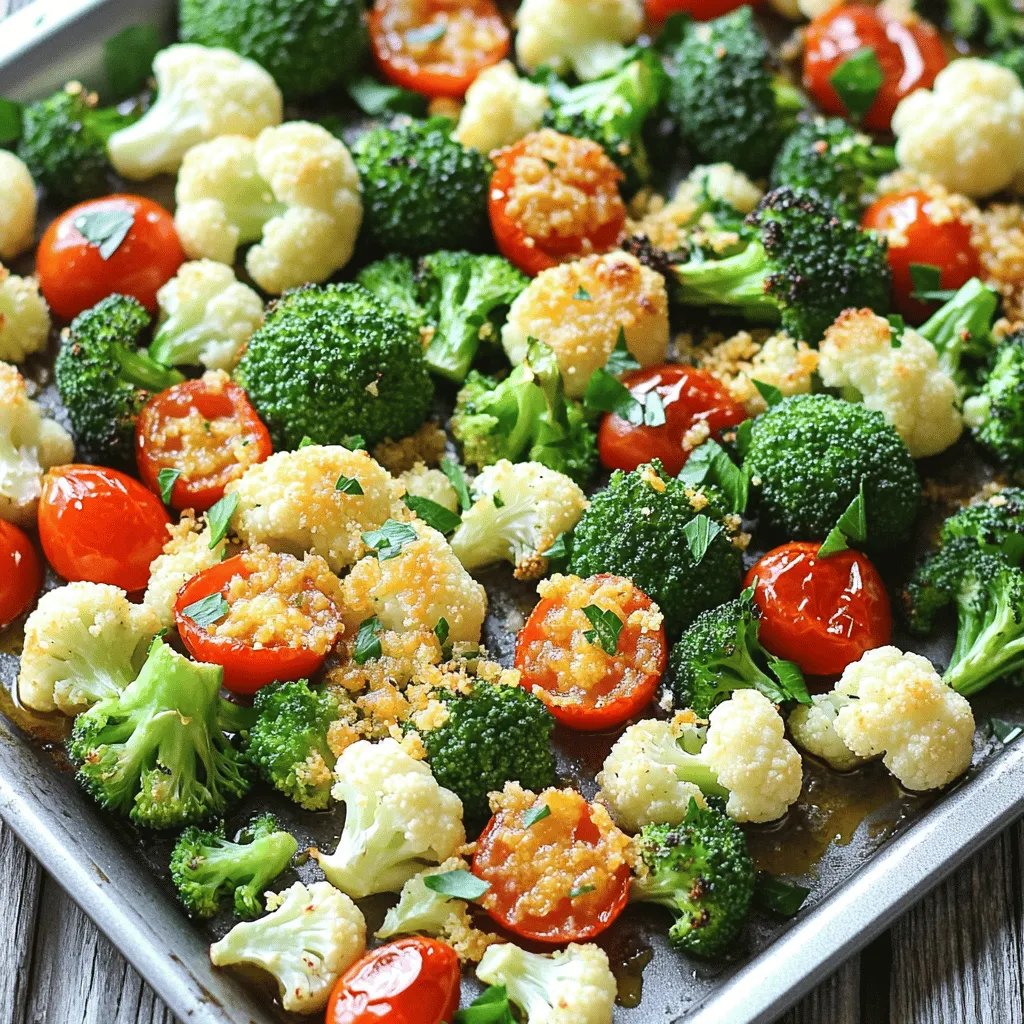
Sheet-Pan Garlic Parmesan Roasted Veggies Delight
Get ready for a flavor-packed, easy meal with my Sheet-Pan Garlic Parmesan Roasted Veggies Delight! This dish combines fresh broccoli, cauliflower, and cherry tomatoes, all
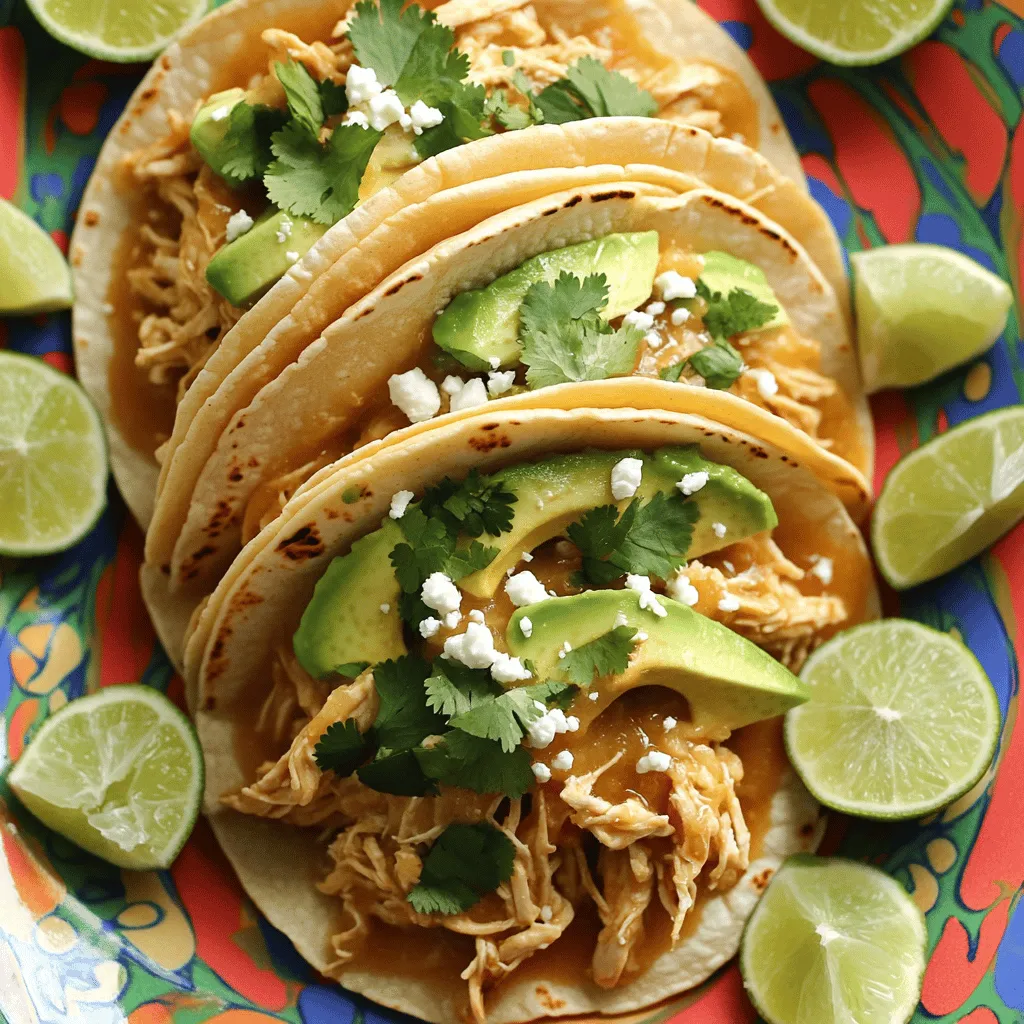
Slow Cooker Coconut Lime Chicken Tacos Delightful Meal
If you’re looking for a tasty and easy meal, these Slow Cooker Coconut Lime Chicken Tacos are perfect. Imagine tender chicken soaked in creamy coconut

Minute Teriyaki Salmon Rice Bowls Simple and Tasty
Are you looking for a quick and delicious meal? This recipe for Minute Teriyaki Salmon Rice Bowls is both simple and tasty! With just a
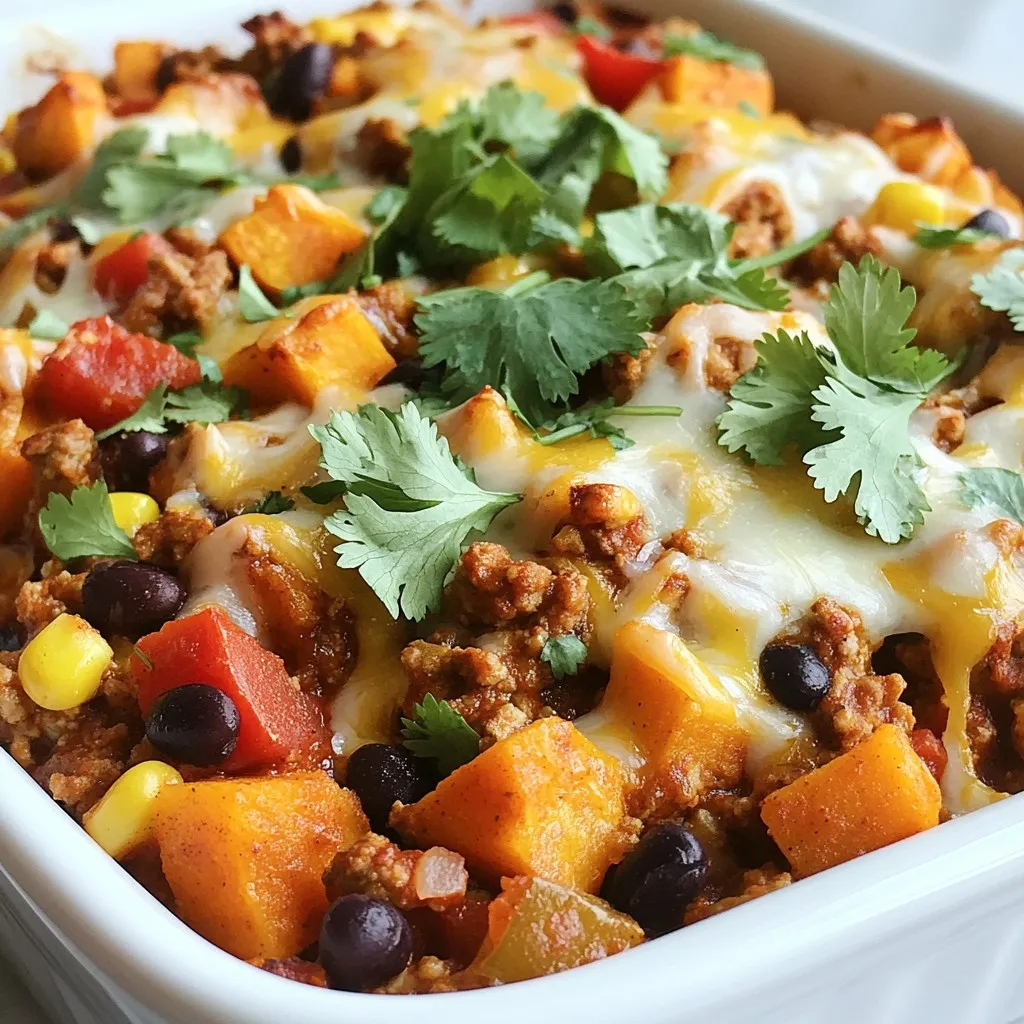
Ground Turkey Sweet Potato Casserole Comfort Food
Are you looking for a cozy dish that warms the soul? My Ground Turkey Sweet Potato Casserole is the answer! Packed with lean turkey, sweet
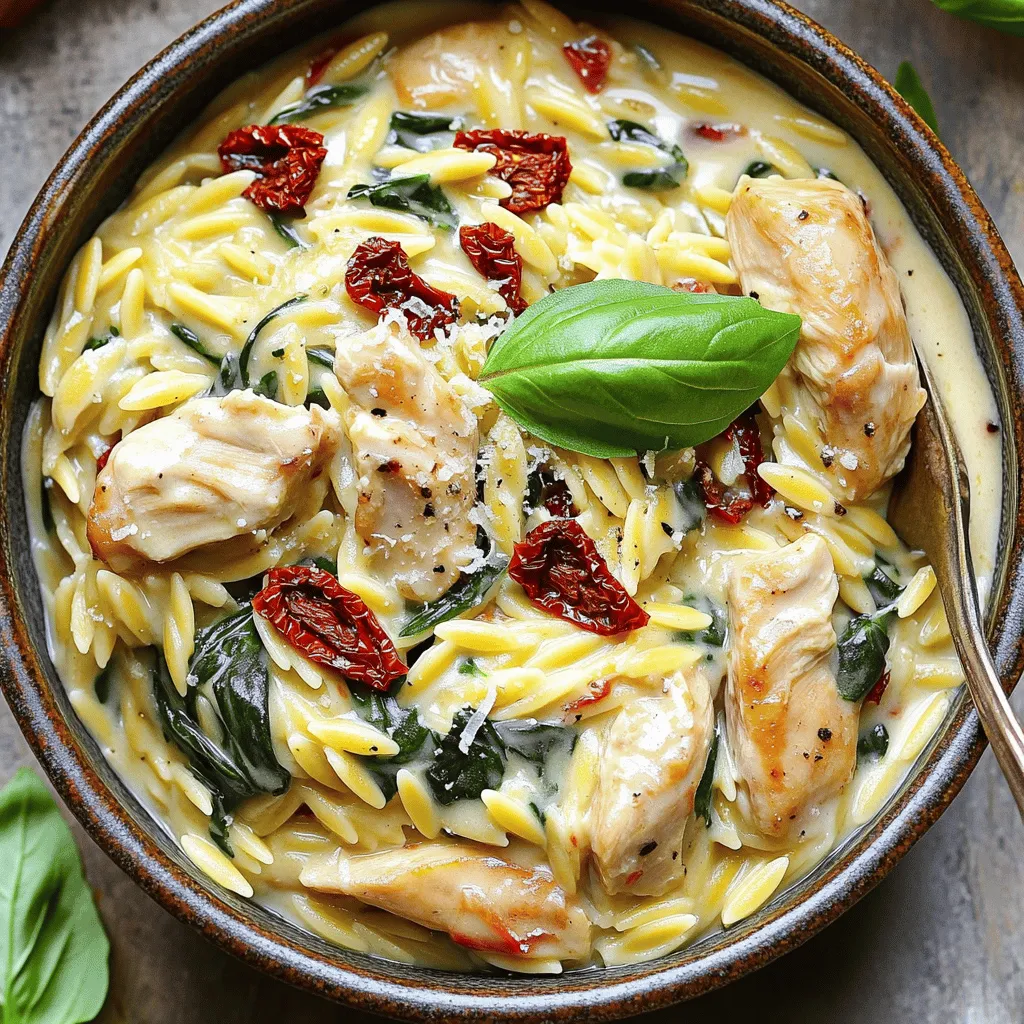
Instant Pot Creamy Tuscan Chicken Orzo Delight
Craving a hearty meal that’s both creamy and comforting? Look no further than my Instant Pot Creamy Tuscan Chicken Orzo Delight! This dish combines tender