Dinner

Chicken Parmesan Stuffed Zucchini Boats Easy Recipe
Are you ready to elevate dinner with a twist on a classic dish? These Chicken Parmesan Stuffed Zucchini Boats combine fresh, garden flavors with cheesy
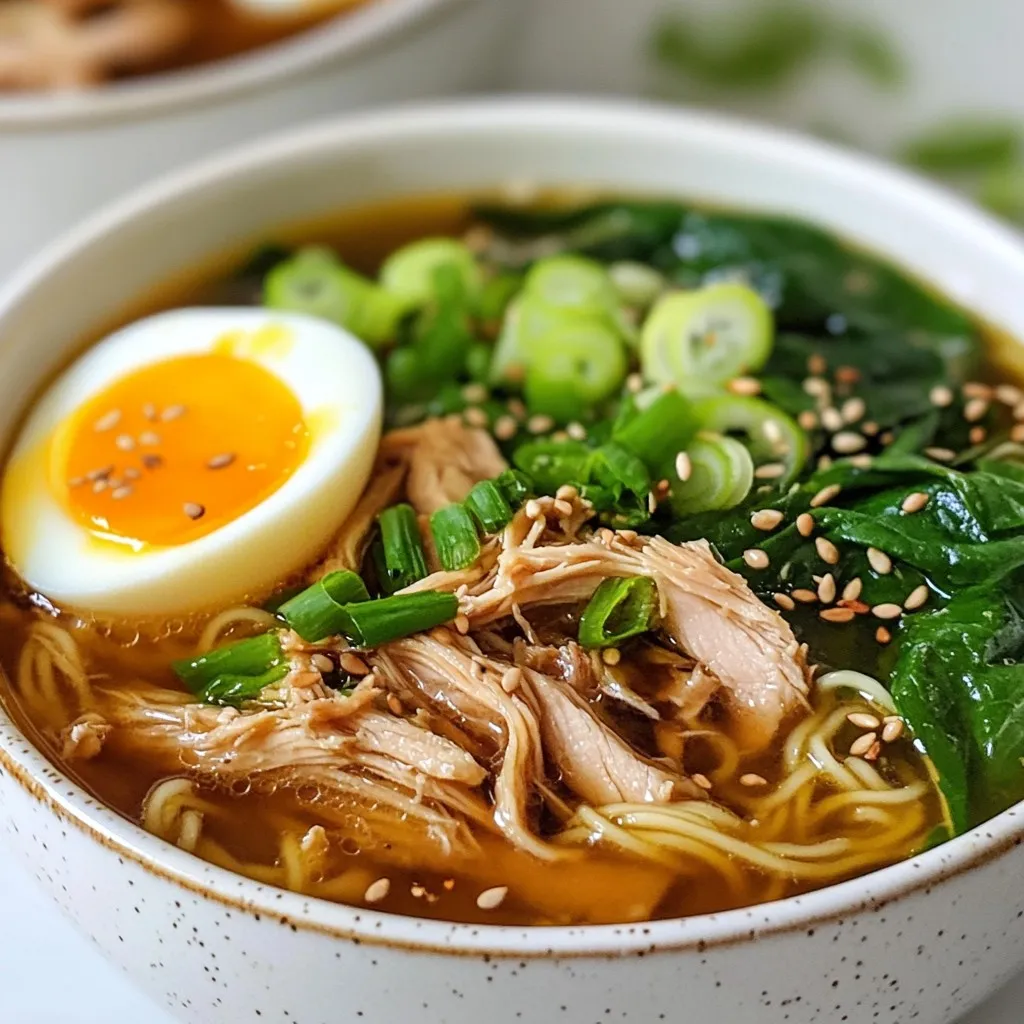
Easy Chicken Ramen Flavorful and Quick Recipe Guide
Are you craving a warm, soothing bowl of ramen but short on time? You’ll love this Easy Chicken Ramen recipe! Packed with flavor and ready
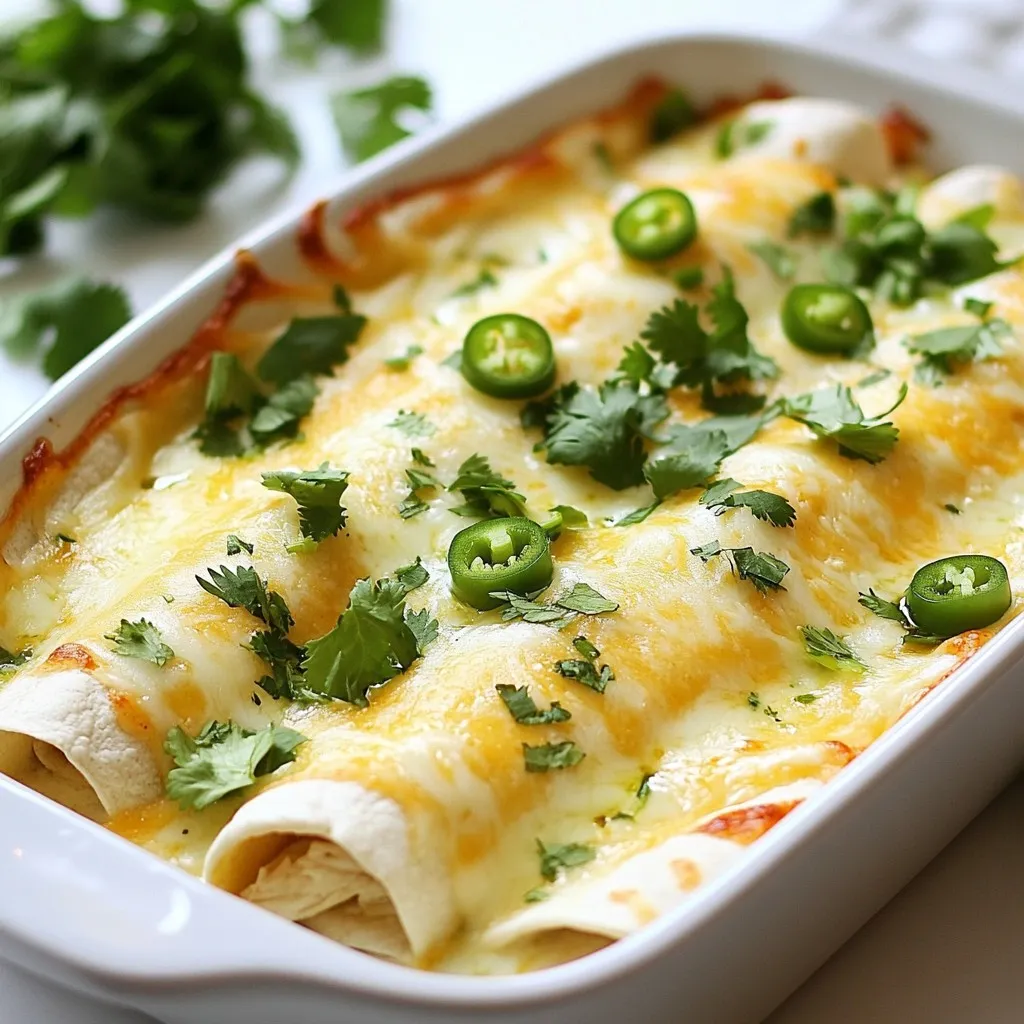
White Chicken Enchiladas Flavorful Comfort Dish
Are you ready to elevate your dinner routine? White chicken enchiladas are a warm and delicious dish that everyone loves. With creamy cheese, tender chicken,
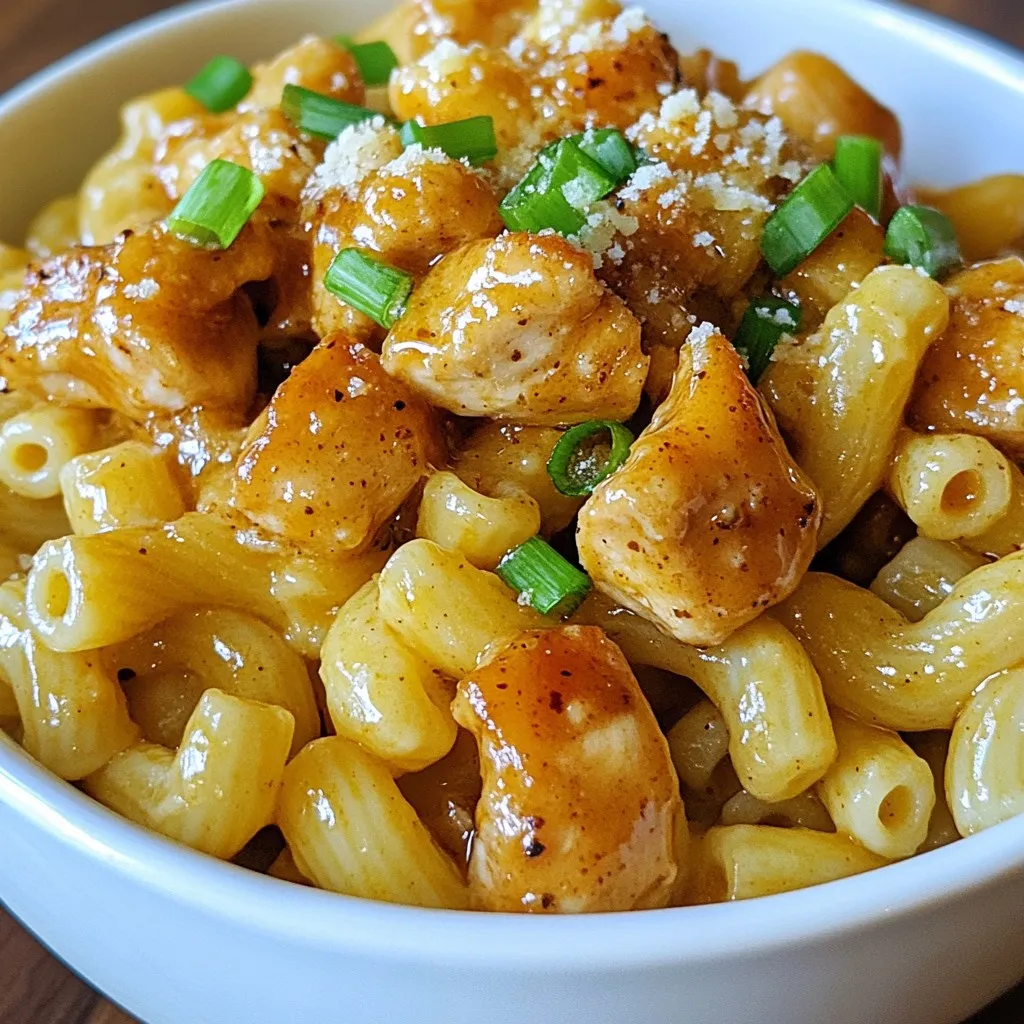
Honey Garlic Butter Chicken Mac Easy Family Meal
Are you ready to impress your family with a tasty meal? My Honey Garlic Butter Chicken Mac is a quick, easy dinner that everyone will
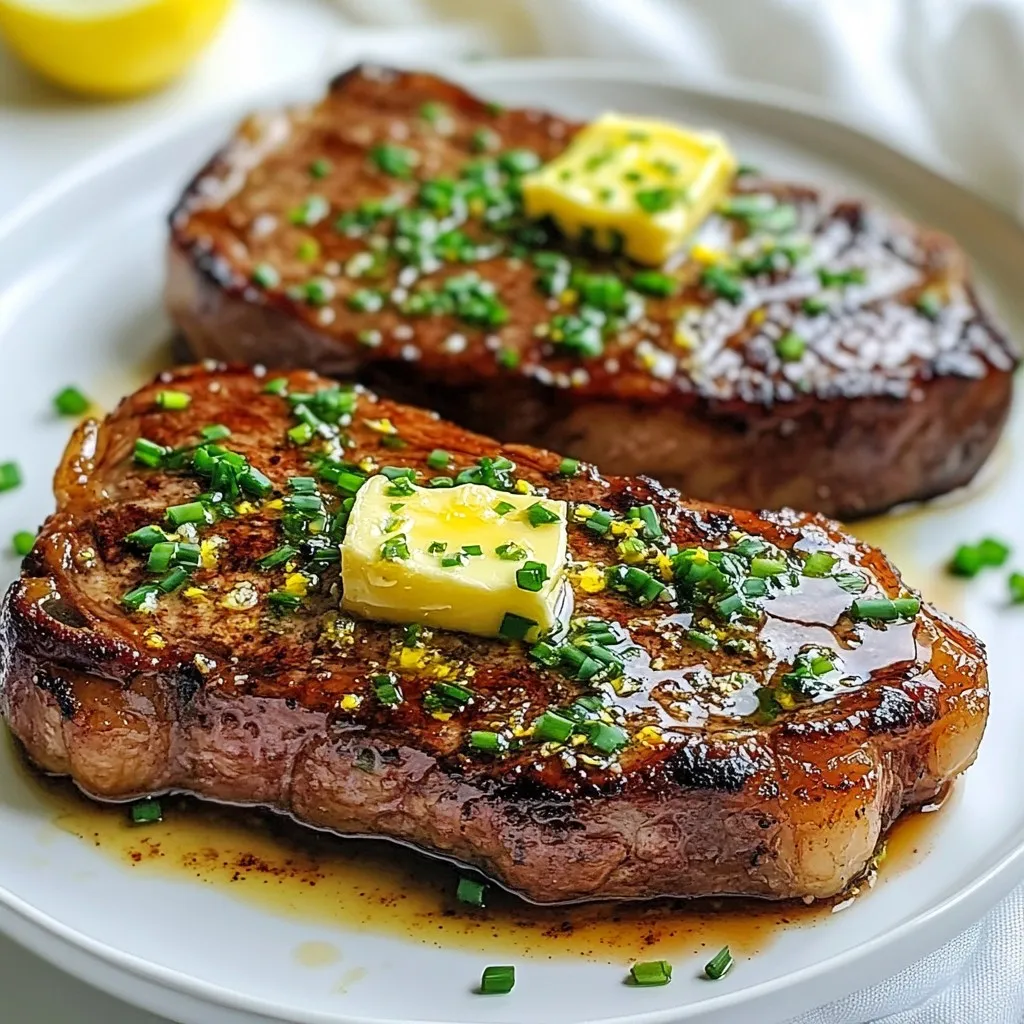
Cowboy Butter Steak Savory Flavor Explosion
Get ready to take your steak night to the next level with Cowboy Butter Steak. This dish combines juicy ribeye steaks with a rich, zesty
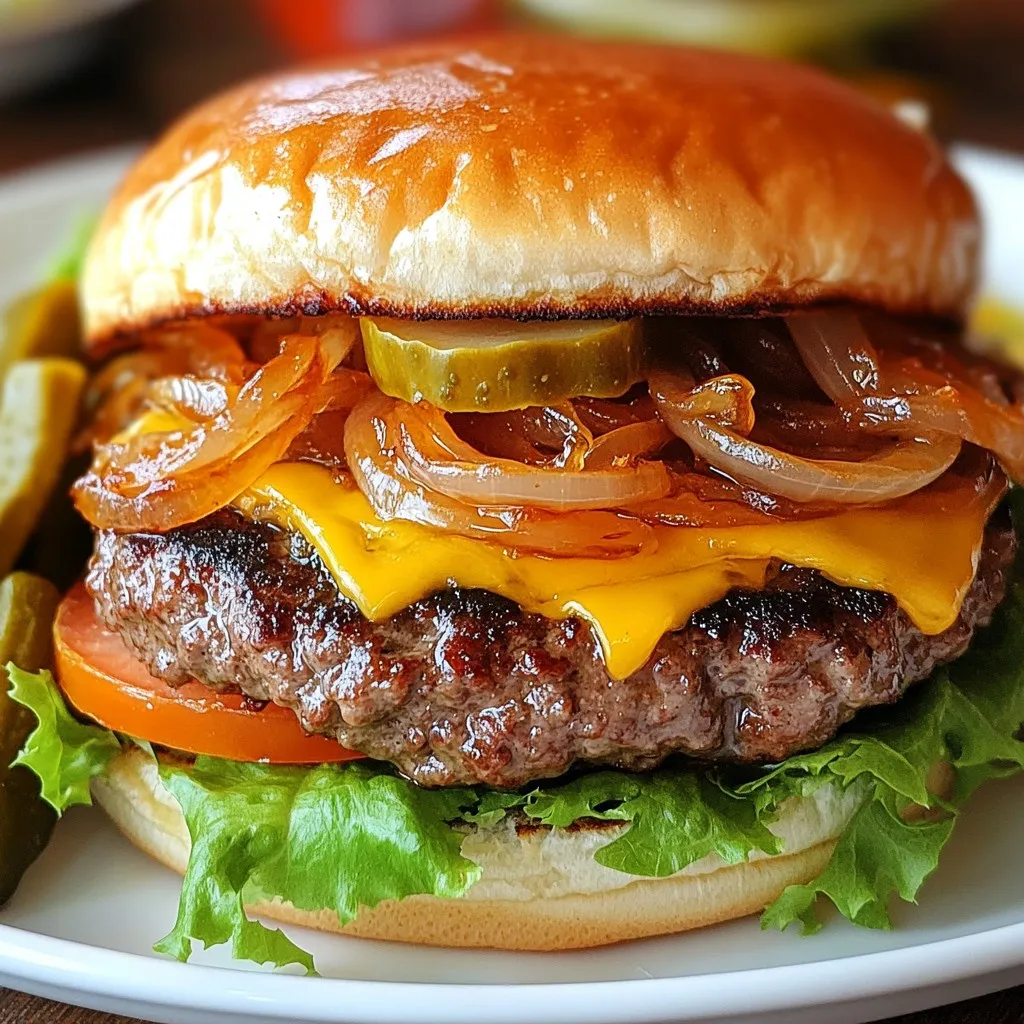
Ultimate Smash Burgers Savory and Juicy Delight
Are you ready to dive into the world of Ultimate Smash Burgers? These savory and juicy delights will elevate your burger game to new heights.
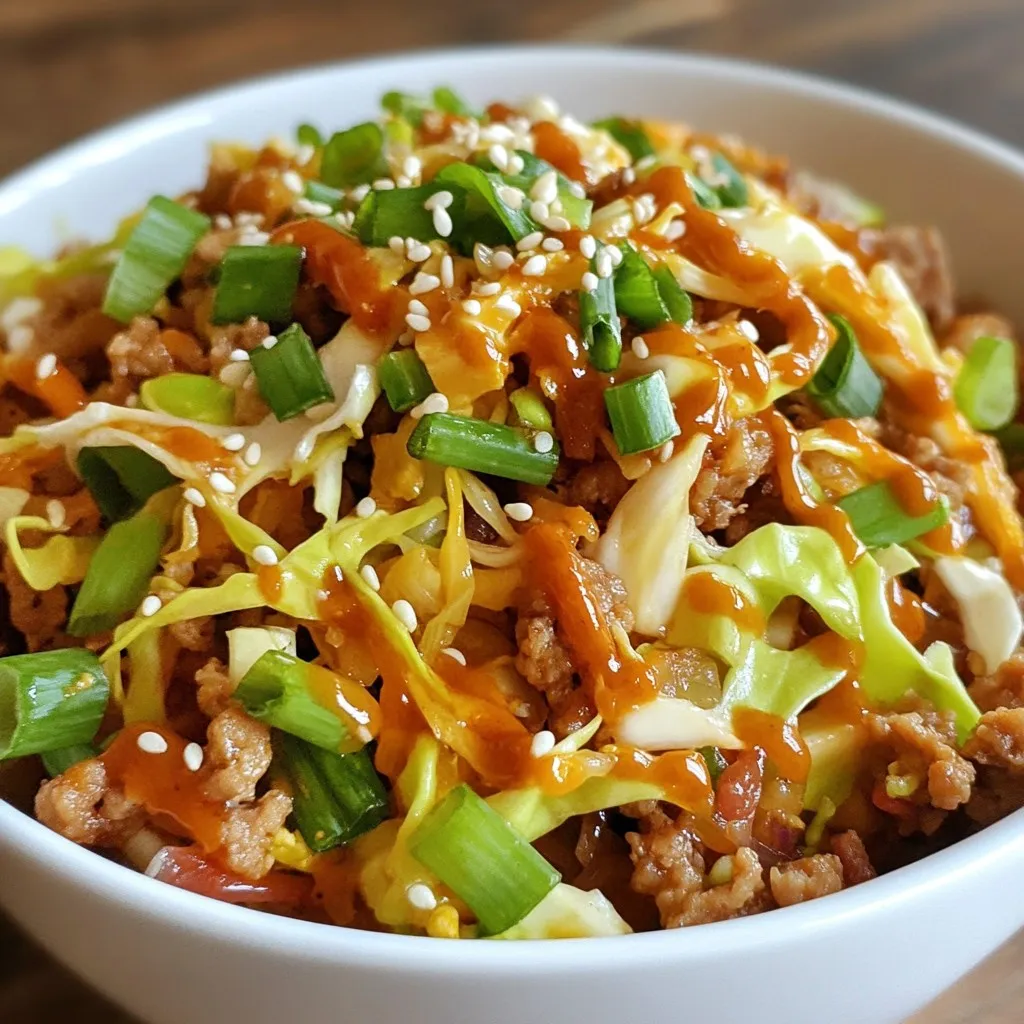
Egg Roll in a Bowl Flavorful and Easy Weeknight Meal
Looking for a quick, tasty dinner? This Egg Roll in a Bowl recipe is your answer! Packed with lean protein, fresh veggies, and savory flavors,
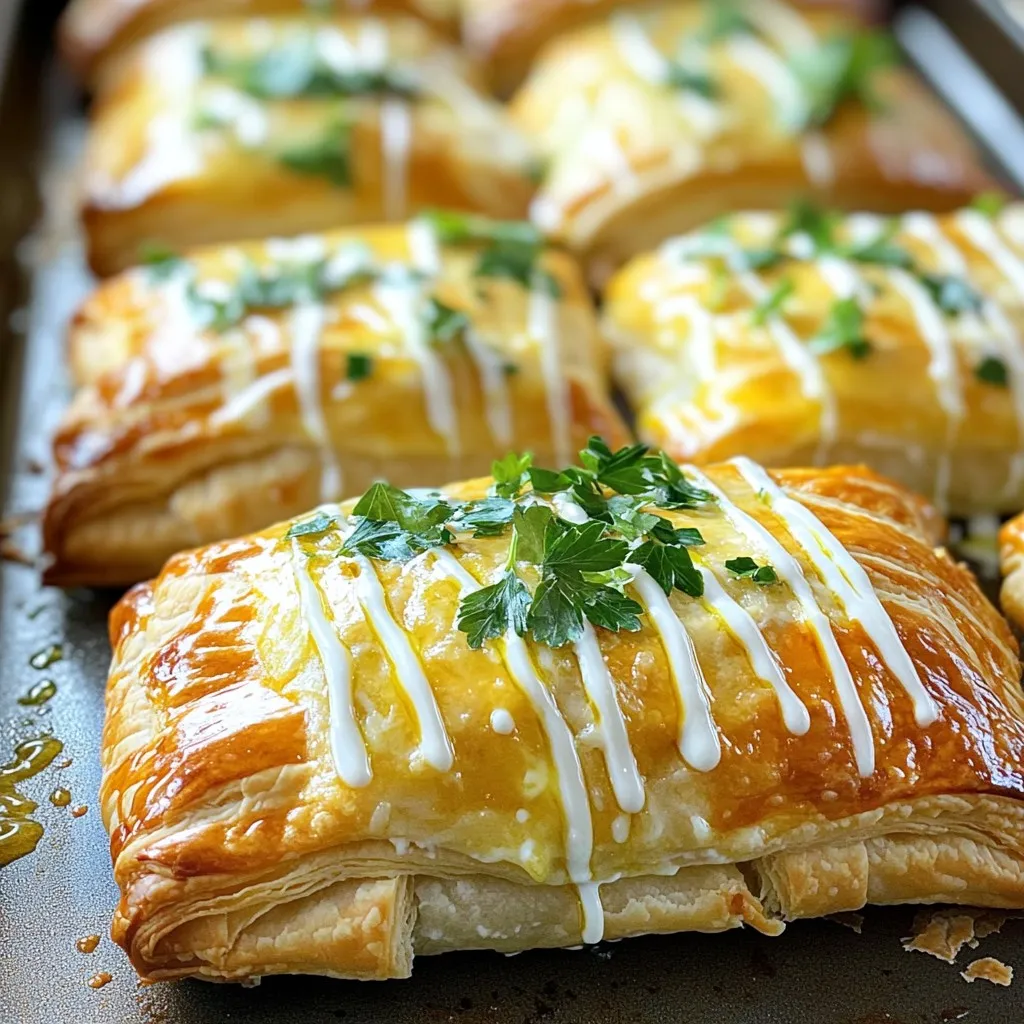
Chicken Pillows with Parmesan Cream Tasty and Simple
Do you want a delicious meal that’s easy to make? Chicken Pillows with Parmesan Cream are the answer! You’ll love how simple it is to

Chicken Street Tacos Flavorful and Easy Recipe
Get ready to dive into the tasty world of Chicken Street Tacos! This easy recipe will guide you step-by-step, making it perfect for busy weeknights
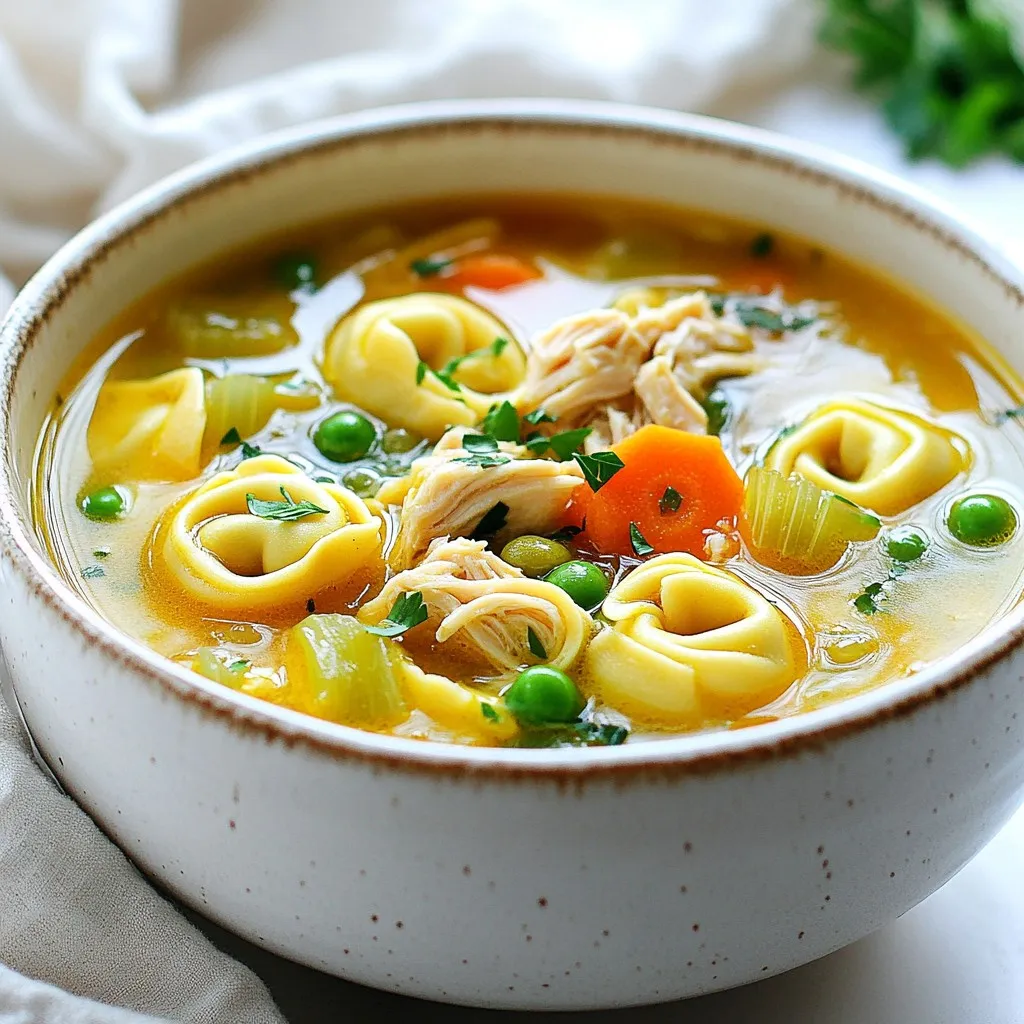
Chicken Tortellini Soup Savory Comfort Dish
If you’re searching for a warm, cozy meal to brighten your day, look no further than Chicken Tortellini Soup. This dish blends juicy chicken, tender