Desserts
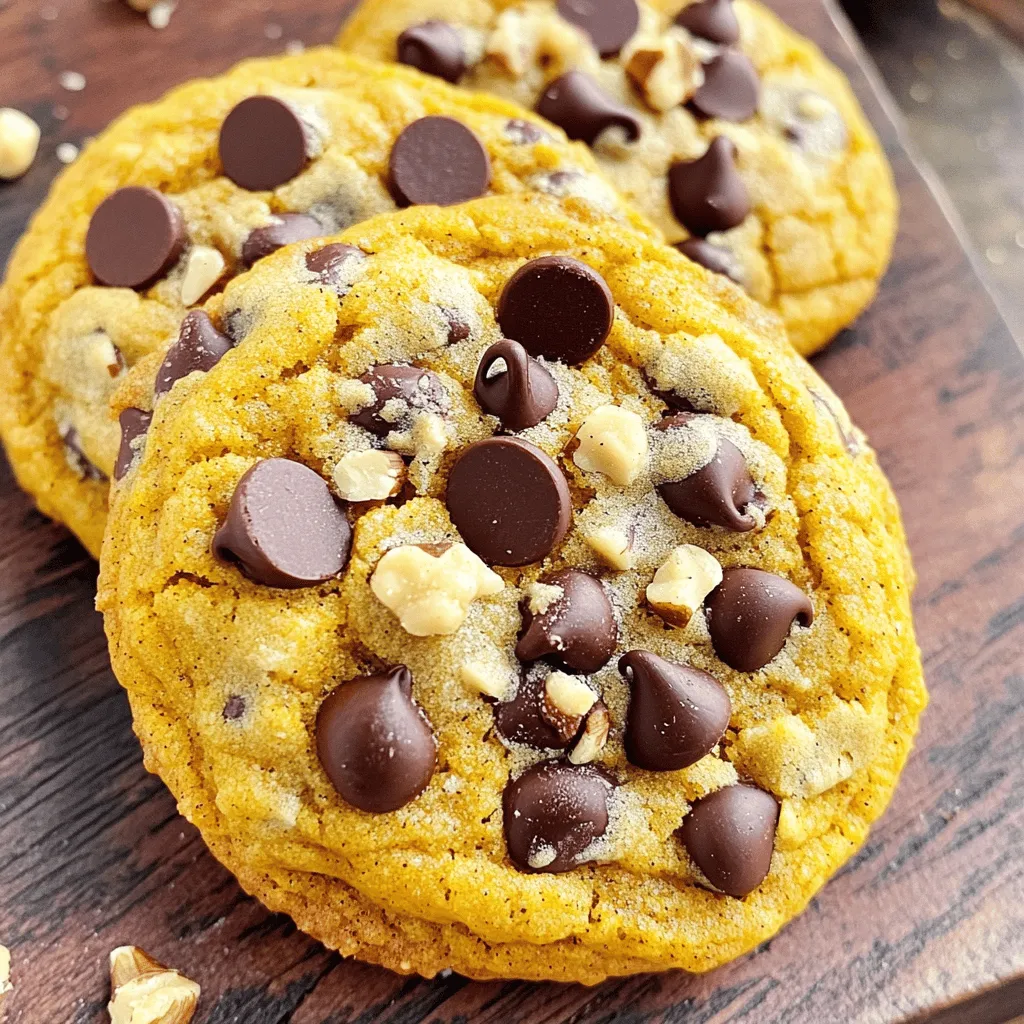
Chewy Pumpkin Chocolate Chip Cookies Delightful Treat
Are you craving a sweet treat that screams fall? Look no further! My Chewy Pumpkin Chocolate Chip Cookies offer the perfect mix of warm spices
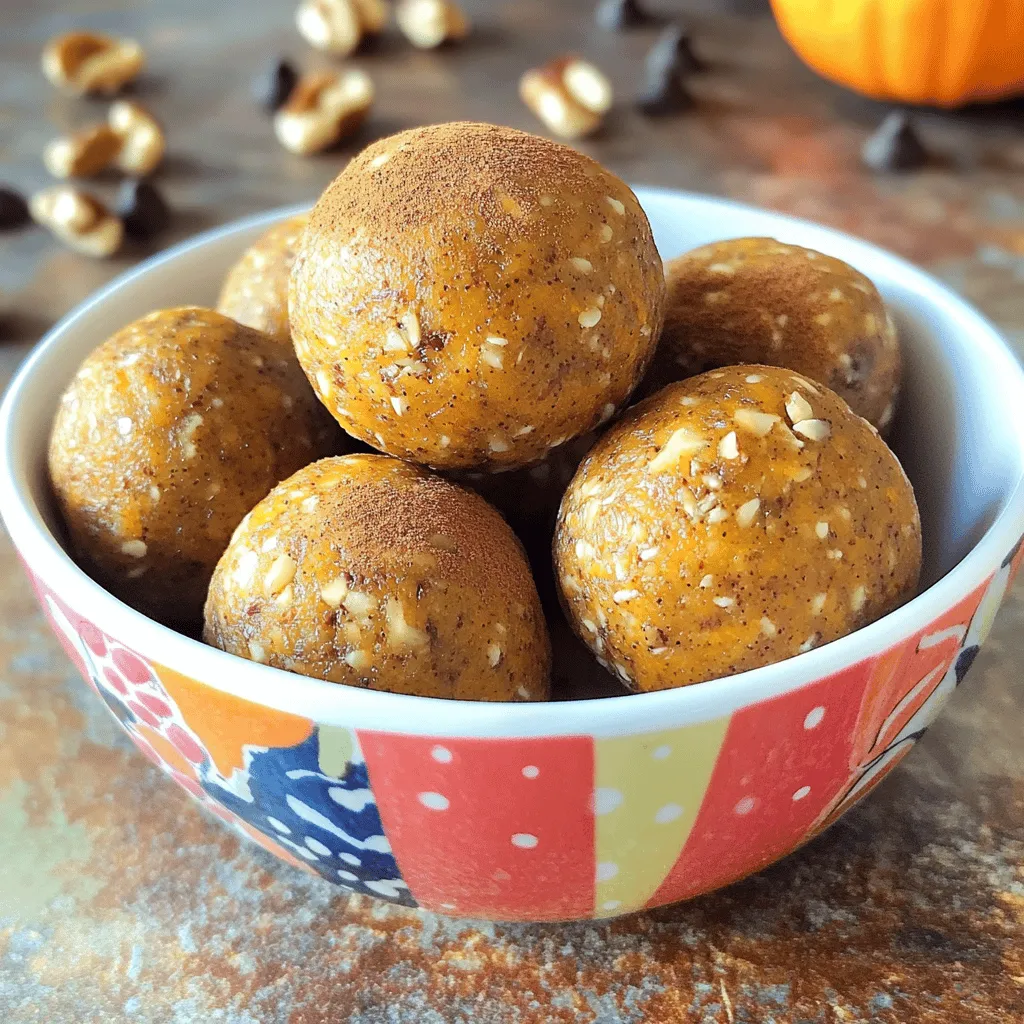
Cinnamon Pumpkin Energy Balls Tasty and Healthy Snack
Looking for a fun, tasty snack? Try my Cinnamon Pumpkin Energy Balls! They’re packed with flavor and good for you. These little bites are easy

Pumpkin Cranberry Energy Bites Tasty and Healthy Snack
Looking for a quick, tasty, and healthy snack? Pumpkin Cranberry Energy Bites are the answer! These little balls pack a lot of flavor and nutrition
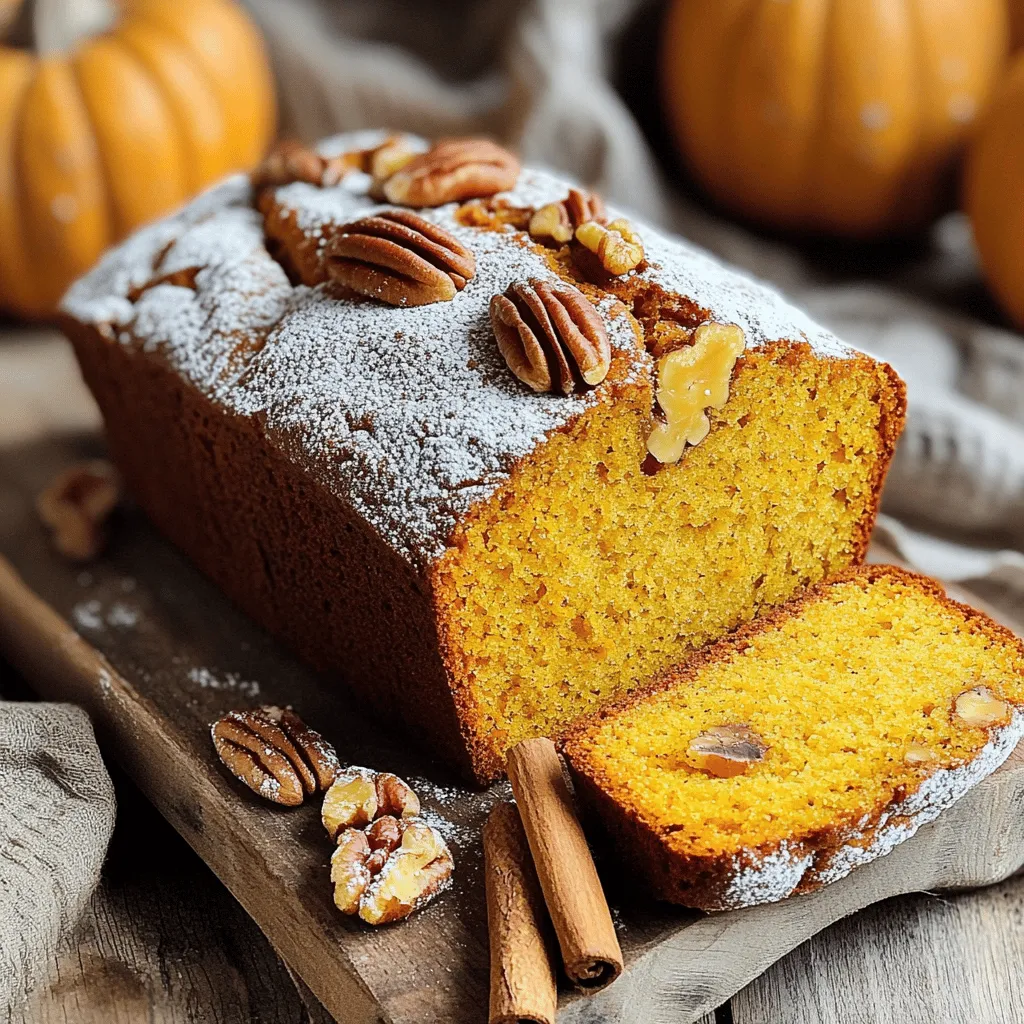
One-Bowl Pumpkin Bread Easy and Quick Recipe
Craving a warm slice of pumpkin bread? This one-bowl recipe is perfect for you! It combines rich pumpkin puree and warm spices with minimal fuss.
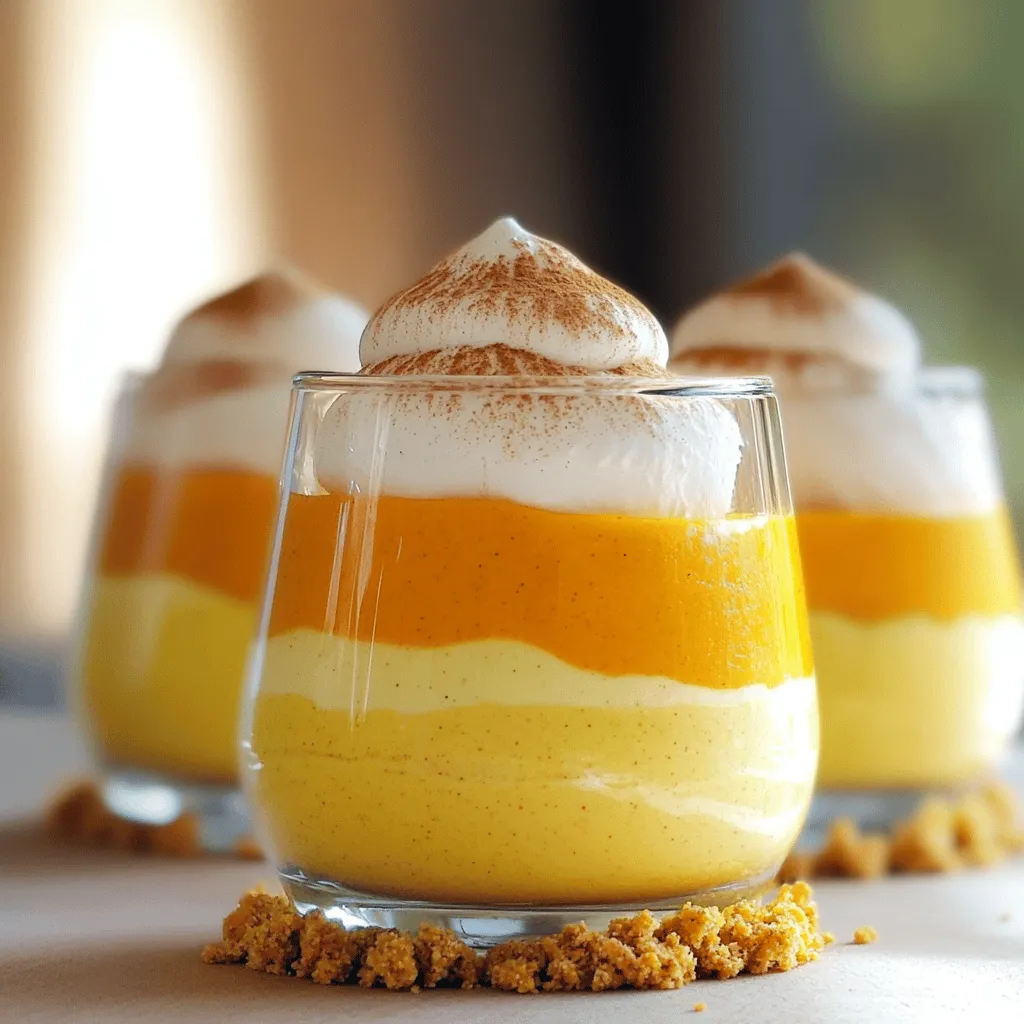
Pumpkin Cheesecake Mousse Parfaits Delightful Treat
Are you ready to indulge in fall’s favorite dessert? Pumpkin Cheesecake Mousse Parfaits are here to delight your taste buds! This easy, creamy treat blends
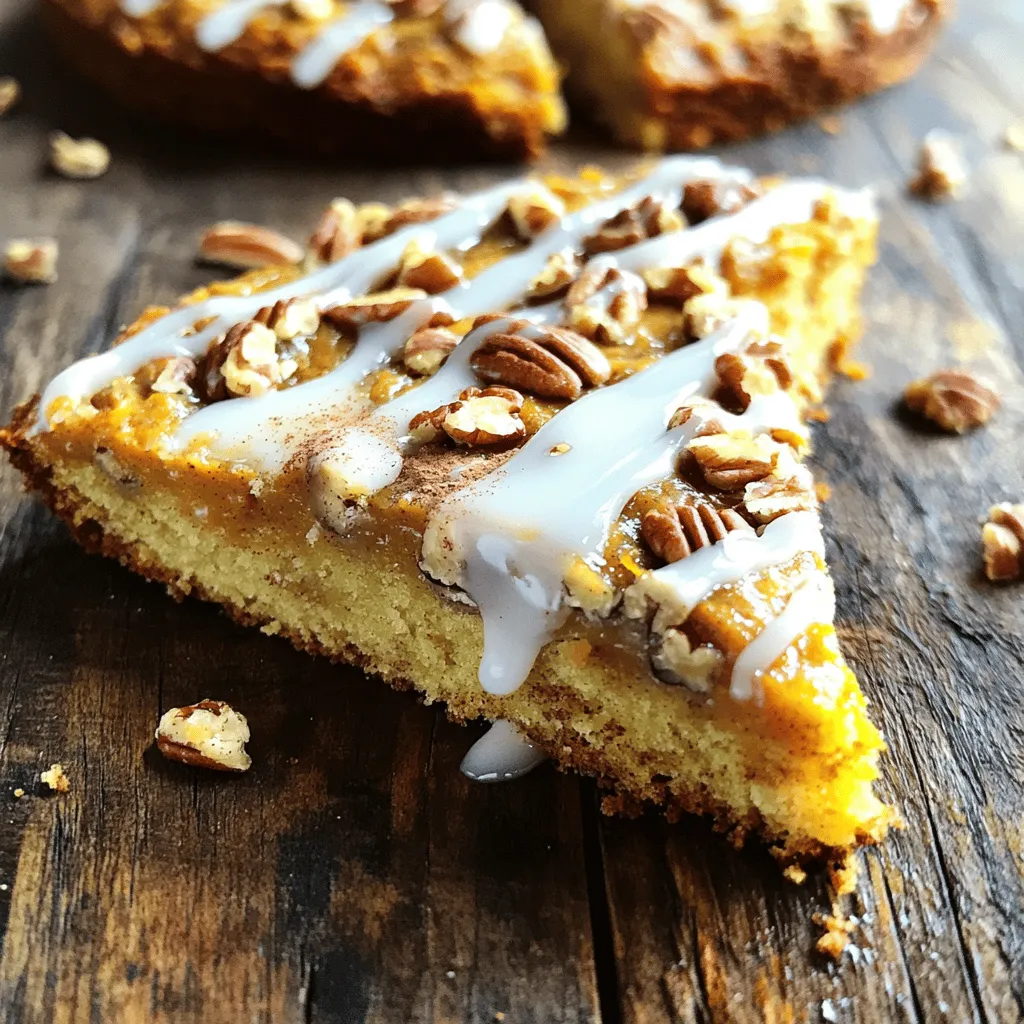
Pumpkin Pecan Coffee Cake Simple and Tasty Delight
Get ready to enjoy a warm slice of Pumpkin Pecan Coffee Cake! This simple recipe combines rich pumpkin flavor with crunchy pecans for a treat
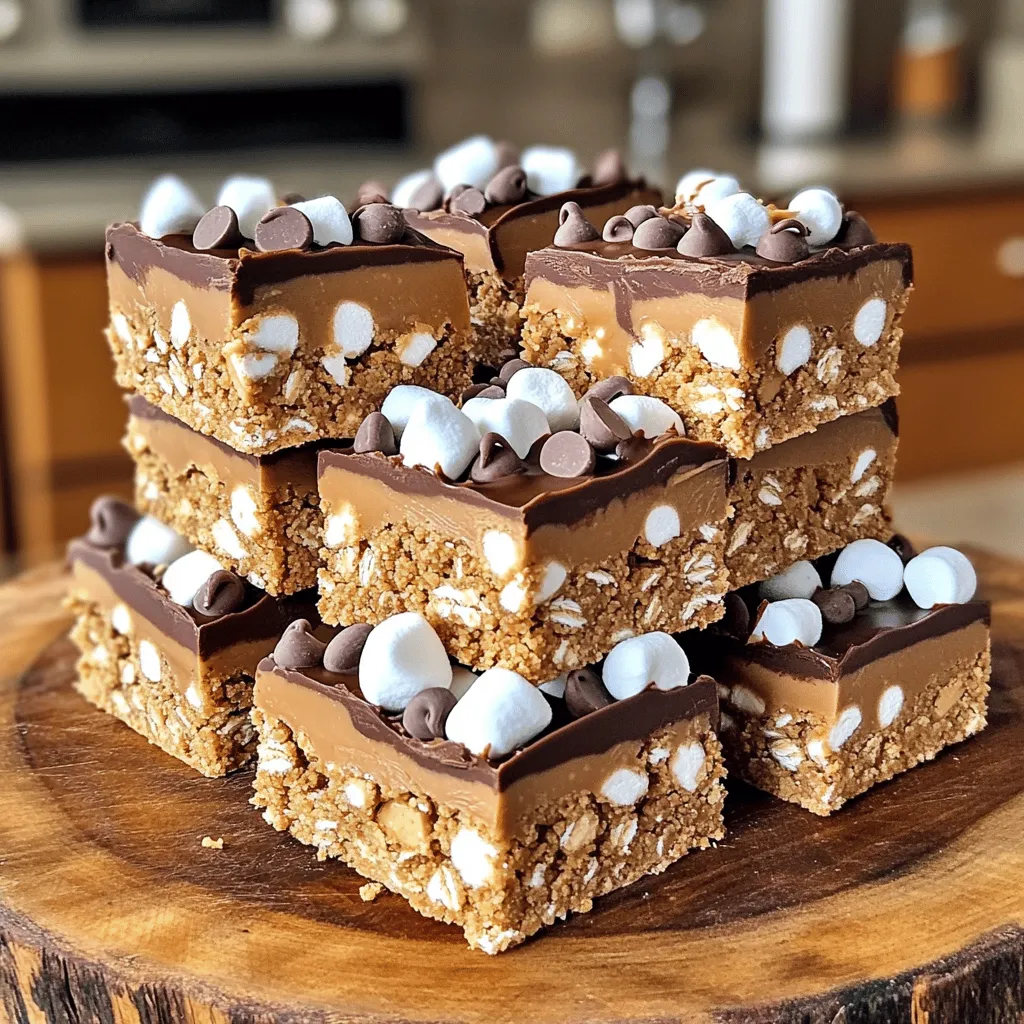
No Bake S’mores Peanut Butter Bars Delightful Treat
Get ready to satisfy your sweet tooth with my No Bake S’mores Peanut Butter Bars! These tasty treats combine classic s’mores flavors with creamy peanut
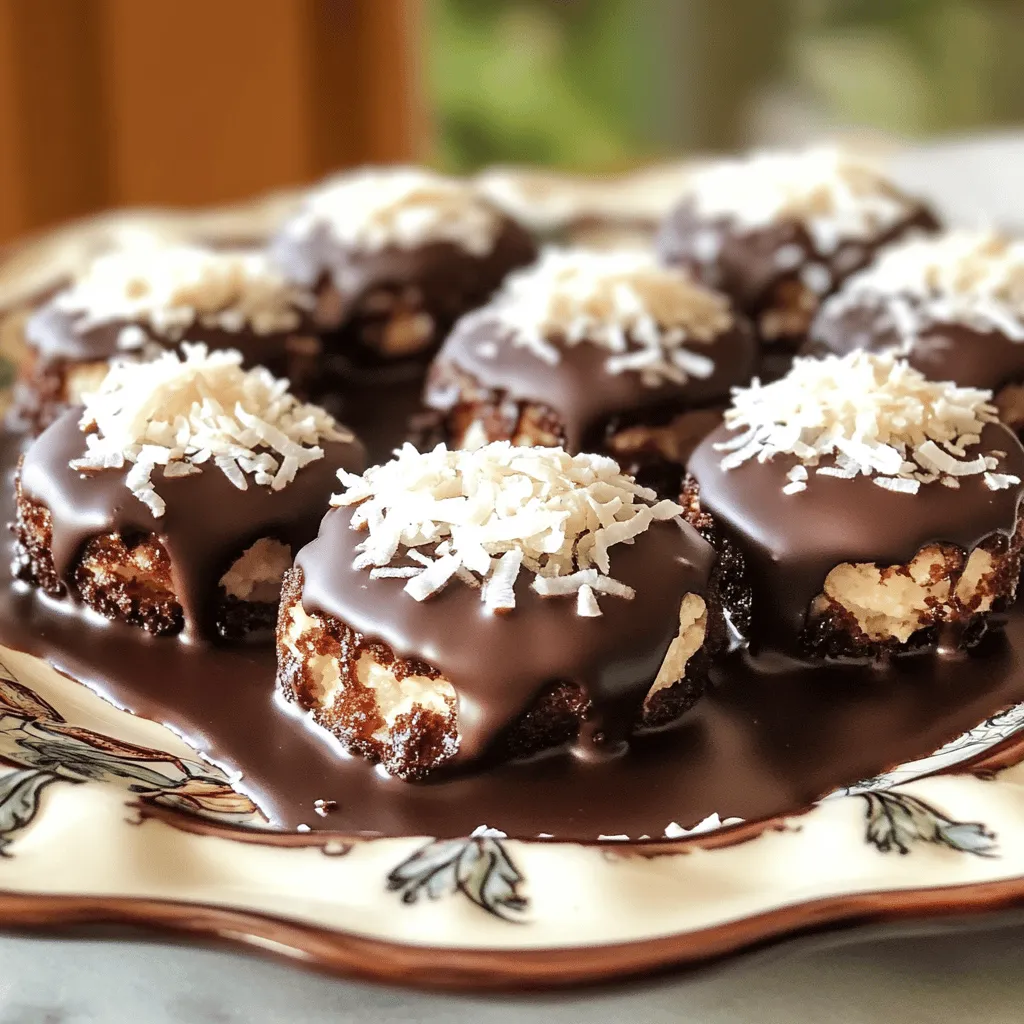
Chocolate Coconut Macaroon Bites Tasty Treat Recipe
If you love sweet treats, you are in for a delight! Chocolate Coconut Macaroon Bites are easy to make and oh-so-delicious. In this recipe, I
Brown Butter Pumpkin Blondies Irresistible Dessert Treat
Are you ready to indulge in a warm, sweet treat that screams fall? Brown Butter Pumpkin Blondies are the perfect dessert to enjoy on a
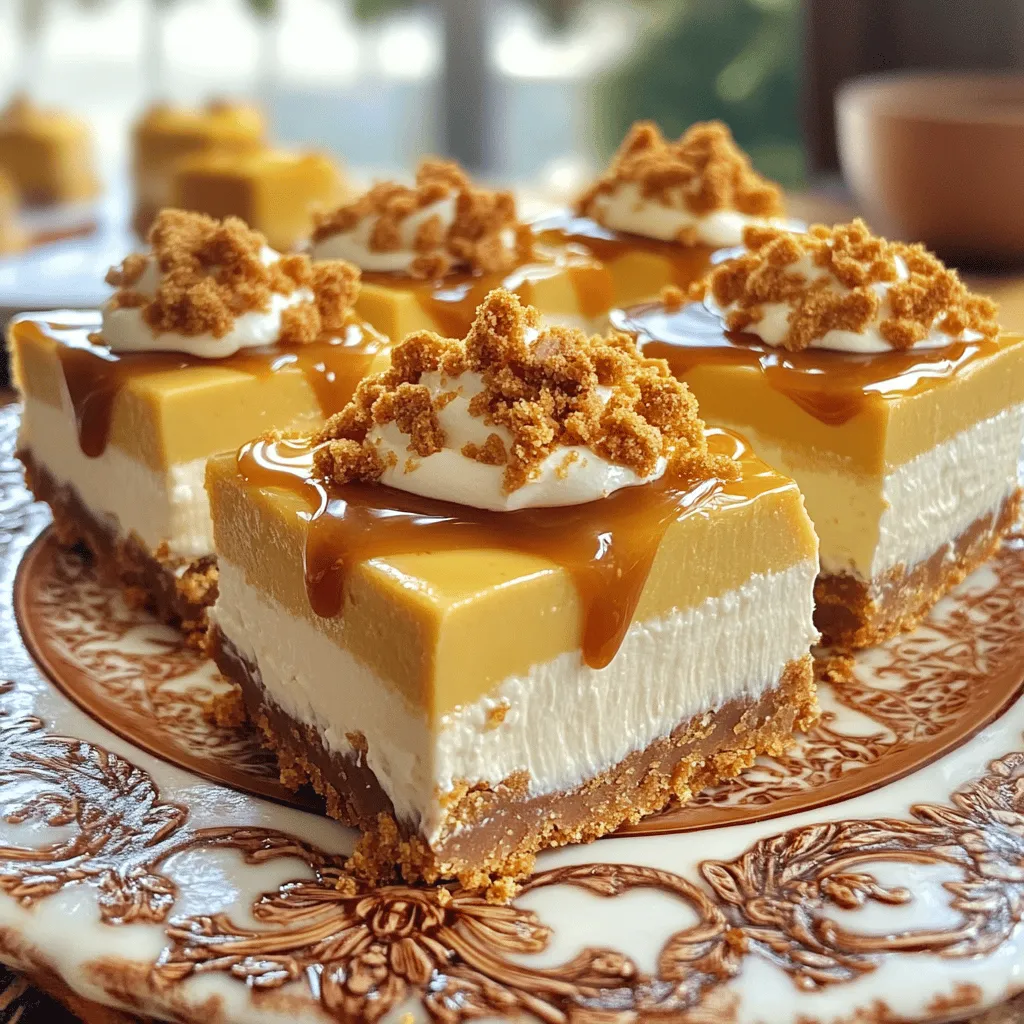
No-Bake Biscoff Cheesecake Squares Easy Dessert Recipe
Are you ready to impress your friends with a sweet treat? This No-Bake Biscoff Cheesecake Squares recipe is simple and quick. With just a few