Desserts
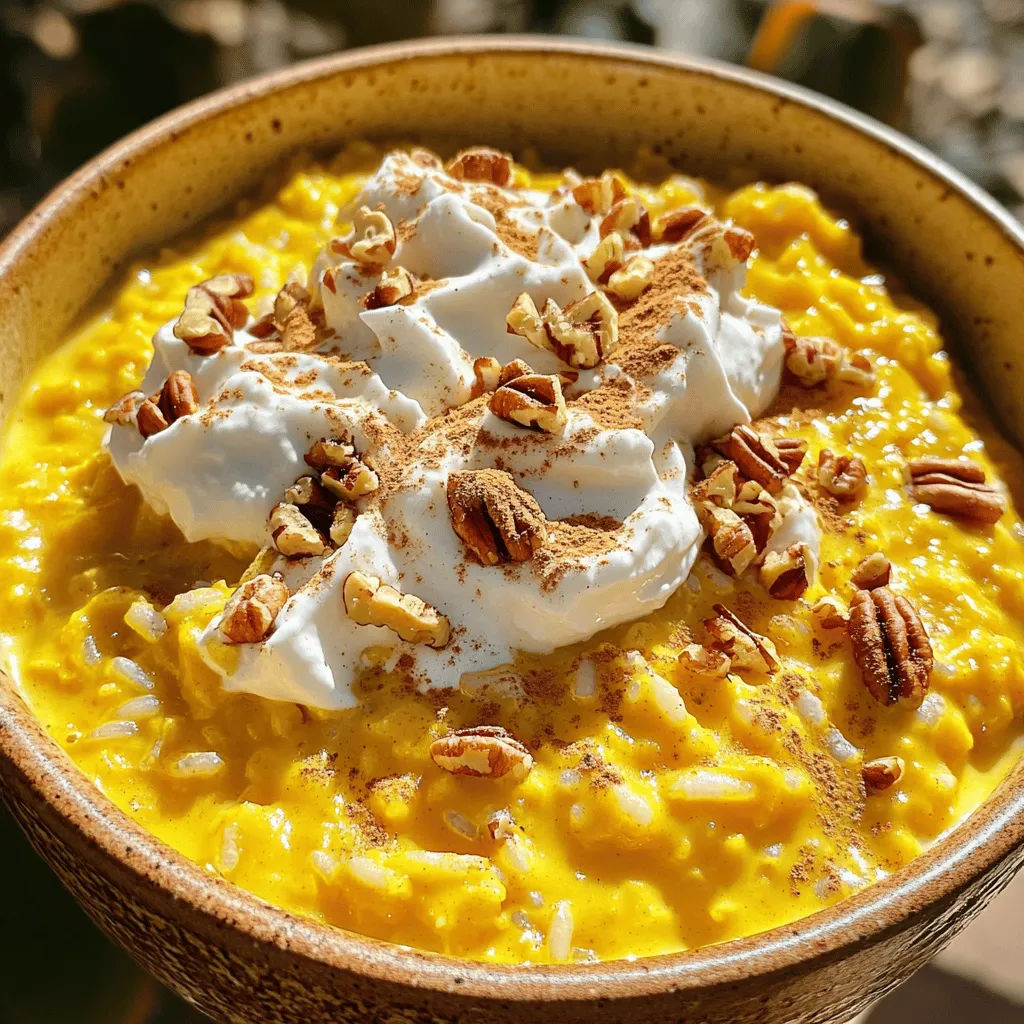
Pumpkin Spice Rice Pudding Comforting Fall Delight
Looking for a cozy fall treat? You’ll love my Pumpkin Spice Rice Pudding. This warm, creamy dessert combines the comforting taste of Arborio rice with
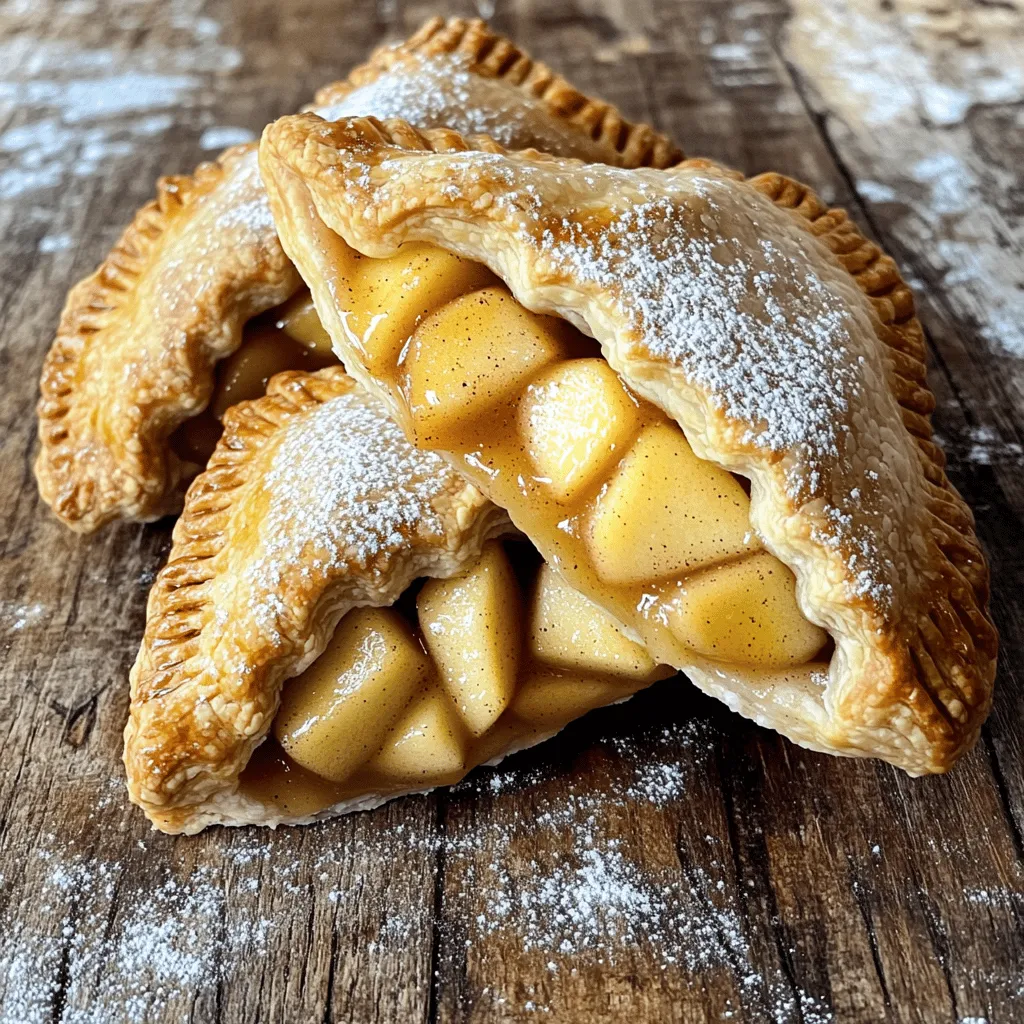
Air Fryer Apple Hand Pies Tasty and Simple Recipe
Are you ready to indulge in a sweet treat that’s both easy and delicious? Air Fryer Apple Hand Pies are the perfect dessert or snack,
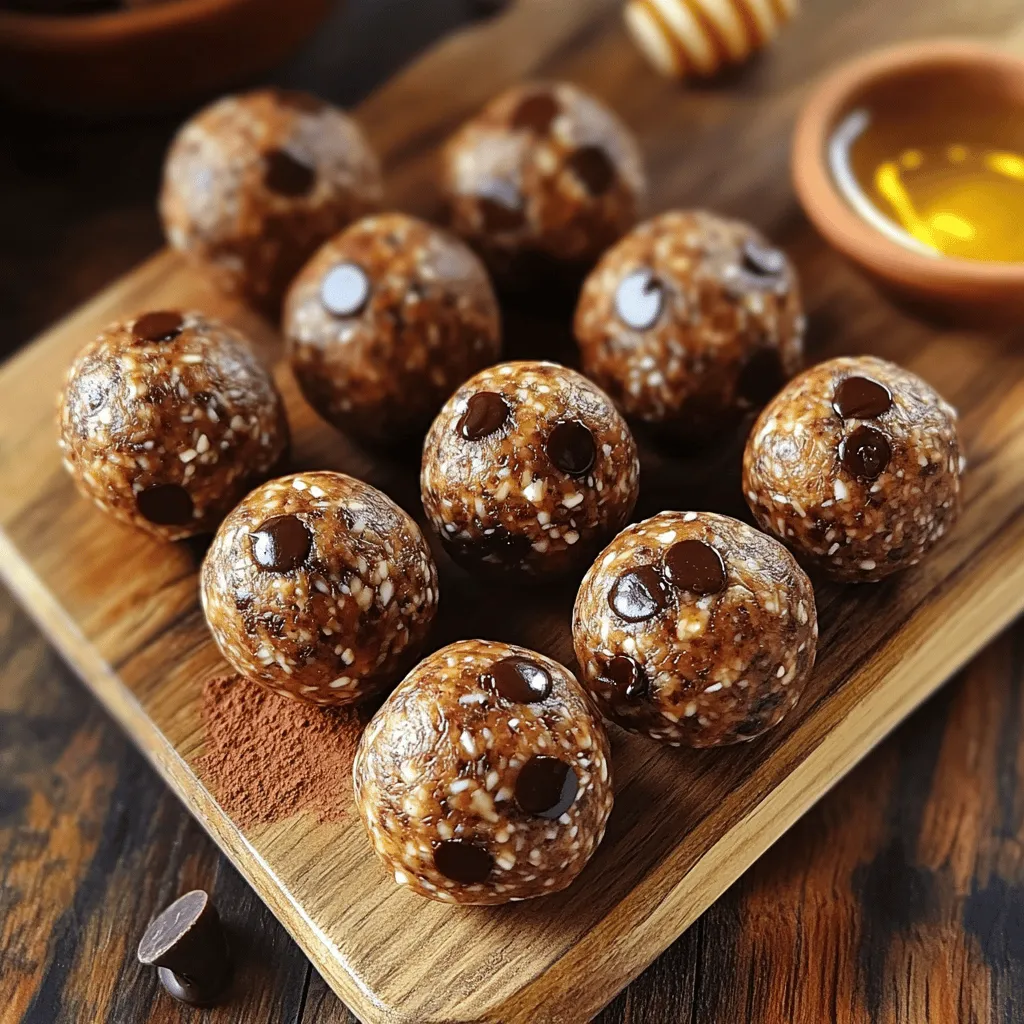
Mocha Chocolate Chip Energy Balls Quick and Tasty Snack
Looking for a quick and tasty snack that packs a punch? Mocha Chocolate Chip Energy Balls are your answer! With just a handful of simple
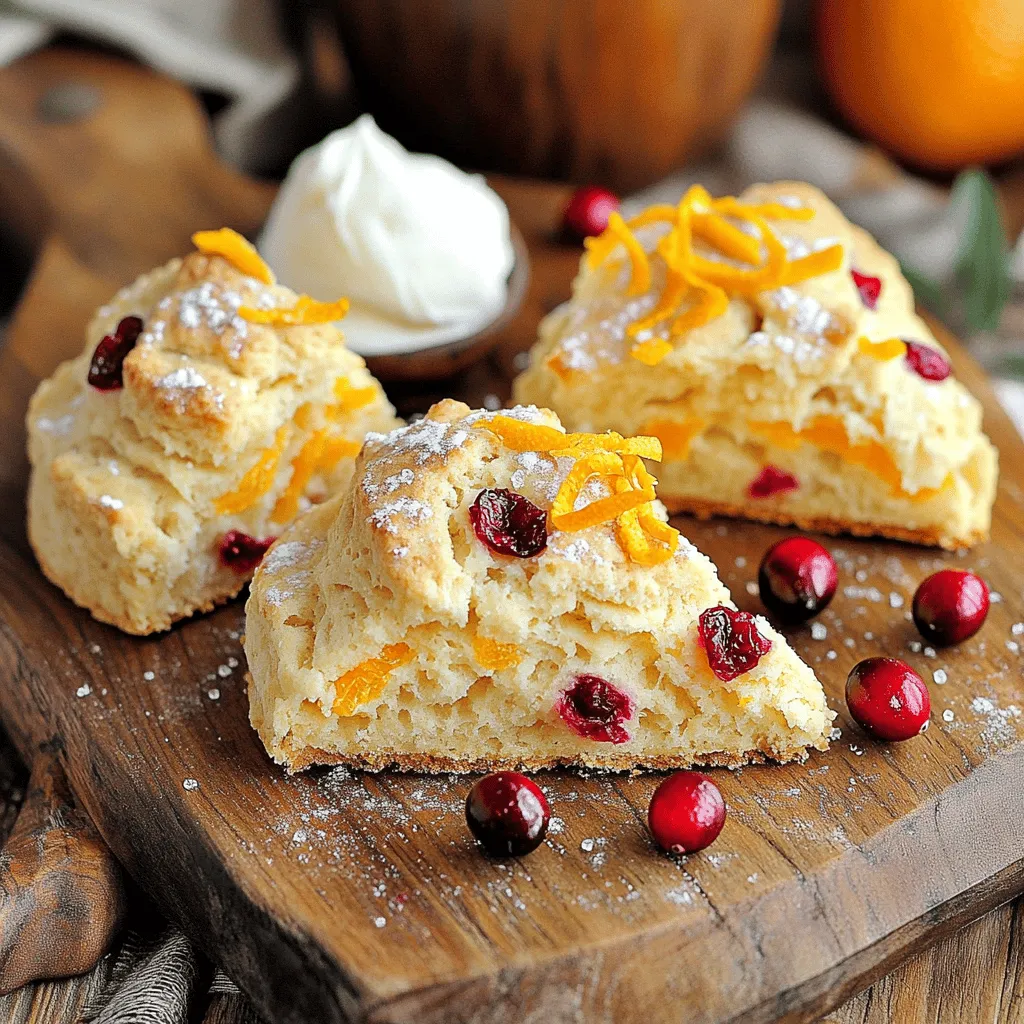
Cranberry Orange Scones Moist and Simple Recipe
If you crave a delicious treat, these Cranberry Orange Scones are for you. Light, moist, and packed with flavor, they’re simple to whip up and
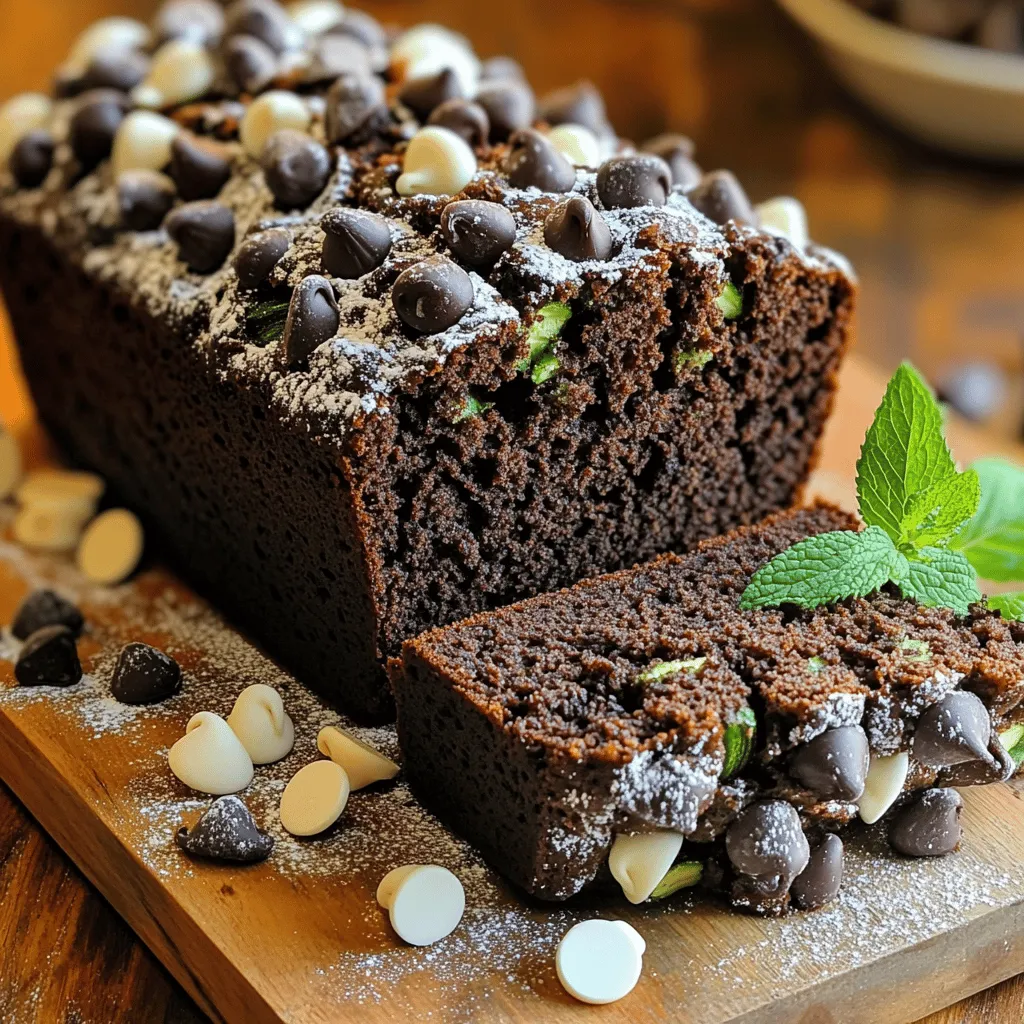
Triple Chocolate Zucchini Bread Decadent and Easy Recipe
If you want to blend rich chocolate goodness with healthy zucchini, you’ve found the right place! My Triple Chocolate Zucchini Bread is both indulgent and
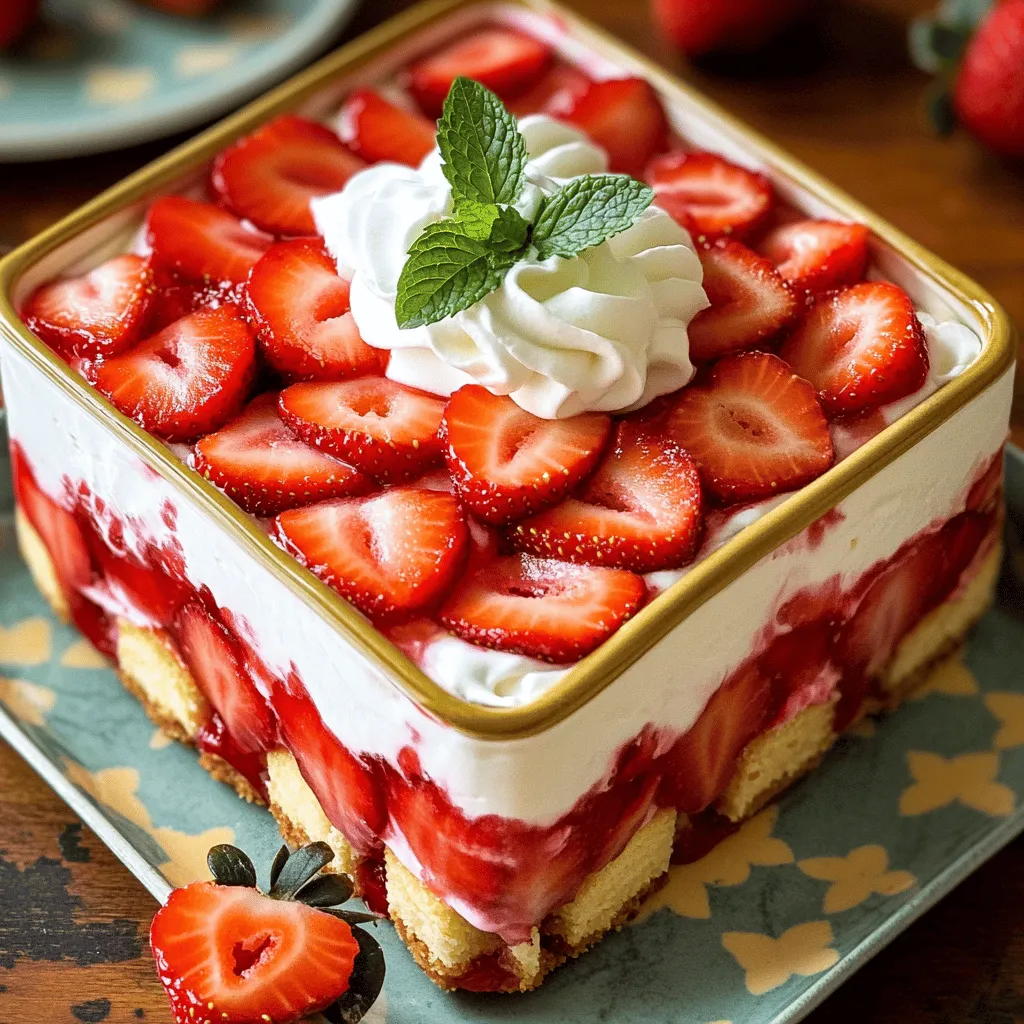
Strawberry Shortcake Icebox Cake Easy and Delicious Treat
If you’re looking for an easy and tasty dessert, you’ve found it! This Strawberry Shortcake Icebox Cake is simple to make and sure to impress.
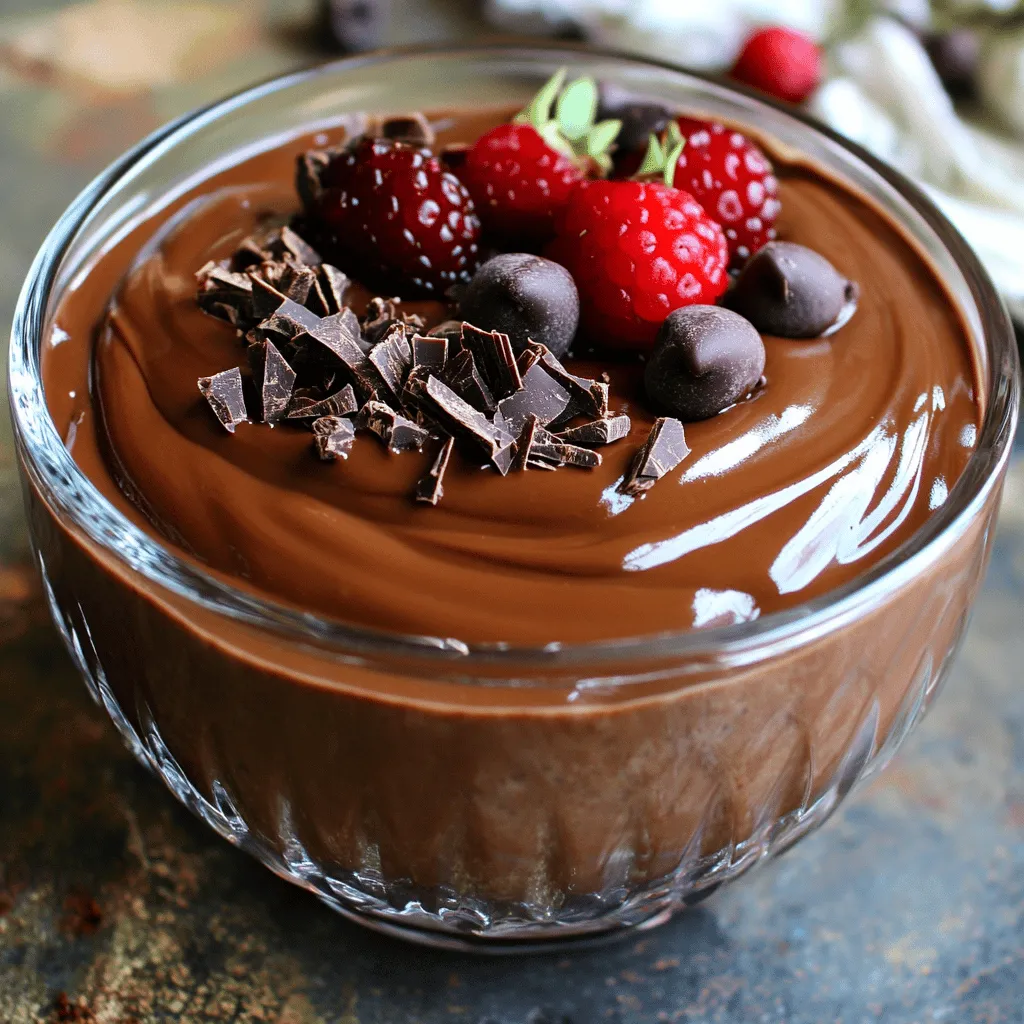
Chocolate Cottage Cheese Pudding Creamy Delight Recipe
Are you ready to indulge in a guilt-free treat? This Chocolate Cottage Cheese Pudding is a creamy delight perfect for any dessert lover. With simple
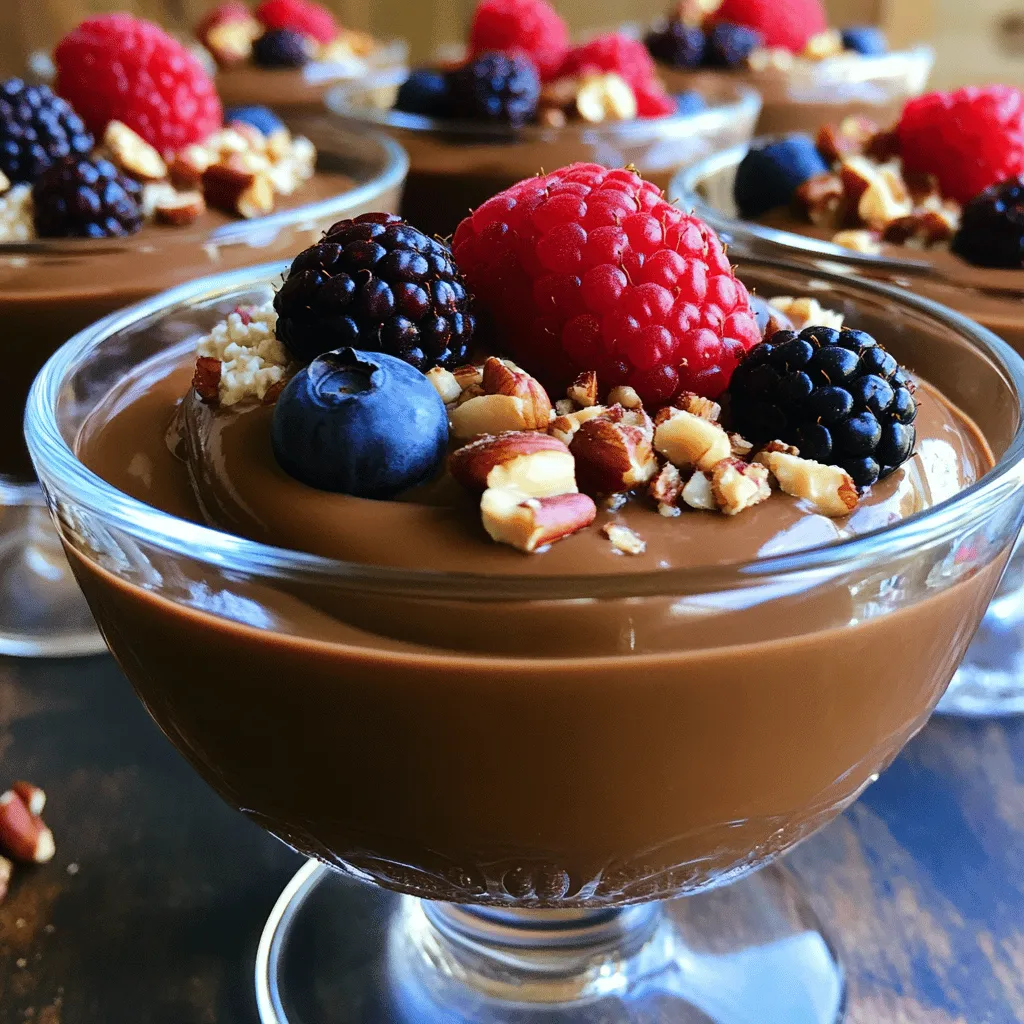
Cottage Cheese Chocolate Protein Pudding Delight
Craving a sweet treat that’s also packed with protein? Let me introduce you to Cottage Cheese Chocolate Protein Pudding Delight. This creamy, rich dessert uses
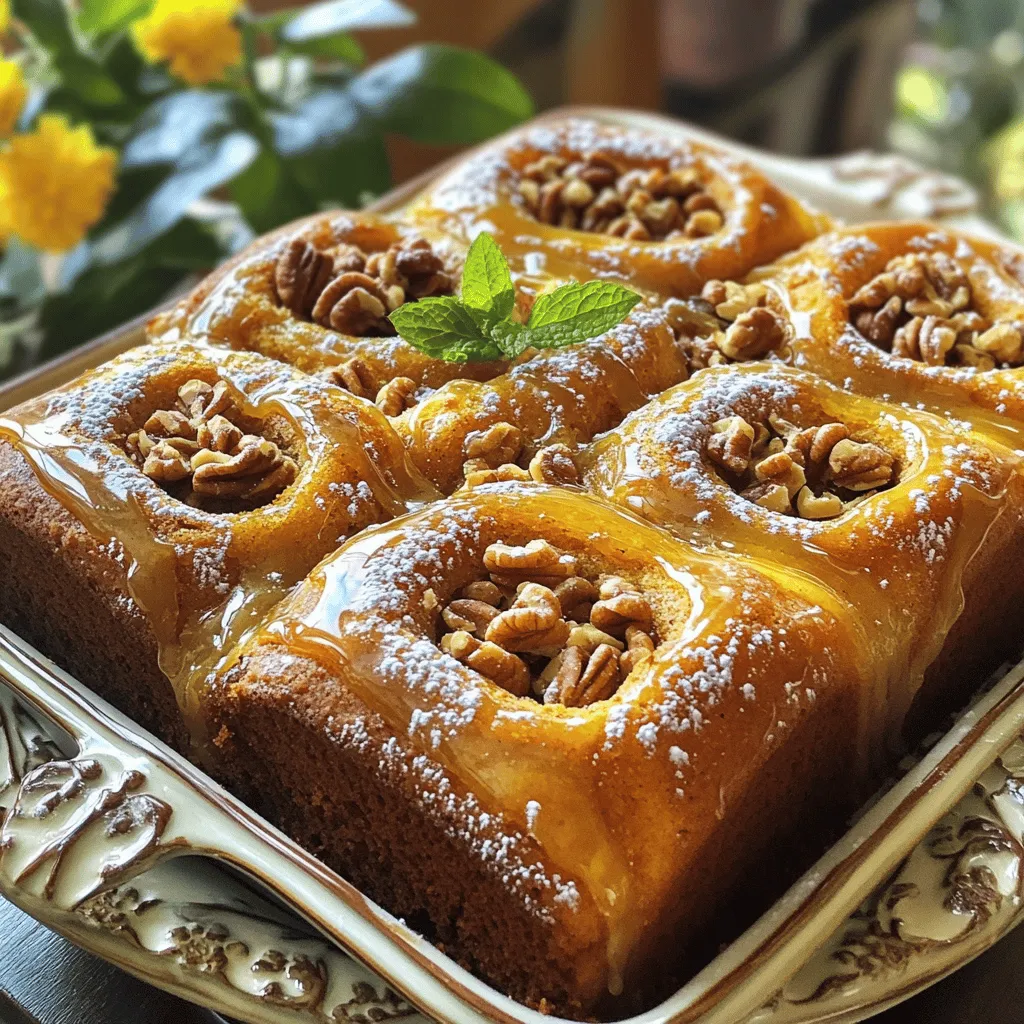
Pumpkin Honey Bun Cake Delightfully Simple Recipe
Have you ever craved a dessert that feels like a warm hug? The Pumpkin Honey Bun Cake combines the rich flavors of fall with a
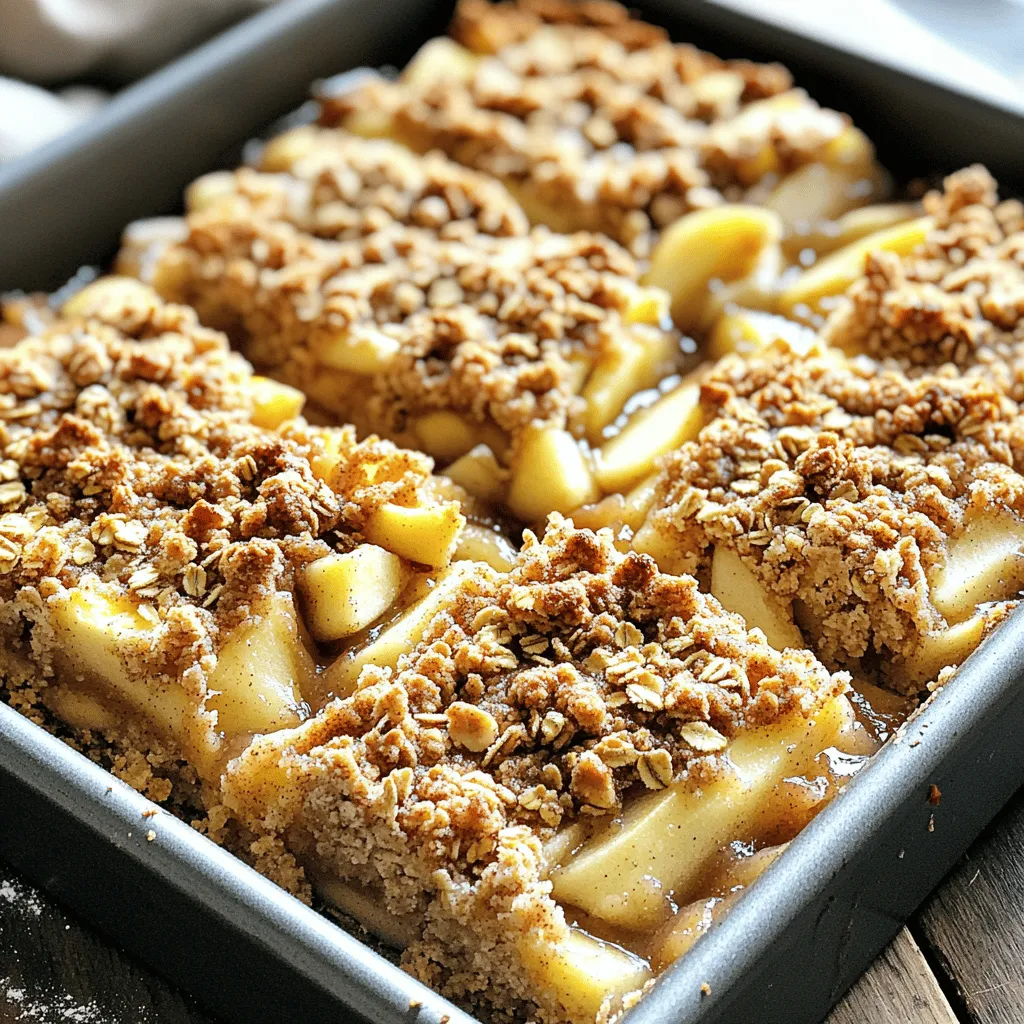
Apple Crisp Bars Delightful and Easy Recipe
If you love the warm, sweet aroma of apple desserts, you’re in for a treat! My easy recipe for Apple Crisp Bars brings together rolled