Desserts

Bakery-Style Peppermint Mocha Brownies Delight
Get ready to indulge in a festive treat! These Bakery-Style Peppermint Mocha Brownies combine rich chocolate with a hint of mint for a delicious twist.

Gingerbread Cupcakes with Cream Cheese Frosting Delight
Are you ready to dive into a world of sweet joy? Gingerbread Cupcakes with Cream Cheese Frosting bring the holiday spirit right to your kitchen!
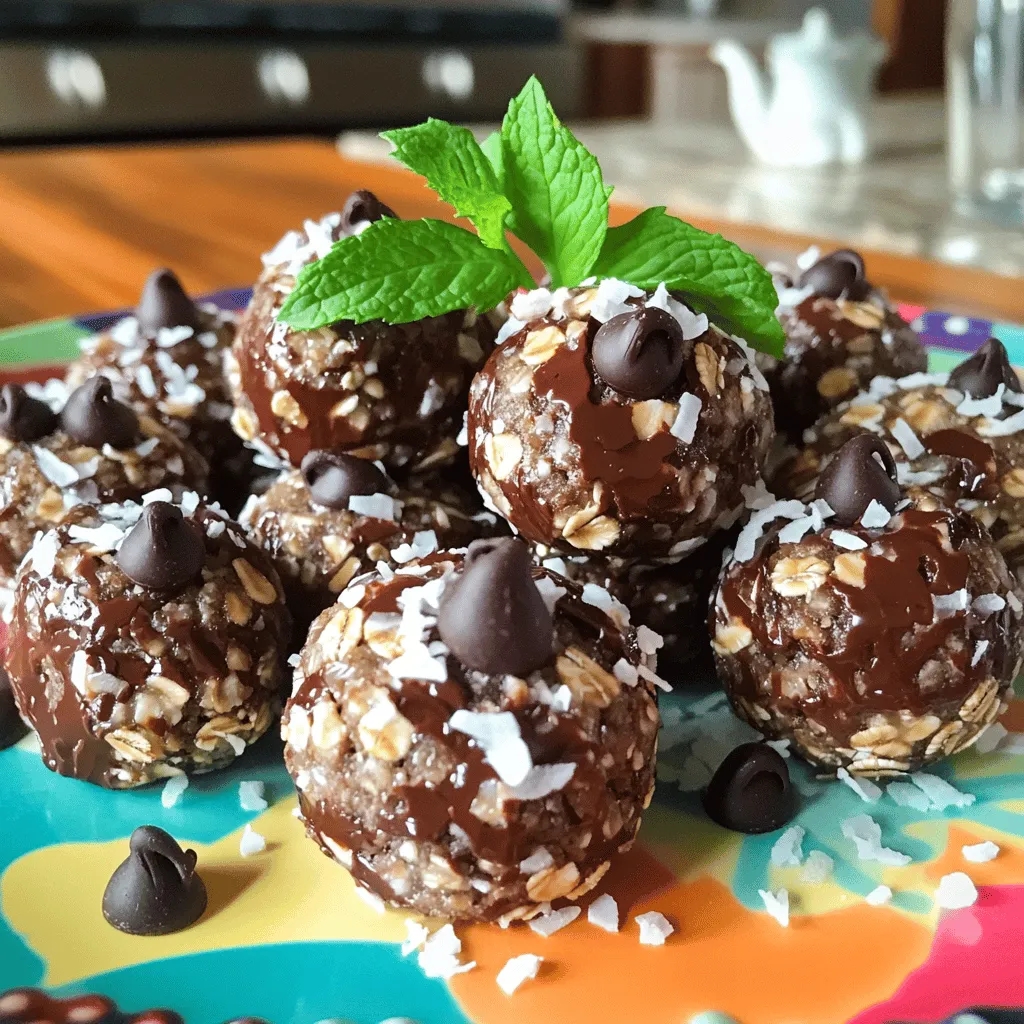
No-Bake Peppermint Chocolate Energy Bites Recipe
Looking for a quick, tasty snack that fuels your day? I’ve got just the recipe for you: No-Bake Peppermint Chocolate Energy Bites! These little delights
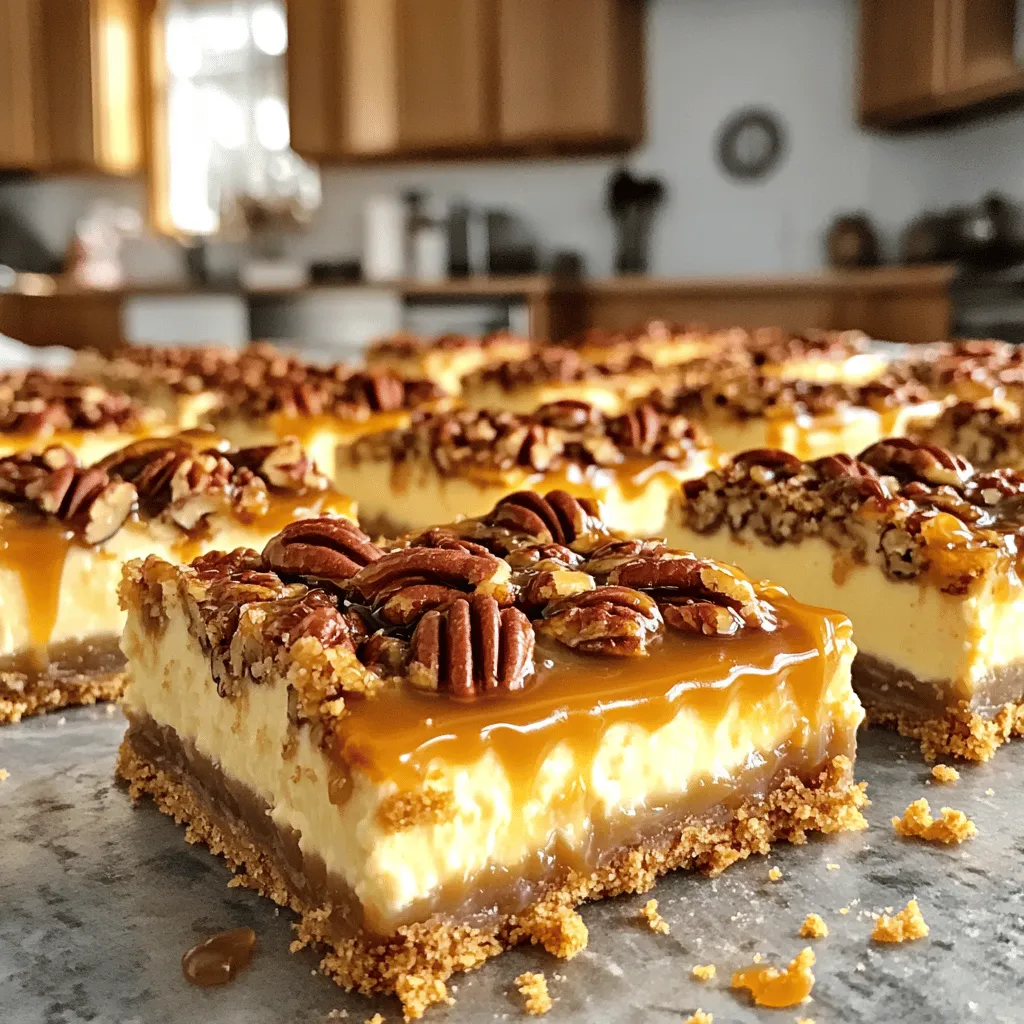
Caramel Pecan Pie Cheesecake Bars Irresistible Treat
Get ready to indulge in an irresistible treat that combines two classic desserts: pecan pie and cheesecake! My Caramel Pecan Pie Cheesecake Bars are creamy,

Peanut Butter Chocolate Chip Banana Bread Delight
Are you ready to bake something truly special? This Peanut Butter Chocolate Chip Banana Bread Delight combines the creamy goodness of peanut butter with sweet,
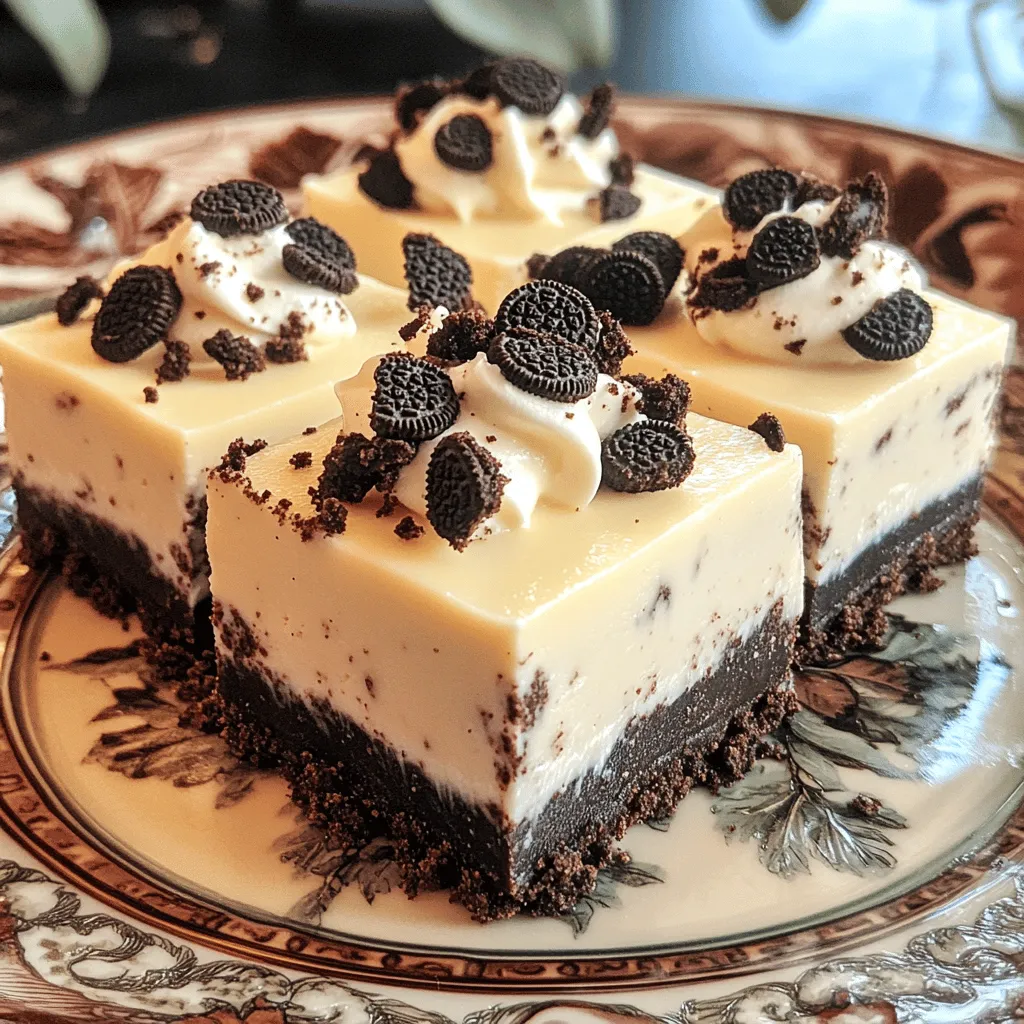
No-Bake Oreo Cheesecake Bars Easy and Delicious Treat
Ready for a sweet treat that’s easy to make and even easier to enjoy? This No-Bake Oreo Cheesecake Bars recipe is perfect for all ages.
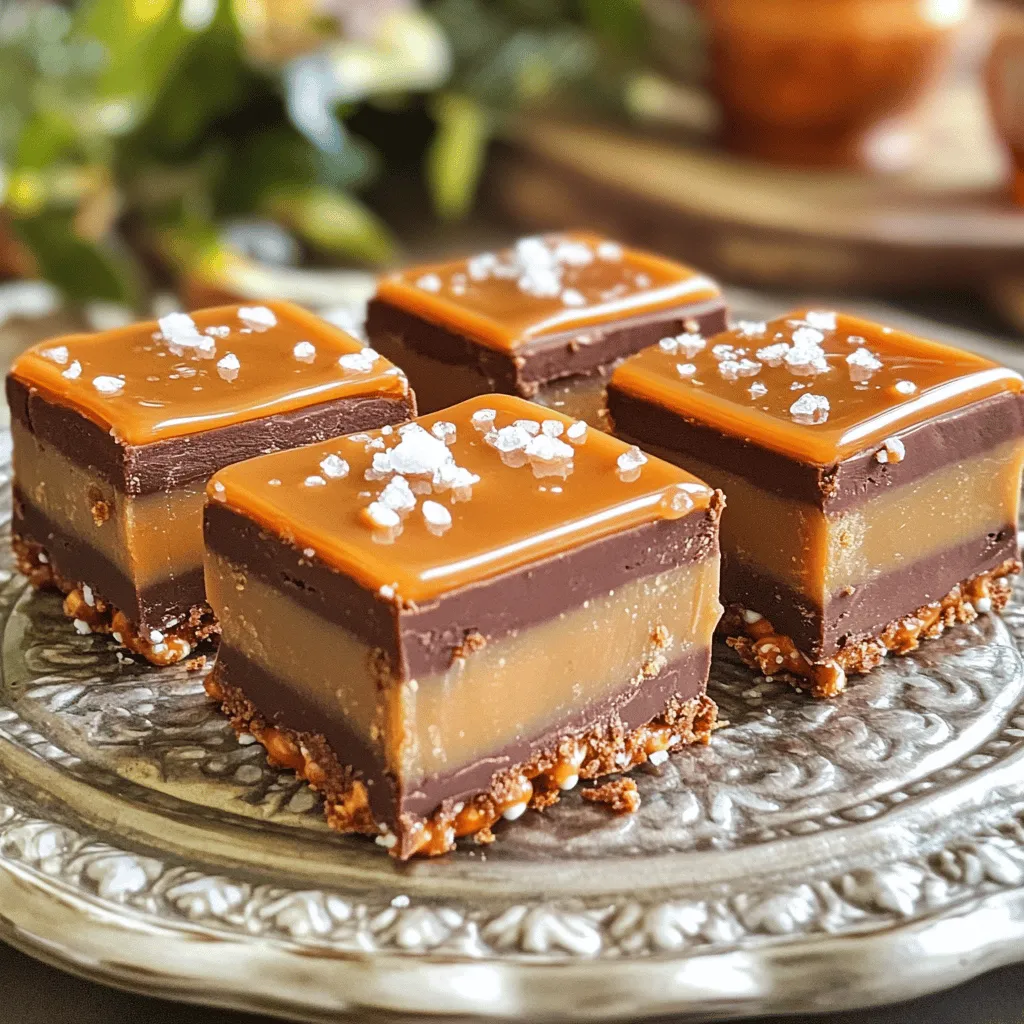
No-Bake Salted Caramel Pretzel Fudge Delight
Ready for a sweet treat that’s super easy to make? My No-Bake Salted Caramel Pretzel Fudge combines the crunchy goodness of pretzels with rich caramel
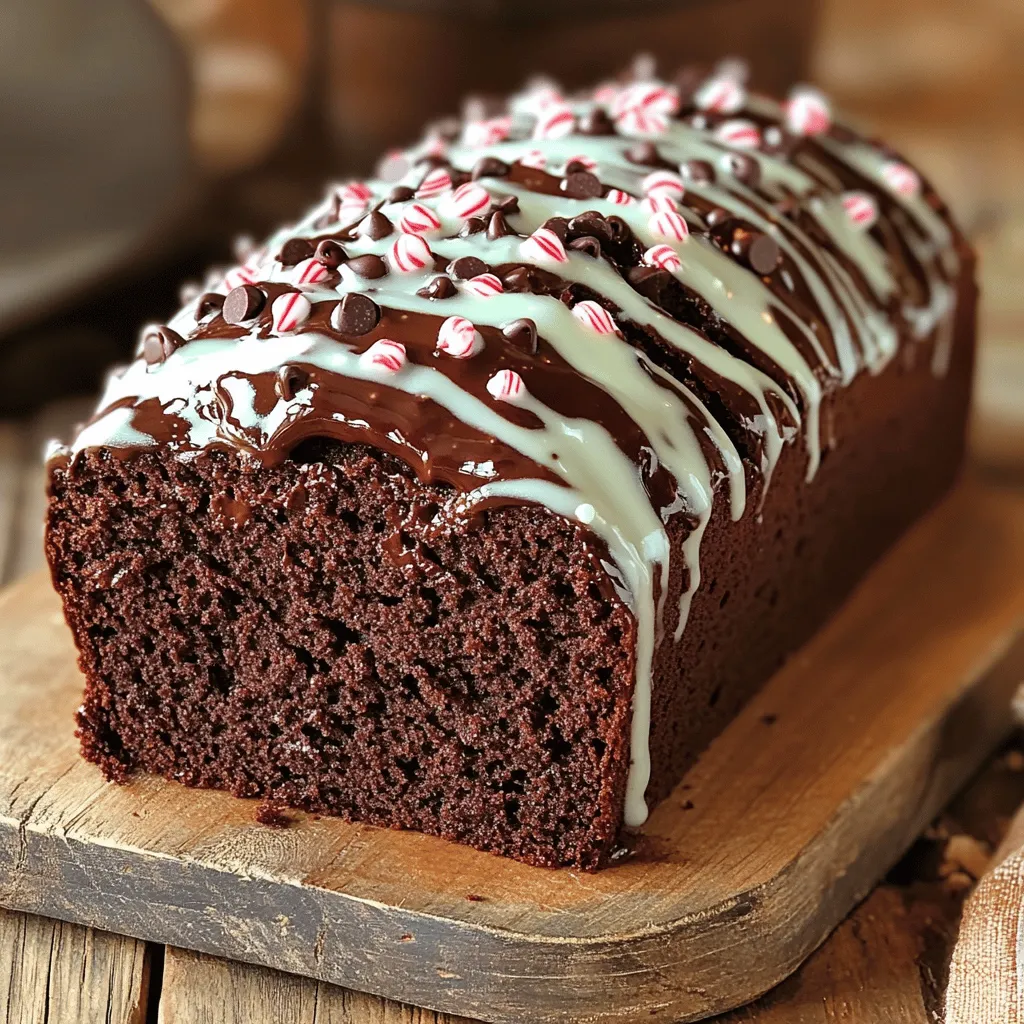
Bakery-Style Chocolate Peppermint Loaf with Glaze Delight
Are you ready to create a showstopper in your kitchen? This Bakery-Style Chocolate Peppermint Loaf with Glaze is a delightful twist on the classic loaf
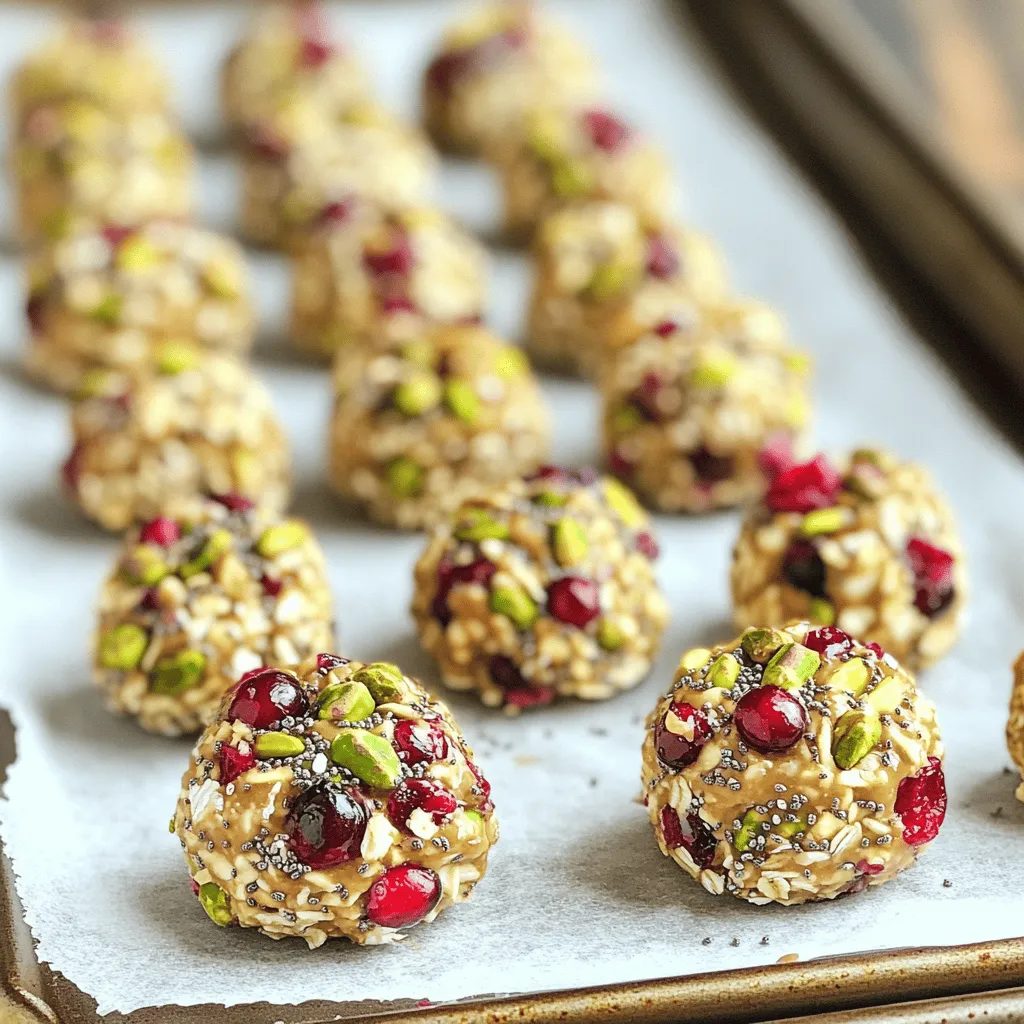
No-Bake Cranberry Pistachio Energy Bites Delight
Are you ready to whip up a tasty snack without turning on the oven? My No-Bake Cranberry Pistachio Energy Bites are just what you need!
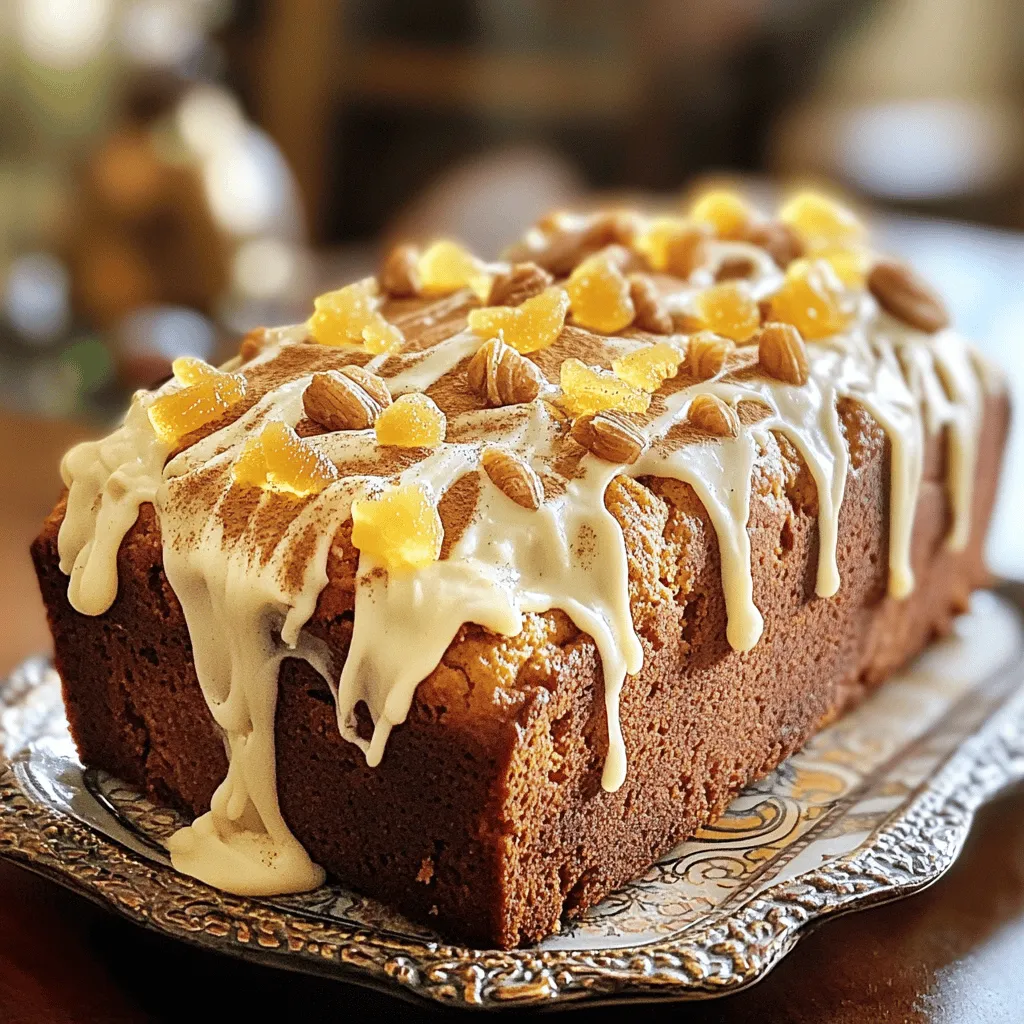
Bakery-Style Gingerbread Loaf with Cream Cheese Frosting
If you crave the warm, cozy flavors of fall, you’ll love this Bakery-Style Gingerbread Loaf with Cream Cheese Frosting. I’ll guide you through each step,