Desserts
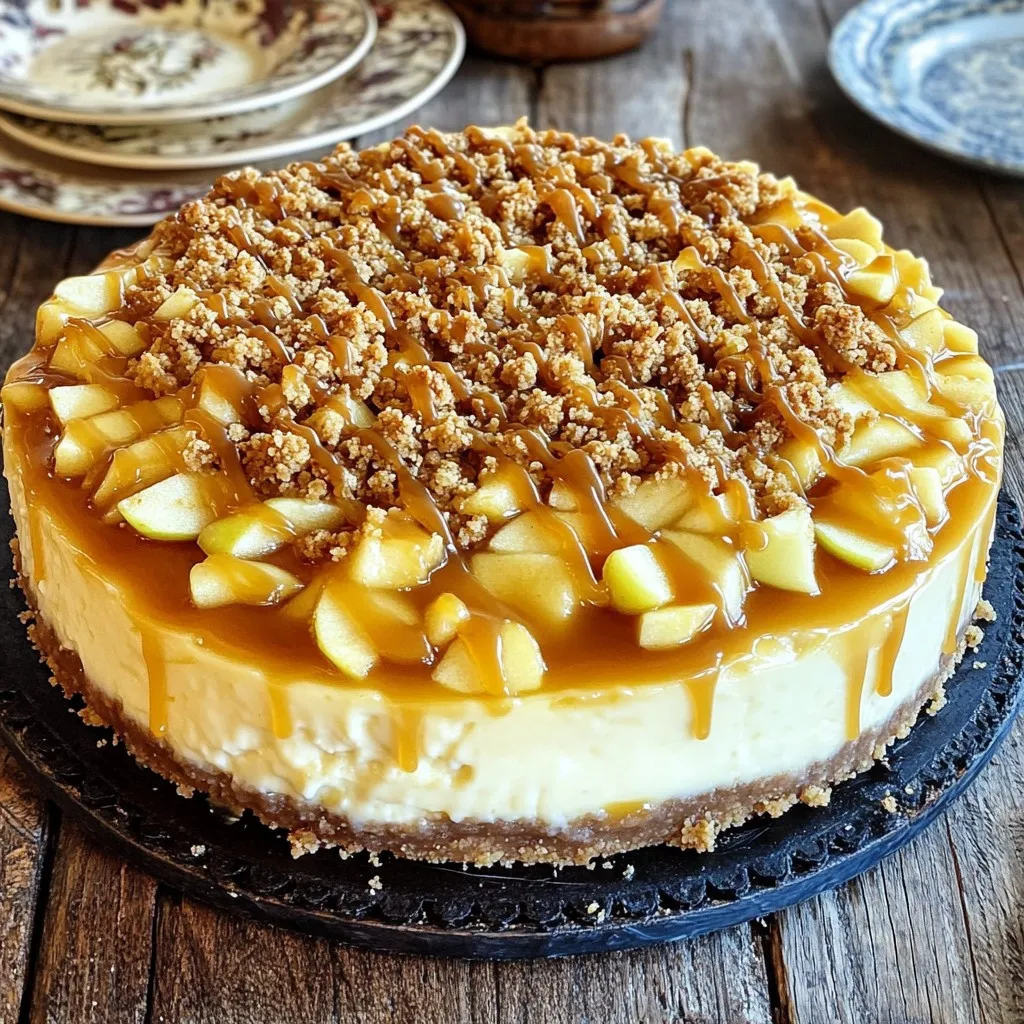
Caramel Apple Crumble Cheesecake Delightful Recipe
Indulge in the perfect fall dessert with my Caramel Apple Crumble Cheesecake! This delightful blend of creamy cheesecake, sweet apples, and a crunchy crumble will

Air Fryer Cinnamon Sugar Apple Chips Crunchy Snack
Looking for a tasty and easy snack? Try my Air Fryer Cinnamon Sugar Apple Chips! They’re crunchy, sweet, and a great way to use fresh
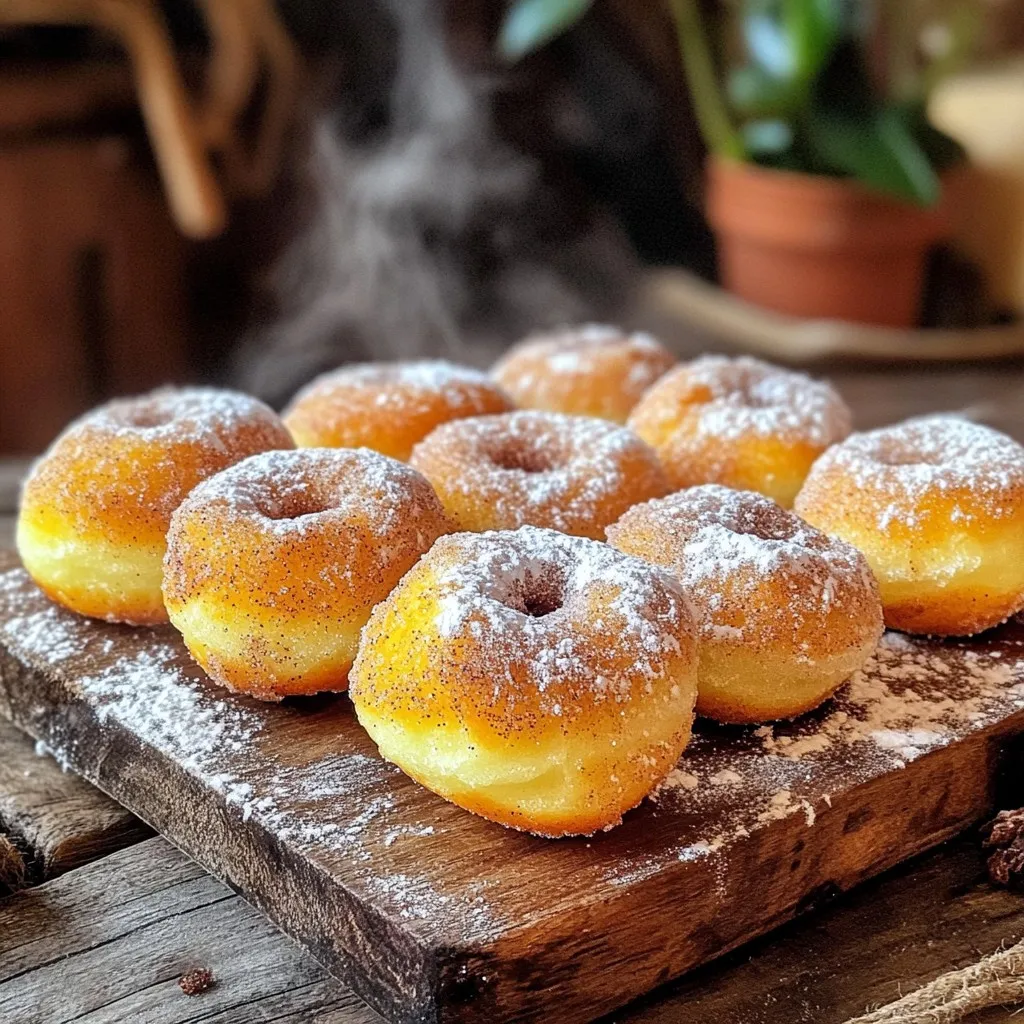
Air Fryer Cinnamon Sugar Donut Holes Delight
Craving a sweet treat that’s easy to make? Let me introduce you to my Air Fryer Cinnamon Sugar Donut Holes! These fluffy, bite-sized delights will
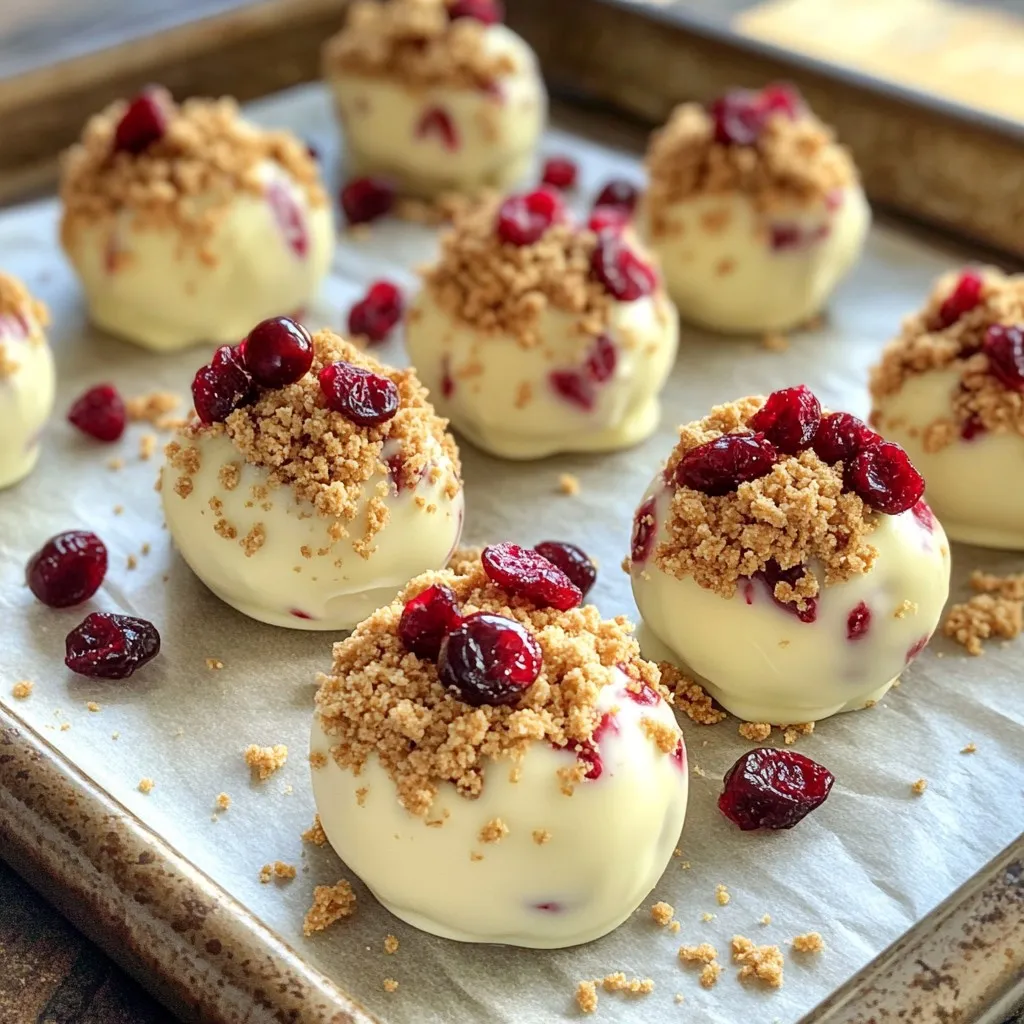
No-Bake Cranberry White Chocolate Truffles Delight
If you’re ready to impress with a sweet treat, I’ve got just the recipe for you! My No-Bake Cranberry White Chocolate Truffles are creamy, sweet,
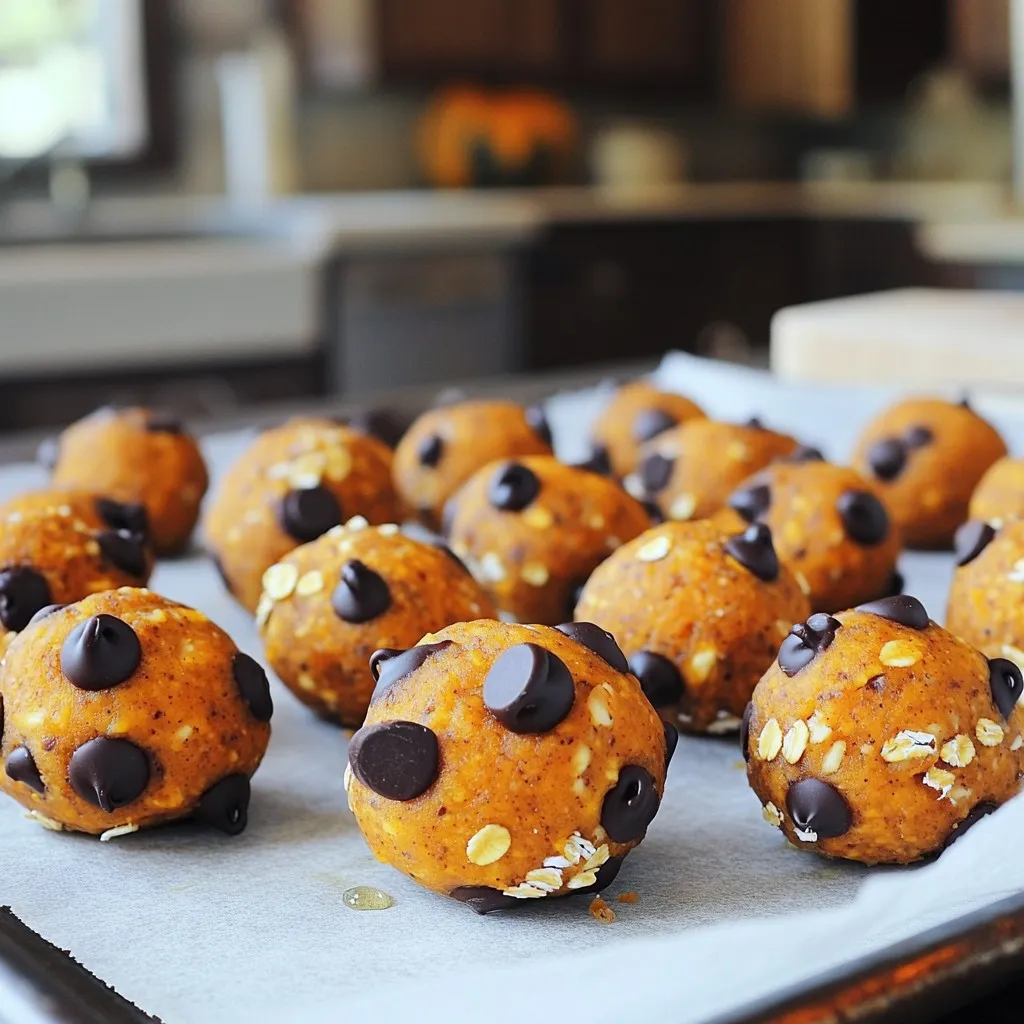
Pumpkin Chocolate Chip Protein Balls Healthy Snack Idea
Looking for a tasty and healthy snack? You’ll love these Pumpkin Chocolate Chip Protein Balls! Packed with pure pumpkin, almond butter, and protein powder, these

Copycat Pumpkin Cream Cold Brew Easy Recipe Guide
Love the pumpkin cream cold brew from your favorite cafe? You can make it at home! This easy recipe guide walks you through creating a
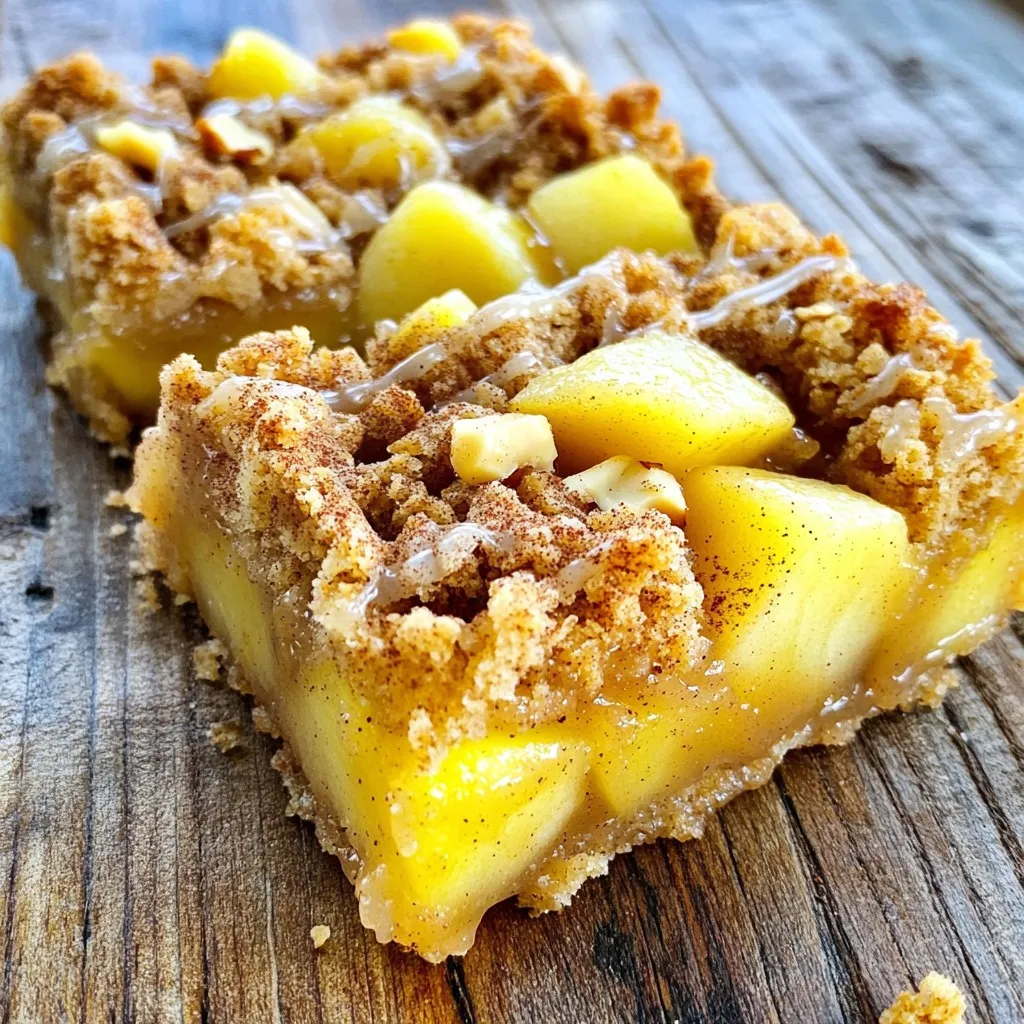
Spiced Pear Crumble Bars Delicious and Easy Treat
Are you ready to delight your taste buds with a simple yet tasty treat? Spiced Pear Crumble Bars are a perfect blend of sweet pears
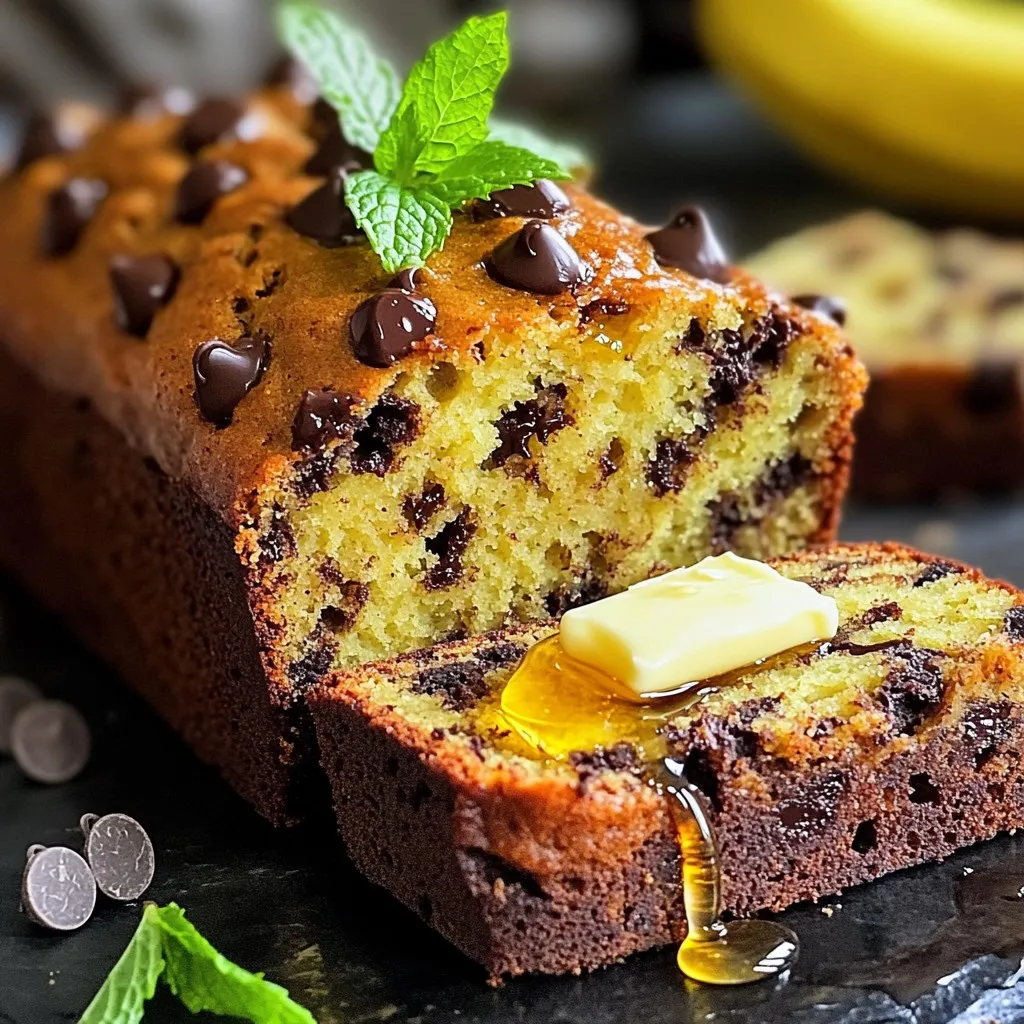
Bakery Style Chocolate Chip Banana Bread Delight
Are you ready to bake the best chocolate chip banana bread? This Bakery Style Chocolate Chip Banana Bread Delight is easy and delicious. I’ll share
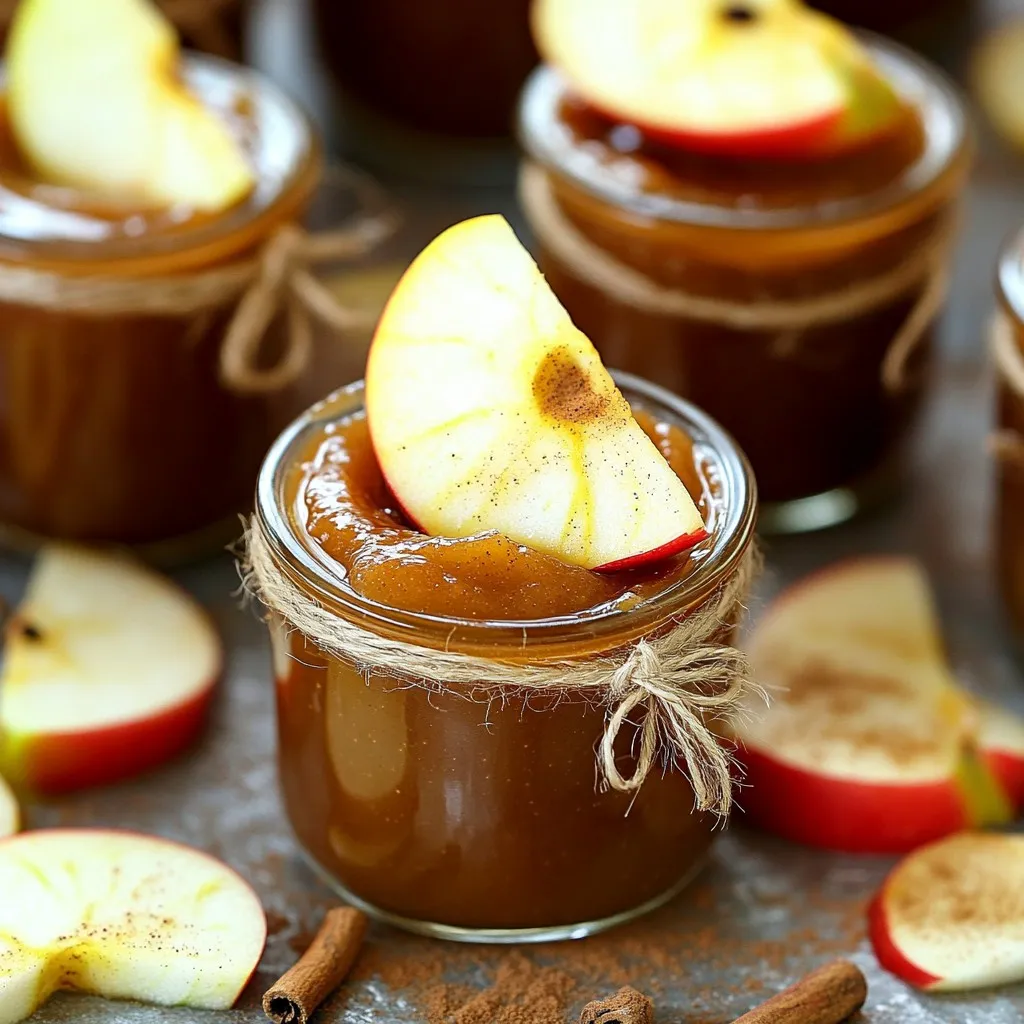
Slow Cooker Cinnamon Apple Butter Simple Recipe
Are you ready to fill your home with the warm, sweet smell of cinnamon? In this simple recipe for Slow Cooker Cinnamon Apple Butter, I’ll
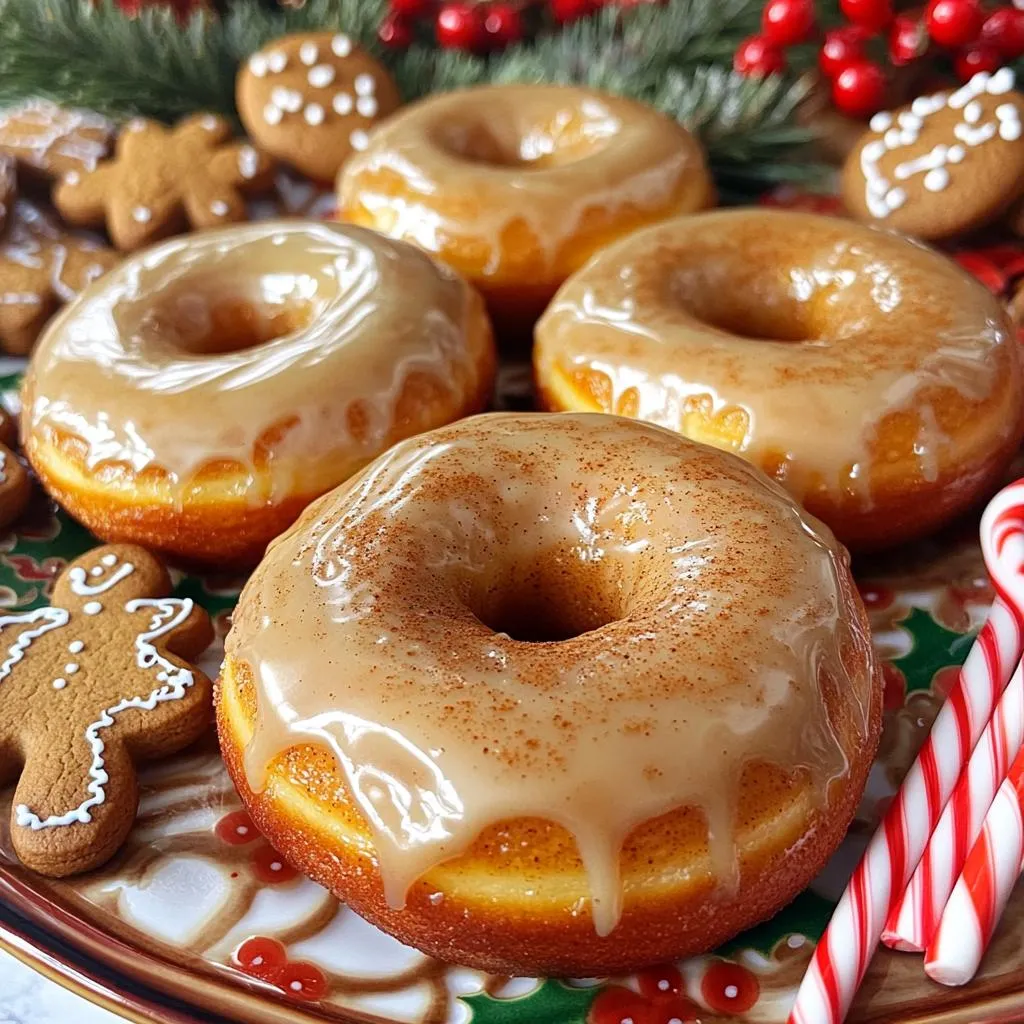
Air Fryer Gingerbread Donuts Sweet and Simple Recipe
Get ready to enjoy the warm, spicy flavor of Air Fryer Gingerbread Donuts! This sweet and simple recipe is perfect for your holiday gatherings or