Desserts
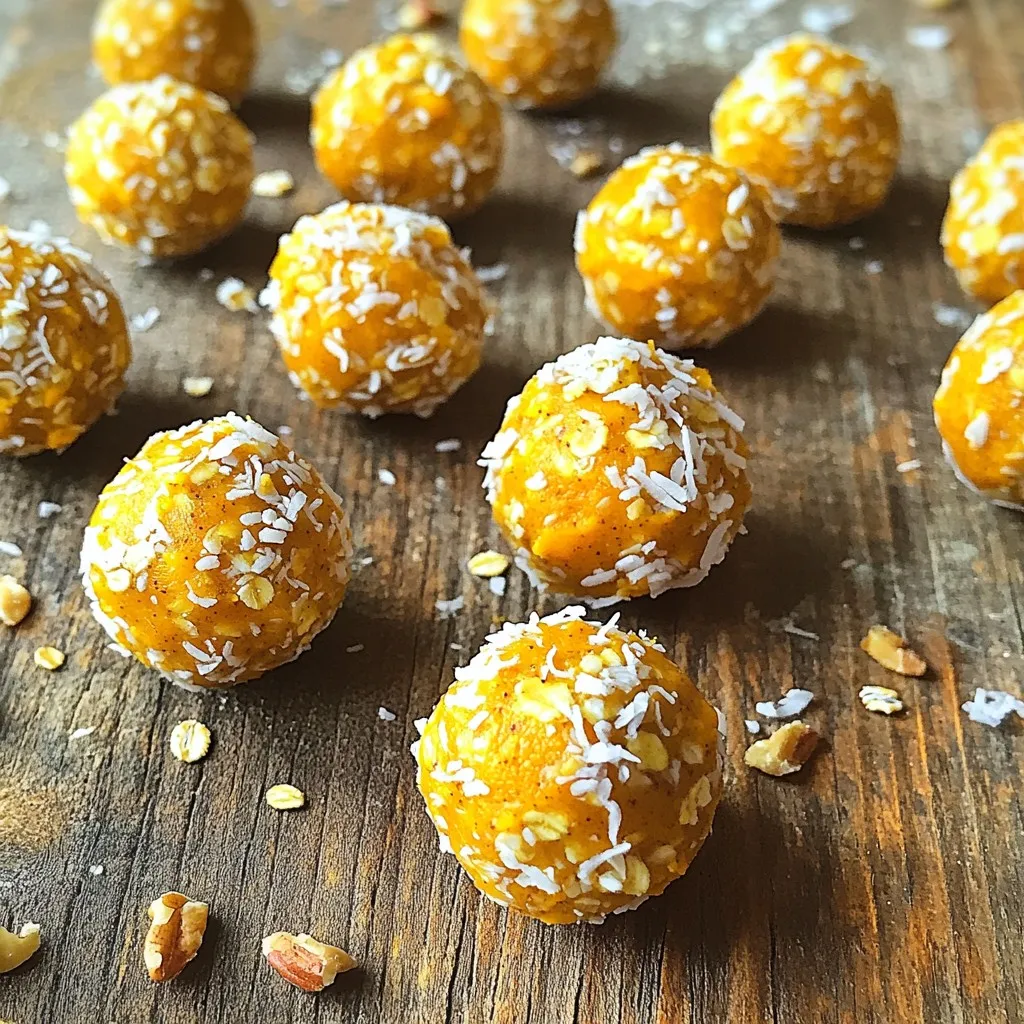
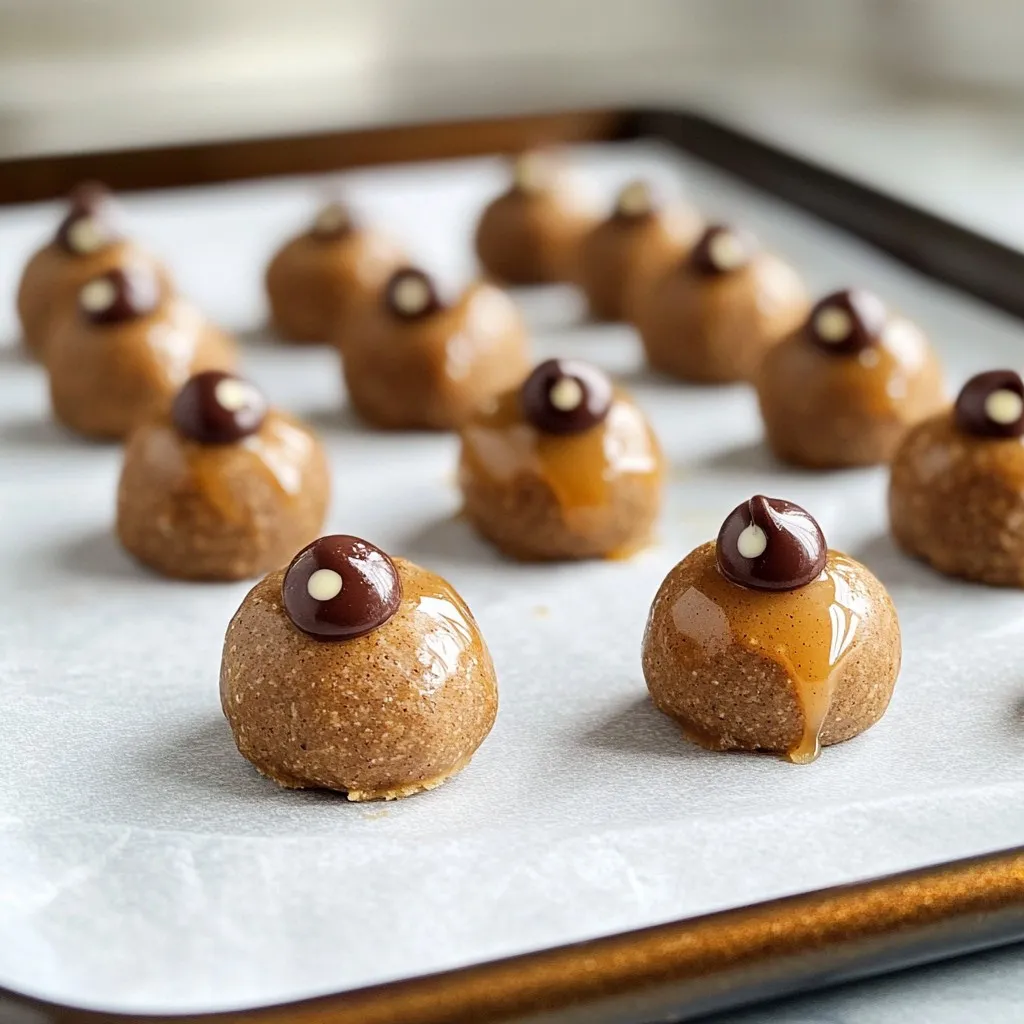
No Bake Pumpkin Spice Energy Truffles Delightful Snack
If you crave a tasty treat that’s also good for you, you’re in the right spot! These No Bake Pumpkin Spice Energy Truffles are the
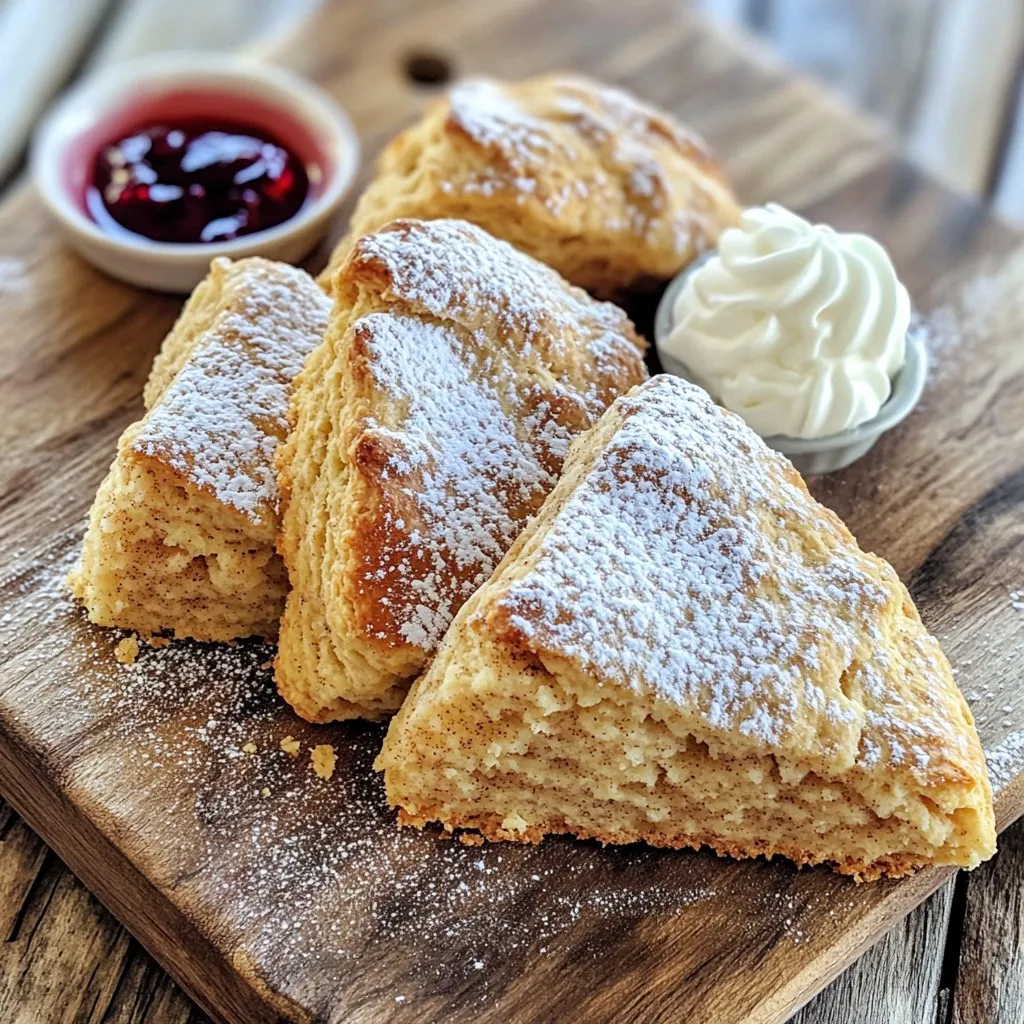
Bakery Style Brown Sugar Cinnamon Scones Delight
Looking to impress your friends with a tasty treat? Bakery Style Brown Sugar Cinnamon Scones are your answer! These scones blend sweet brown sugar with
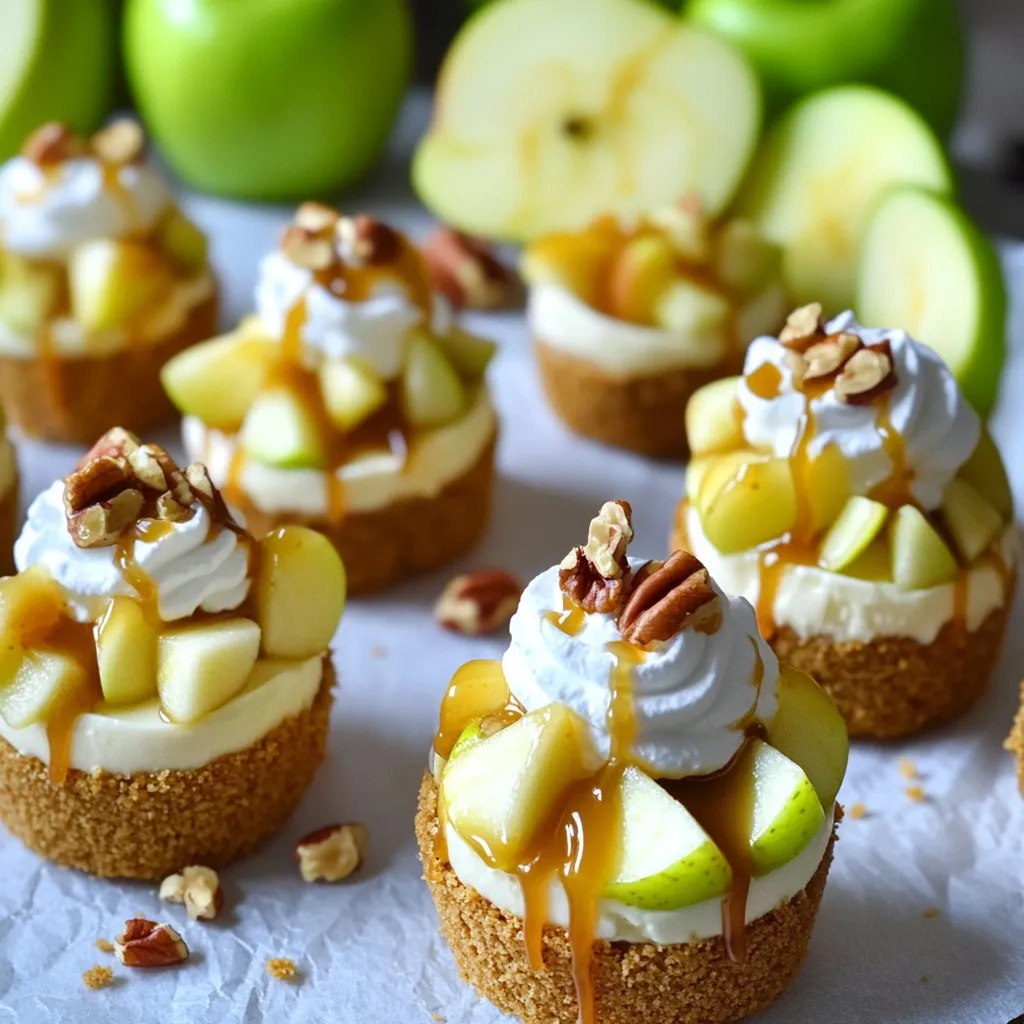
Caramel Apple Cheesecake Truffle Cups Sweet Delight
Get ready to indulge in a sweet and creamy treat with my Caramel Apple Cheesecake Truffle Cups! These little delights combine rich cheesecake with crunchy
Pumpkin Spice Latte Energy Bites Easy and Nutritious
Do you crave the warm, cozy flavors of fall? These Pumpkin Spice Latte Energy Bites are your tasty answer! Packed with wholesome ingredients like oats,
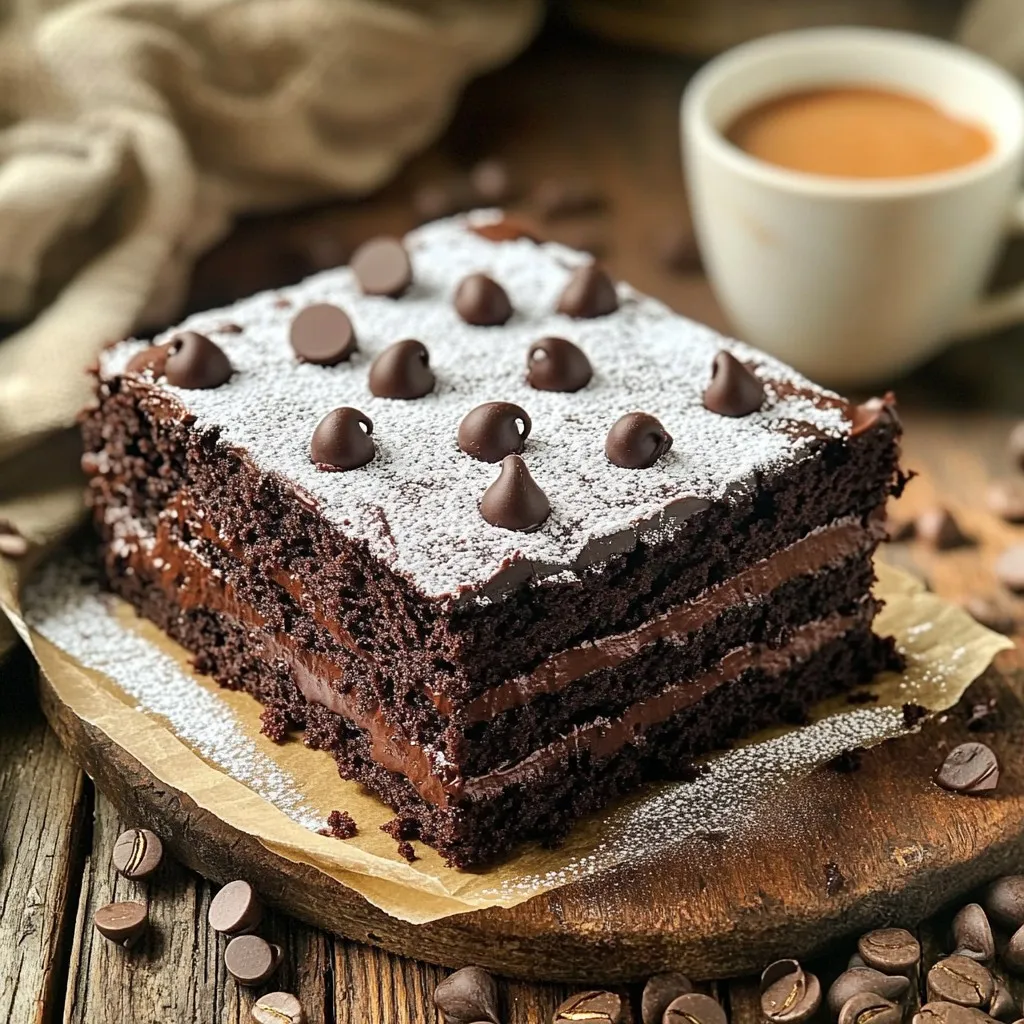
Chocolate Espresso Coffee Cake Irresistible Delight
Indulging in a slice of Chocolate Espresso Coffee Cake is pure bliss. This moist, chocolatey treat blends rich cocoa with bold espresso for a delightful
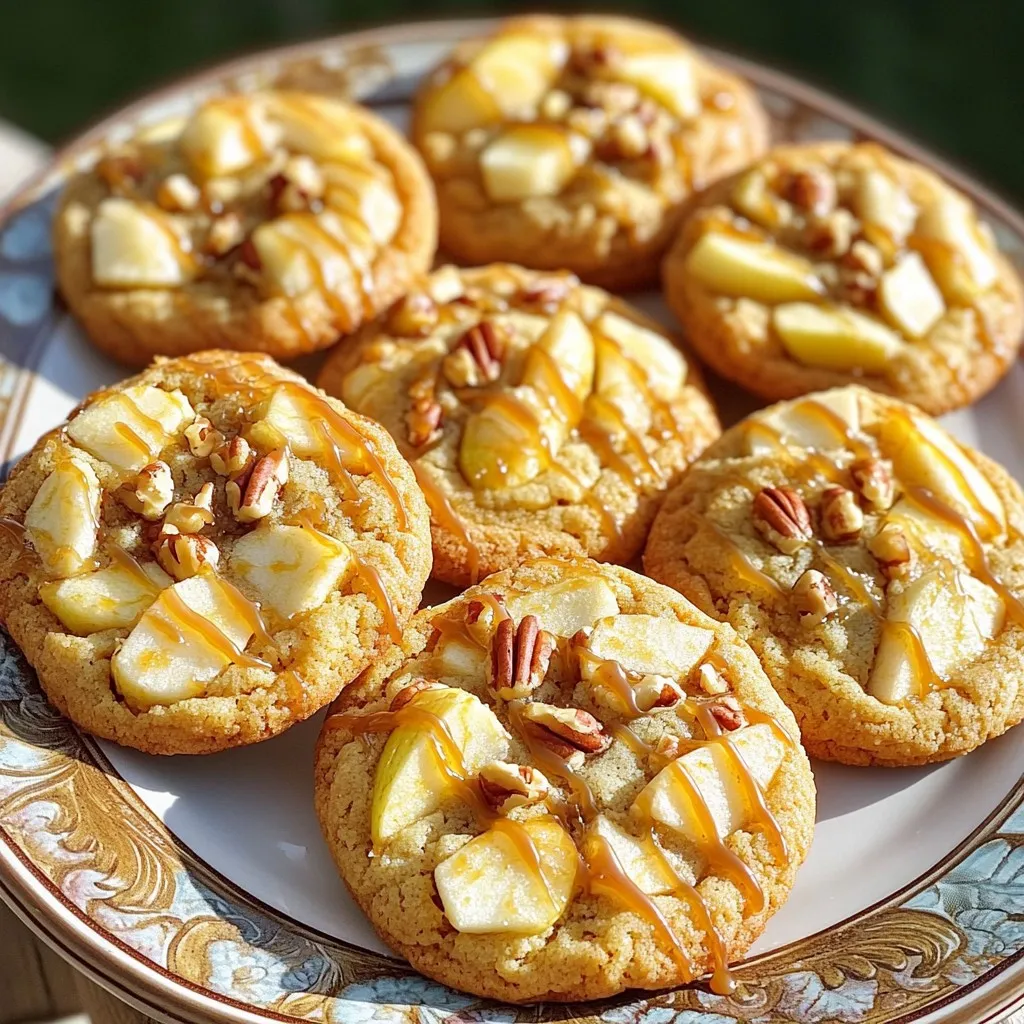
Caramel Apple Cheesecake Cookies Soft and Chewy Treat
Are you ready to bake cookies that taste like fall in every bite? My Caramel Apple Cheesecake Cookies offer a soft, chewy treat that combines
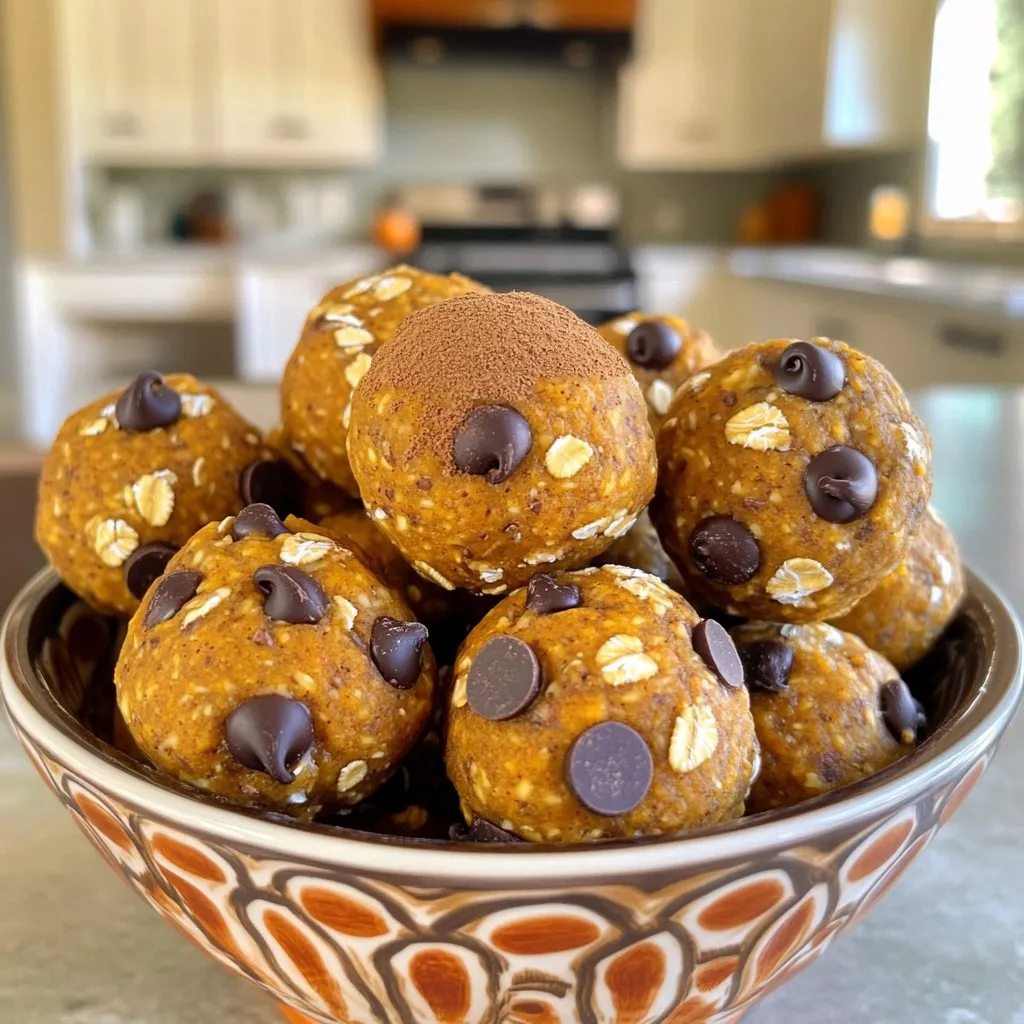
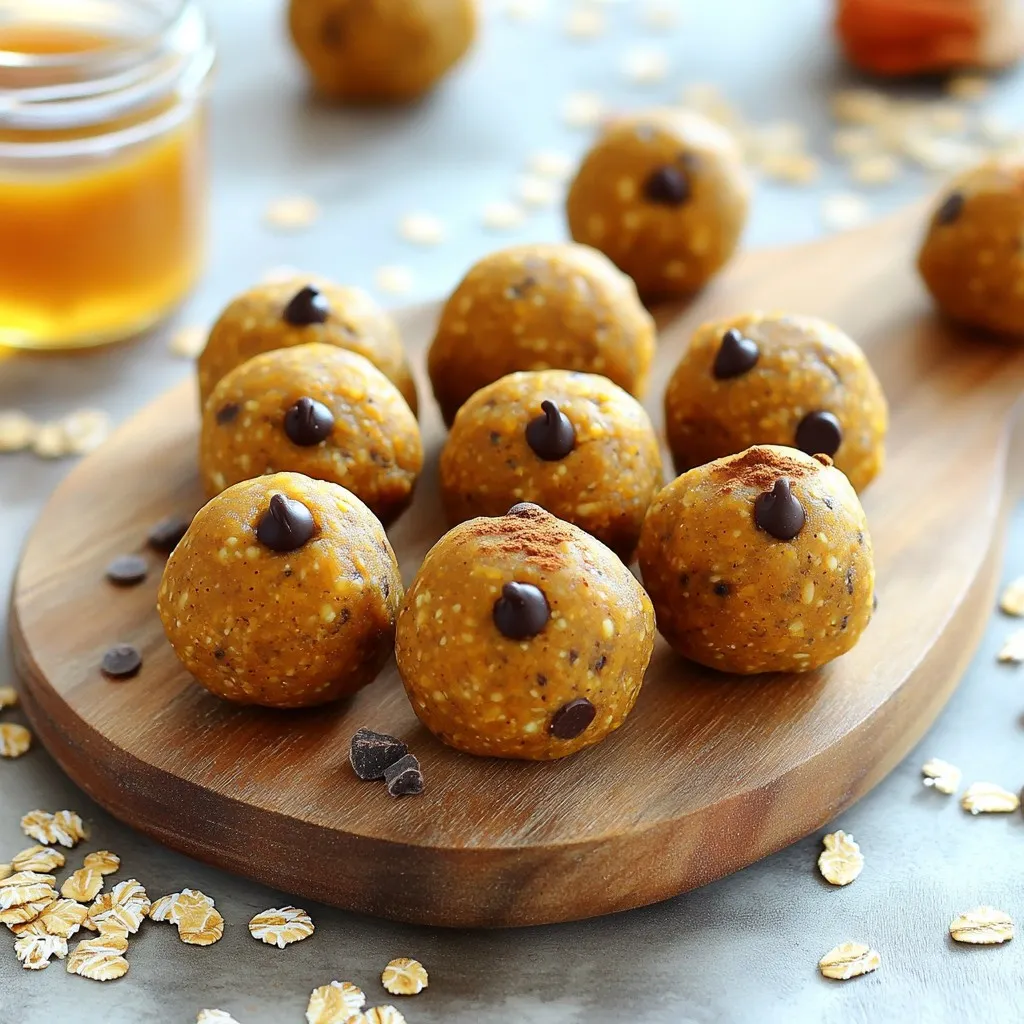
No-Bake Pumpkin Chocolate Chip Energy Balls Delight
Looking for a tasty snack that’s quick and easy? No-Bake Pumpkin Chocolate Chip Energy Balls are the perfect solution! These bites mix the warmth of
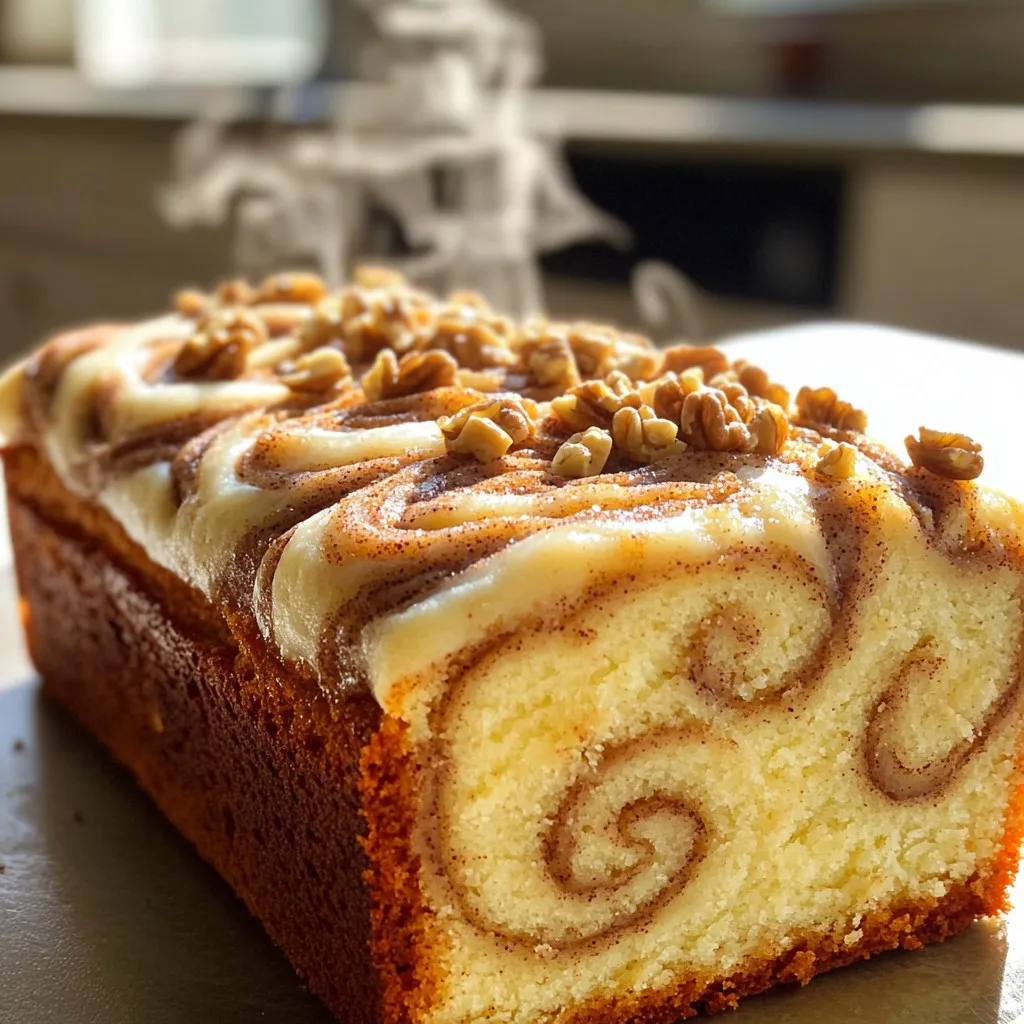
Cinnamon Swirl Loaf Cake Irresistible and Flavorful Treat
Welcome to the world of baking with my irresistible and flavorful Cinnamon Swirl Loaf Cake! You’ll find that this cake offers both a warm, gooey
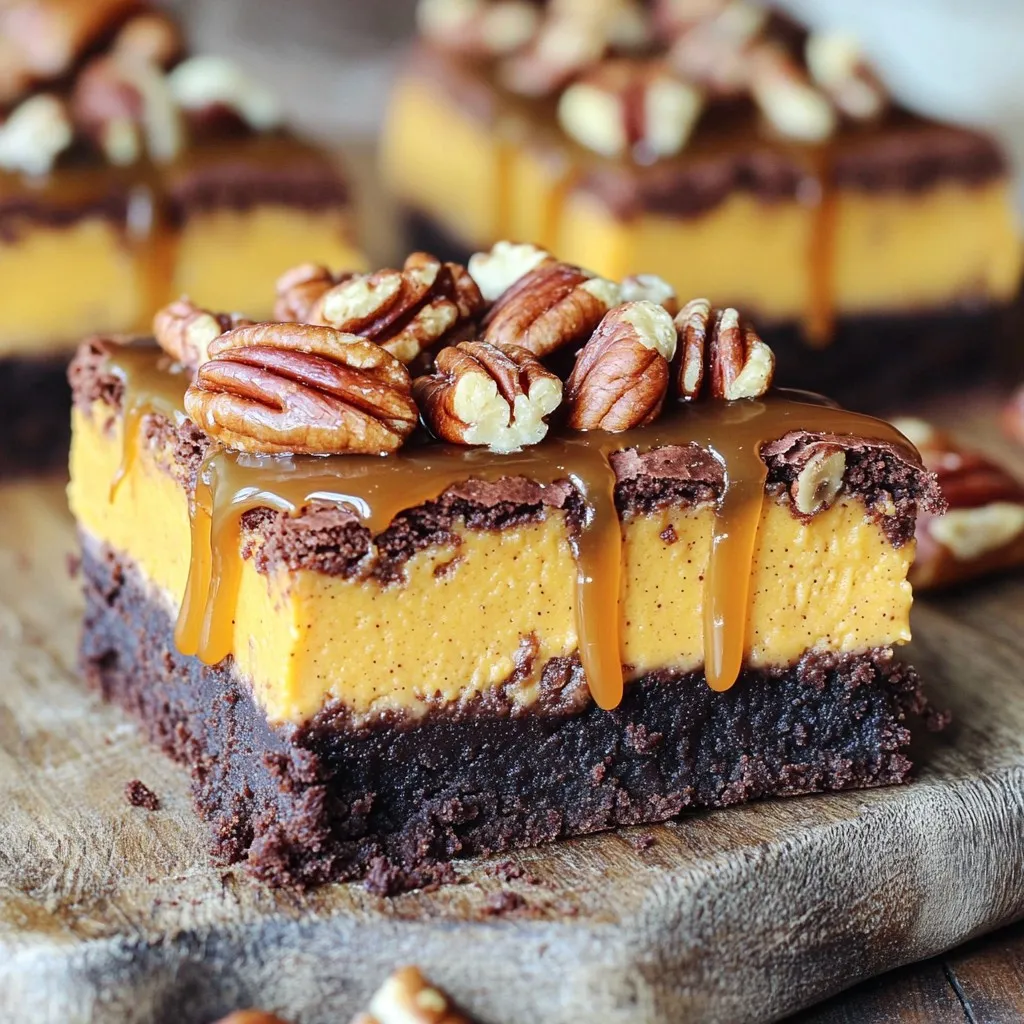
Pumpkin Pecan Cheesecake Brownies Savory Dessert Delight
Get ready to indulge in a dessert that combines flavors you can’t resist: Pumpkin Pecan Cheesecake Brownies! These layered delights are not only rich and
No-Bake Gingerbread Cookie Dough Bites Easy Treat
If you’re craving a sweet treat without the hassle of baking, I’ve got just the thing for you: No-Bake Gingerbread Cookie Dough Bites! These easy