Desserts
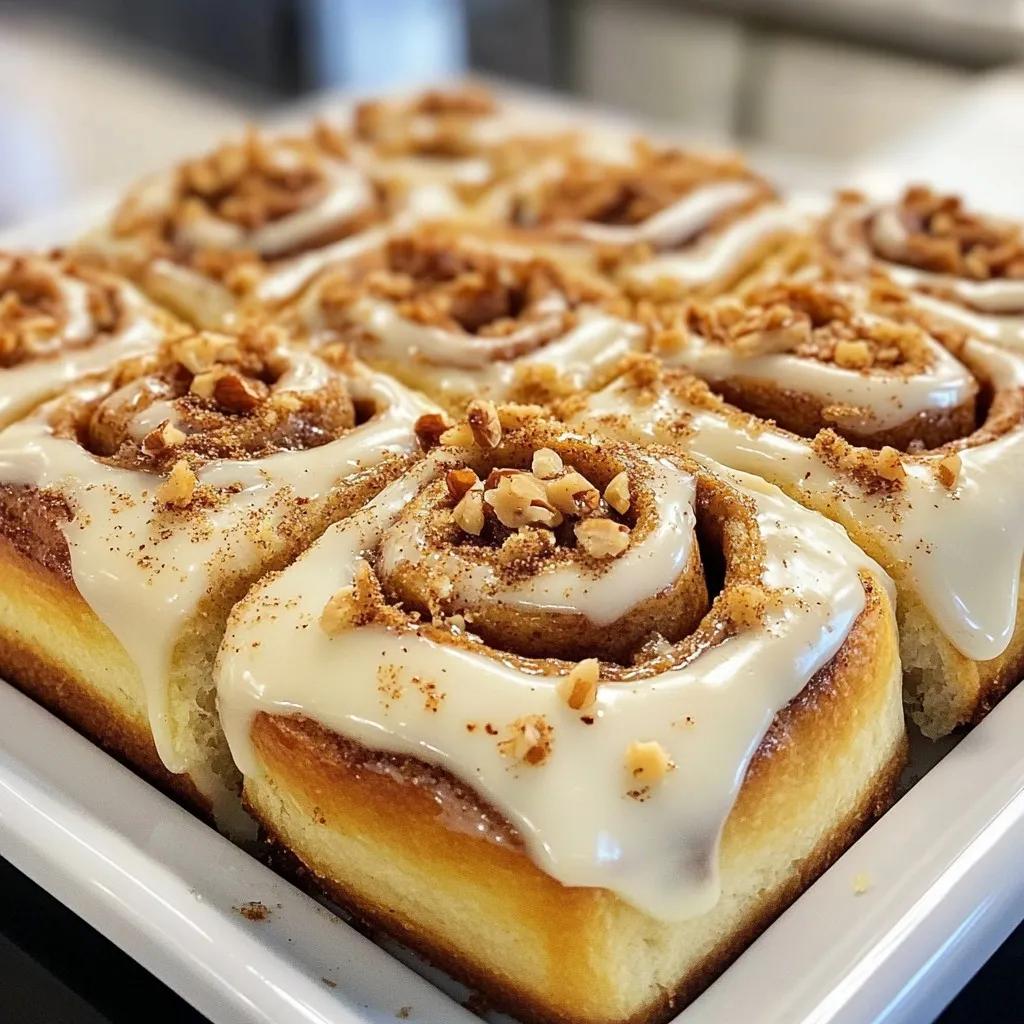
Homemade Cinnamon Rolls Soft and Luscious Delight
Are you ready to indulge in the warm, sweet aroma of homemade cinnamon rolls? In this guide, I’ll show you step-by-step how to create soft

Peach Cobbler Cinnamon Rolls Delightful and Simple Treat
Are you ready to indulge in a warm, sweet treat that combines two favorites? Peach Cobbler Cinnamon Rolls are simple to make and bursting with
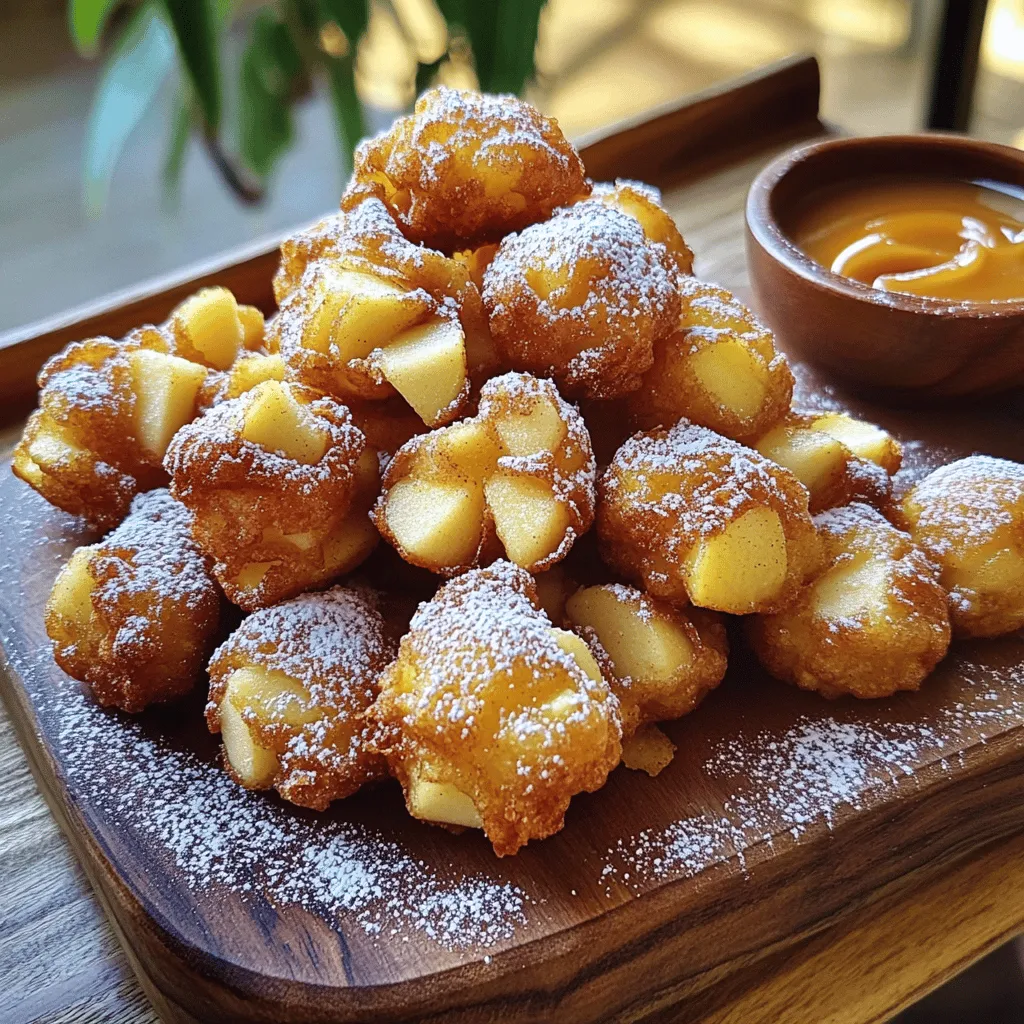
Apple Fritter Bites Easy and Delicious Recipe
If you love sweet treats, you’ll want to make these Apple Fritter Bites! This easy recipe gives you delicious bites filled with tender apples and

Frozen Yogurt Bark Simple and Tasty Treat Idea
Are you ready to beat the heat with a cool and tasty treat? Frozen yogurt bark is the perfect way to enjoy a sweet snack
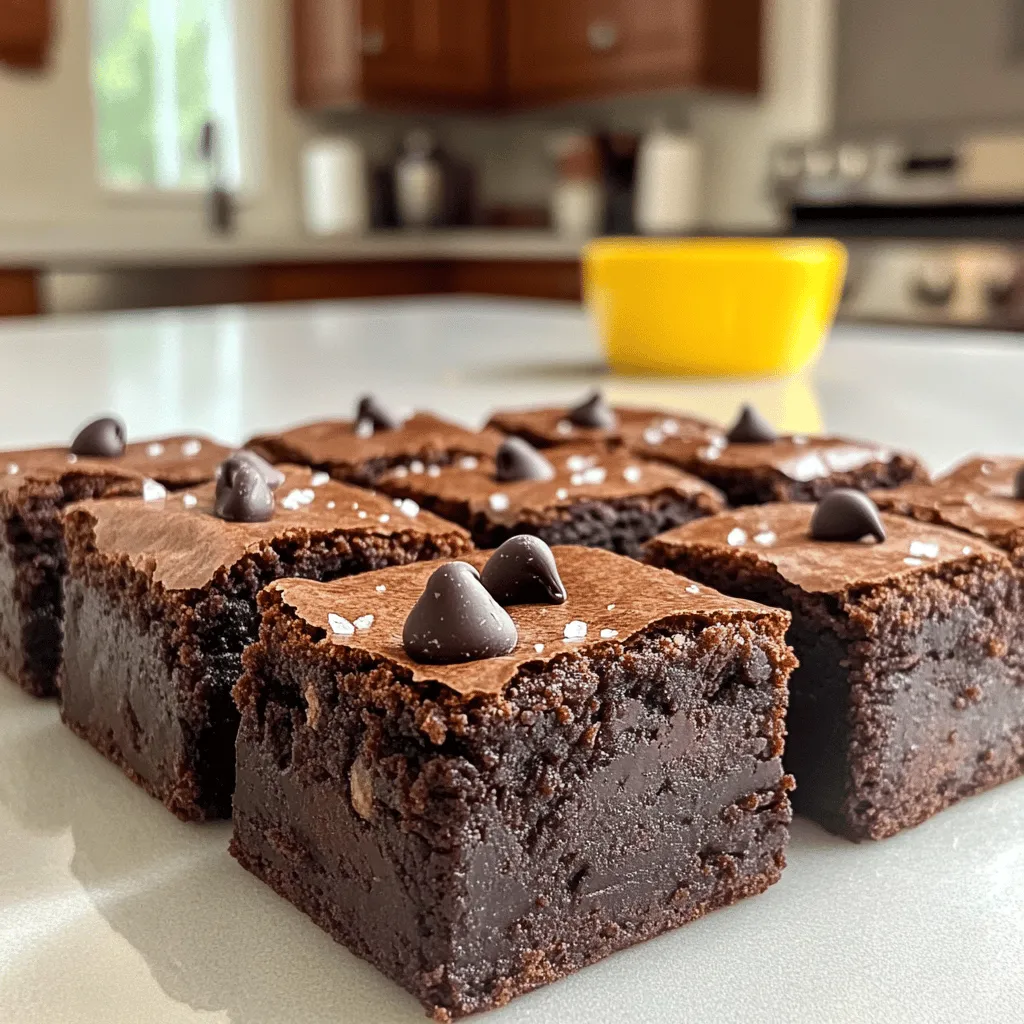
Easy Zero Sugar Brownies Simple and Delicious Treat
Craving a sweet treat without the sugar? I’ve got you covered! My Easy Zero Sugar Brownies are simple to make and taste amazing. Using almond
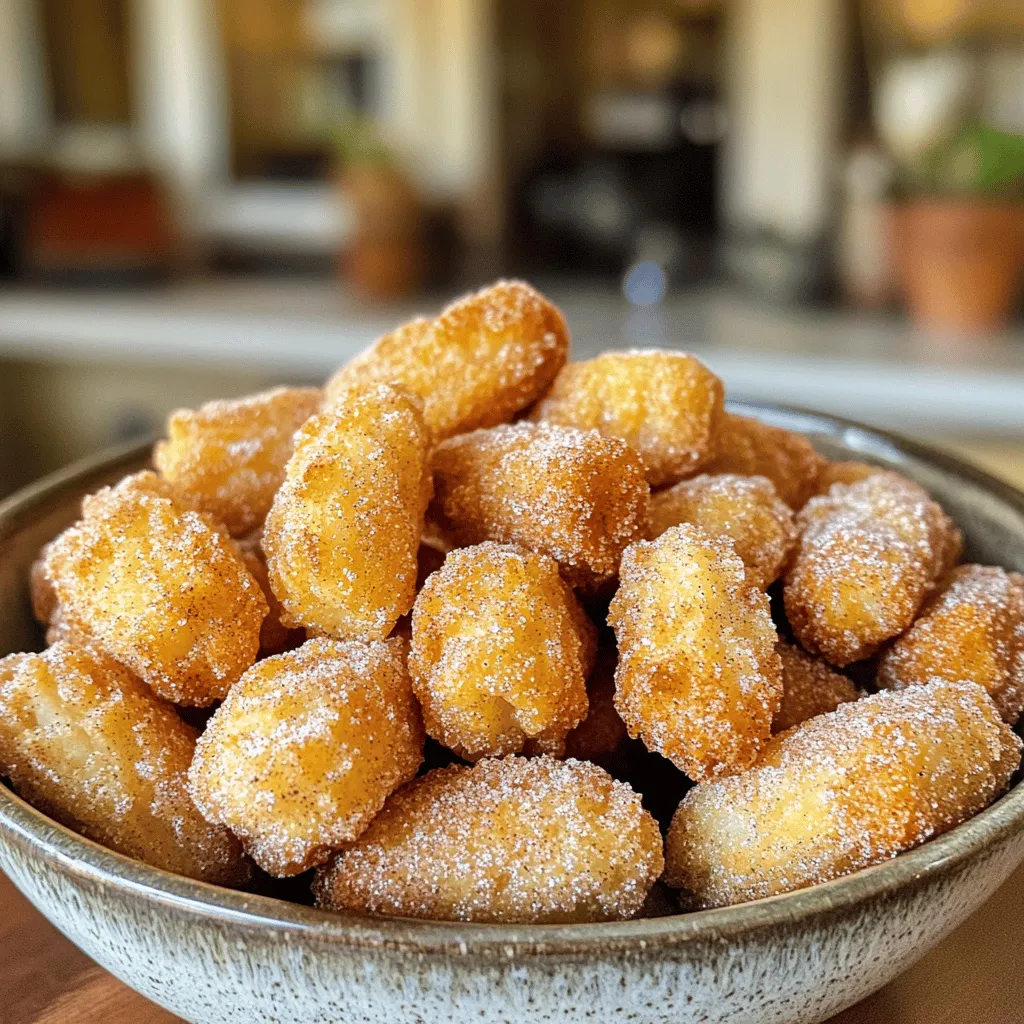
Fluffy Air Fryer Churro Bites Simple and Tasty Treat
Craving a sweet treat that’s simple and oh-so-delicious? Let’s dive into making fluffy air fryer churro bites! These tasty delights are quick to whip up,
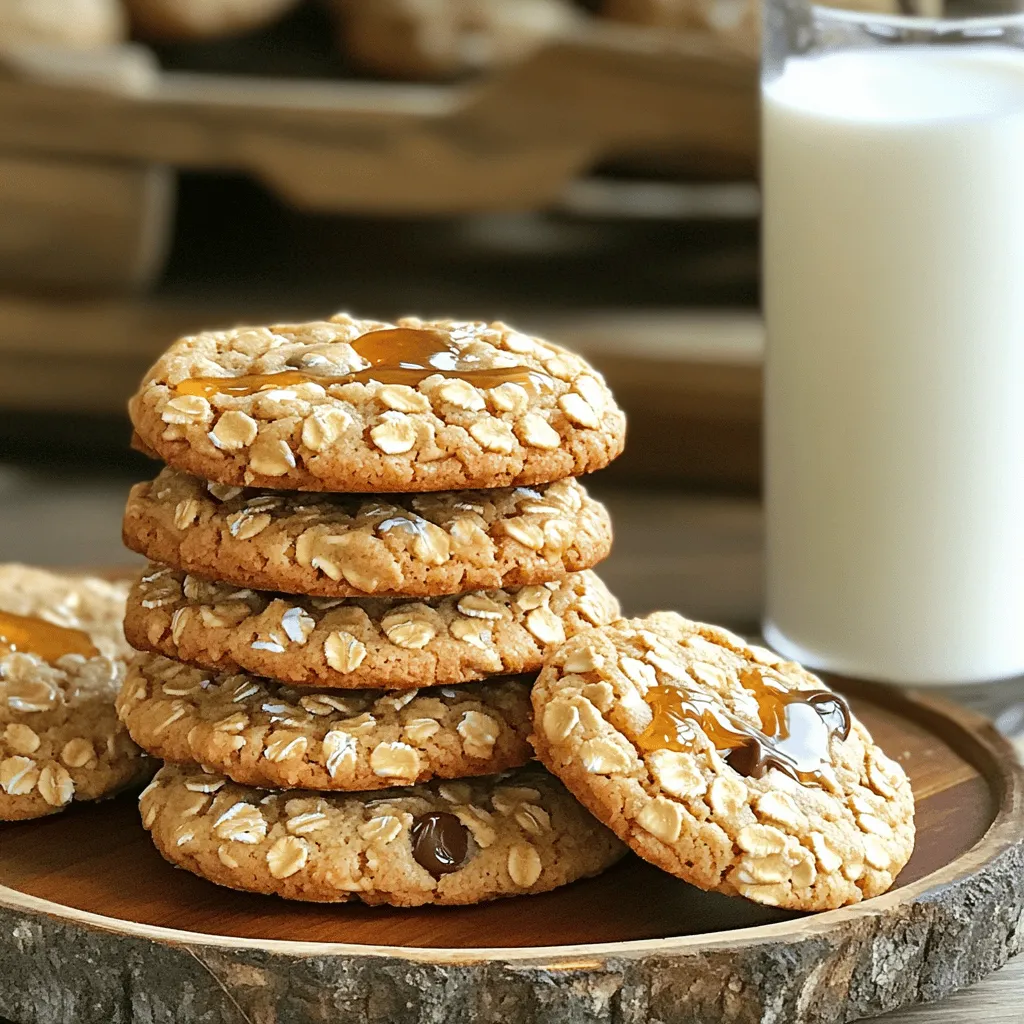
5-Ingredient Peanut Butter Oatmeal Cookies Recipe
If you’re craving a sweet treat that’s easy to make, you’ve come to the right place. My 5-Ingredient Peanut Butter Oatmeal Cookies are not only
![To make the Chocolate Protein S'mores Bowl, you will need the following ingredients: - 1 cup chocolate protein powder - 2 cups unsweetened almond milk (or any milk of choice) - 1/4 cup rolled oats - 1/4 teaspoon sea salt - 1/2 cup mini marshmallows - 1/2 cup crushed graham crackers - 1/4 cup dark chocolate chips - 2 tablespoons almond butter or peanut butter - 1 teaspoon vanilla extract This bowl is not just tasty, but also a great source of nutrition. Here’s a quick look at what you get per serving: - Calories: Approximately 350 - Protein: About 30 grams - Carbohydrates: Roughly 40 grams - Fat: Around 15 grams - Fiber: 5 grams - Sugar: 6 grams This makes it a well-rounded snack, perfect for a post-workout treat or a cozy dessert. You can easily swap some ingredients to fit your needs. Here are a few ideas: - Protein Powder: Use vanilla or any plant-based protein powder if you prefer. - Milk: Any milk works, like coconut or soy milk. - Nut Butters: Swap almond butter for peanut butter or sun butter. - Sweeteners: If you want it sweeter, add a bit of honey or maple syrup. - Marshmallows: For a vegan option, use vegan marshmallows. These substitutions keep your bowl fun and delicious while catering to your dietary needs. For the full recipe, check out the complete guide. To start, gather all your ingredients. You will need chocolate protein powder, almond milk, and rolled oats. Also, have your sea salt, mini marshmallows, crushed graham crackers, dark chocolate chips, almond butter, and vanilla extract ready. Measure everything out to save time. This makes it easier to follow each step. 1. In a medium saucepan, mix the chocolate protein powder, almond milk, rolled oats, and sea salt. Stir until well blended. 2. Place the saucepan on medium heat. Cook while stirring for 5 to 7 minutes. You want it thick and creamy. 3. Once it thickens, take it off the heat. Stir in the almond butter and vanilla. Mix until it is smooth. 4. In serving bowls, spoon the warm chocolate mixture. Press it down a little to make an even layer. 5. Now, add a good amount of mini marshmallows, crushed graham crackers, and dark chocolate chips on top. 6. For a fun twist, you can broil the bowls on low for 1 to 2 minutes. Watch closely! You want the marshmallows golden and gooey, not burned. Serve your Chocolate Protein S'mores Bowl warm. Drizzle some extra almond or peanut butter on top for flair. Sprinkle more crushed graham crackers for a nice crunch. You can even add a small chocolate square on the side. Enjoy this delicious treat right away for the best experience! For the full recipe, check out the details above. To make the best Chocolate Protein S'mores Bowl, focus on the layers. Start with a thick base. This adds a nice texture. Press the chocolate oatmeal down firmly. It keeps the toppings from sinking. Use fresh, mini marshmallows for the best taste. They melt perfectly and create that gooey feel. Serve your bowl right after making it. The warmth enhances the flavors. If you let it sit too long, it may thicken too much. For that melty marshmallow effect, broil them quickly. Just watch closely, so they don't burn. Enjoy the bowl warm for the best experience. Don’t skip the almond butter; it adds creaminess. Also, be careful with the heat. Stir constantly to avoid burning. If you don’t have crushed graham crackers, use whole ones and crush them yourself. Lastly, don’t forget to layer nicely. It makes the bowl look and taste great! For the full recipe, follow the steps above to create your own delicious treat! {{image_2}} You can play with flavors in your Chocolate Protein S'mores Bowl. Use different protein powders like vanilla or cookies and cream. For a fruity twist, add mashed bananas or berries. Mixing in flavored almond milk, like vanilla or chocolate, can change the taste too. You can also experiment by adding a dash of cinnamon or nutmeg for warmth. If you are dairy-free, use coconut or oat milk instead of almond milk. For those avoiding gluten, swap rolled oats for gluten-free oats. You can replace the almond butter with sunflower seed butter for nut-free options. If you want a lower sugar version, use a sugar substitute or omit chocolate chips. Toppings can make your bowl even more fun. Try sliced strawberries or bananas for fresh fruit goodness. Add a sprinkle of chopped nuts for crunch, or drizzle with maple syrup for sweetness. For a decadent touch, consider using peanut butter cups or a dollop of whipped coconut cream. Each topping brings a new taste and texture! To store leftovers, let the bowl cool down first. Then, scoop it into an airtight container. Make sure to seal it well. You can keep it in the fridge for up to three days. This keeps the flavors fresh and tasty. When you're ready to eat, take the bowl out of the fridge. Heat it in the microwave for about 30 seconds. Stir it well to mix the warm and cool parts. If it’s still cold, heat it for another 15 seconds. This method helps keep it creamy and yummy. If you want to save it for later, you can freeze it. Place the bowl in a freezer-safe container. It can stay in the freezer for up to one month. To eat it later, just move it to the fridge overnight. Then, reheat it as instructed. Enjoy your tasty treat anytime! For the complete recipe, check the [Full Recipe]. To make a Chocolate Protein S'mores Bowl, start by mixing the ingredients. In a medium pot, combine 1 cup of chocolate protein powder, 2 cups of almond milk, 1/4 cup of rolled oats, and 1/4 teaspoon of sea salt. Heat this over medium heat for about 5-7 minutes, stirring often until it thickens. Once thickened, stir in 2 tablespoons of almond butter and a teaspoon of vanilla extract. Pour the mixture into bowls, then add mini marshmallows, crushed graham crackers, and dark chocolate chips on top. For a special touch, you can broil the bowls for 1-2 minutes to toast the marshmallows. Serve hot for a tasty treat! Using protein powder in recipes like this one adds many benefits. It helps build and repair muscles, which is great after exercise. Protein also keeps you feeling full longer, which can help with weight management. Plus, adding protein to your meals can boost your overall nutrition. With this recipe, you get a yummy treat, plus the benefits of extra protein in your diet. Yes, you can easily make this bowl vegan and gluten-free! For a vegan version, use plant-based protein powder and almond milk. Make sure your graham crackers are vegan, or swap them with gluten-free options. To keep it gluten-free, choose oats that are labeled gluten-free. With these simple swaps, you can enjoy a delicious Chocolate Protein S'mores Bowl that fits your dietary needs! This article covered the key aspects of making a delicious Chocolate Protein S'mores Bowl. We explored ingredients, their nutrition, and helpful substitutions. I provided simple steps for preparing, cooking, and serving. You learned tips to perfect your bowl and common mistakes to avoid. We also discussed variations and how to store your leftovers. Now, you have all the tools to create your own tasty bowl. Enjoy the process and get creative!](https://stirredrecipes.com/wp-content/uploads/2025/06/19a15e69-9c32-4b7c-a72e-8d9ca67debb6.webp)
Chocolate Protein S’mores Bowl Easy and Delicious Treat
Looking for a fun and tasty treat? Dive into my Chocolate Protein S’mores Bowl! This easy recipe merges sweet chocolate with crispy graham crackers and

Chocolate Strawberry Cluster Pops Easy and Fun Treat
Are you ready for a fun and tasty treat? Chocolate Strawberry Cluster Pops are quick to make and great for all ages! In this post,

Healthy Chocolate Cookie Cups Tasty and Simple Treat
Are you ready to enjoy a sweet treat without the guilt? These Healthy Chocolate Cookie Cups are simple to make and pack a rich, chocolatey