Desserts
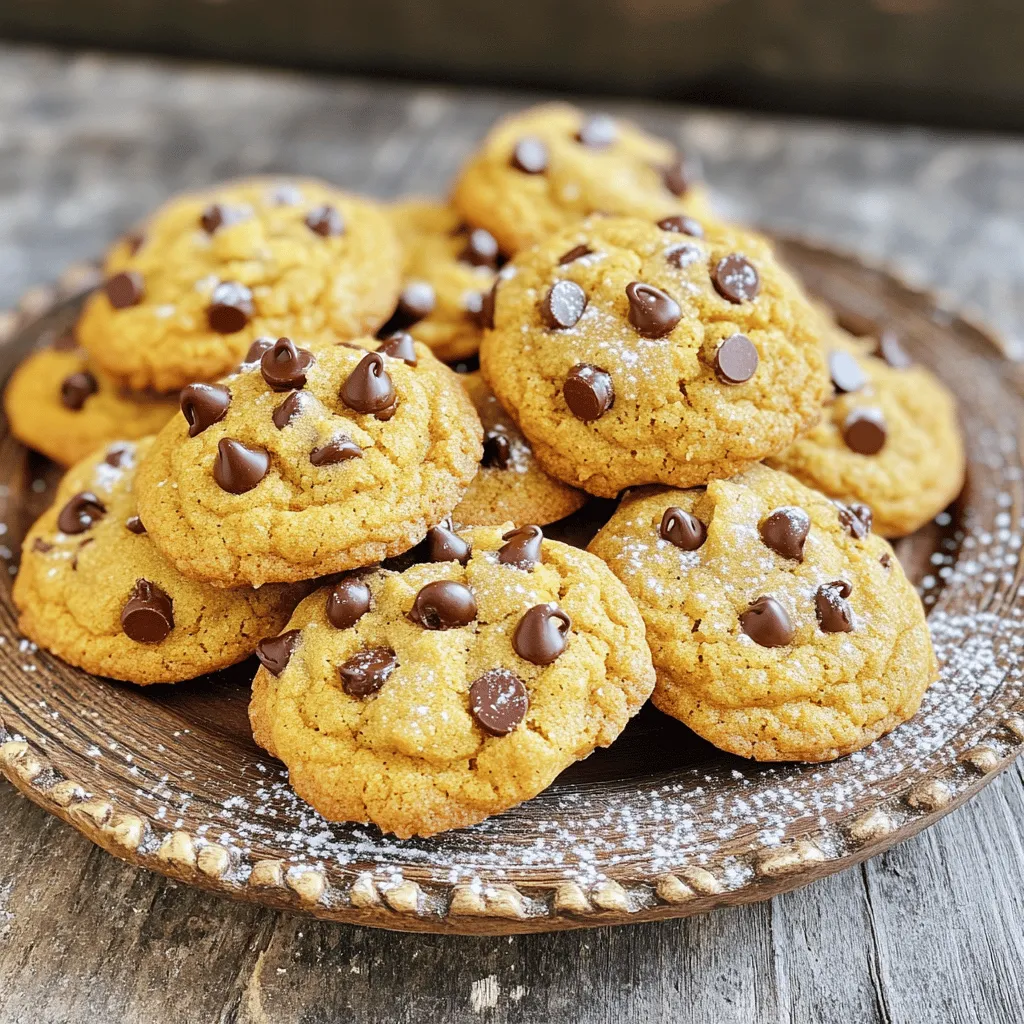
Chewy Pumpkin Cookies with Brown Butter Delight
Get ready to indulge in pure autumn bliss with my chewy pumpkin cookies! Made even better with rich brown butter, these treats will warm your
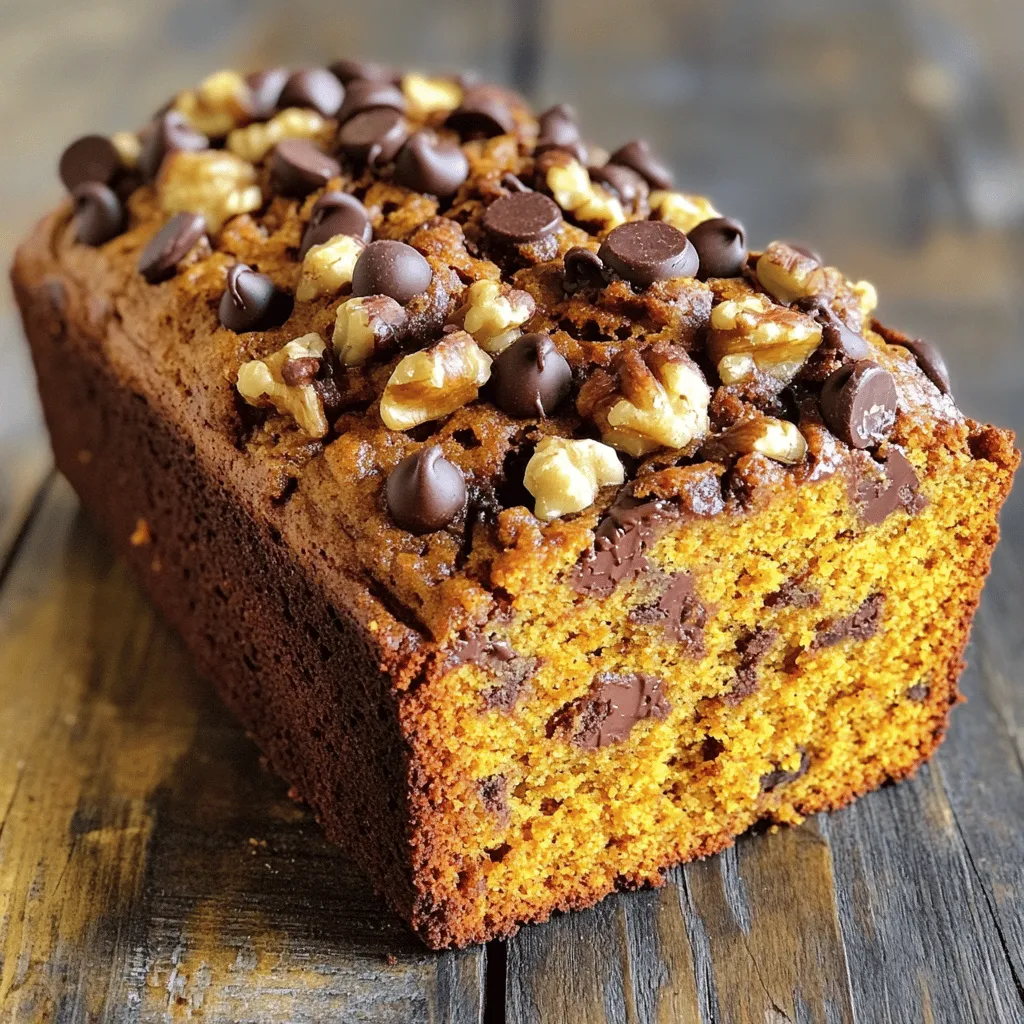
Chocolate Chip Pumpkin Bread Delightful and Easy Recipe
If you love the warm, cozy flavors of fall, you must try this Chocolate Chip Pumpkin Bread recipe! It’s a delightful blend of sweet chocolate
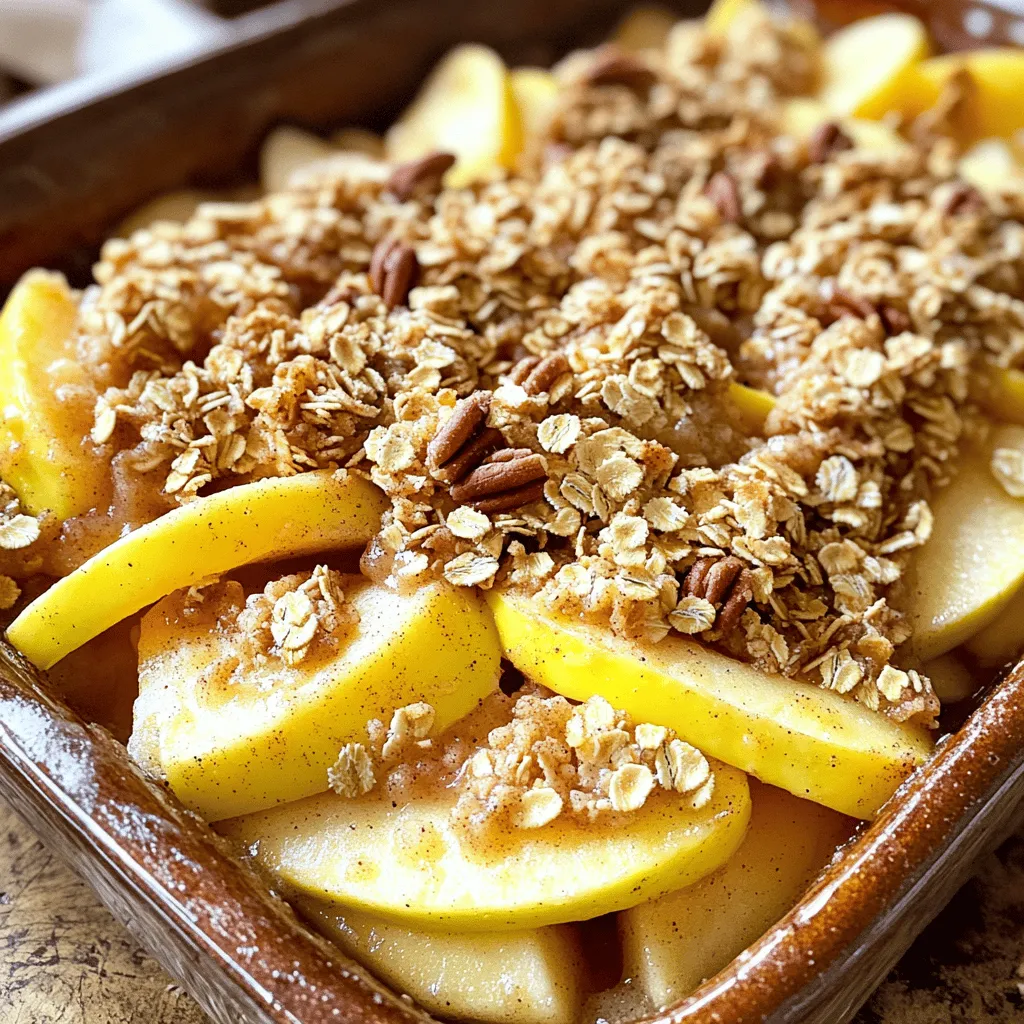
Best Ever Apple Crisp Delightfully Simple Recipe
If you’re craving a warm, comforting dessert, you’ve found the perfect recipe! My Best Ever Apple Crisp is simple and delicious, making it an ideal
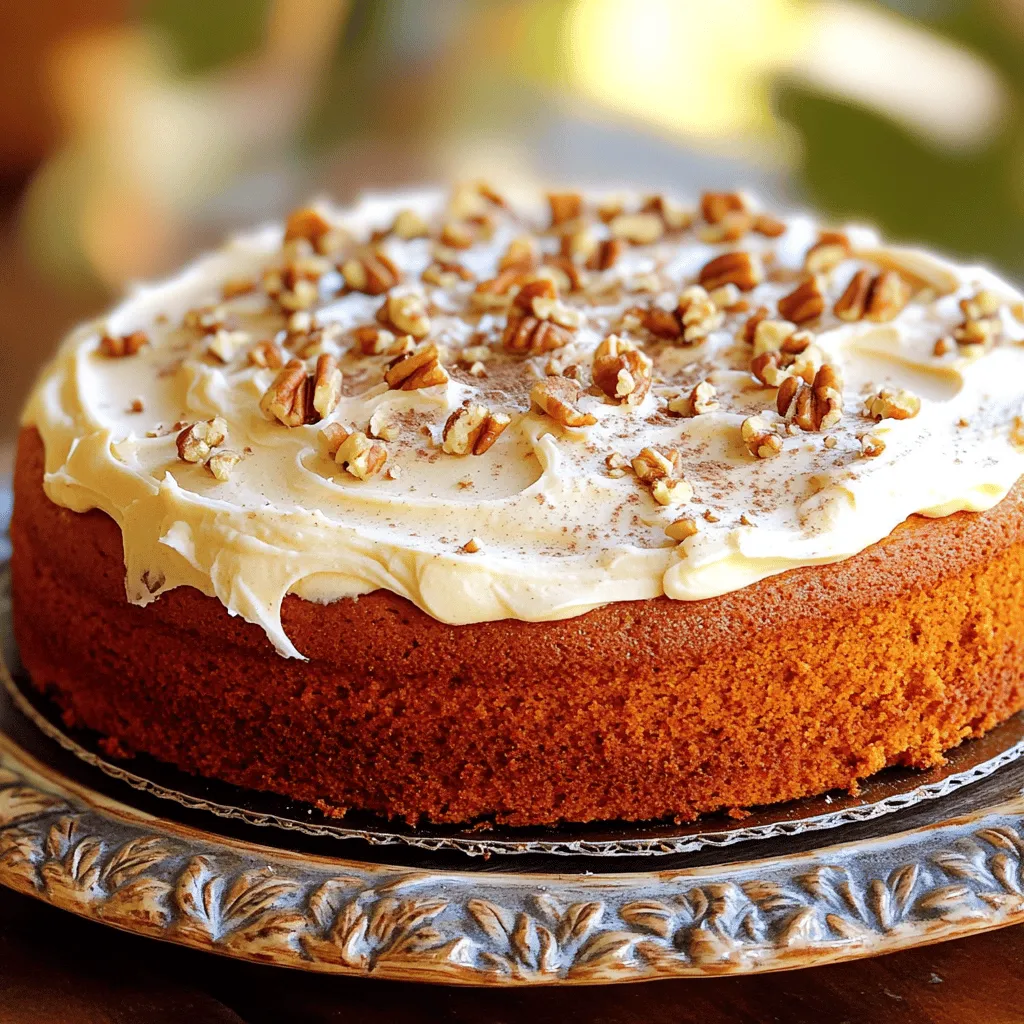
Mom’s Famous Pumpkin Cake Irresistible Holiday Treat
Are you ready to wow your guests this holiday season? Mom’s famous pumpkin cake is the ultimate treat that combines warm spices and creamy frosting.
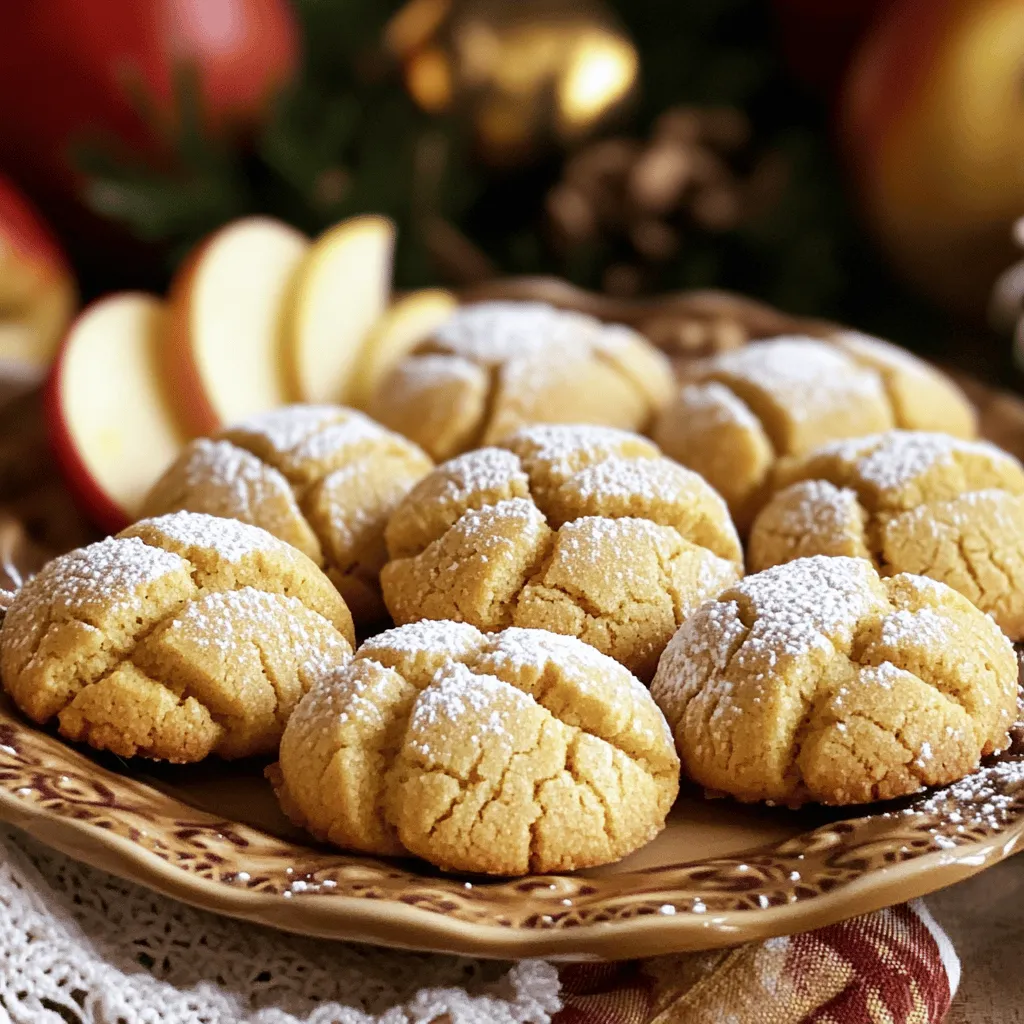
Apple Cider Cookies Flavorful Fall Treat Recipe
Fall is here, and that means it’s cookie time! Apple Cider Cookies are the perfect way to enjoy those cozy autumn vibes. Imagine biting into

Country Apple Fritter Bread Delightful and Sweet Treat
Get ready for a sweet adventure with Country Apple Fritter Bread! This delightful treat blends juicy apples and warm spices into a soft, moist loaf
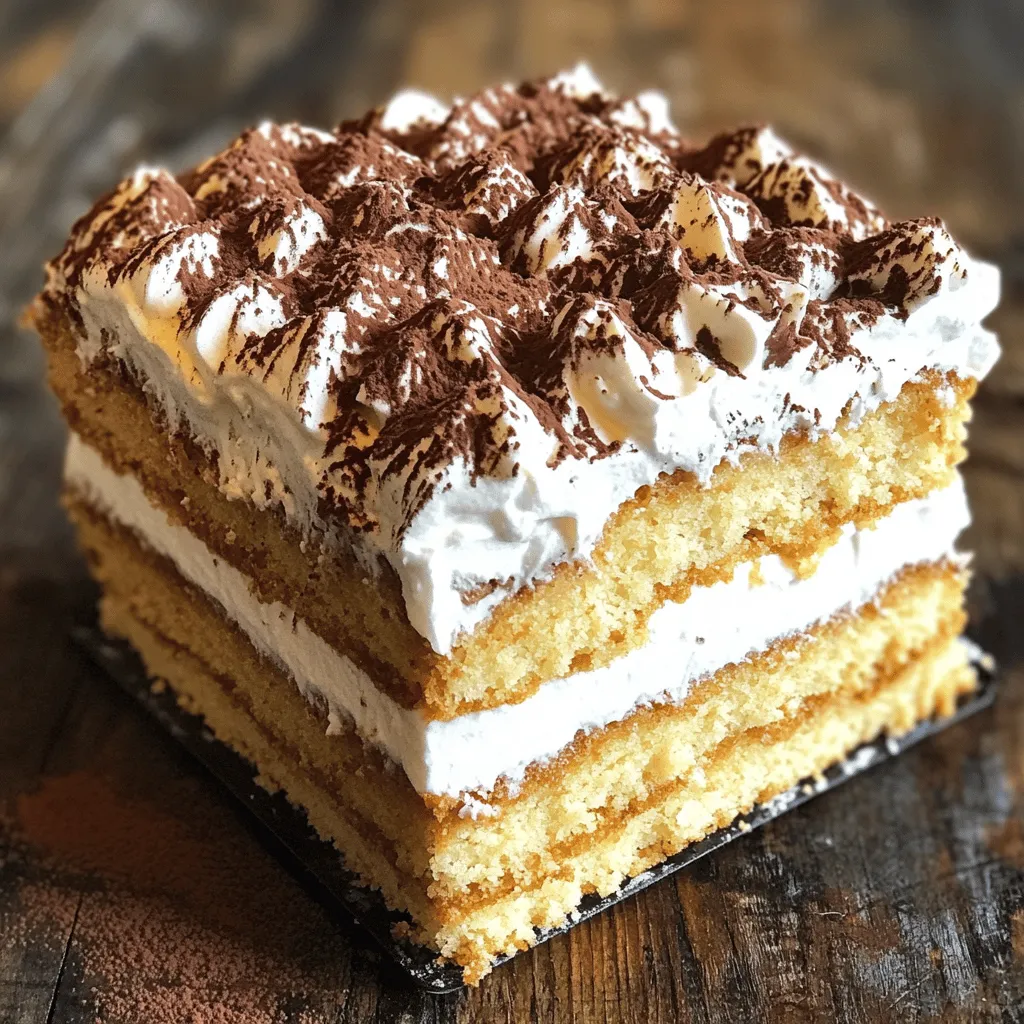
Fluffy Tiramisu Cake Irresistible Dessert Delight
Are you ready to impress your friends and family? This Fluffy Tiramisu Cake is a dessert delight that combines smooth coffee flavors and light, airy
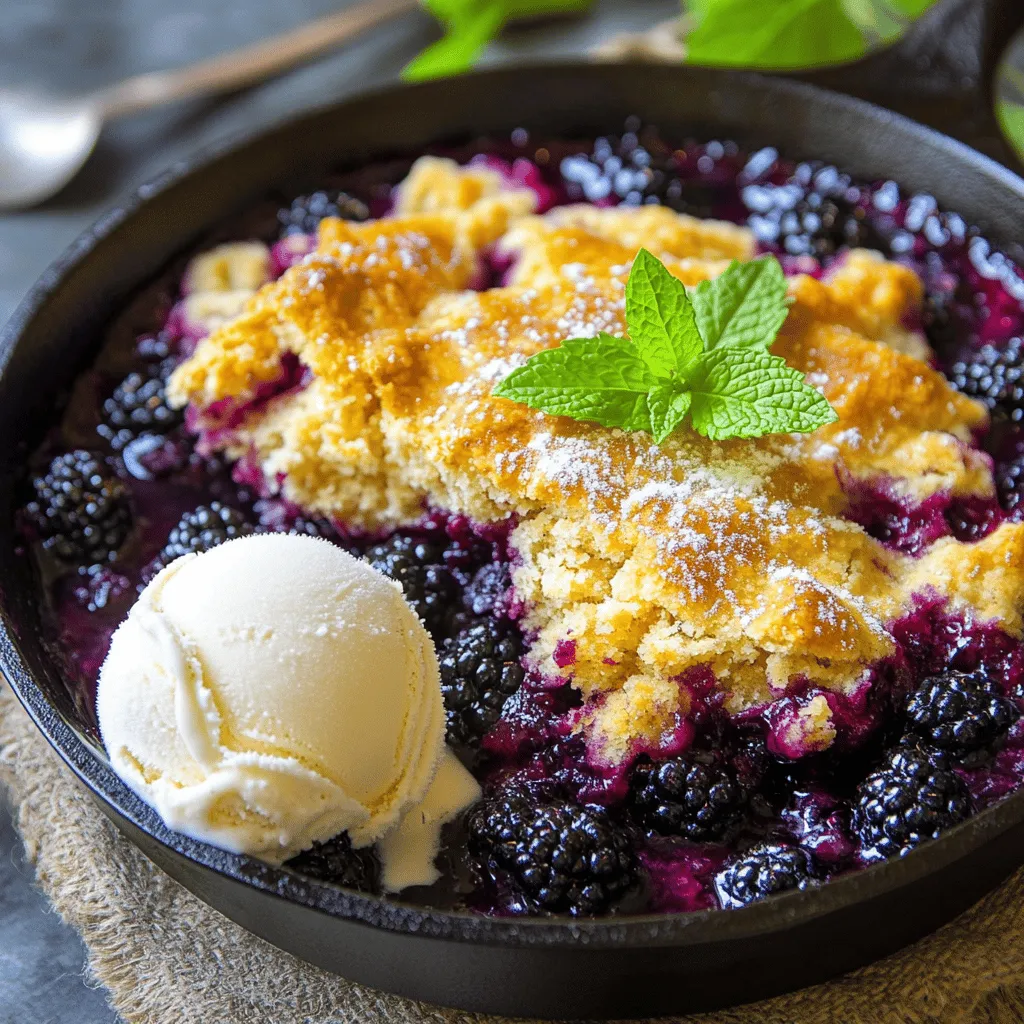
Mimi’s Famous Skillet Blackberry Cobbler Delight
Are you ready to whip up a dessert that will wow everyone? Let me introduce you to Mimi’s Famous Skillet Blackberry Cobbler Delight! This recipe
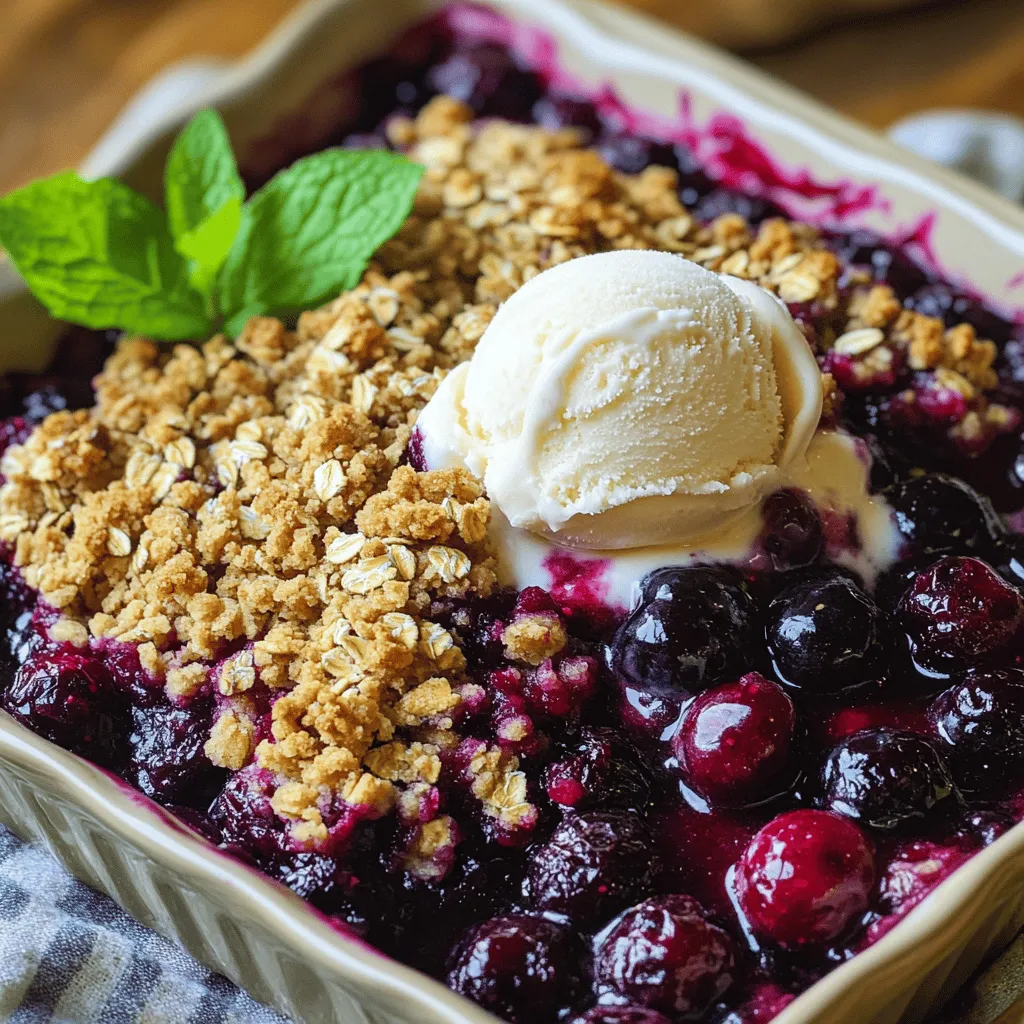
Saskatoon Berry Crisp Delightful and Easy Recipe
Are you ready to whip up a sweet treat that’s both simple and scrumptious? My Saskatoon Berry Crisp recipe brings together fresh or frozen berries,
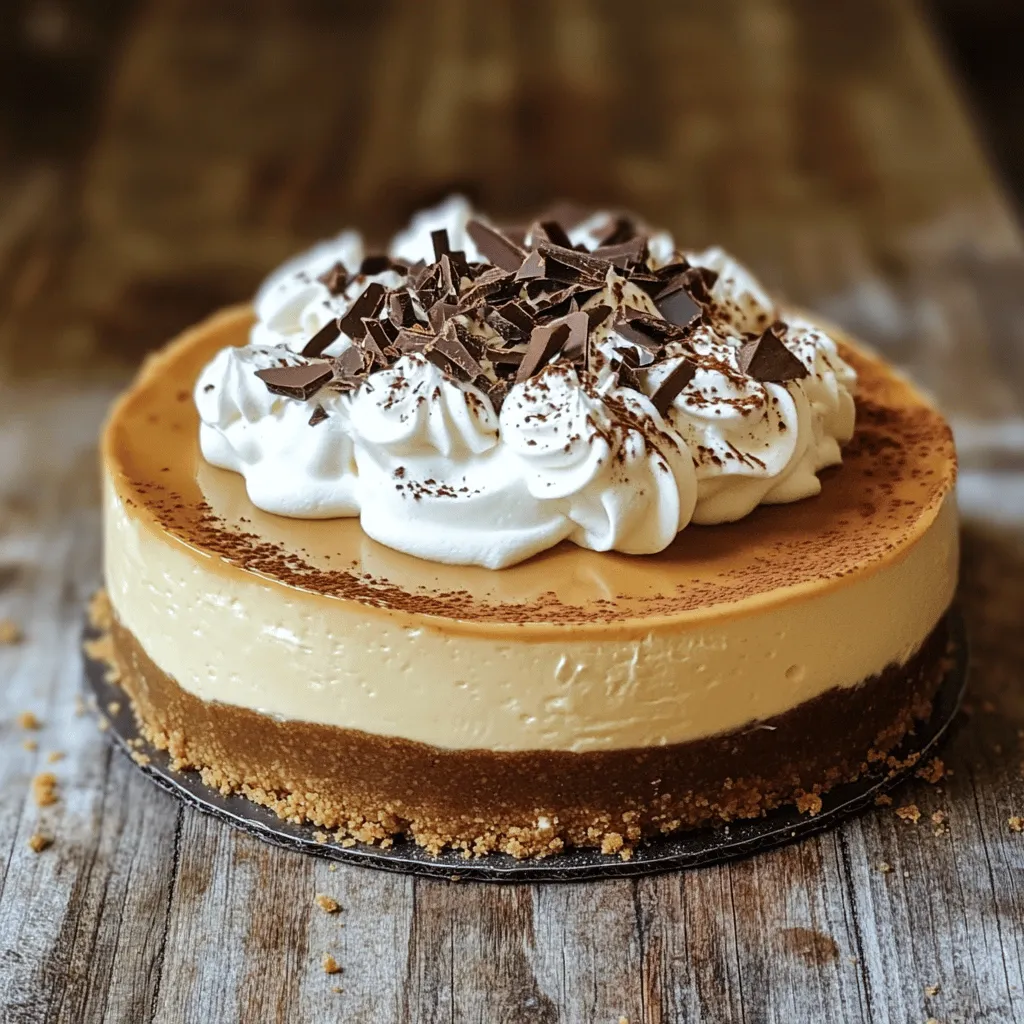
Delicious Espresso Cheesecake Easy Recipe to Try
If you crave a dessert that is rich, creamy, and full of coffee flavor, this Delicious Espresso Cheesecake is for you. I’ll guide you through