Desserts
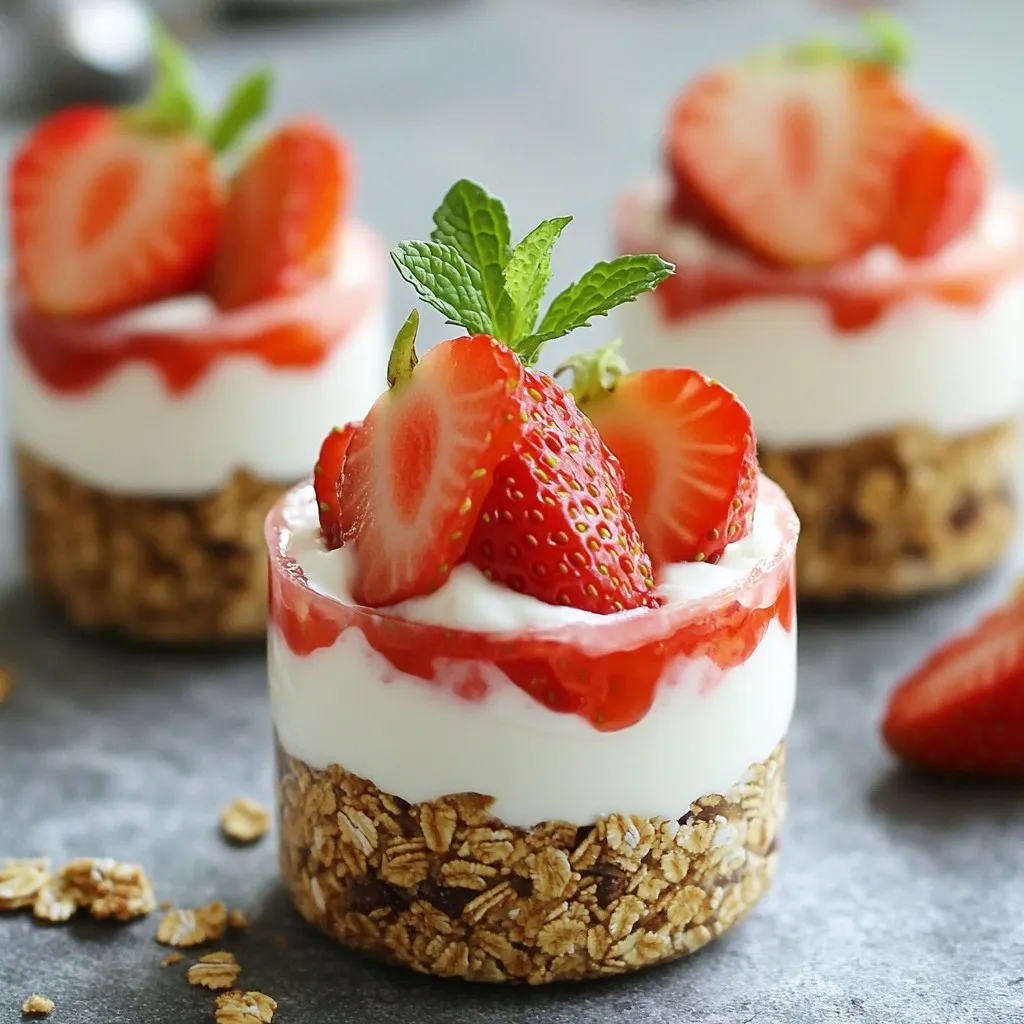
No-Bake Strawberry Cheesecake Protein Cups Delight
Ready for a tasty treat that’s both healthy and easy to make? My No-Bake Strawberry Cheesecake Protein Cups are not just delicious; they’re packed with
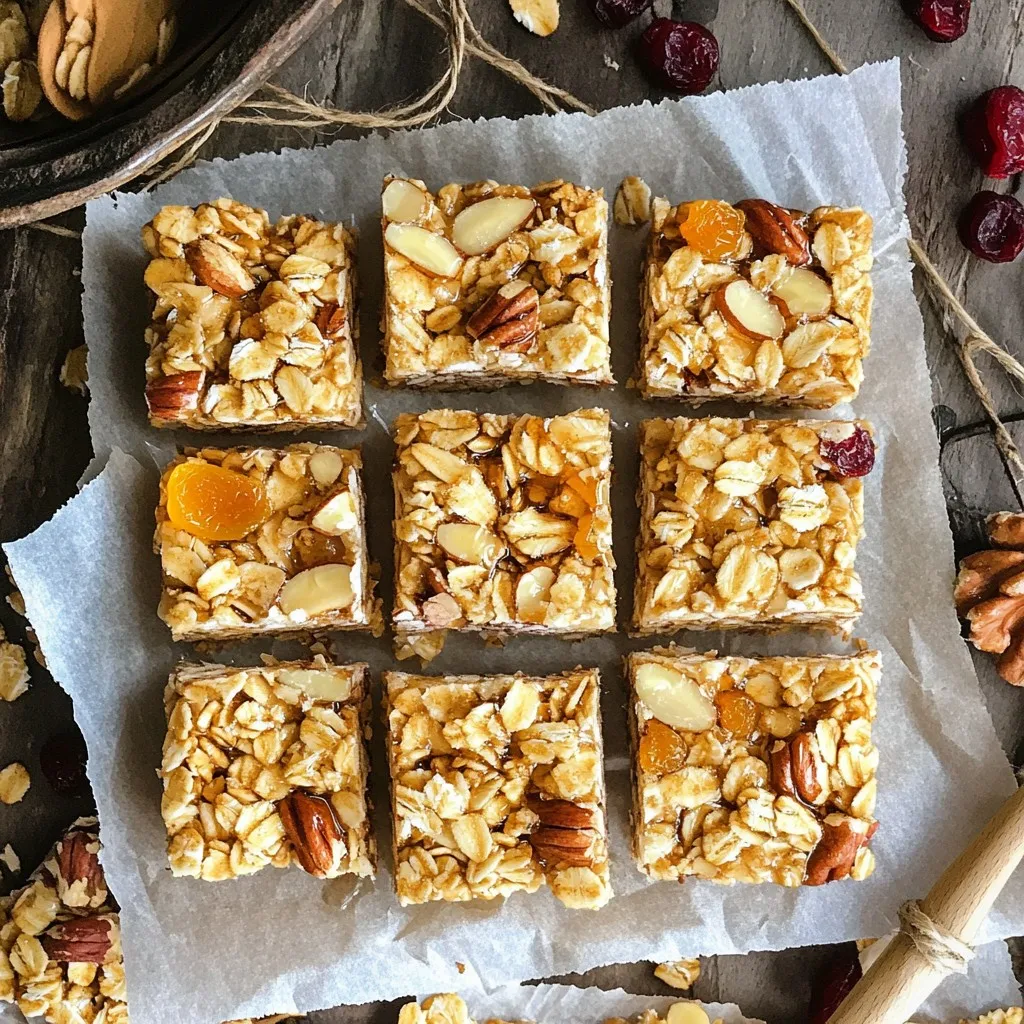
Maple Brown Sugar Granola Bars Easy and Tasty Snack
Are you looking for a quick snack that’s both easy to make and delicious? These Maple Brown Sugar Granola Bars are your answer! Packed with
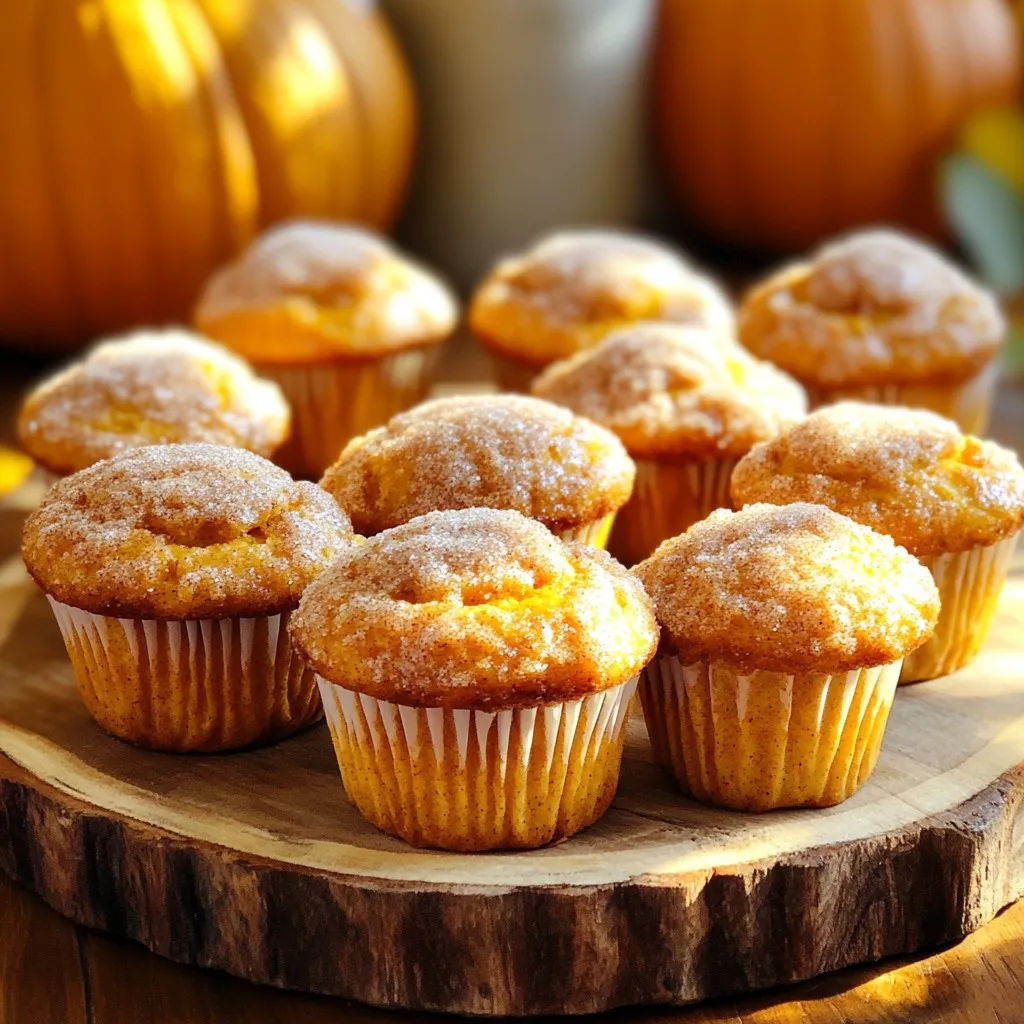
Cinnamon Sugar Pumpkin Donut Muffins Delightful Treat
Get ready to indulge in the ultimate fall treat: Cinnamon Sugar Pumpkin Donut Muffins! These fluffy, flavorful muffins combine the warm spices of pumpkin pie
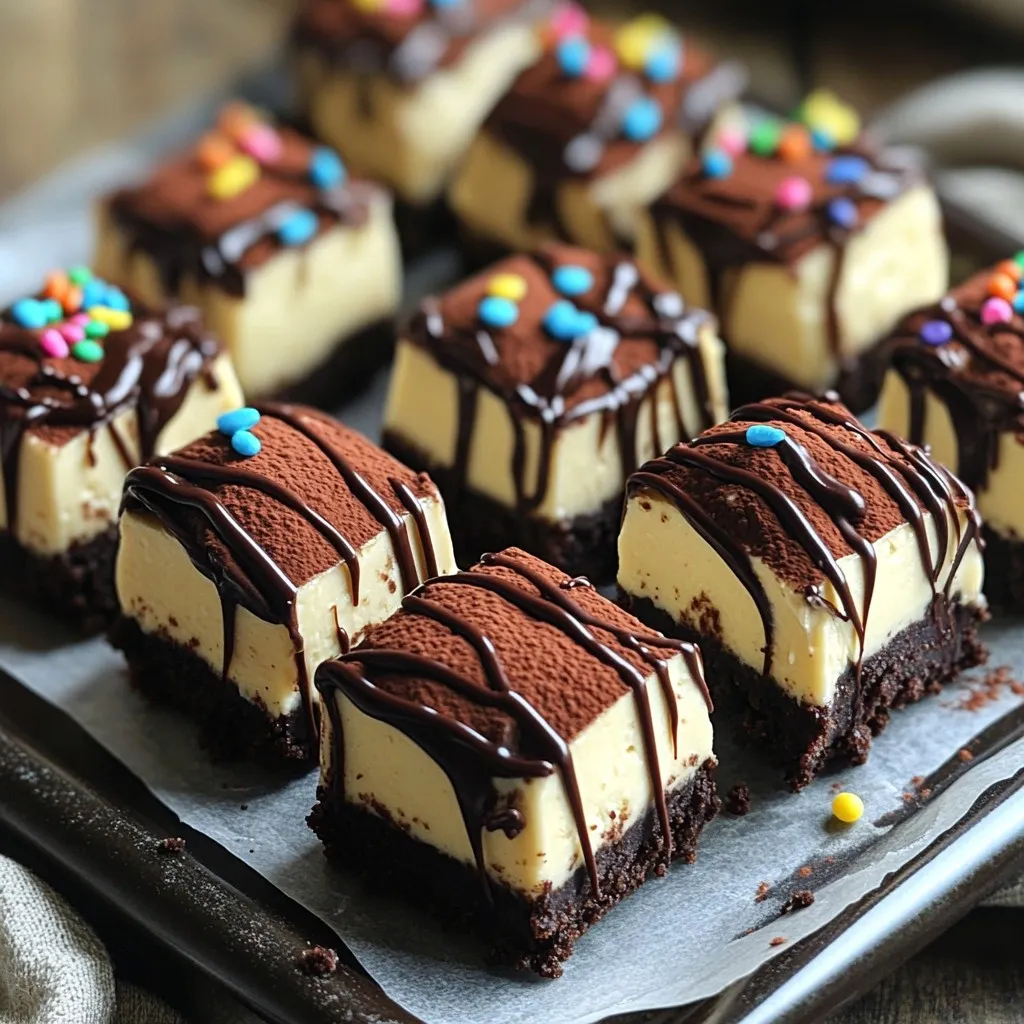
No-Bake Mocha Espresso Cheesecake Bites Delight
Are you ready to indulge in a sweet treat that’s easy to make? These No-Bake Mocha Espresso Cheesecake Bites are the perfect mix of creamy
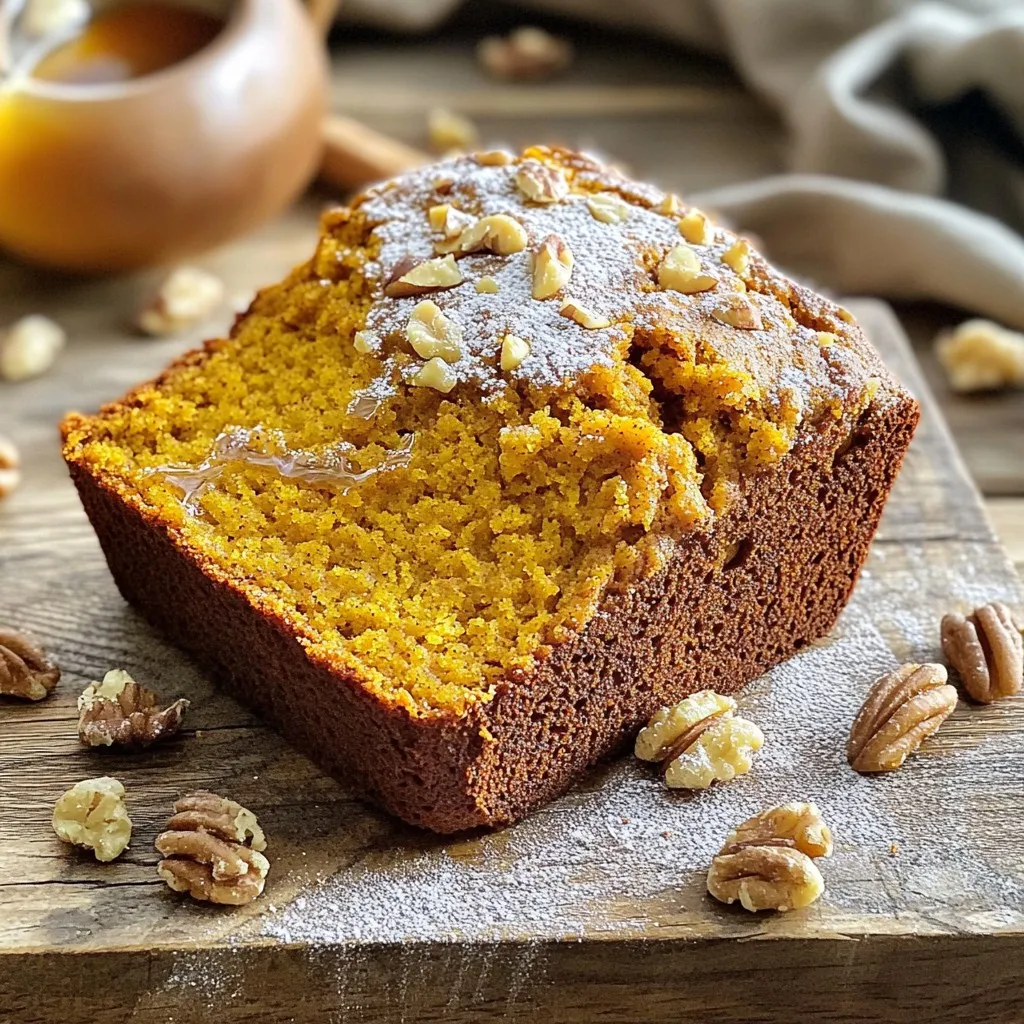
Spiced Pumpkin Banana Bread Rich and Flavorful Treat
If you love rich flavors and warm spices, you’ll adore my Spiced Pumpkin Banana Bread. This recipe blends ripe bananas with pumpkin, creating a soft,
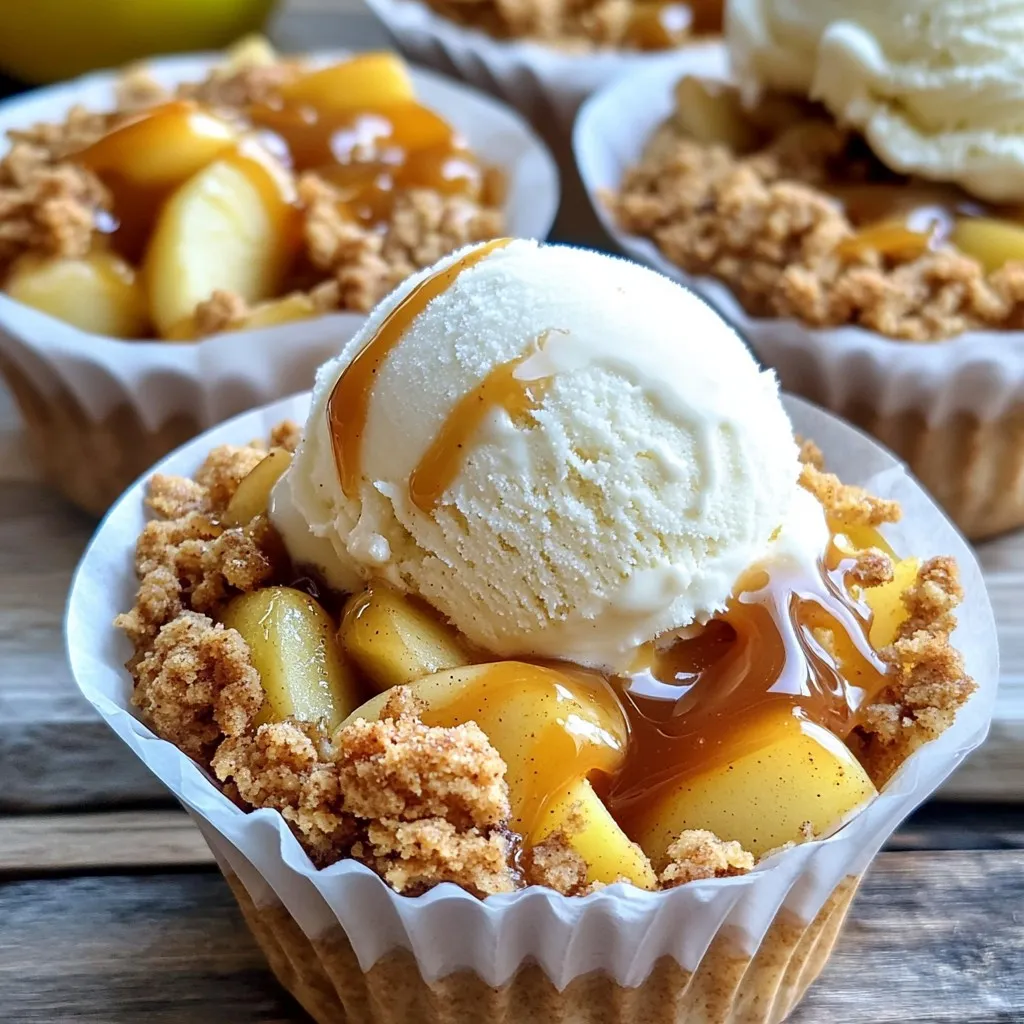
Salted Caramel Apple Crumble Cups Delightful Treat
Get ready to enjoy a dessert that pleases both your taste buds and your eyes! My Salted Caramel Apple Crumble Cups are the perfect blend

No-Bake Chocolate Coconut Almond Bars Delightful Treat
Craving a sweet treat that requires no baking? You’re in the right place! My No-Bake Chocolate Coconut Almond Bars are a delightful combination of rich
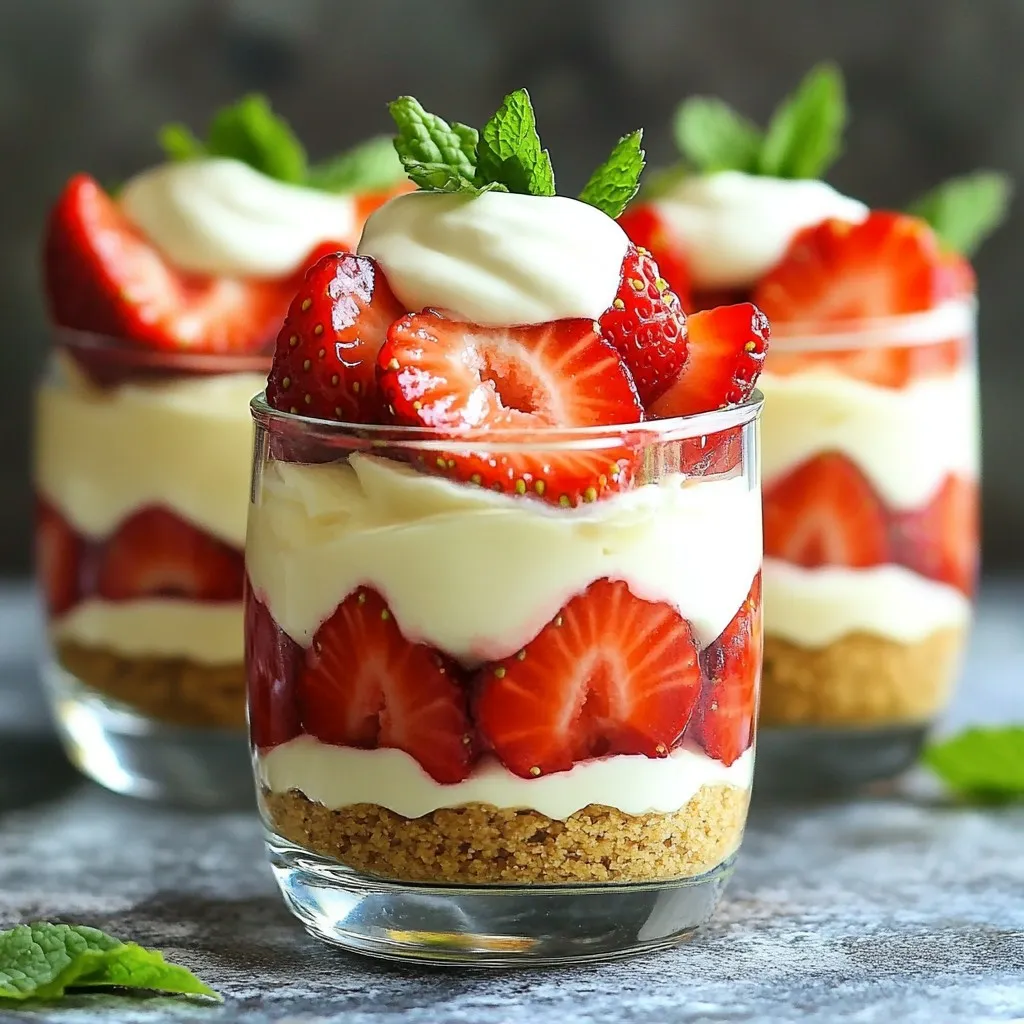
No-Bake Strawberry Cheesecake Parfaits Easy and Quick
Are you ready to whip up a sweet treat that’s both easy and delicious? My No-Bake Strawberry Cheesecake Parfaits are the perfect dessert for any
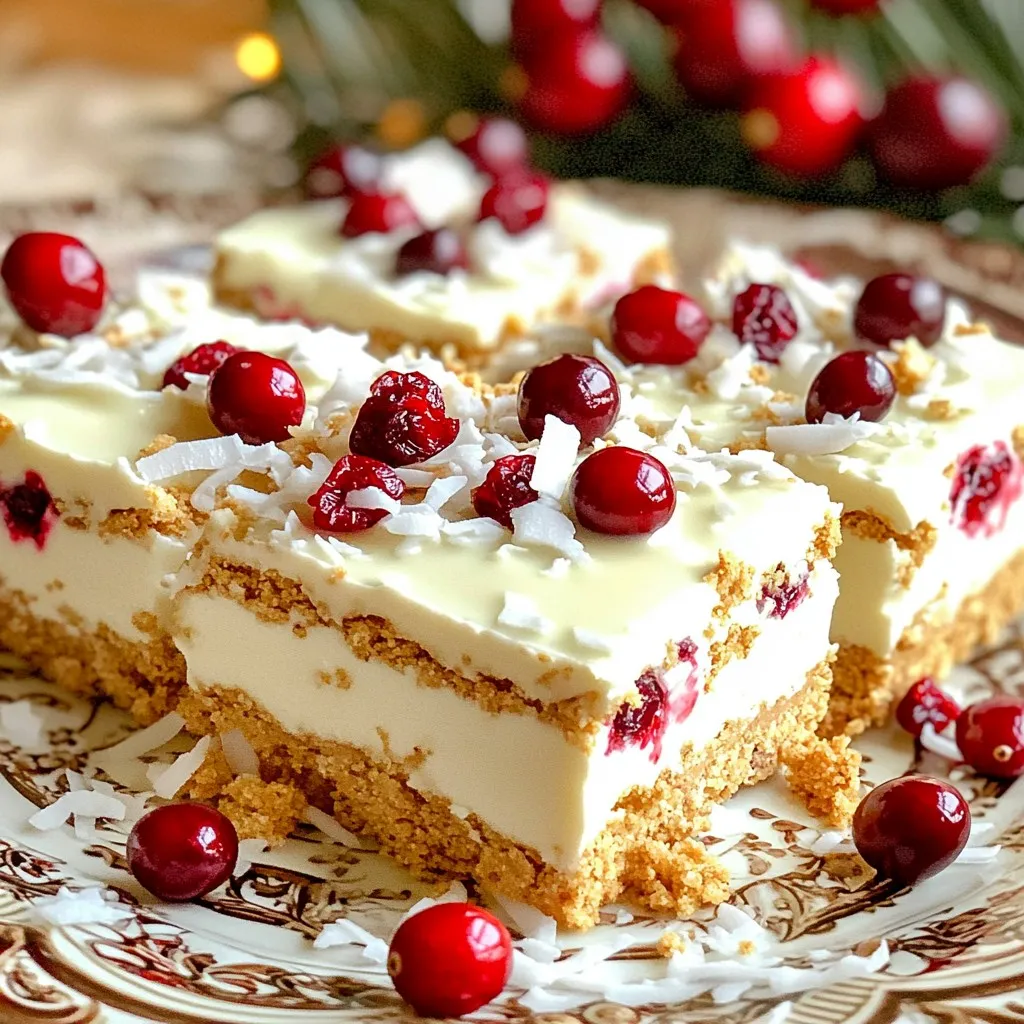
No-Bake White Chocolate Cranberry Bliss Bars Delight
Craving a sweet and easy treat? You’ll love these No-Bake White Chocolate Cranberry Bliss Bars! I’ll share the simple steps to create these delicious bars
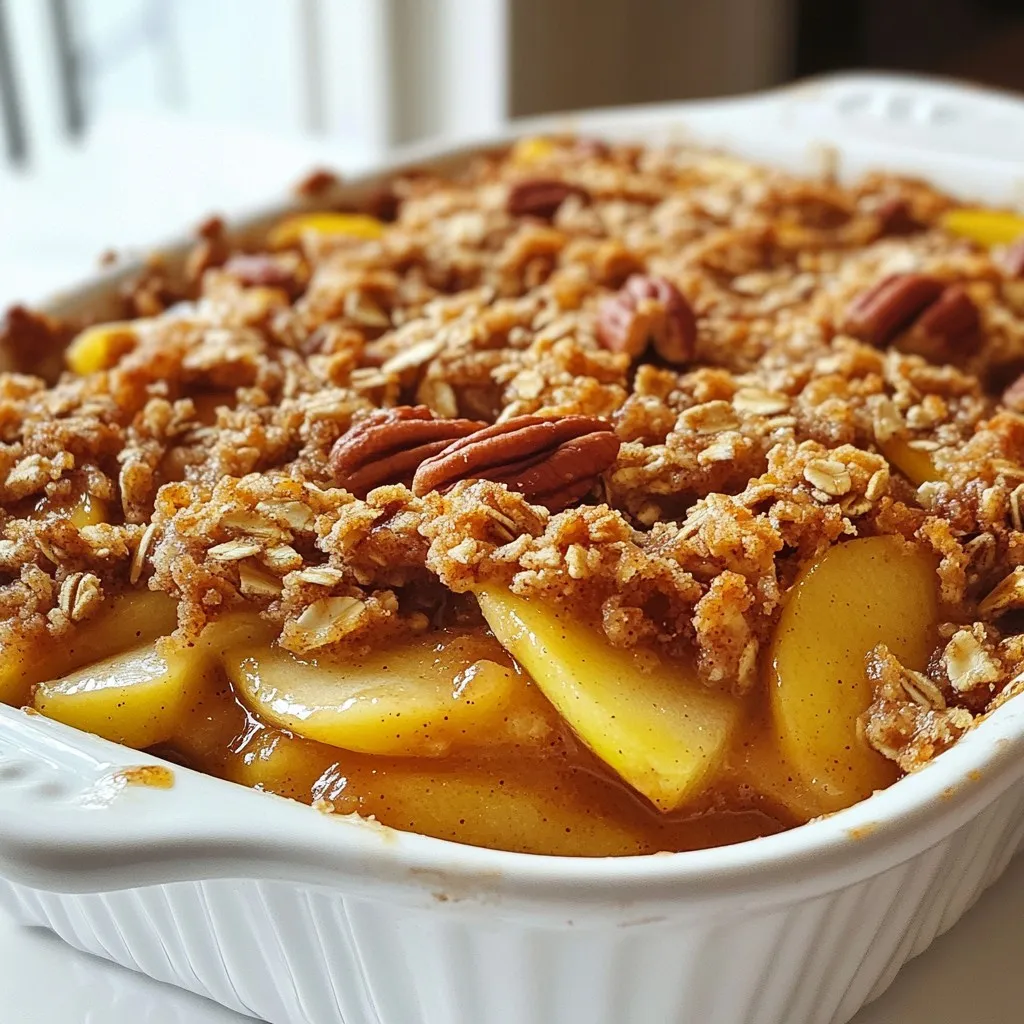
Perfect Apple Crisp Simple and Delicious Recipe
Are you ready to make the perfect apple crisp? This simple and delicious recipe will guide you step by step. With just a few key