Desserts

Air Fryer Pumpkin Donut Holes Irresistible Treat
If you love fall flavors and sweet treats, you’ll adore these Air Fryer Pumpkin Donut Holes! Made with warm spices and rich pumpkin puree, they
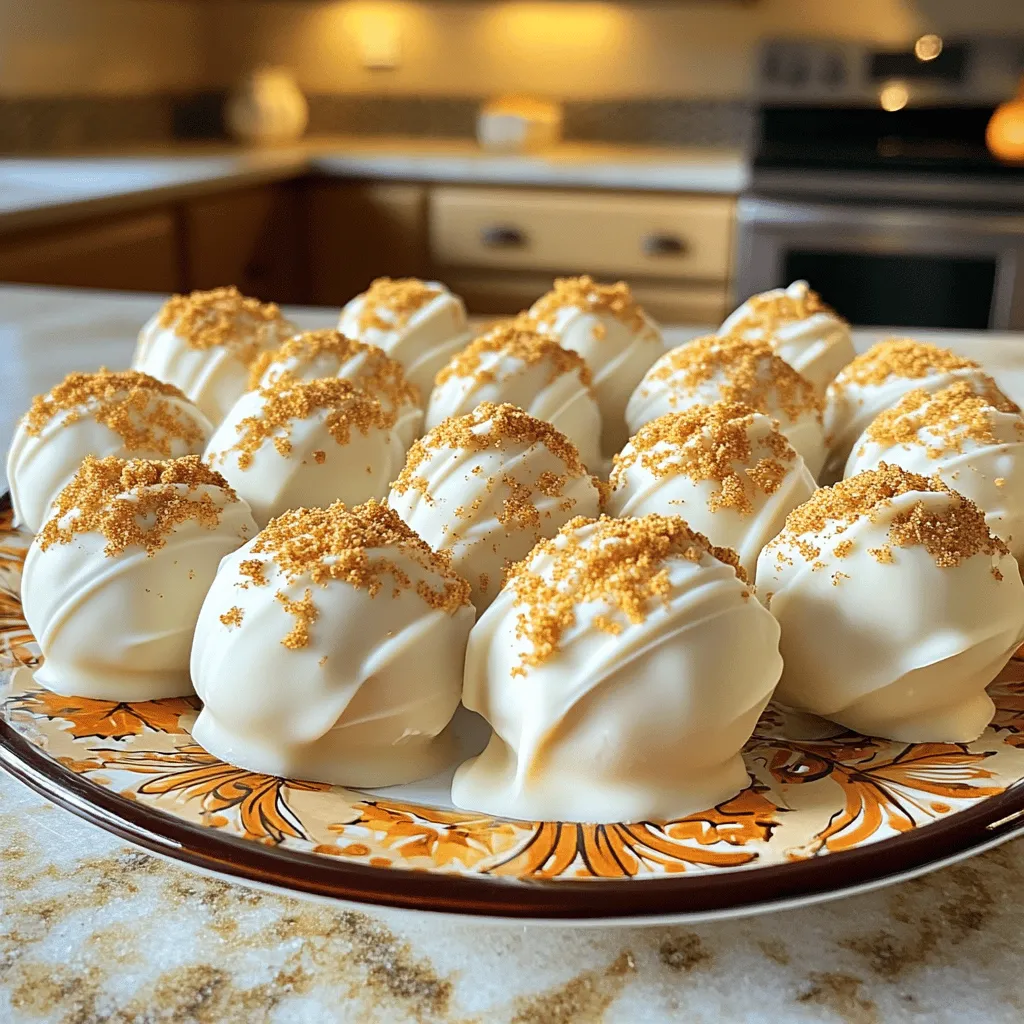
Pumpkin Cheesecake Truffles Irresistible Dessert Treat
Are you ready to indulge in a dreamy autumn treat? These Pumpkin Cheesecake Truffles blend creamy pumpkin, rich white chocolate, and a hint of spice

Two Ingredient Caramel Apple Fudge Simple and Sweet Treat
Craving a sweet treat that’s quick and easy? Look no further! In this post, I’ll show you how to make Two Ingredient Caramel Apple Fudge
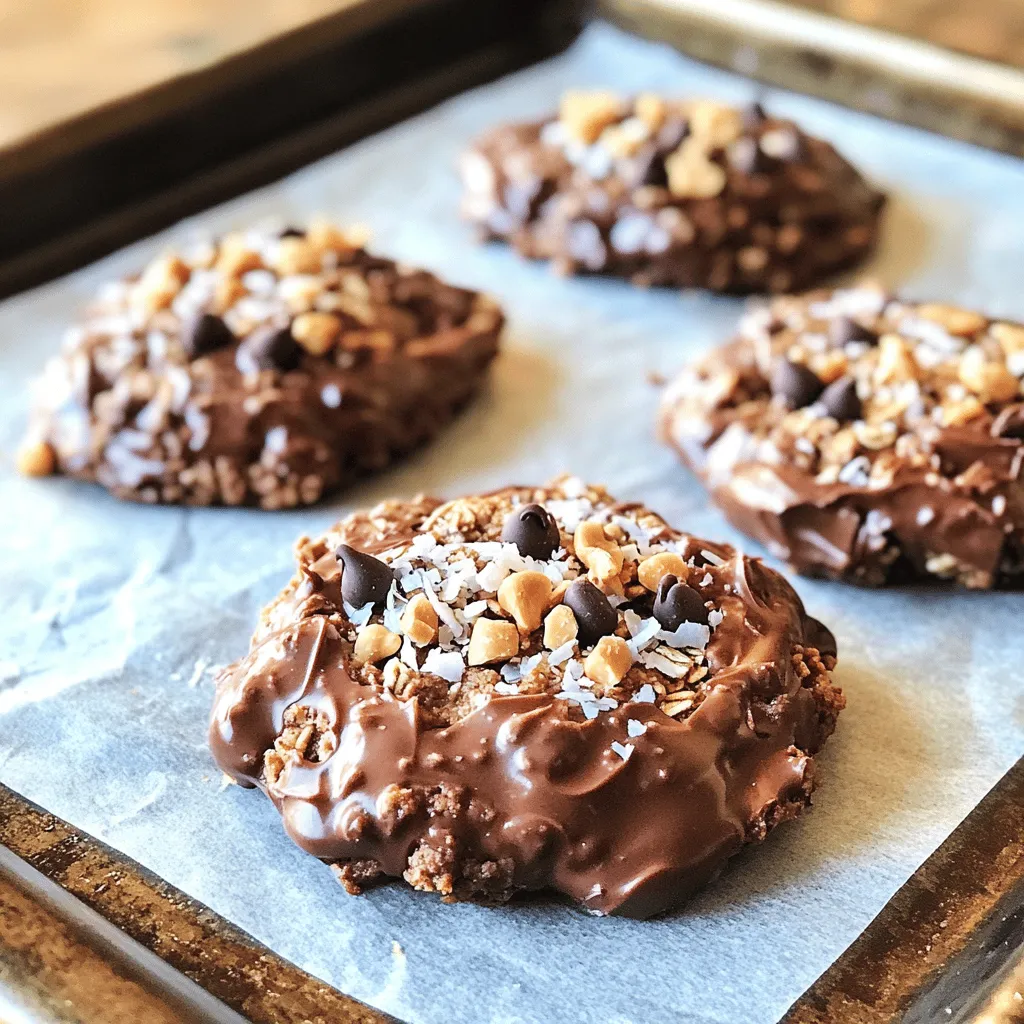
Chocolate Peanut Butter No-Bake Cookies Delight
If you crave a sweet treat without turning on the oven, you’re in for a real delight! These Chocolate Peanut Butter No-Bake Cookies are easy
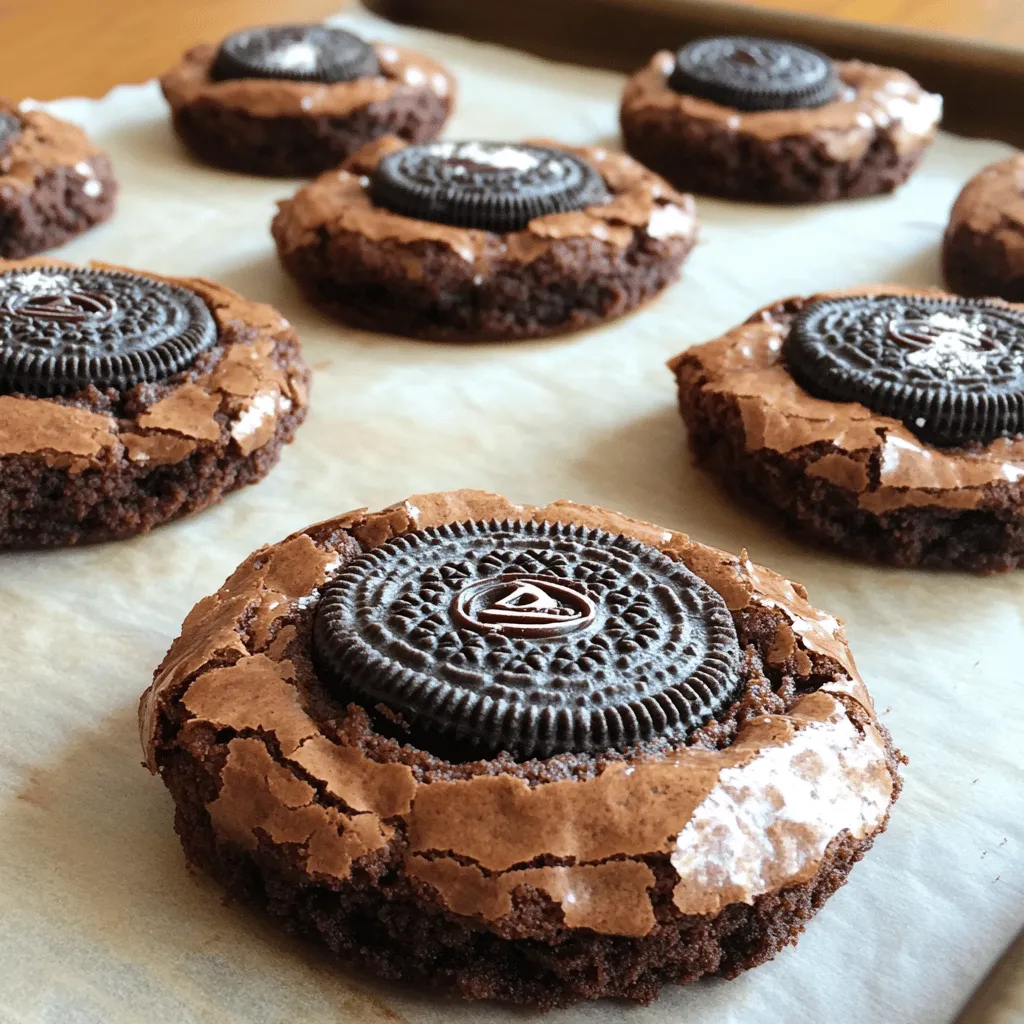
Oreo Stuffed Brownie Cookies Tempting and Easy Treat
Who doesn’t love cookies? Imagine biting into a soft brownie cookie, only to find an Oreo hiding inside. That’s right! I’m talking about Oreo Stuffed
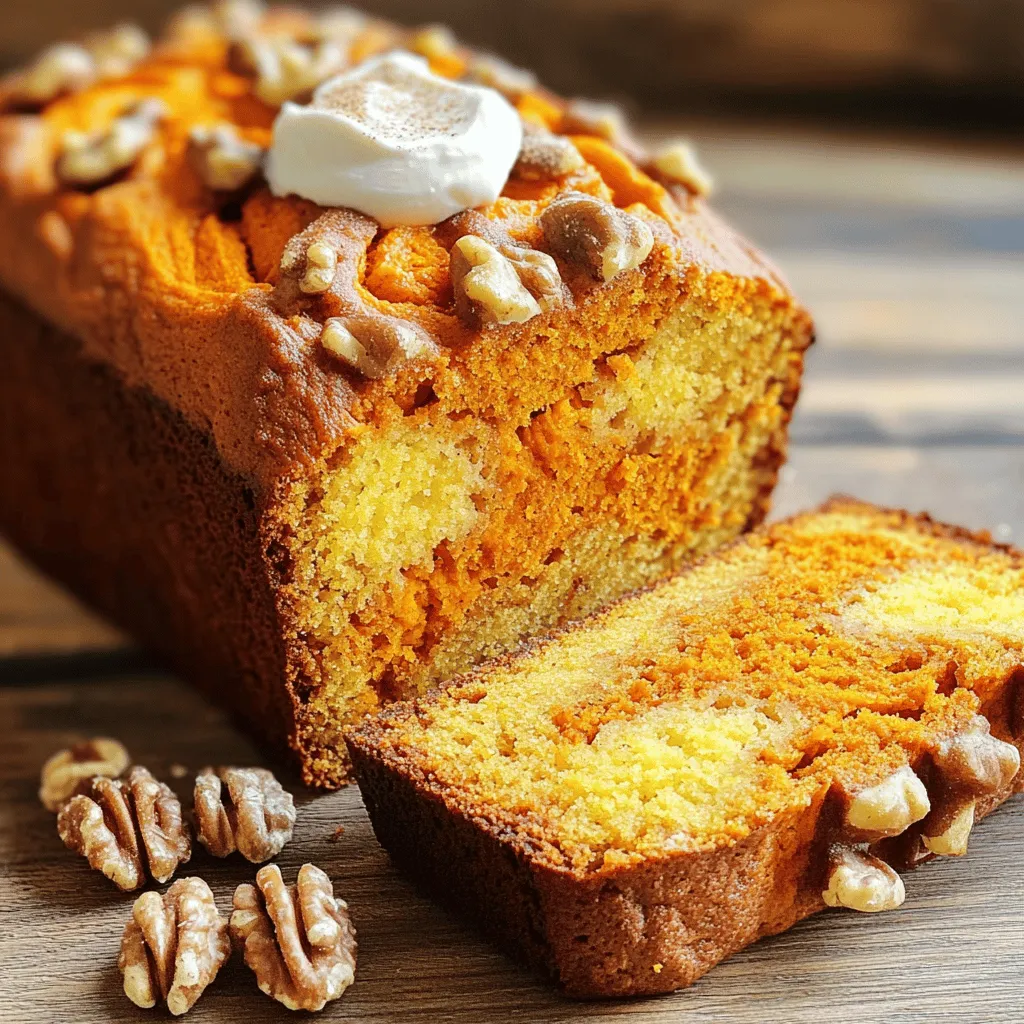
Spiced Pumpkin Walnut Bread Delightful and Easy Recipe
Welcome to my kitchen! Today, I’m sharing a delightful and easy recipe for Spiced Pumpkin Walnut Bread. This treat is perfect for cozy days and

Bakery-Style Zucchini Bread with Streusel Delight
Welcome to a delightful baking journey! Today, I’ll guide you through making Bakery-Style Zucchini Bread with Streusel. This sweet loaf is moist, fluffy, and topped

Pumpkin Pull-Apart Loaf Irresistible and Soft Delight
Are you ready to savor the season with a delicious Pumpkin Pull-Apart Loaf? This soft delight combines warm spices and rich pumpkin flavor into a
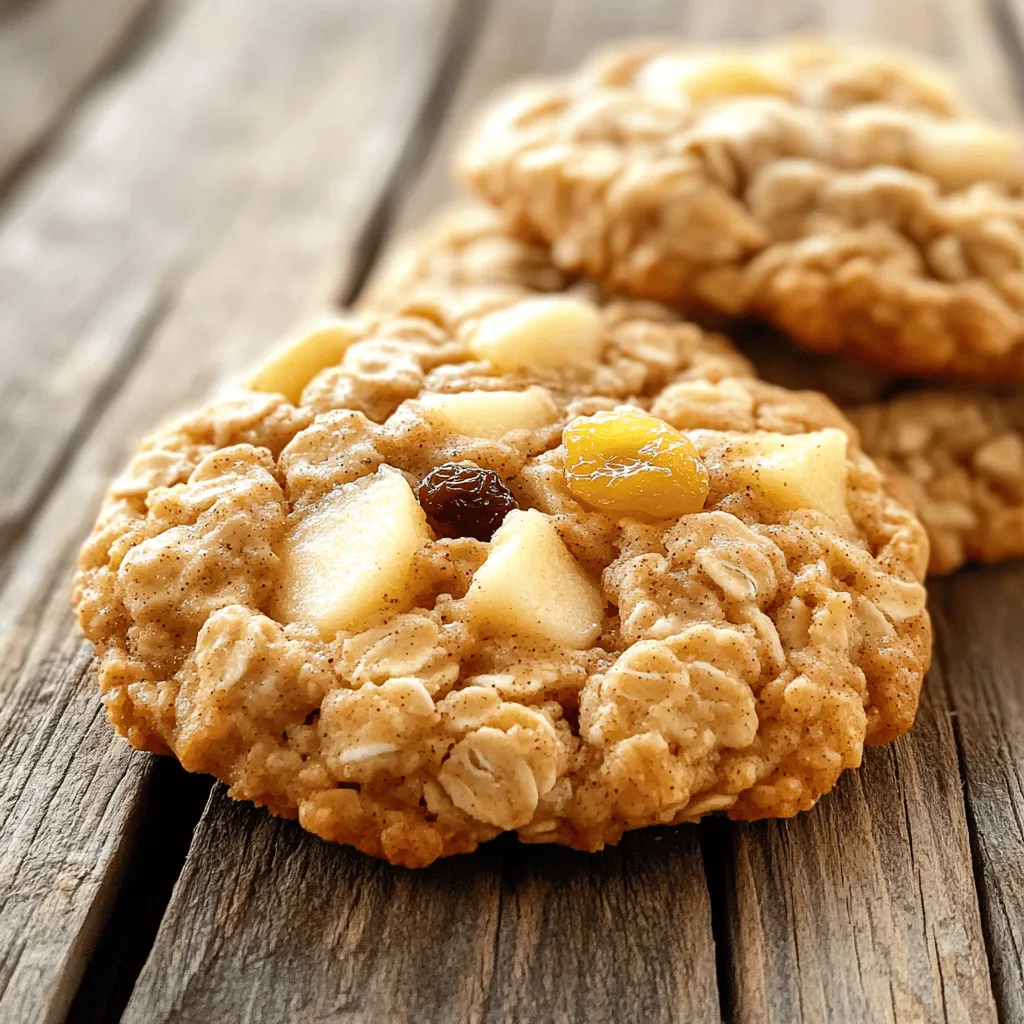
Apple Cinnamon Oatmeal Cookies Flavorful Homemade Treat
Are you craving a warm, sweet treat? Look no further than my Apple Cinnamon Oatmeal Cookies! These cookies blend the heartiness of oats with the
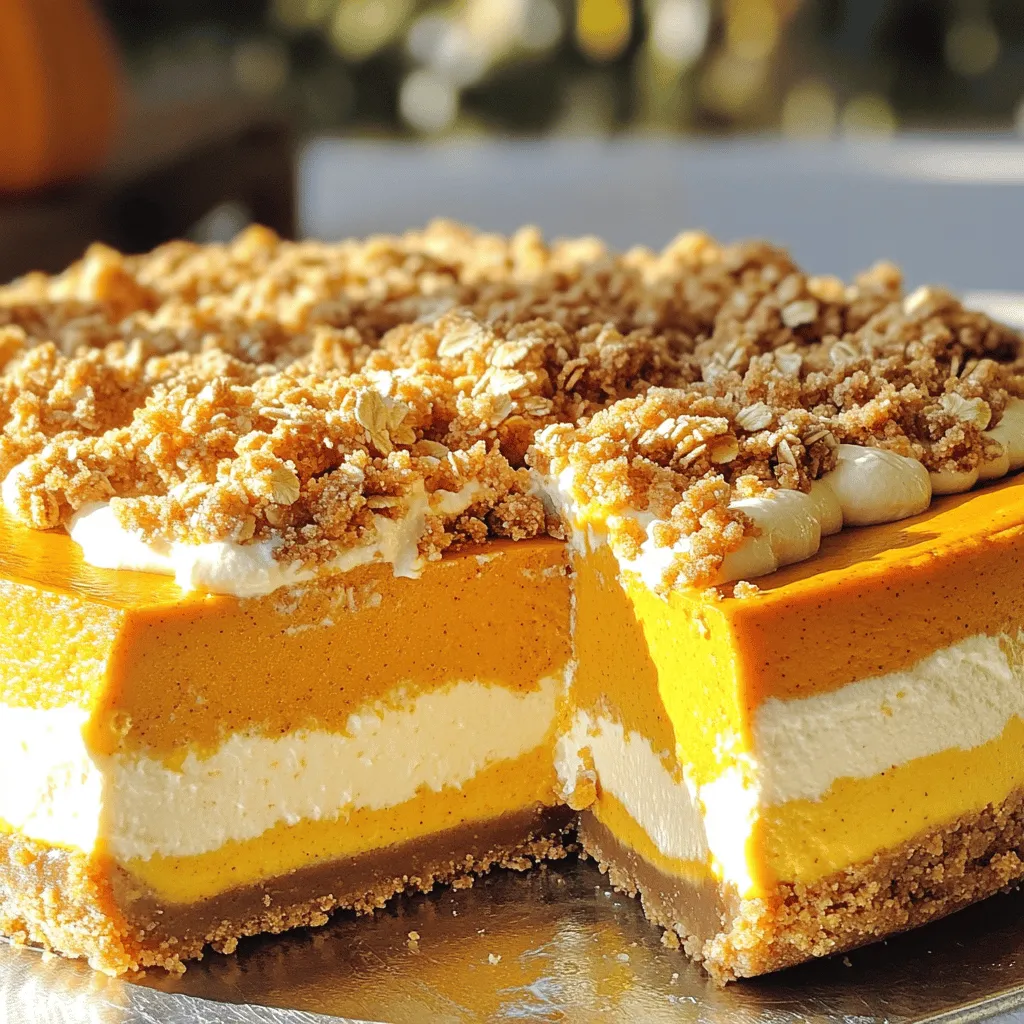
Pumpkin Streusel Cheesecake Delightful Fall Treat
Get ready to savor the season with my Pumpkin Streusel Cheesecake! This delightful fall treat combines creamy pumpkin filling with a crunchy streusel topping, perfect