Desserts
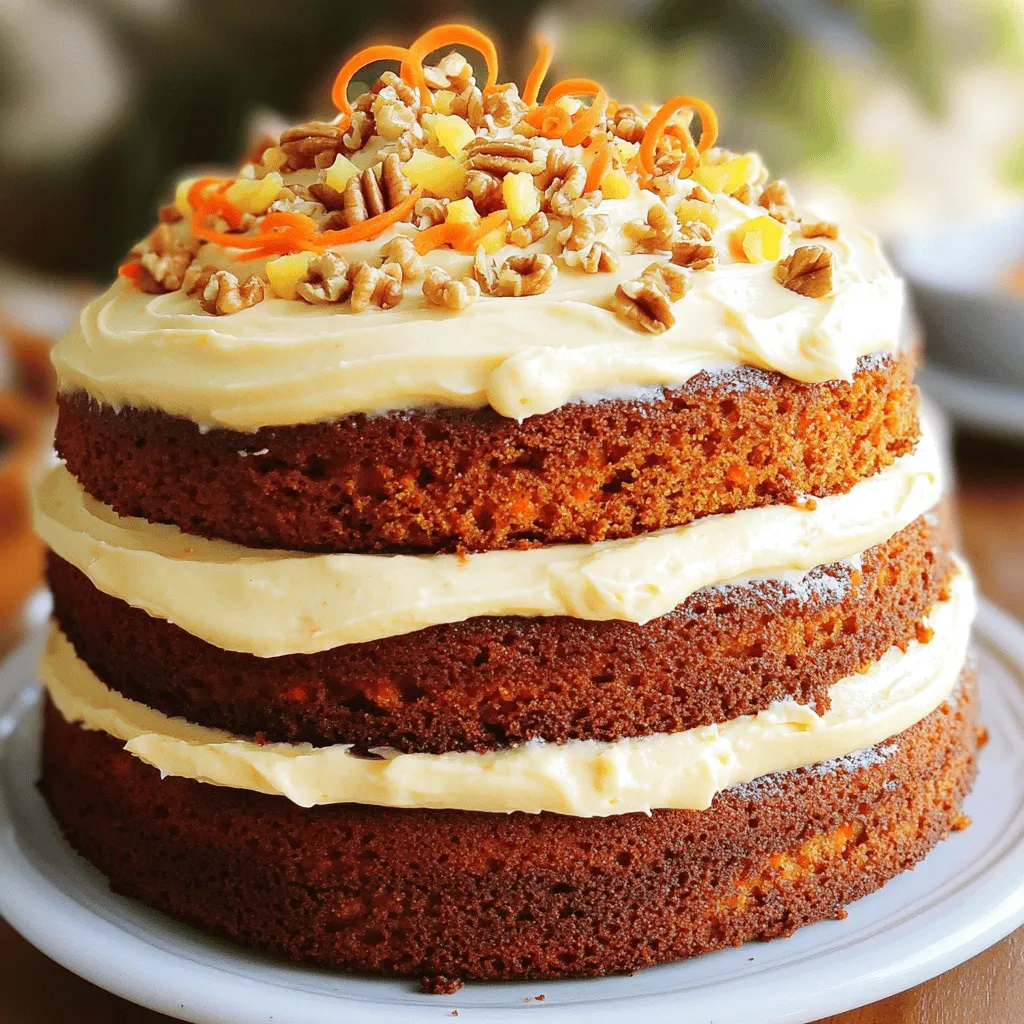
Carrot Cake Supreme Delightful and Easy Recipe
Are you ready to bake a carrot cake that will impress everyone? This Carrot Cake Supreme recipe is both easy and delightful. With a perfect
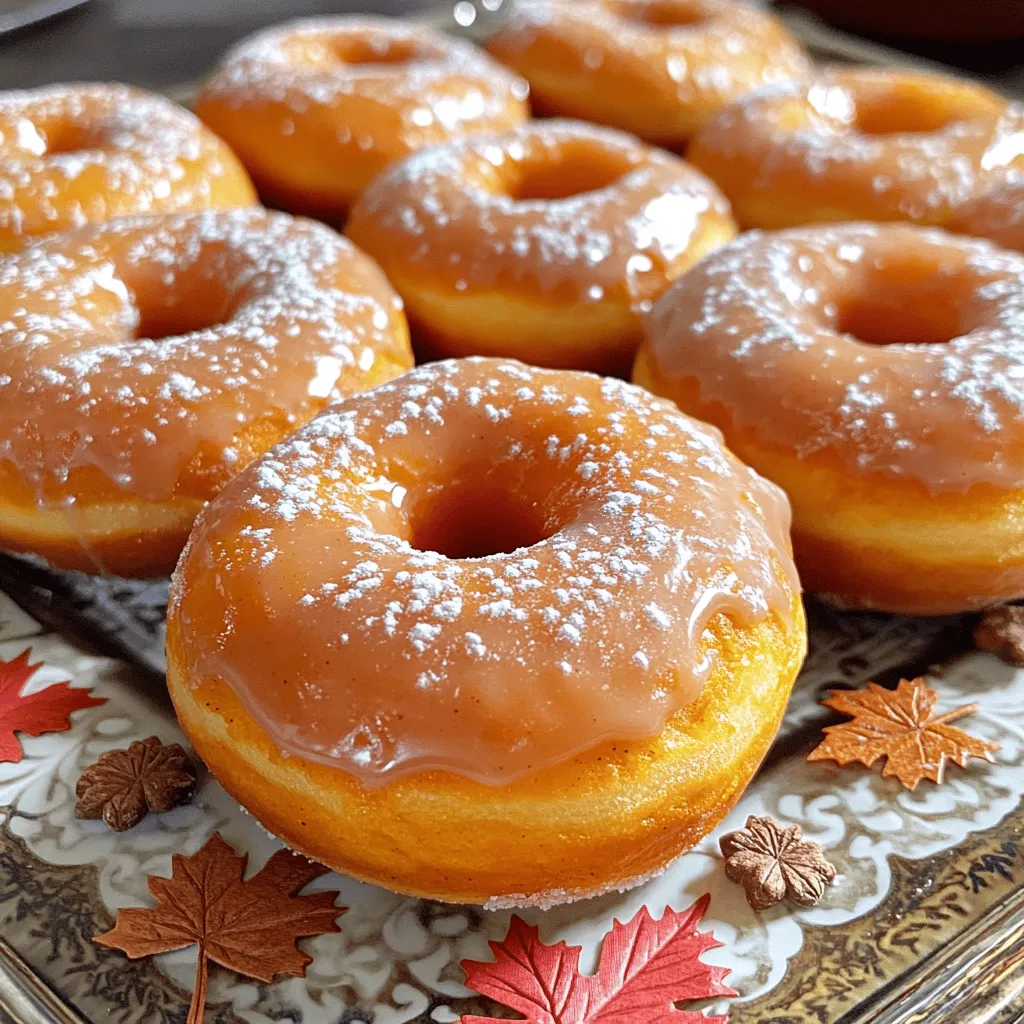
Maple Glazed Sweet Potato Donuts Tasty Treat Recipe
If you love sweet treats, you’ll adore these Maple Glazed Sweet Potato Donuts. They’re fluffy, flavorful, and packed with nutrition. In this post, I’ll share
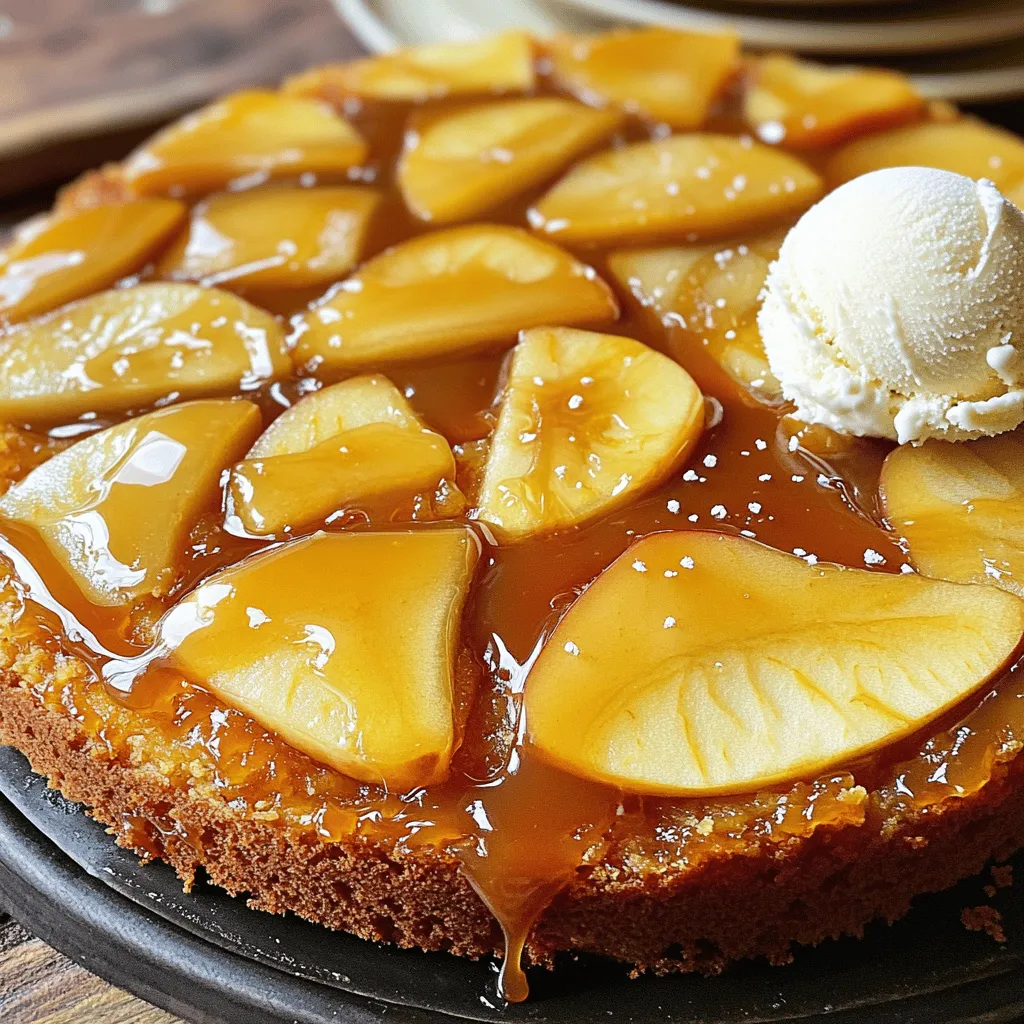
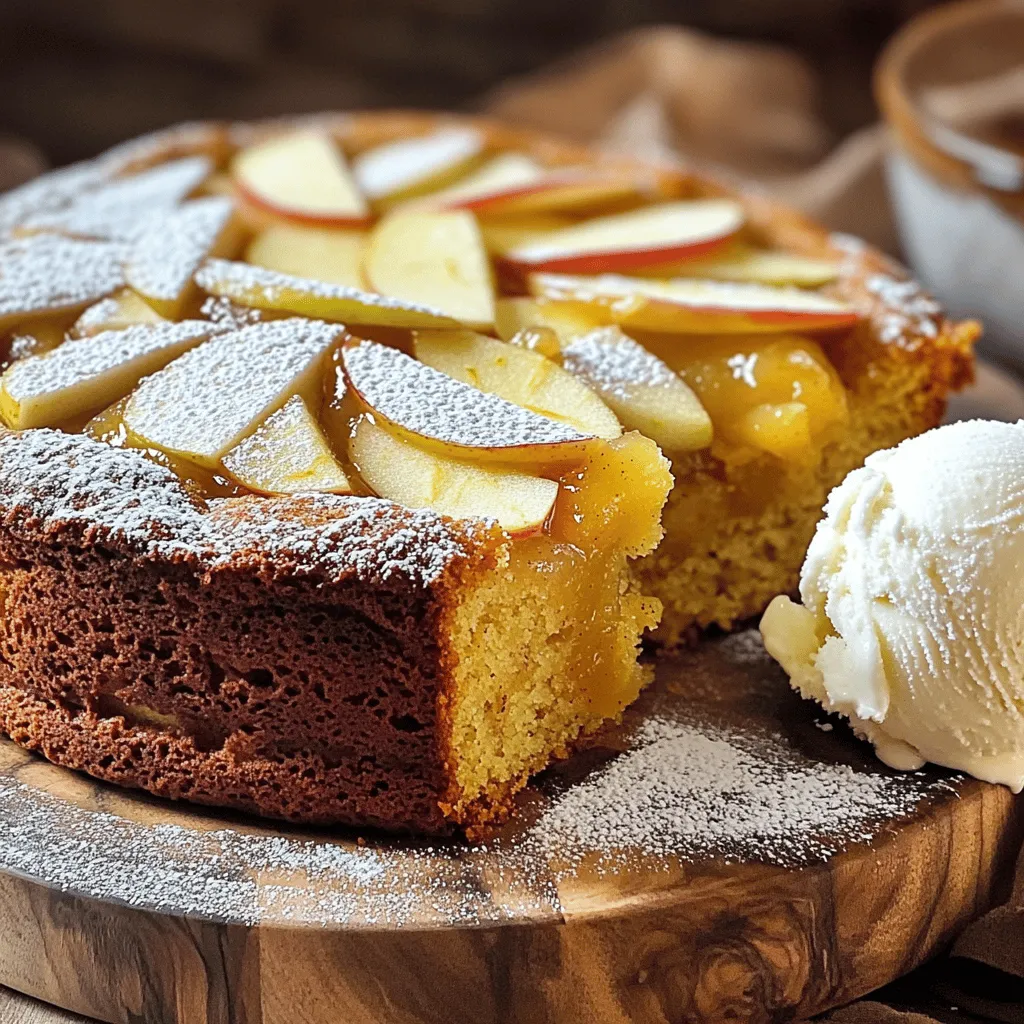
Salted Caramel Apple Upside-Down Cake Delight
Get ready to impress with your baking skills! This Salted Caramel Apple Upside-Down Cake is not only beautiful but also bursting with flavor. I’ll guide
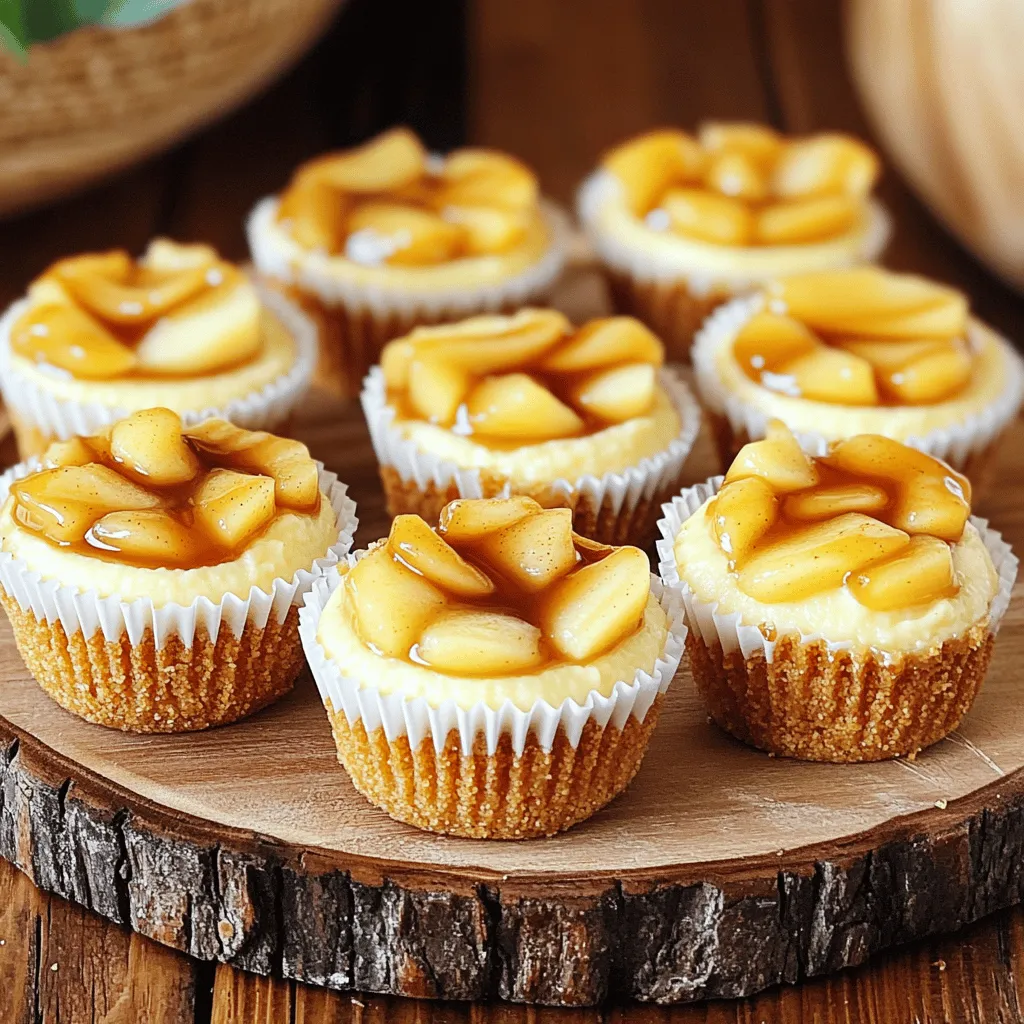
Apple Pie Cheesecake Bites Delightful Dessert Treat
Craving a sweet twist on a classic dessert? Let’s dive into the world of Apple Pie Cheesecake Bites! These little delights combine creamy cheesecake with
Amish Applesauce Cake Simple and Delicious Treat
Craving a warm, homey dessert that brings comfort to your kitchen? You’re in luck! My Amish Applesauce Cake is the perfect blend of sweet and
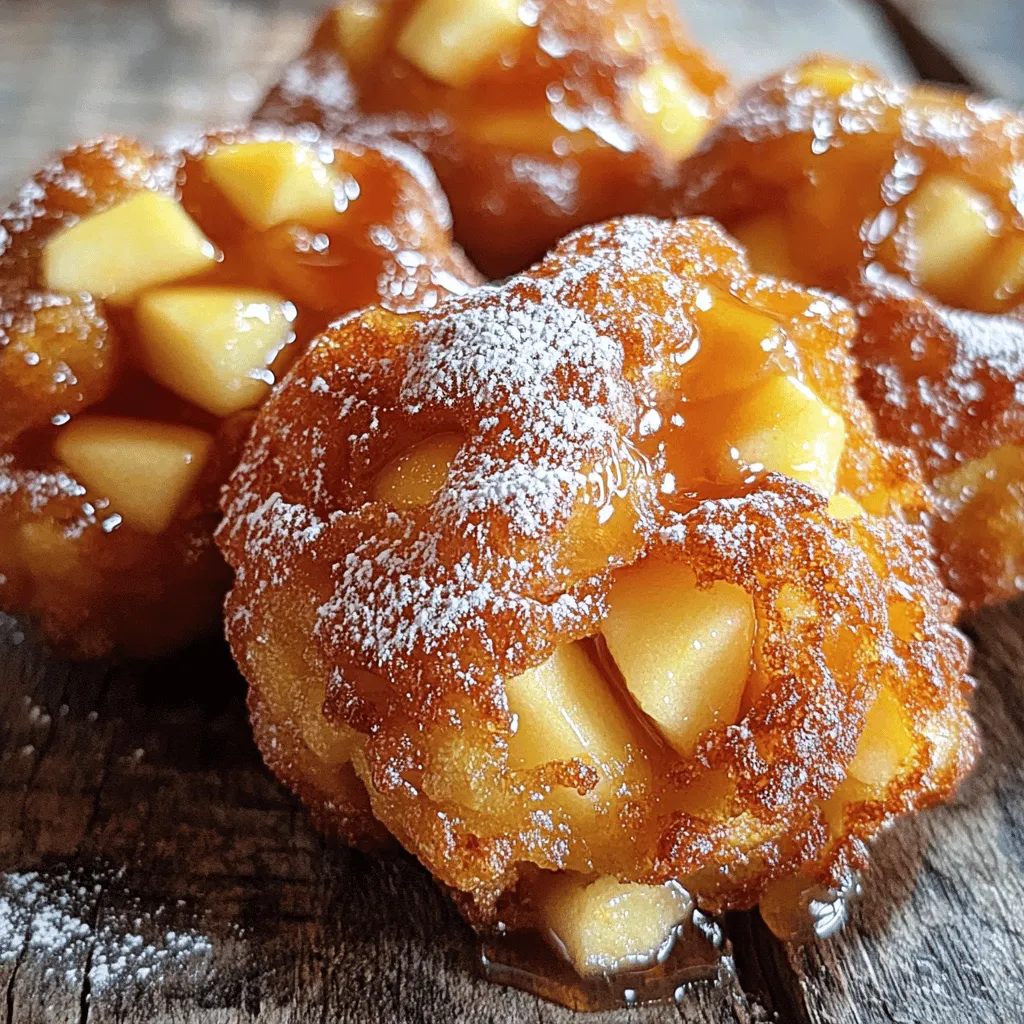
Maple Glazed Apple Fritters Tasty and Simple Treat
Craving a sweet treat that’s both delightful and easy to make? You’re in the right place! In this blog, I’ll guide you through making Maple
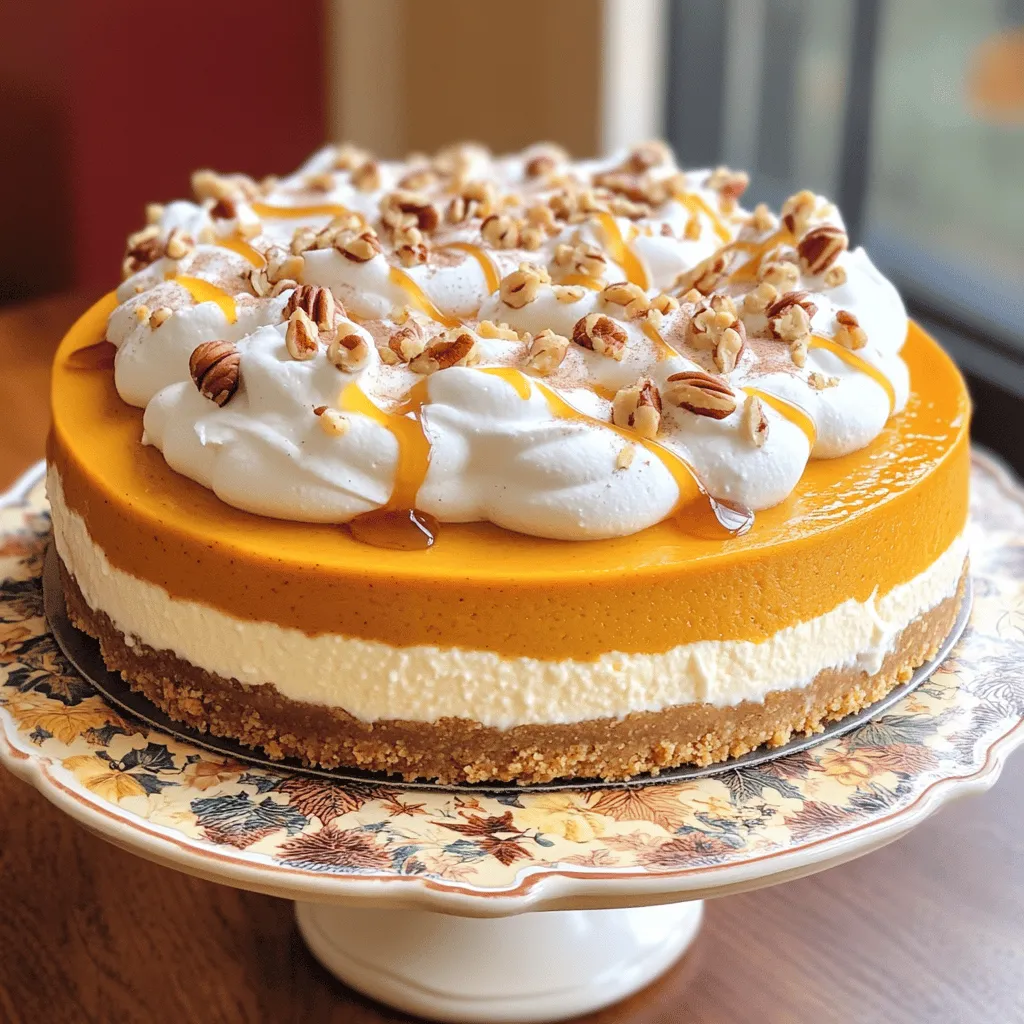
No-Bake Pumpkin Cheesecake Creamy and Simple Delight
If you love pumpkin flavors and crave a creamy dessert, this No-Bake Pumpkin Cheesecake is for you! It’s simple to make and requires no baking.
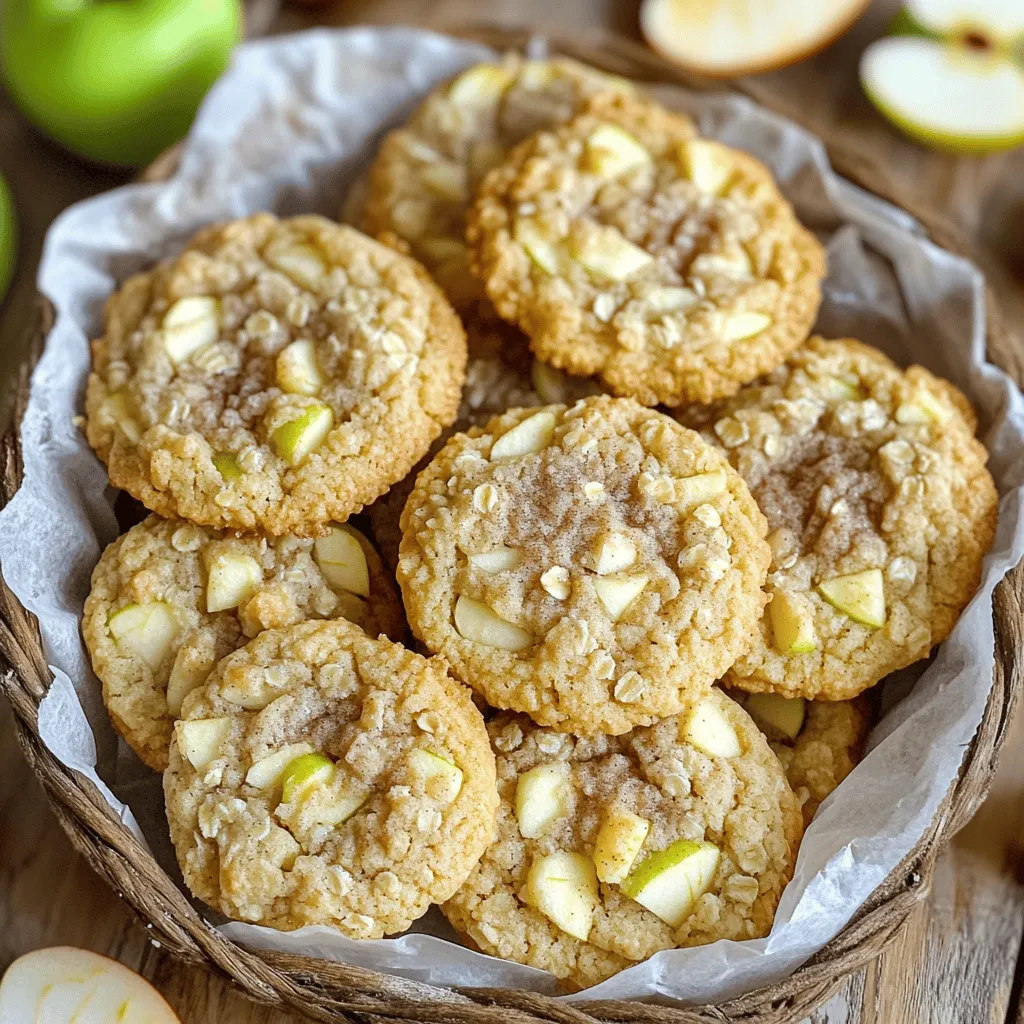
Irresistible Apple Crumb Cookies Simple and Tasty Treat
Do you crave a sweet, warm treat? You need to try these Irresistible Apple Crumb Cookies! With simple ingredients and easy steps, you can whip
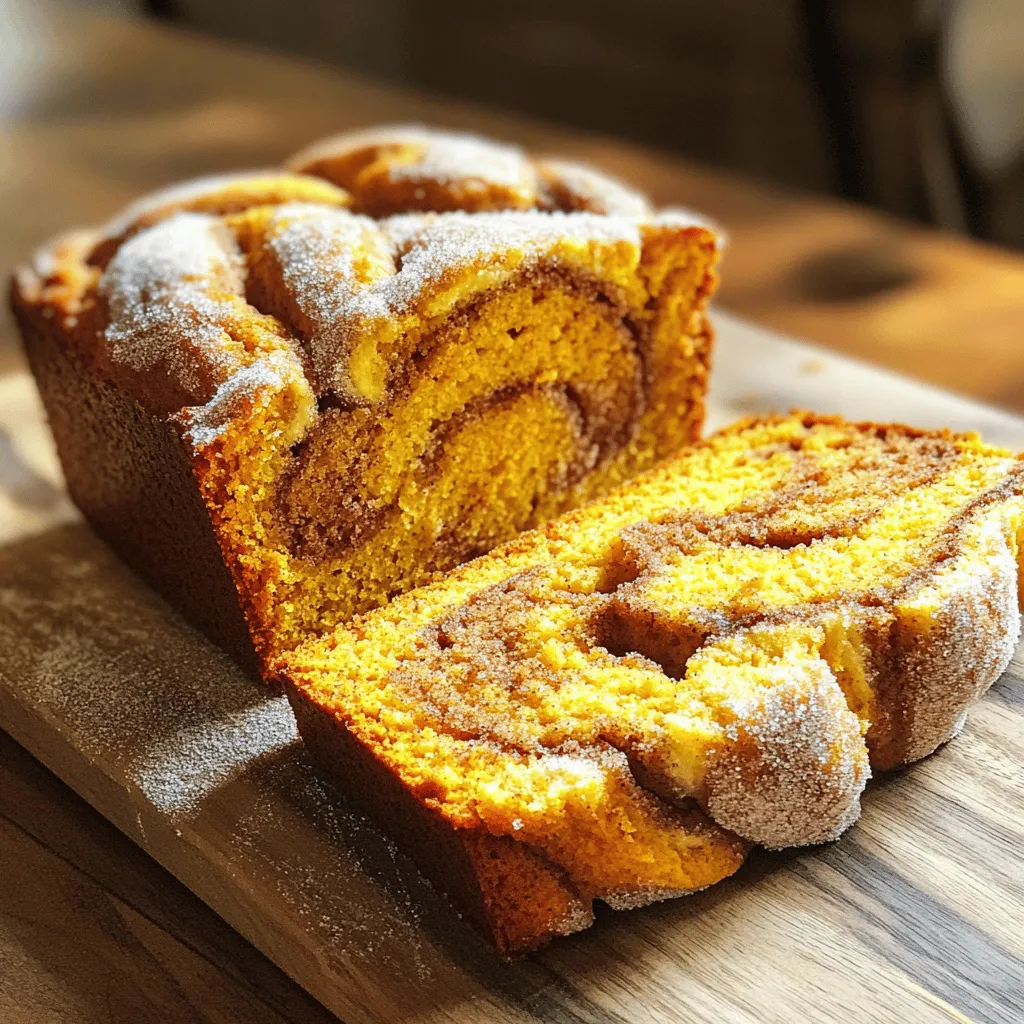
Cinnamon Sugar Swirl Pumpkin Bread Simple and Tasty
Are you ready for a delicious fall treat? My Cinnamon Sugar Swirl Pumpkin Bread is a simple and tasty way to celebrate the season. With

No-Bake Oreo Pumpkin Cheesecake Delightful Treat
Get ready for a delicious twist on a classic dessert! This No-Bake Oreo Pumpkin Cheesecake is a dreamy mix of chocolatey Oreo crust and creamy