Desserts
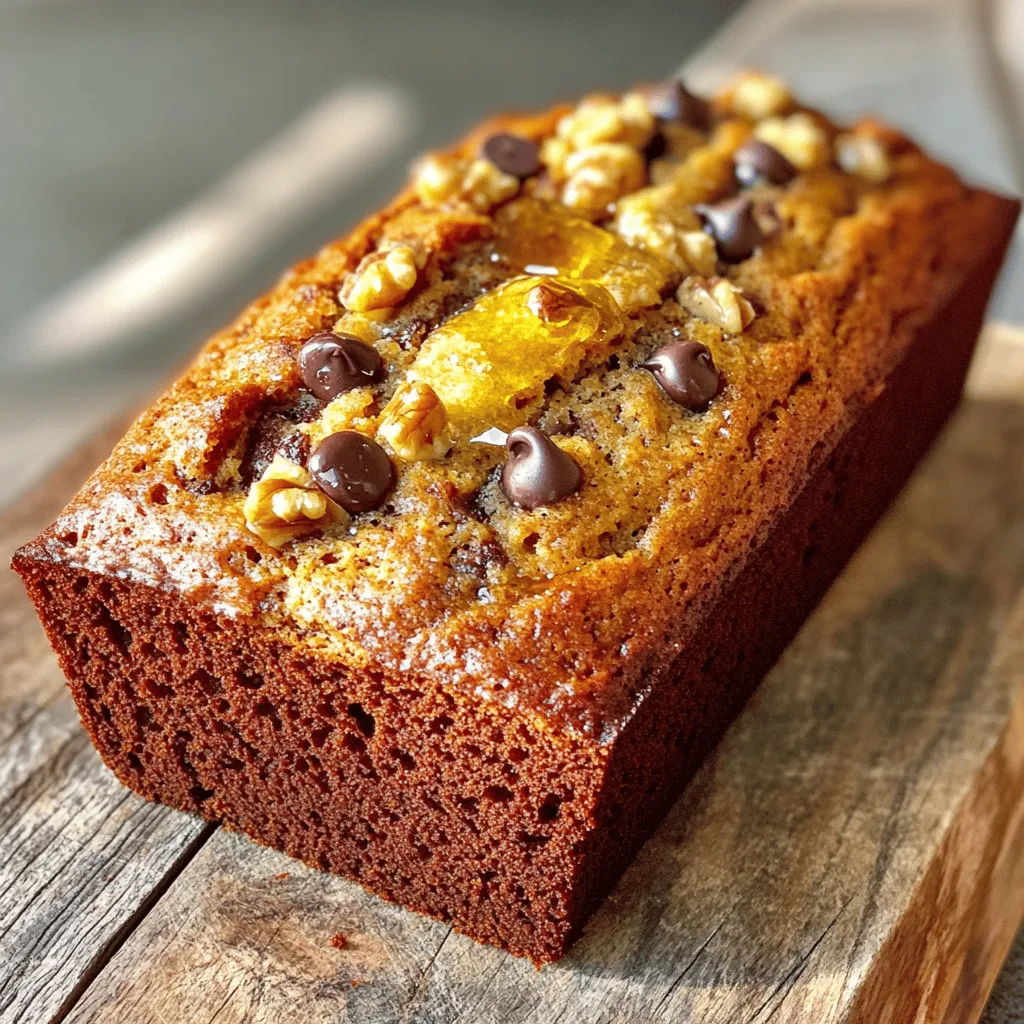
Greek Yogurt Banana Bread Simple and Flavorful Recipe
Get ready to discover a simple and tasty recipe for Greek Yogurt Banana Bread! This bread is moist, flavorful, and easy to make. By using
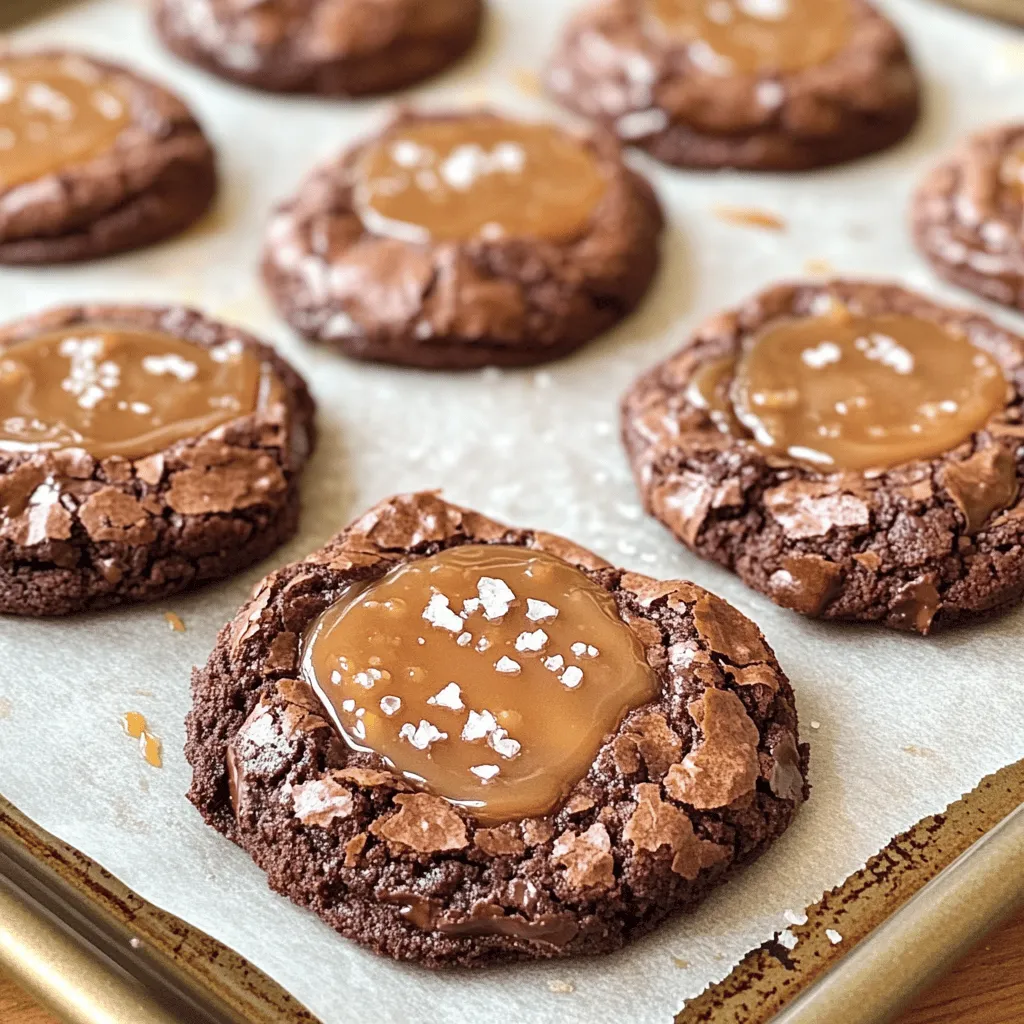
Salted Caramel Brownie Cookies Irresistible and Soft
Are you ready to sink your teeth into the ultimate treat? These Salted Caramel Brownie Cookies are the sweet solution to your dessert cravings. Picture
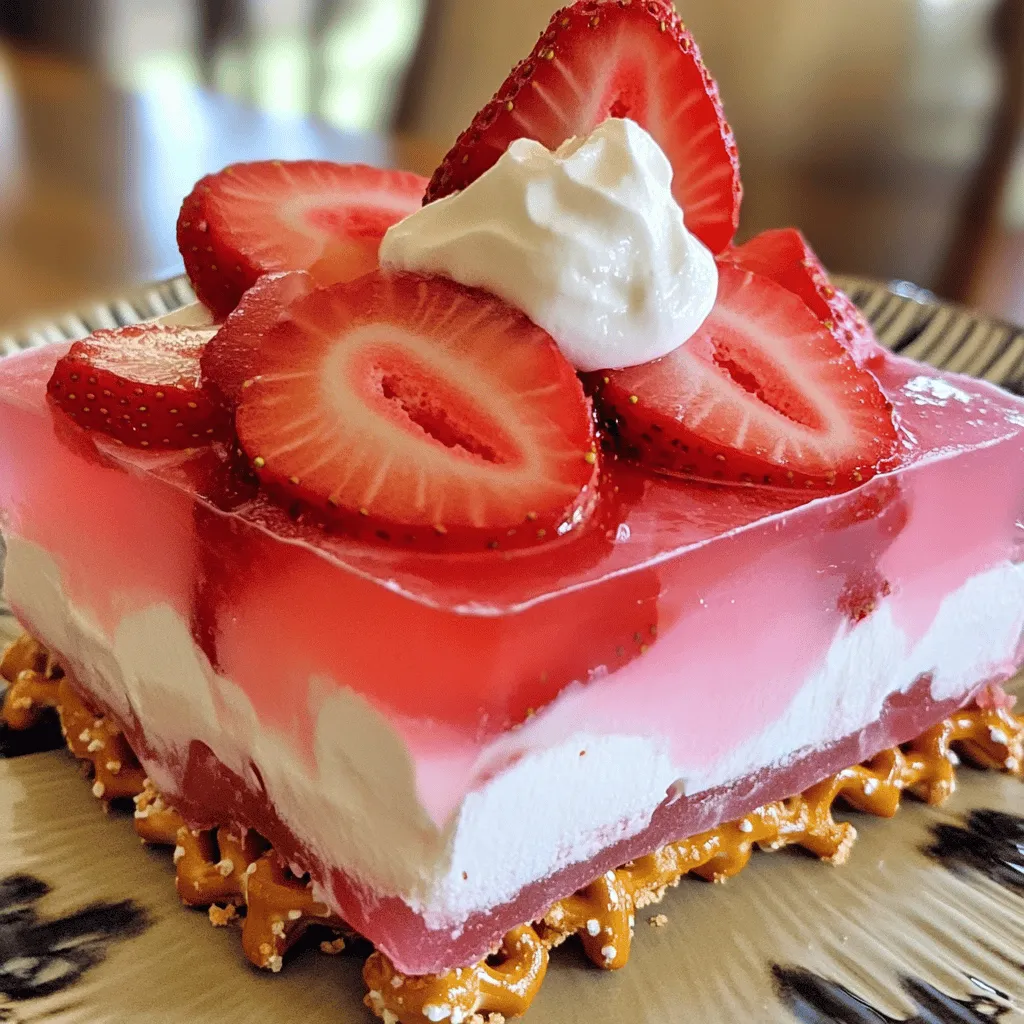
Strawberry Pretzel Salad Delightful No-Bake Treat
If you’re looking for a light, refreshing dessert that’s easy to make, look no further than Strawberry Pretzel Salad. This delightful no-bake treat has a
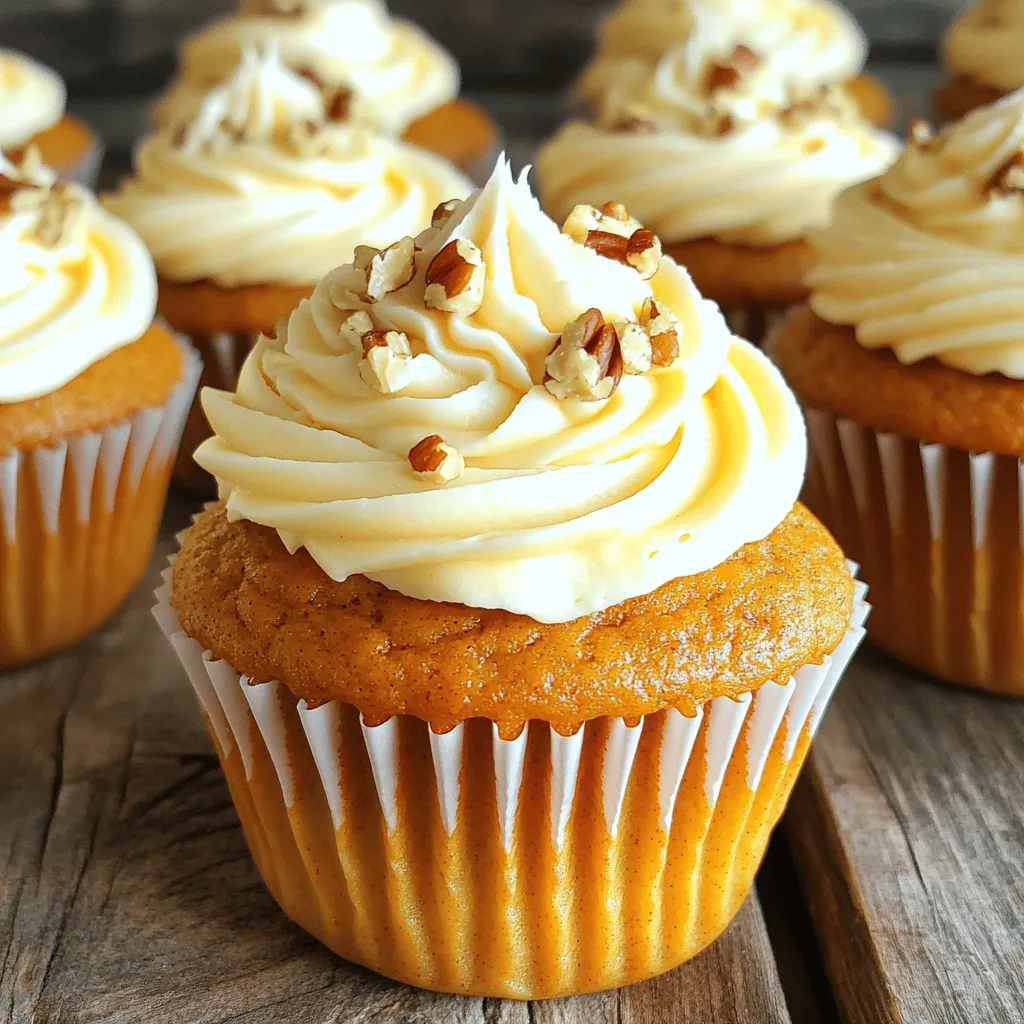
Pumpkin Cupcakes with Cream Cheese Frosting Delight
Get ready to elevate your dessert game with my Pumpkin Cupcakes with Cream Cheese Frosting! These soft, spiced treats are bursting with flavor, making them
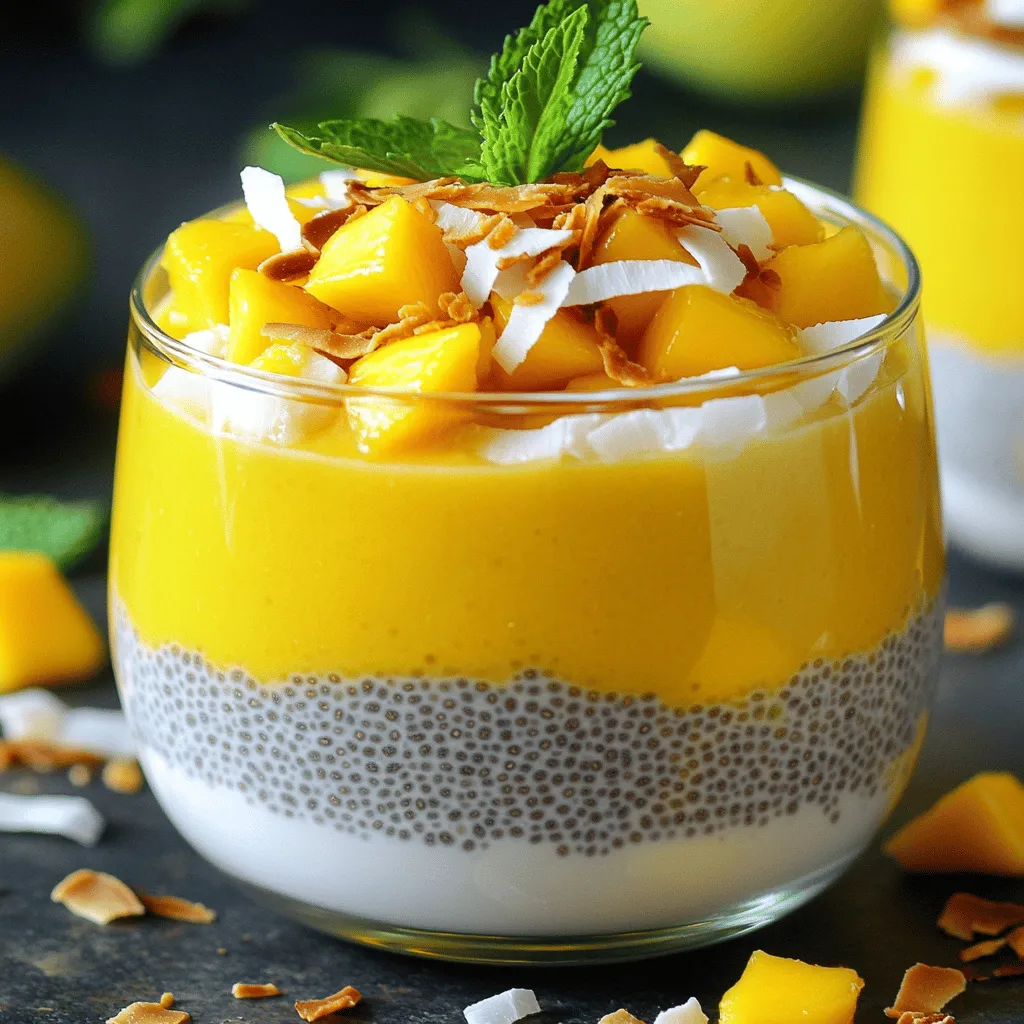
Mango Coconut Chia Pudding Delicious and Nutritious Mix
Are you ready to indulge in a tasty treat that’s also good for you? This Mango Coconut Chia Pudding blends creamy coconut milk with ripe
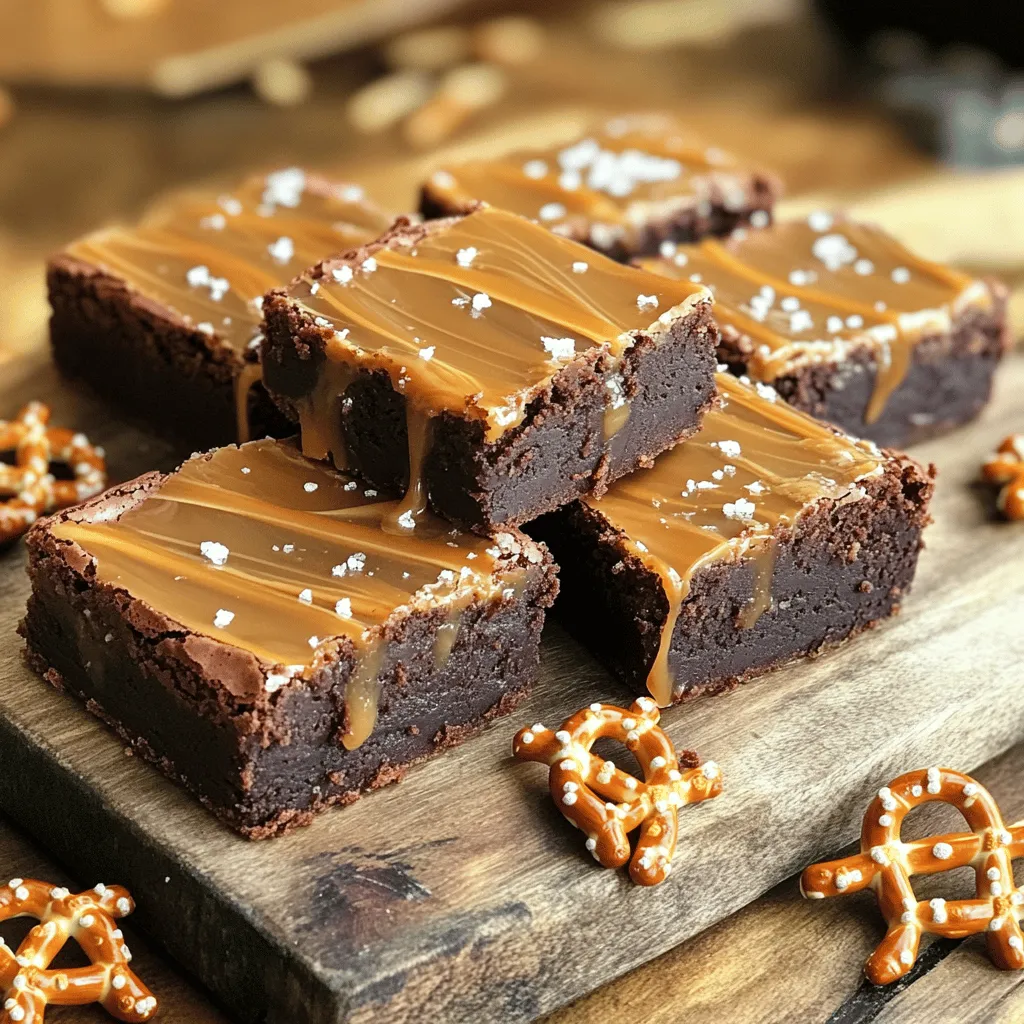
Salted Caramel Pretzel Brownies Decadent and Easy Treat
If you love sweet and salty treats, you’re in for a delight! My Salted Caramel Pretzel Brownies combine rich chocolate with crunchy pretzels and gooey
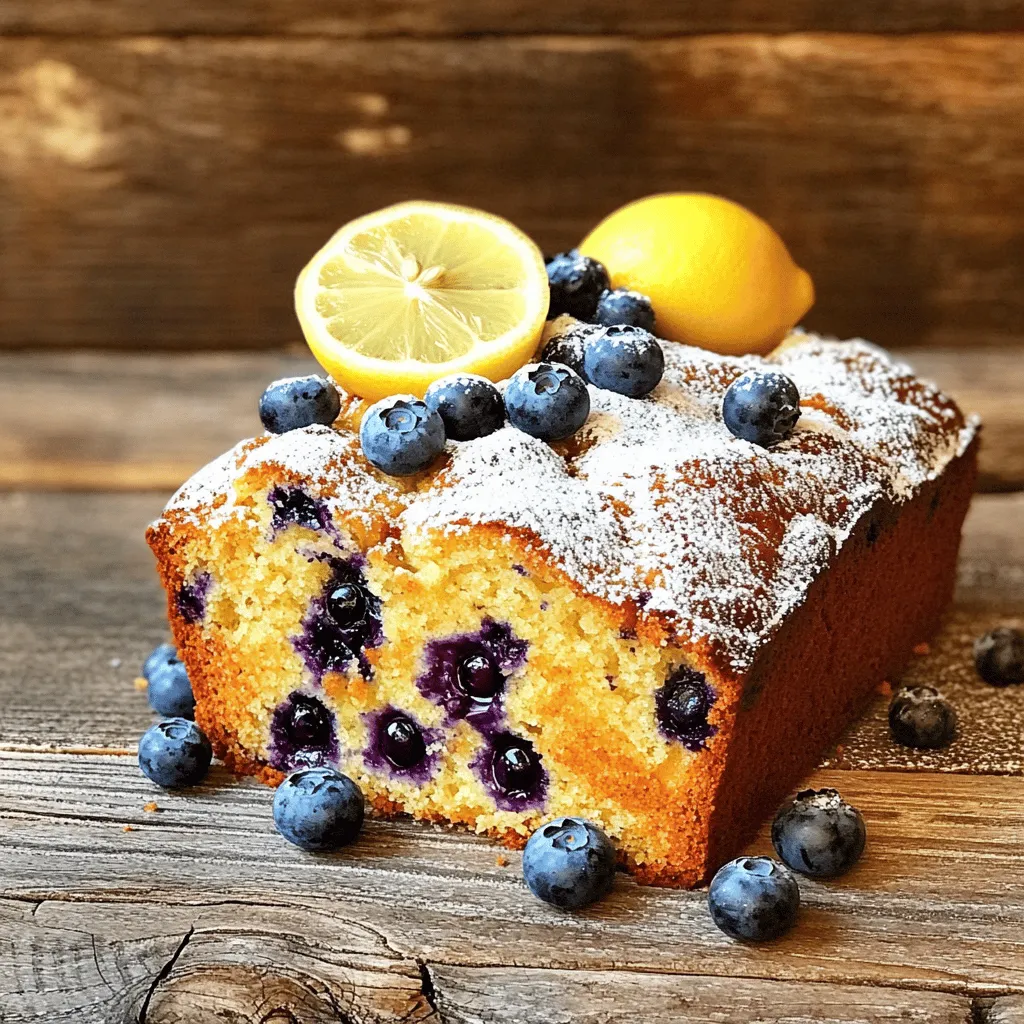
Lemon Blueberry Yogurt Loaf Delightful and Easy Recipe
Are you ready to delight your taste buds with a Lemon Blueberry Yogurt Loaf? This easy recipe combines zesty lemon and juicy blueberries, creating a
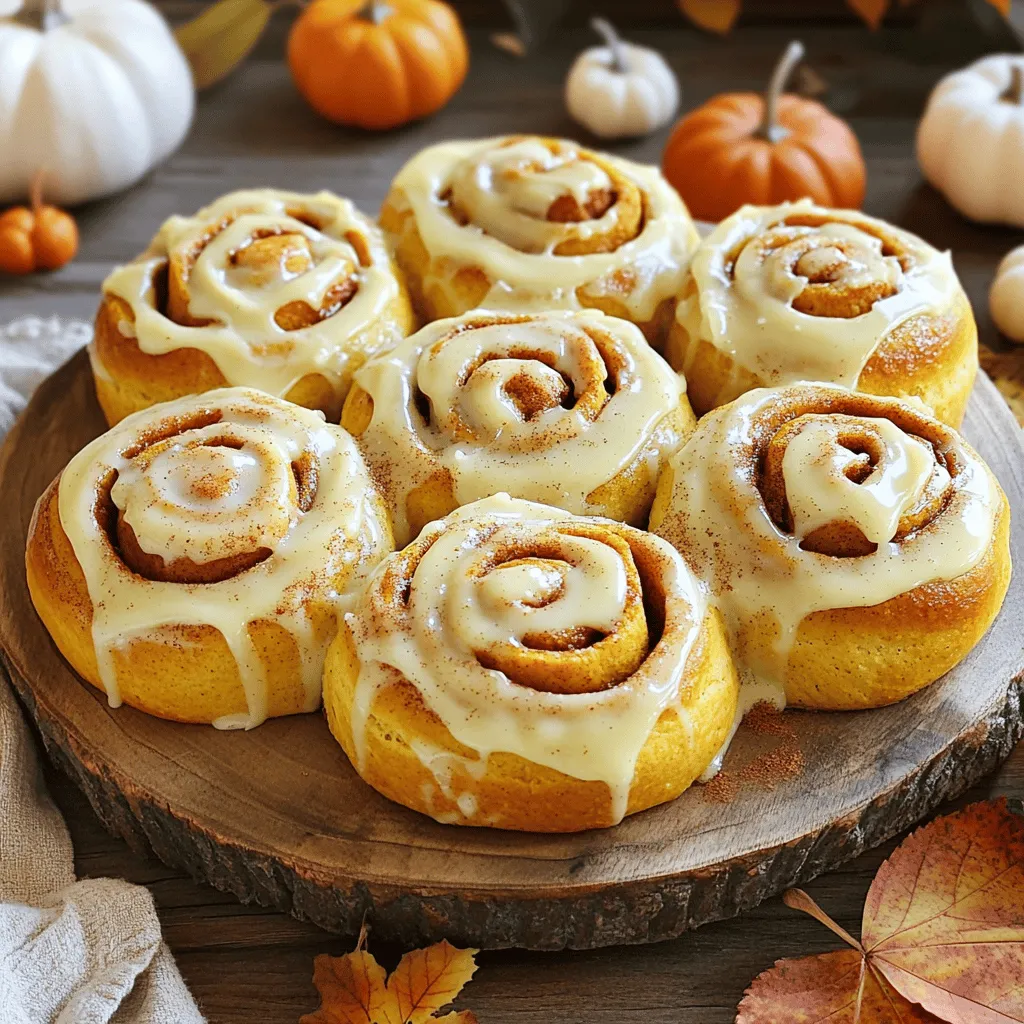
Pumpkin Cinnamon Rolls Irresistible and Easy Recipe
Fall is the perfect time to indulge in warm, soft Pumpkin Cinnamon Rolls. In this easy recipe, I’ll guide you step-by-step through making these sweet
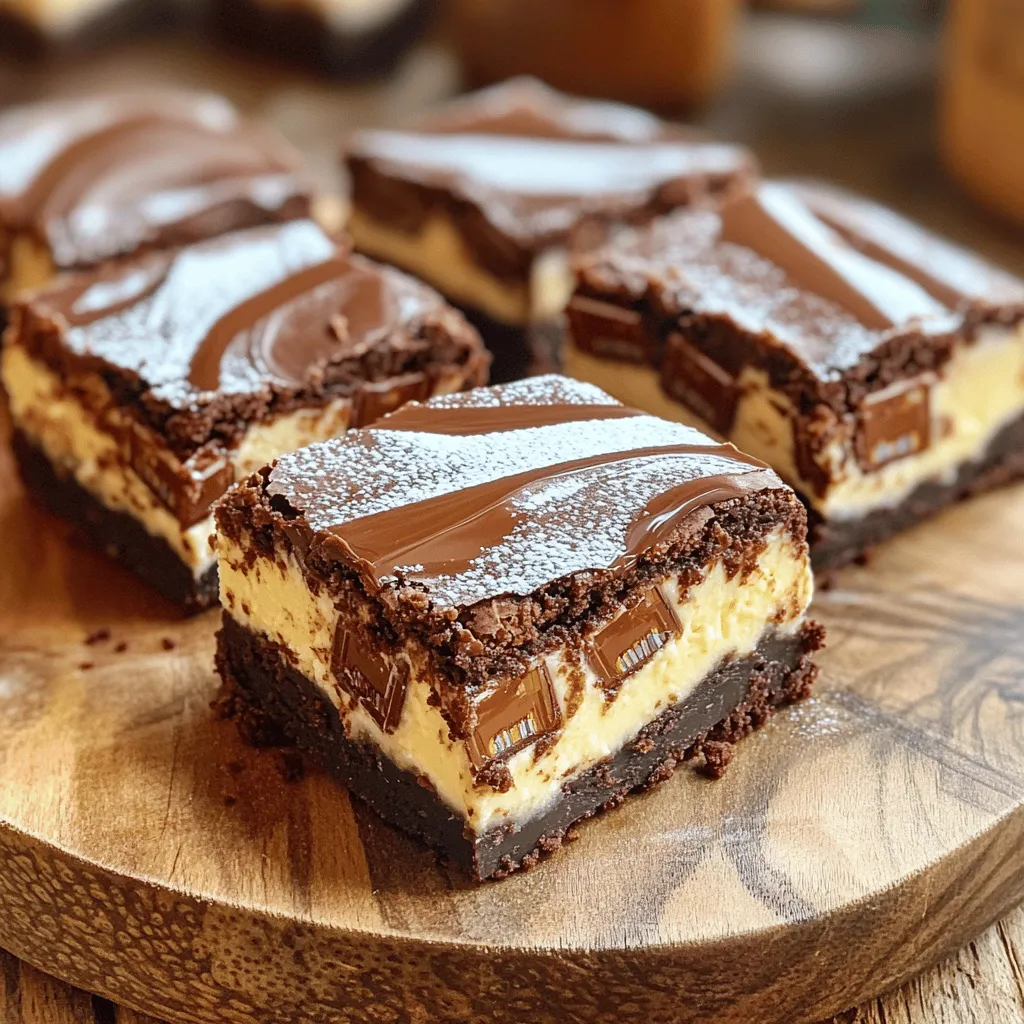
Milky Way Cheesecake Brownies Irresistible Dessert Delight
Are you ready for a dessert that will make your taste buds dance? Milky Way Cheesecake Brownies are the perfect blend of creamy cheesecake and
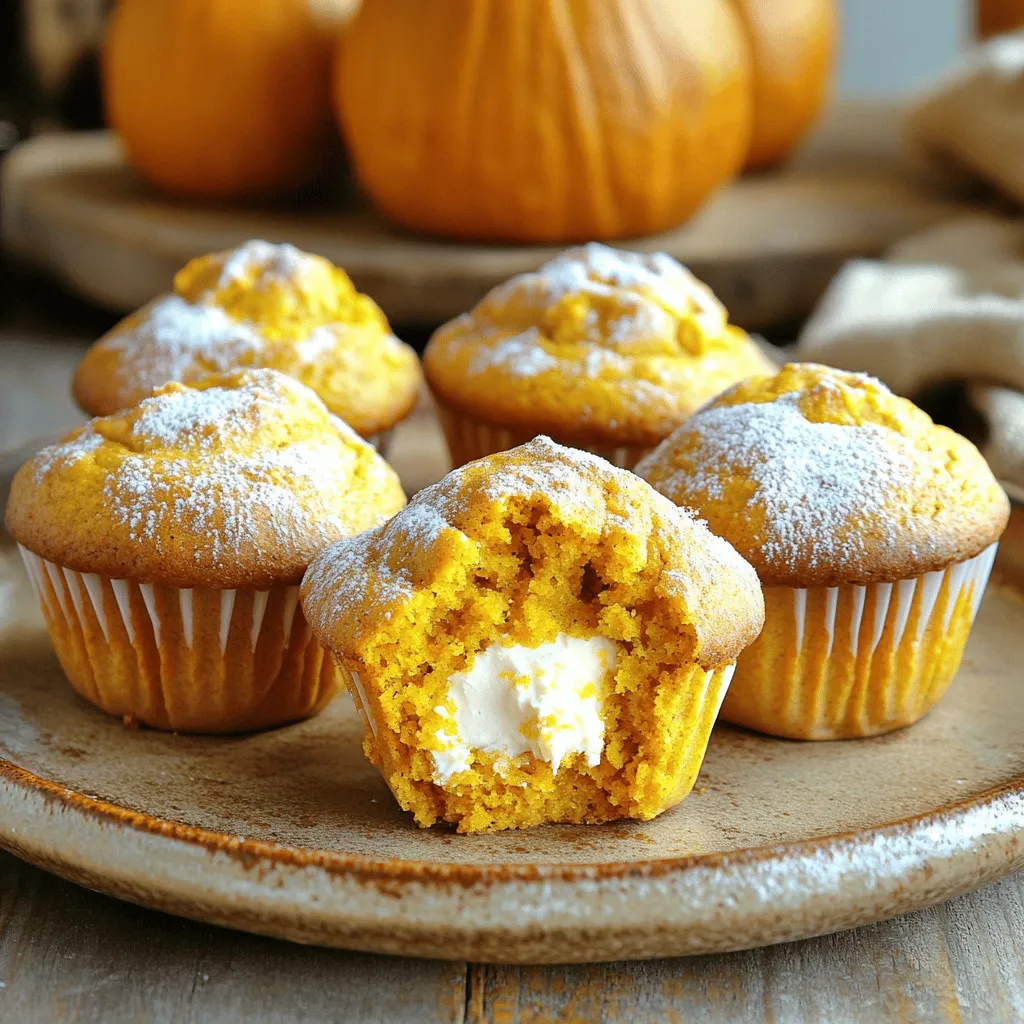
Pumpkin Cream Cheese Muffins Irresistible and Simple
Do you crave the warm, cozy taste of fall? You’re in for a treat with these Pumpkin Cream Cheese Muffins! They are simple to make