Desserts
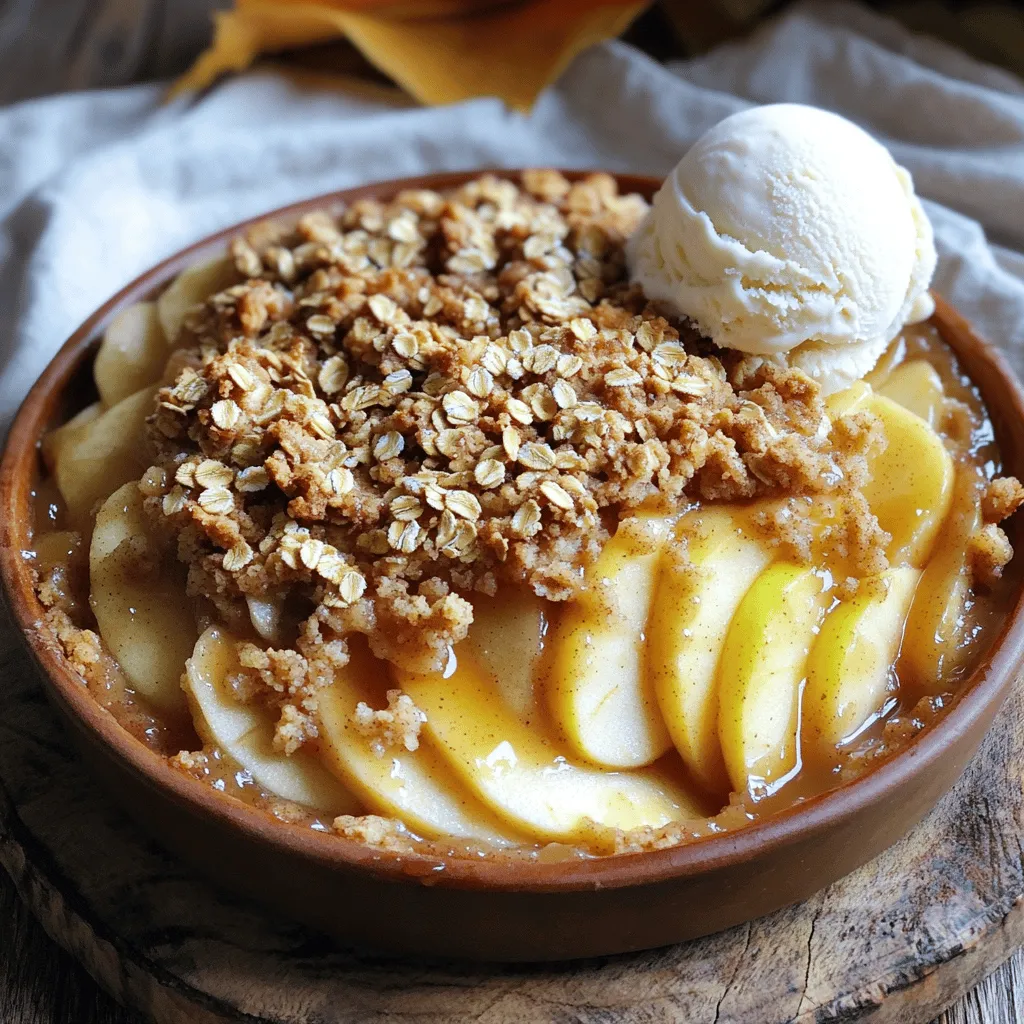
Easy Apple Crumble Delightful and Simple Dessert
Are you craving a warm dessert that’s simple to whip up? Try my Easy Apple Crumble! With just a few fresh ingredients, you can create
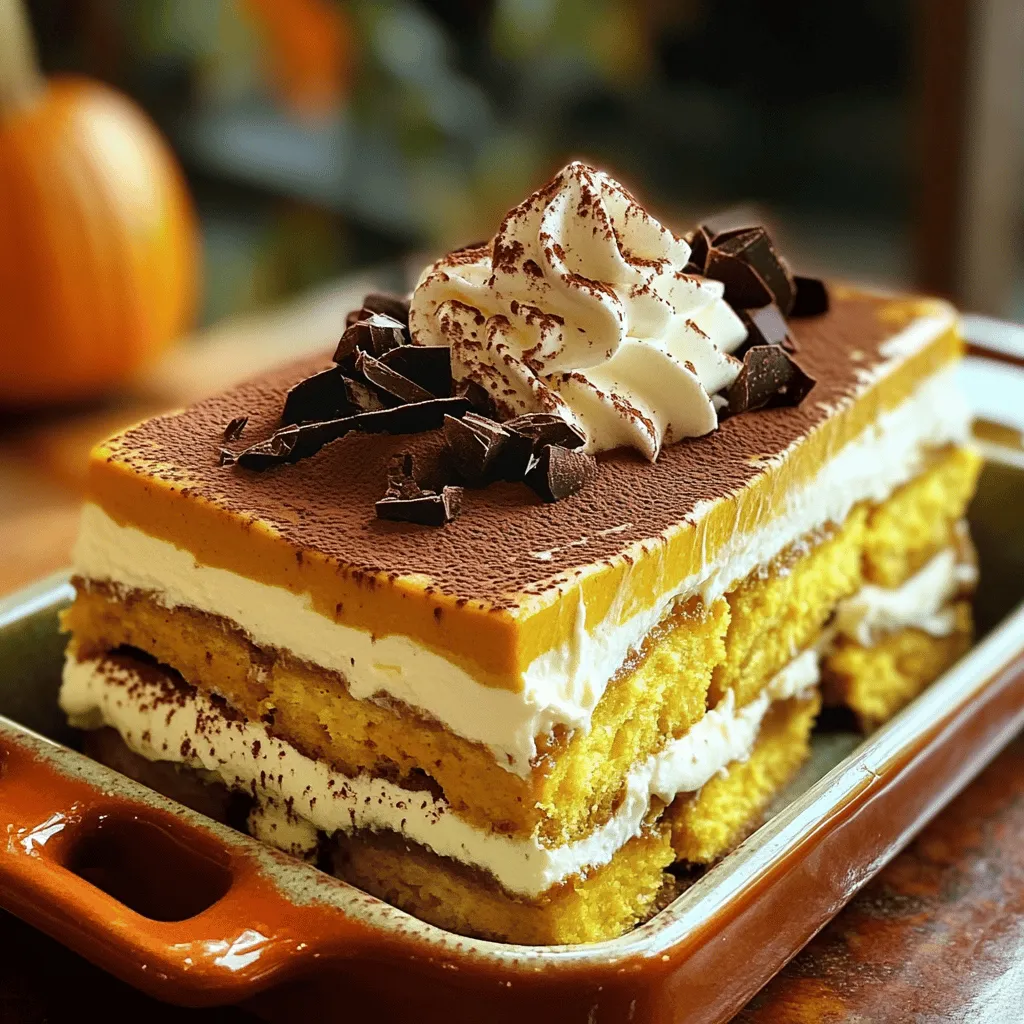
Pumpkin Spice Tiramisu Delicious Fall Dessert Delight
Fall is here, and what better way to celebrate than with Pumpkin Spice Tiramisu? This delightful dessert combines rich flavors of coffee, pumpkin, and cream,
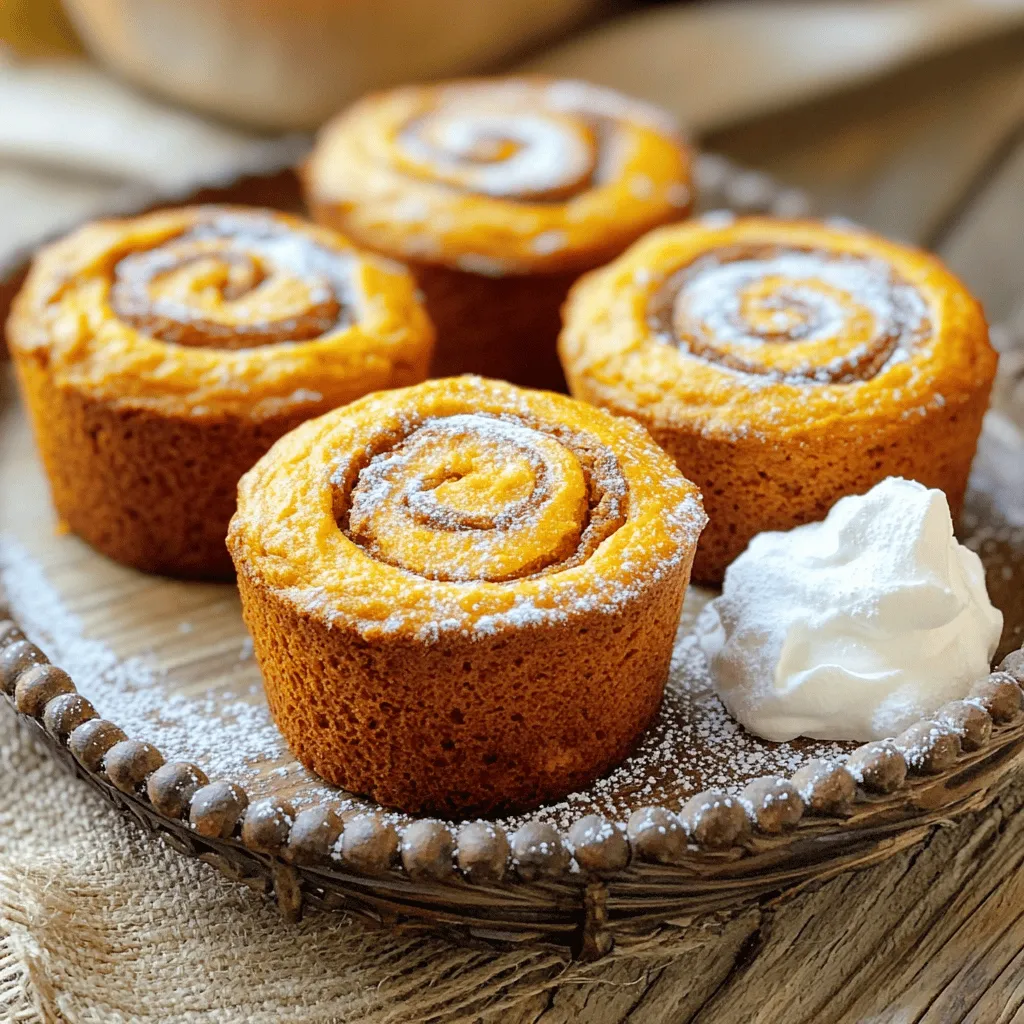
Mini Pumpkin Bread with Cinnamon Swirl Delight
Get ready to spice up your baking with my Mini Pumpkin Bread with Cinnamon Swirl Delight! This recipe is simple, fun, and perfect for any
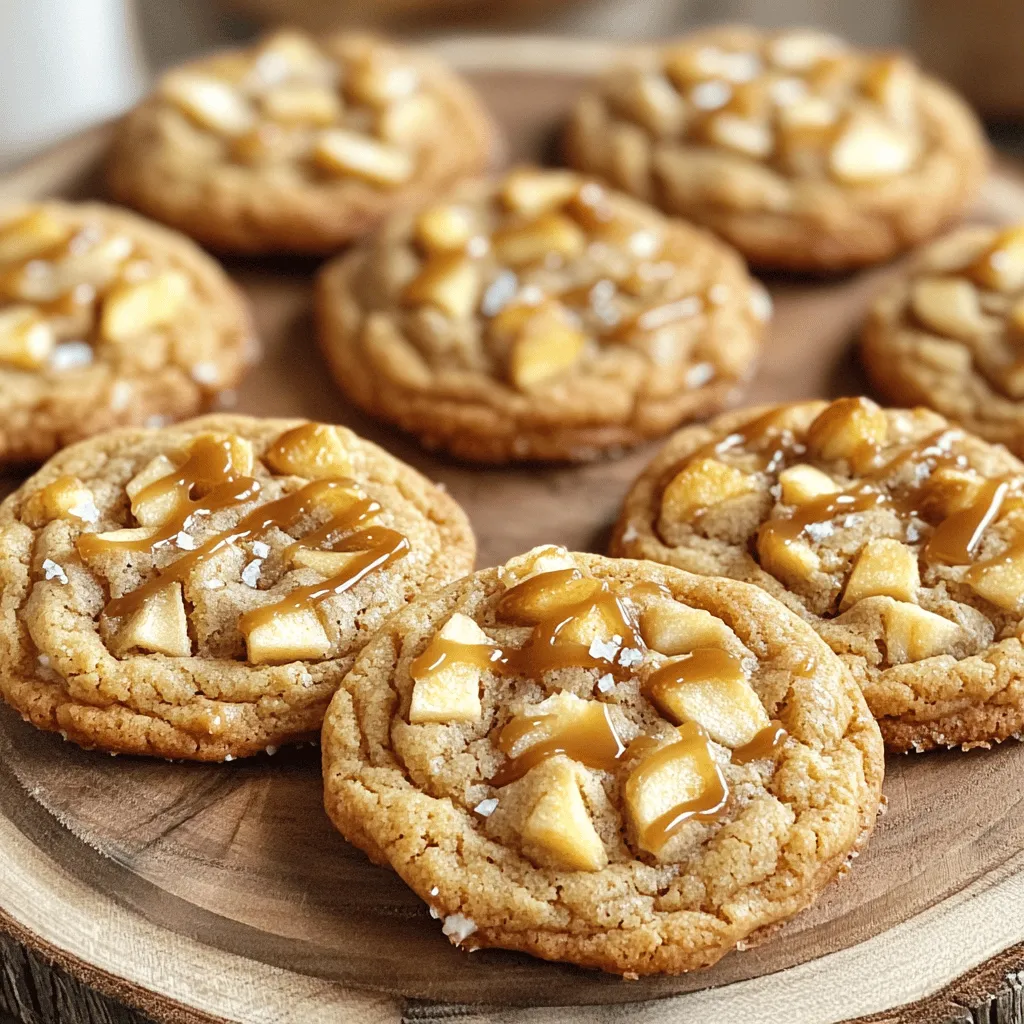
Caramel Apple Cookies Delightful and Easy Recipe
Are you ready to enjoy a sweet twist on a classic treat? In this article, I’ll share my simple and delicious recipe for Caramel Apple
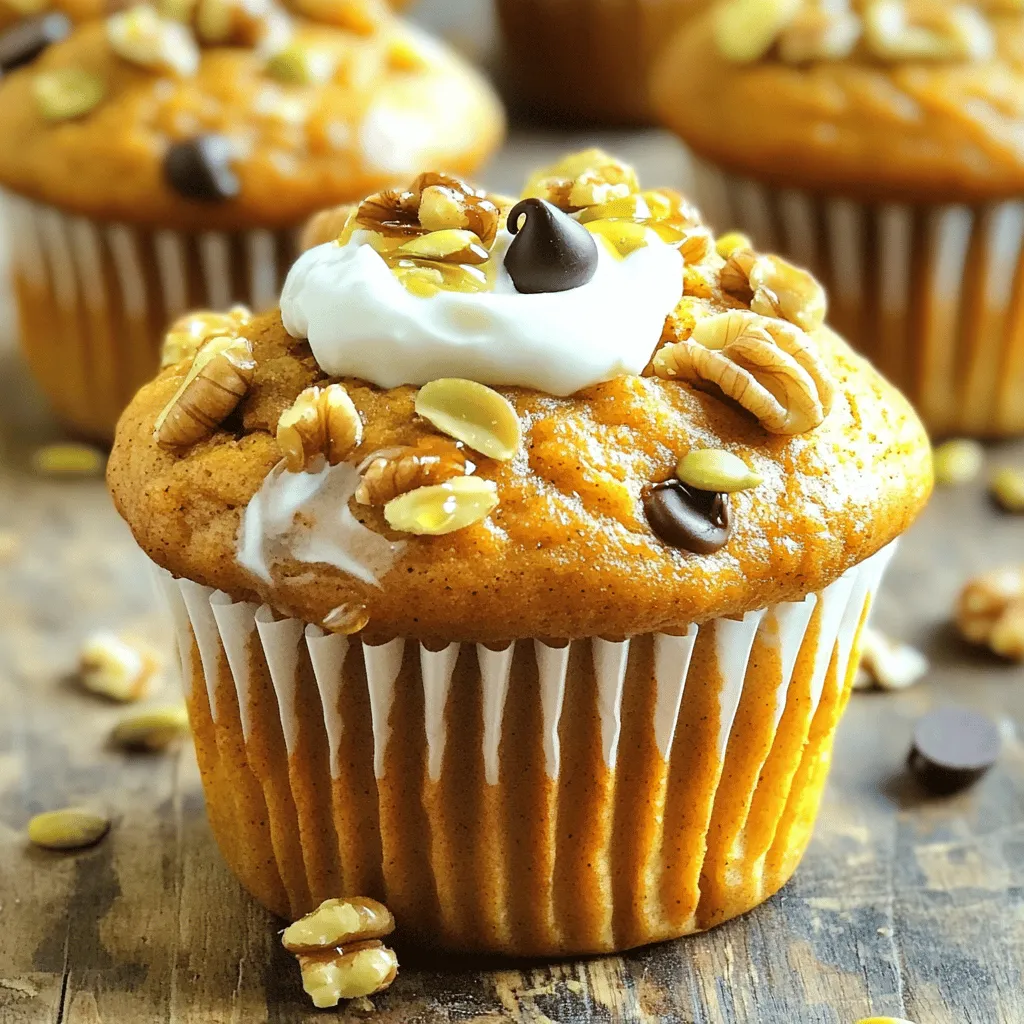
Protein Packed Greek Yogurt Pumpkin Muffins Delight
Looking for a delicious, healthy snack? Try my Protein Packed Greek Yogurt Pumpkin Muffins! These muffins are easy to make and loaded with protein from
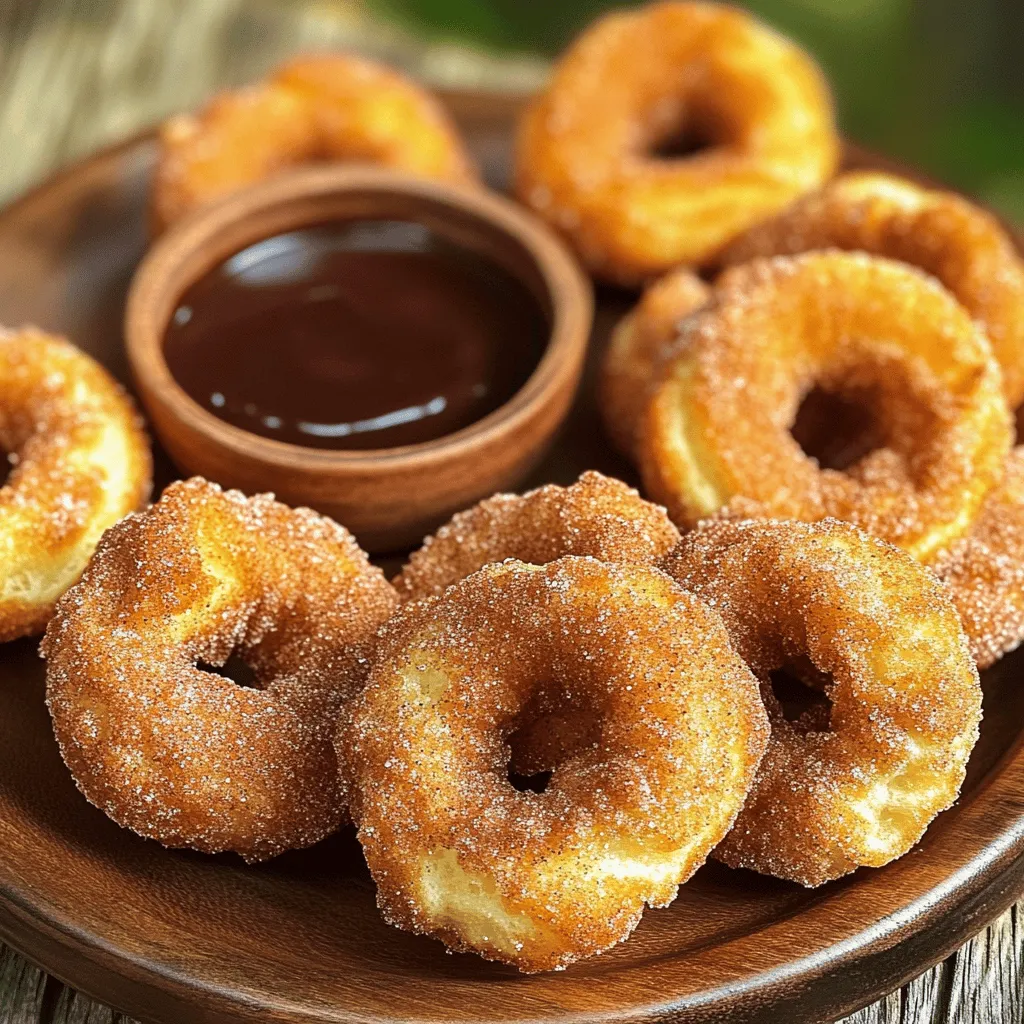
Churro Donut Bites Irresistible Sweet Treat Recipe
Craving a sweet treat that combines the best of churros and donuts? Look no further! In this blog post, I’ll share my irresistible recipe for
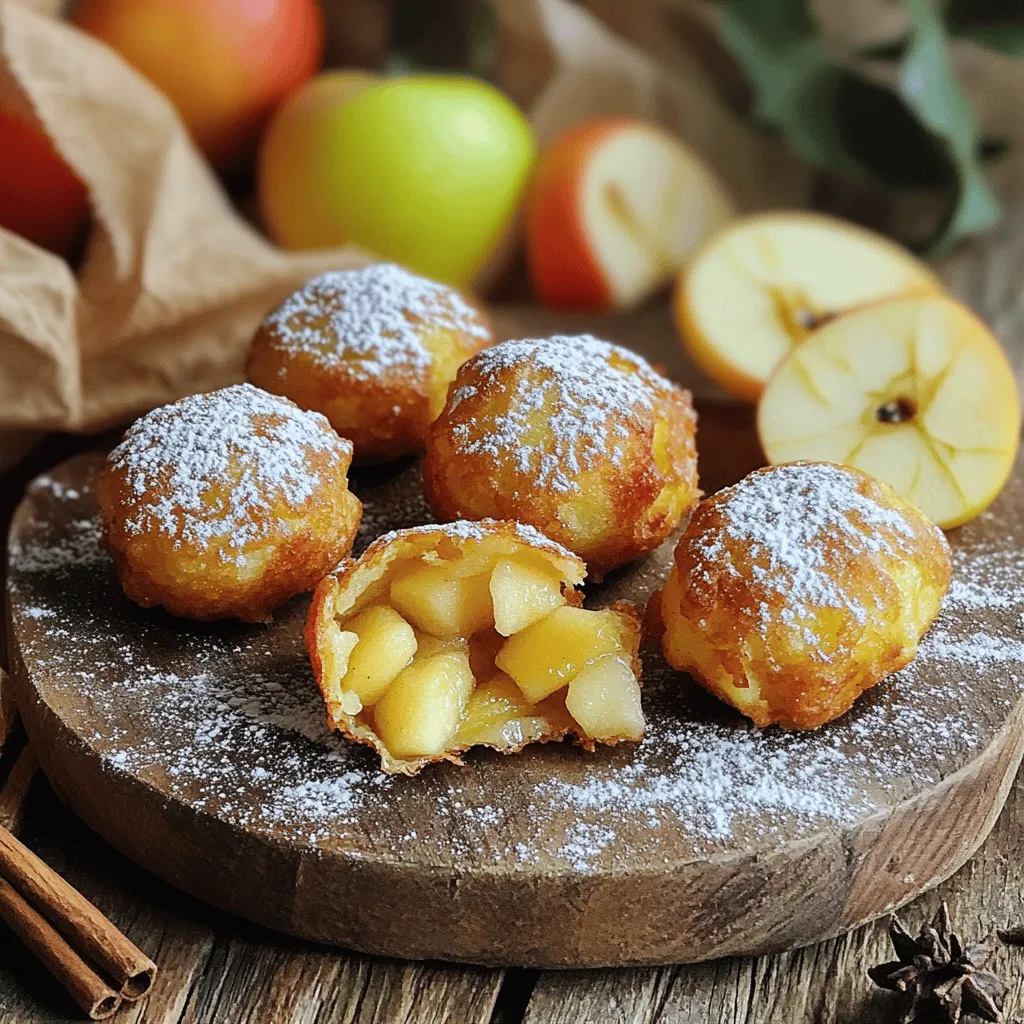
Apple Fritter Bites Delightfully Simple Treat Recipe
Craving a sweet, crunchy treat? Let’s make Apple Fritter Bites! This delightfully simple recipe transforms fresh apples into bites of joy. Easy and fun, you
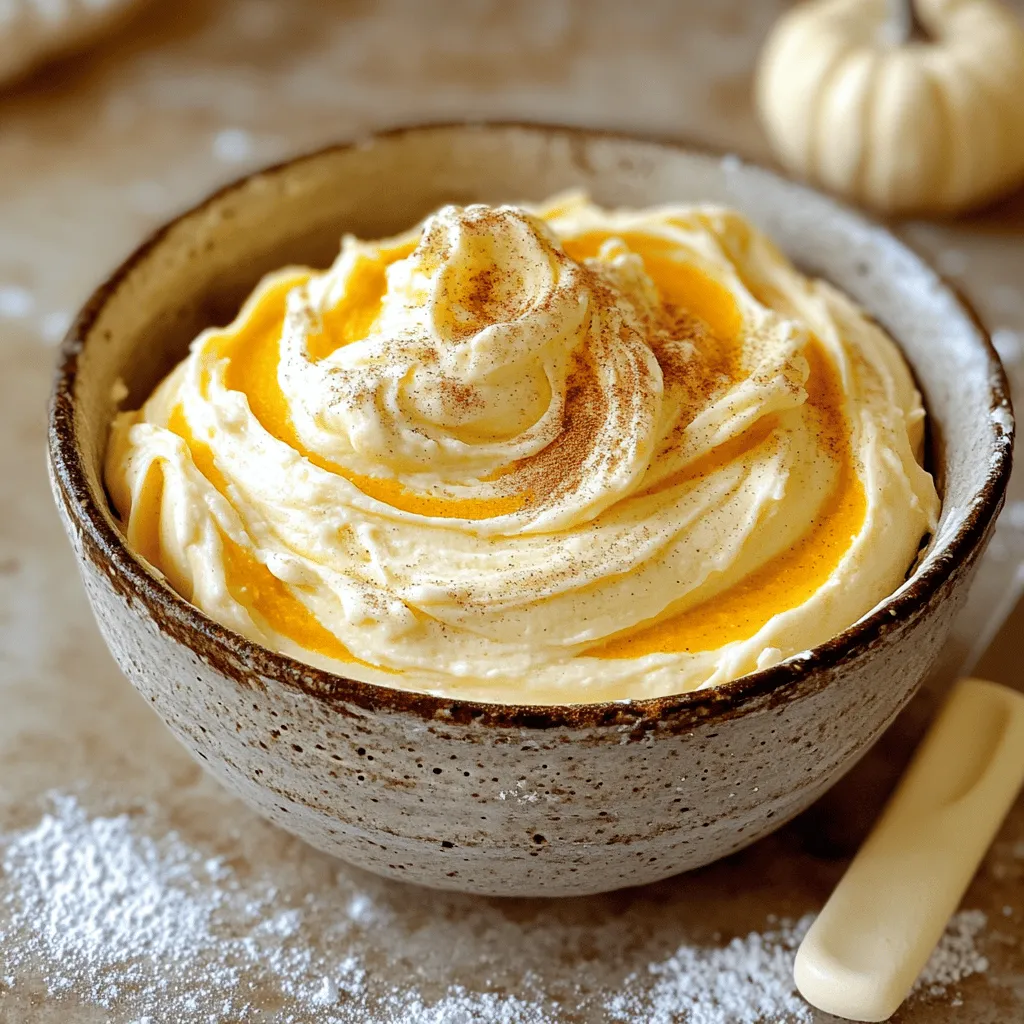
Pumpkin Cream Cheese Frosting Rich and Creamy Delight
Are you ready to elevate your fall baking game? Pumpkin cream cheese frosting is here to add a rich and creamy delight to your treats.
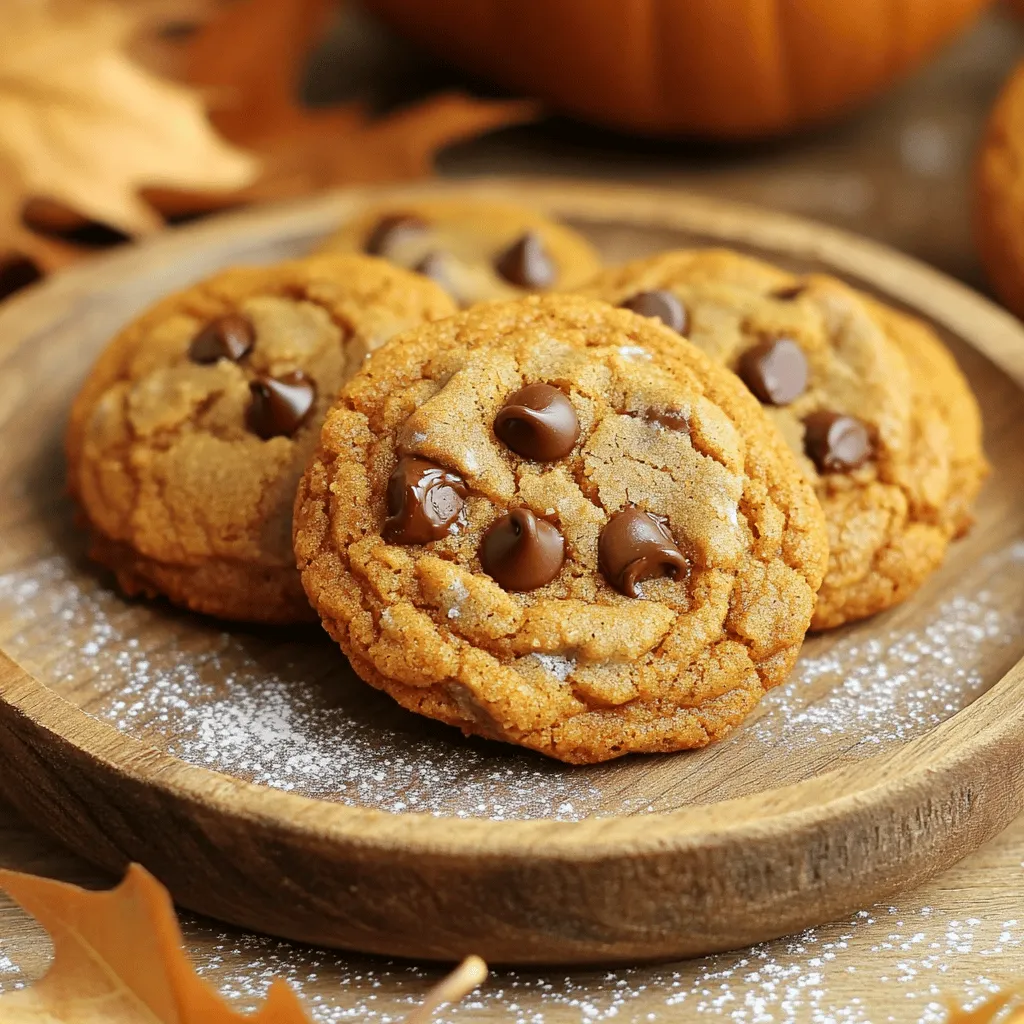
Chewy Pumpkin Cookies Delightful and Simple Treat
Fall is the perfect time to bake, and chewy pumpkin cookies are a must-try! With a warm, spiced flavor and soft texture, these cookies are

Gooey Apple Brownies Irresistible Homemade Delight
Are you ready to sink your teeth into a sweet, gooey treat? These Gooey Apple Brownies are an irresistible homemade delight that combines rich chocolate