Desserts
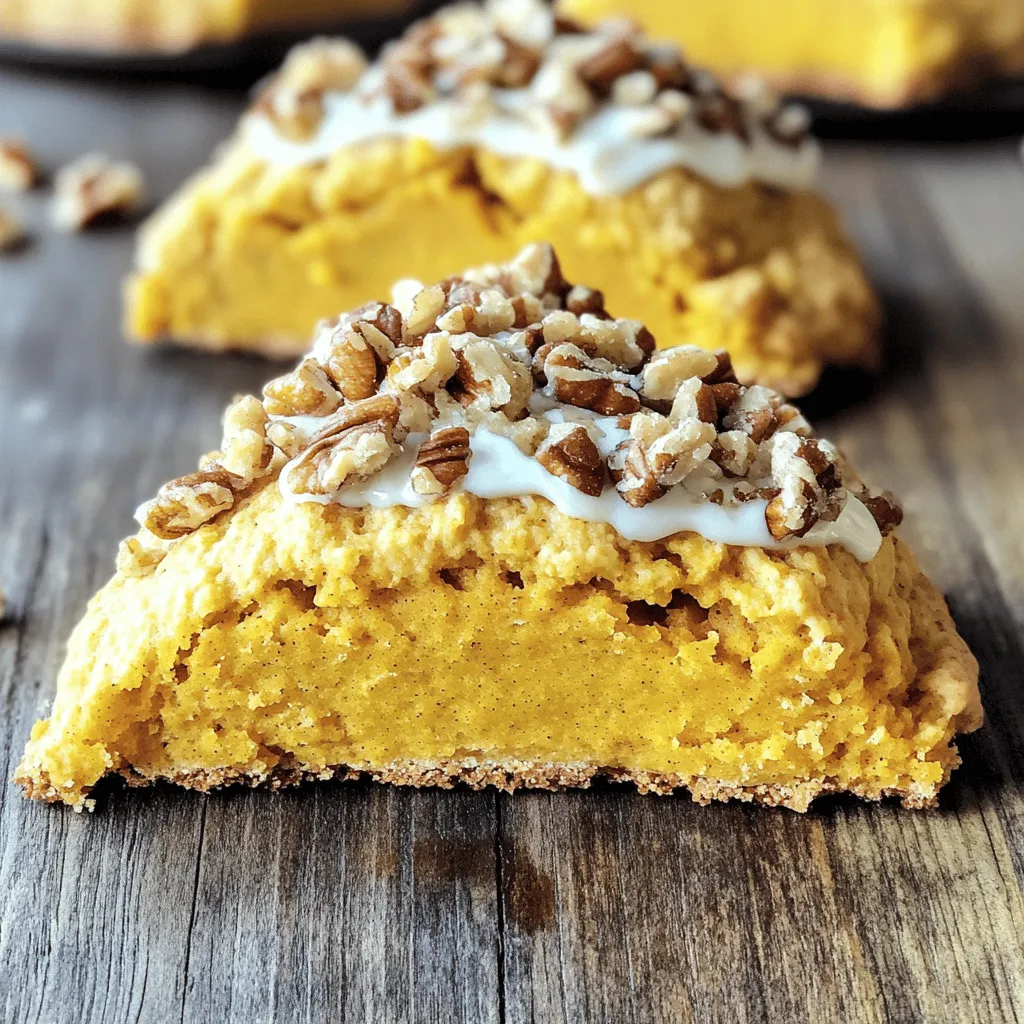
Maple Pecan Pumpkin Scones Delightful Fall Flavor
Fall is here, and what better way to celebrate than with Maple Pecan Pumpkin Scones? These delightful treats blend warm spices, nutty pecans, and maple
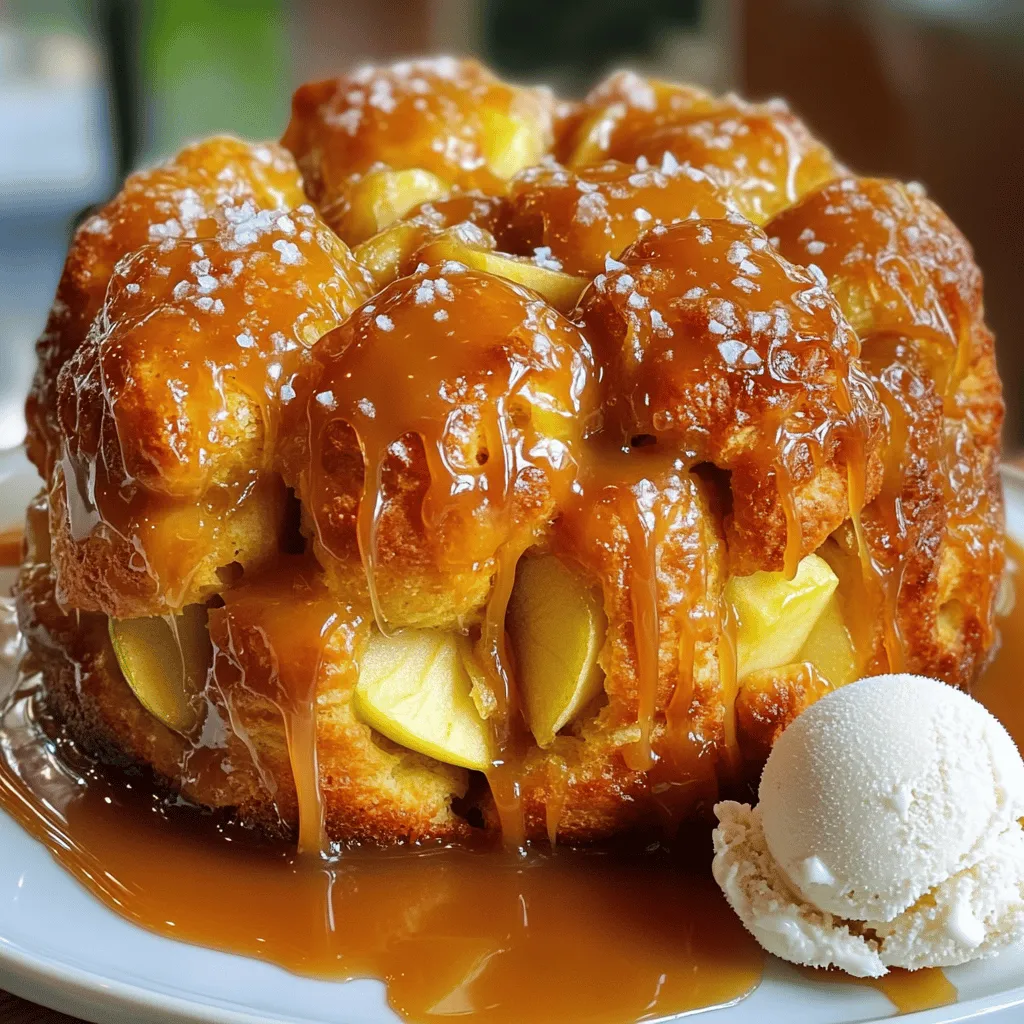
Gooey Salted Caramel Apple Monkey Bread Delight
Get ready to indulge in a treat that’s both fun to make and absolutely delicious! My Gooey Salted Caramel Apple Monkey Bread Delight combines fluffy
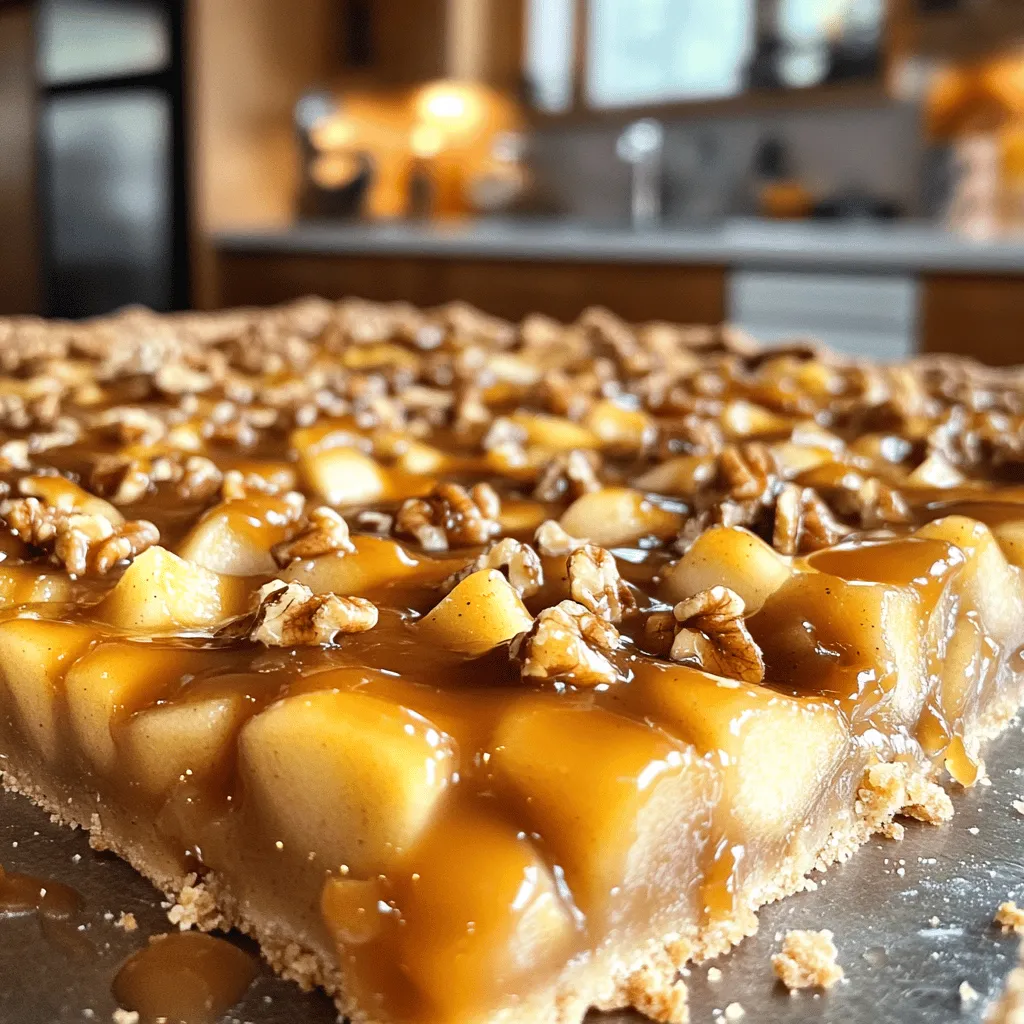
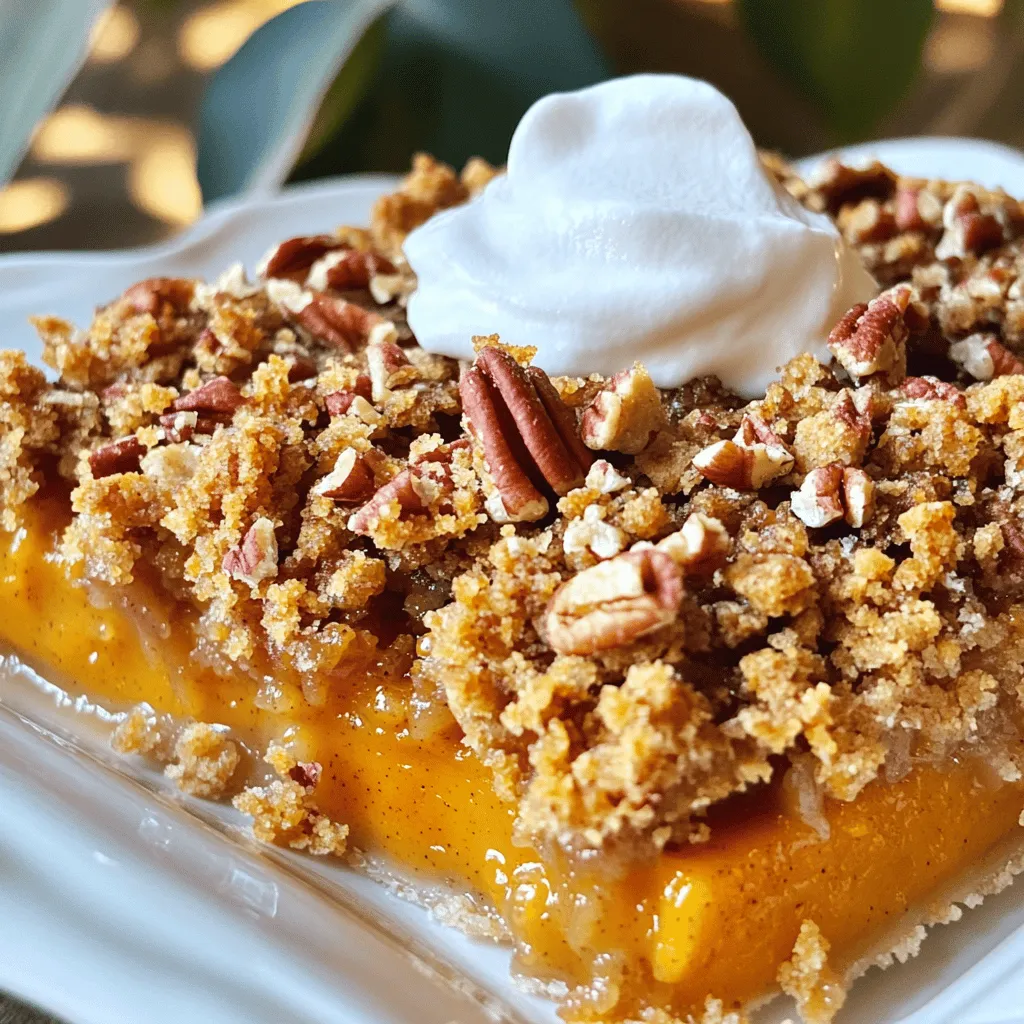
Caramel Apple Pie Bars Tasty and Easy Recipe
Ready to indulge in a dessert that combines the warmth of apple pie with the sweetness of caramel? In this article, I’ll guide you through

Chocolate Chip Banana Bread Muffins Fresh and Tasty
If you love the warm, sweet aroma of banana bread and the rich taste of chocolate, you’re in for a treat! I’m excited to share
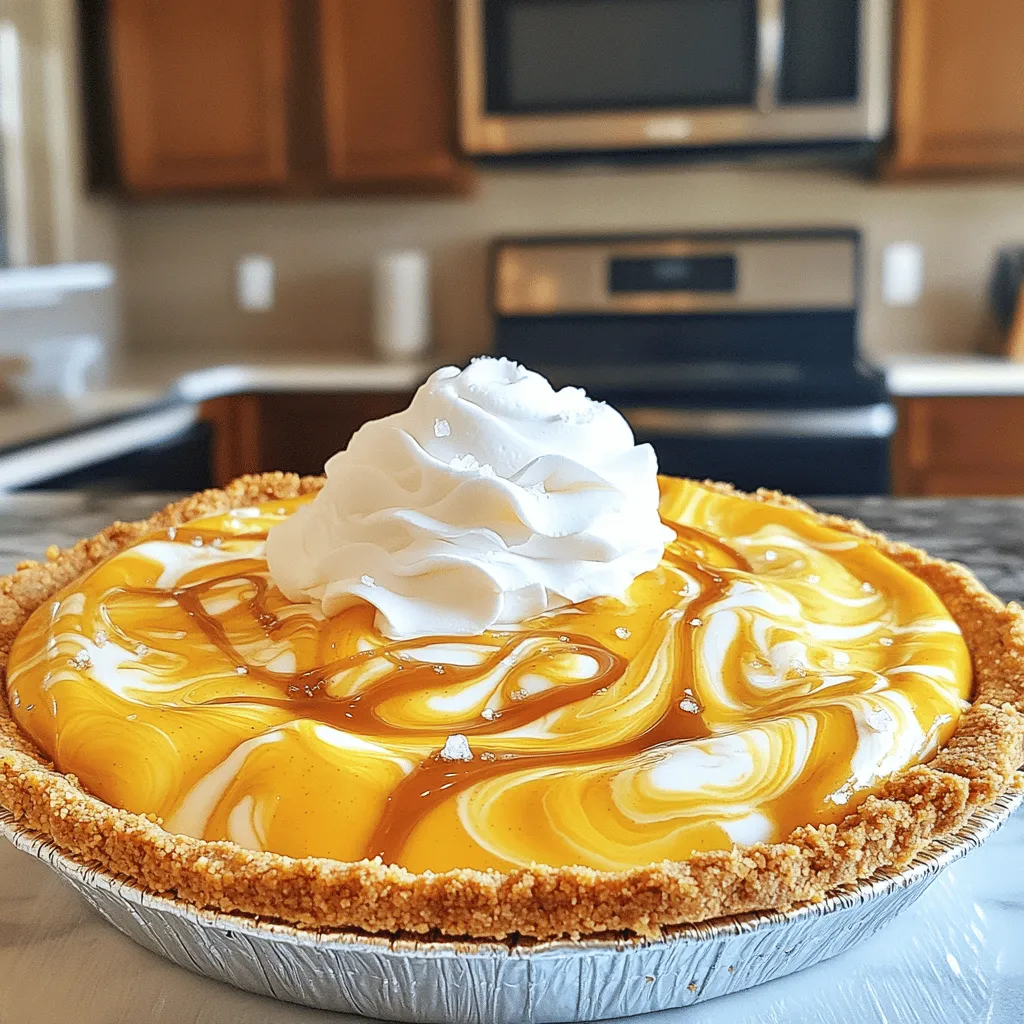
No-Bake Salted Caramel Pumpkin Pie Delight Recipe
Get ready to impress your guests with my No-Bake Salted Caramel Pumpkin Pie Delight! This sweet treat combines rich pumpkin flavor with a touch of
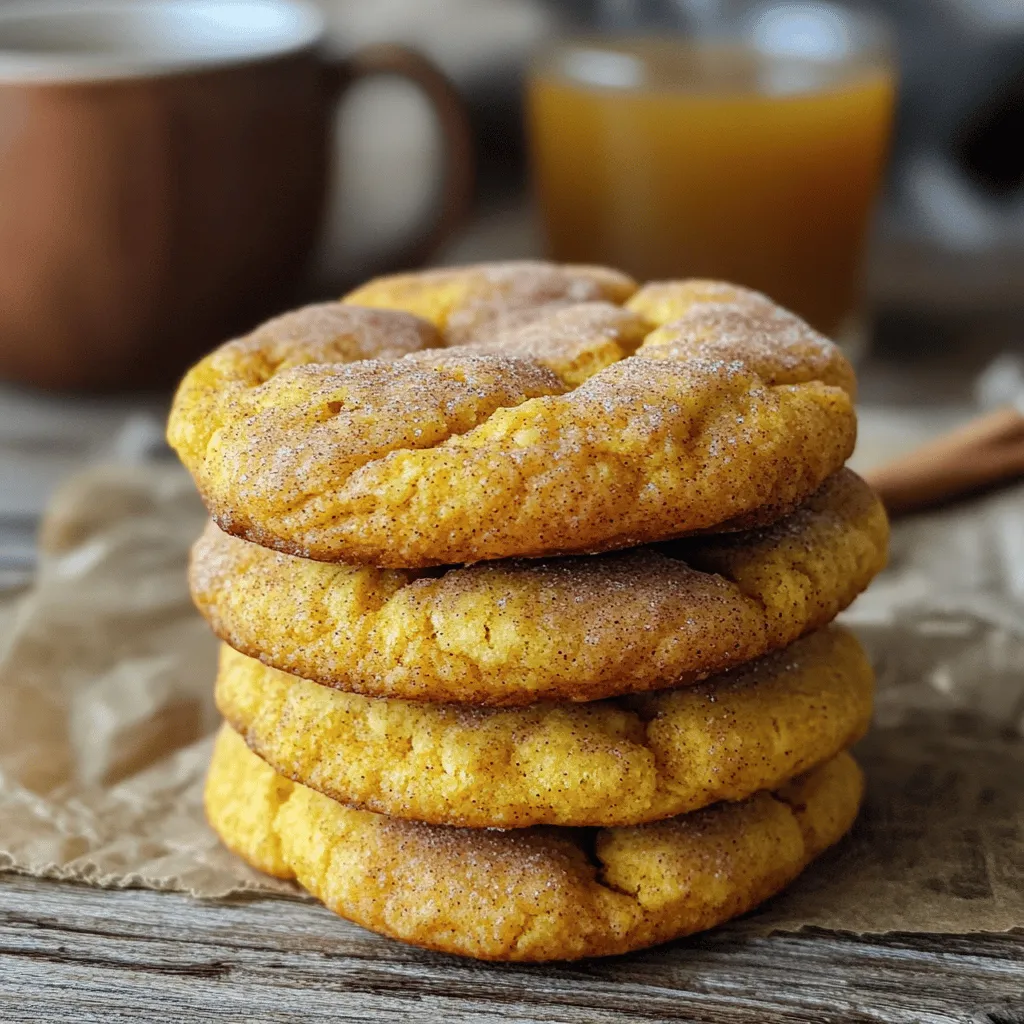
Brown Butter Pumpkin Snickerdoodles Irresistible Treat
If you love the warm flavors of fall, you’ll adore these Brown Butter Pumpkin Snickerdoodles! This treat blends nutty browned butter with spiced pumpkin, resulting
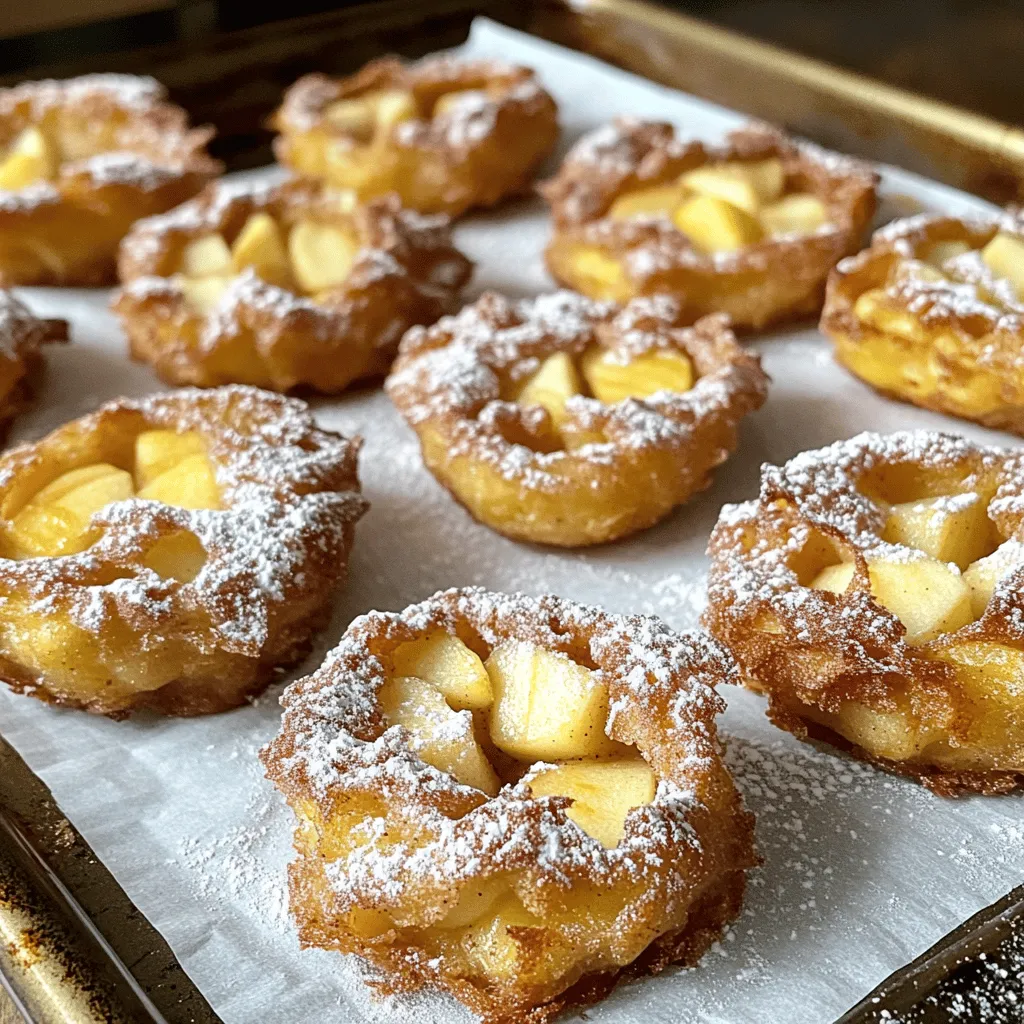
Baked Apple Fritters Tasty and Easy to Make
Craving a warm, delicious snack? Look no further! Baked apple fritters are the perfect treat, and they’re easy to make at home. With crispy outsides
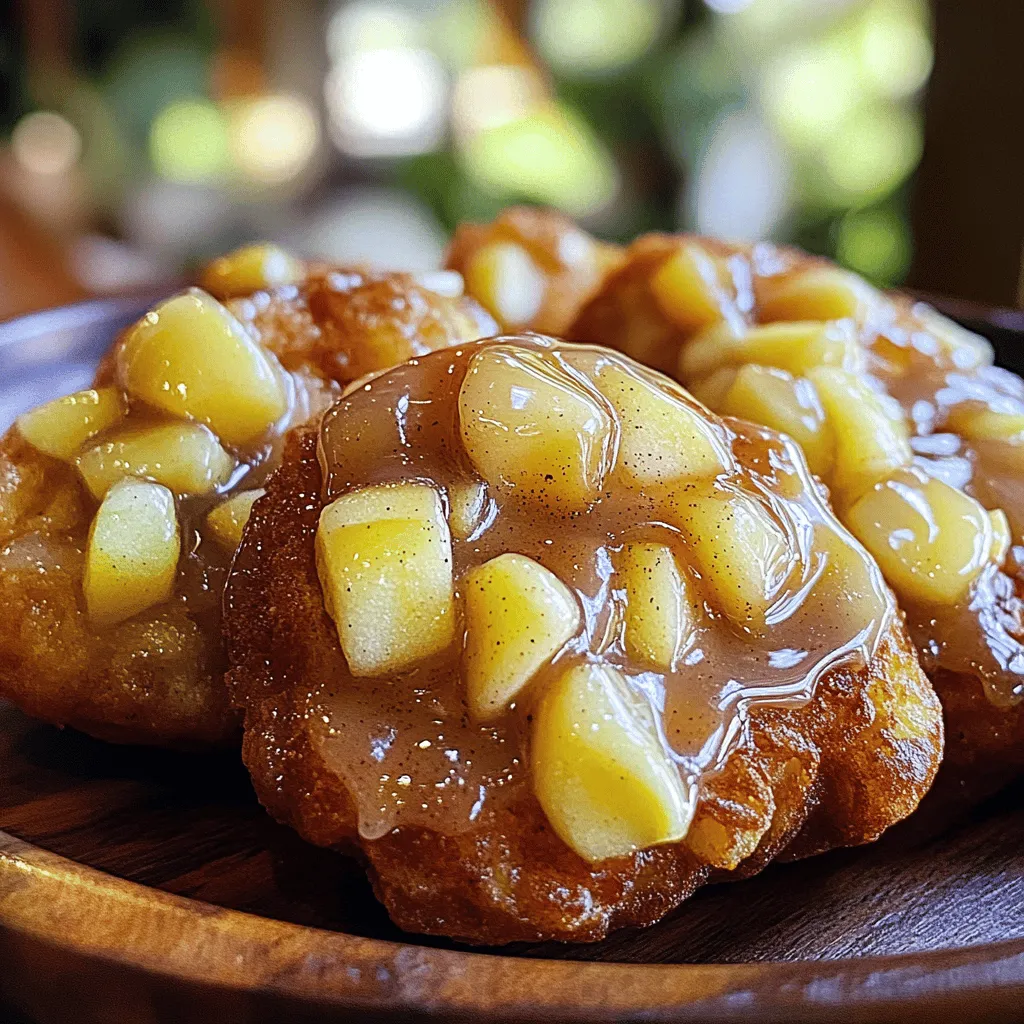
Baked Apple Fritters Delightful and Easy Recipe
Welcome to your new favorite recipe: Baked Apple Fritters! These delightful treats are easy to make and delicious to eat. Packed with fresh apples, warm
Pumpkin Pie Crisp Delicious Fall Dessert Recipe
If you love fall flavors, you’ll adore this Pumpkin Pie Crisp recipe. It combines pumpkin puree, warm spices, and a crunchy topping for a dessert
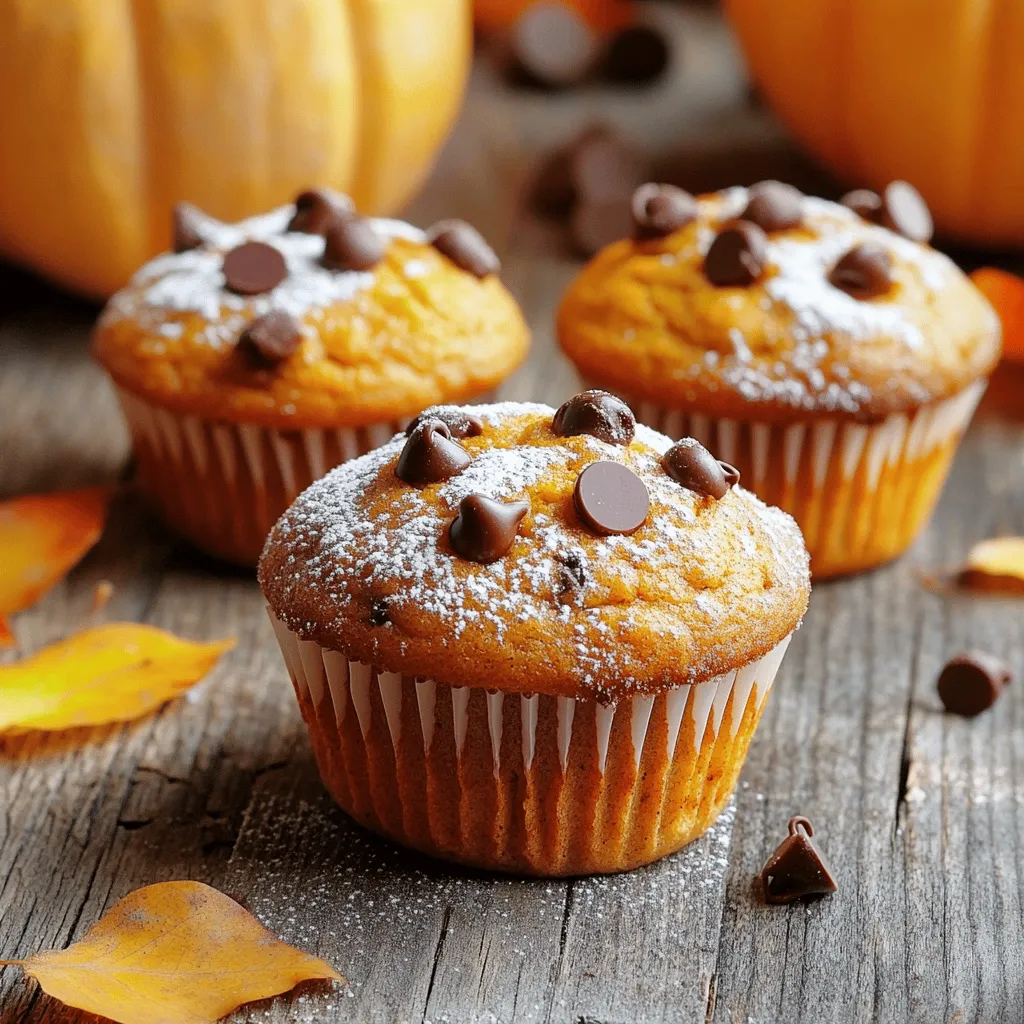
Best Ever Pumpkin Muffins Simple and Tasty Recipe
Are you ready to bake the best ever pumpkin muffins? This simple recipe combines sweet pumpkin puree with warm spices, making a treat you can’t