Desserts
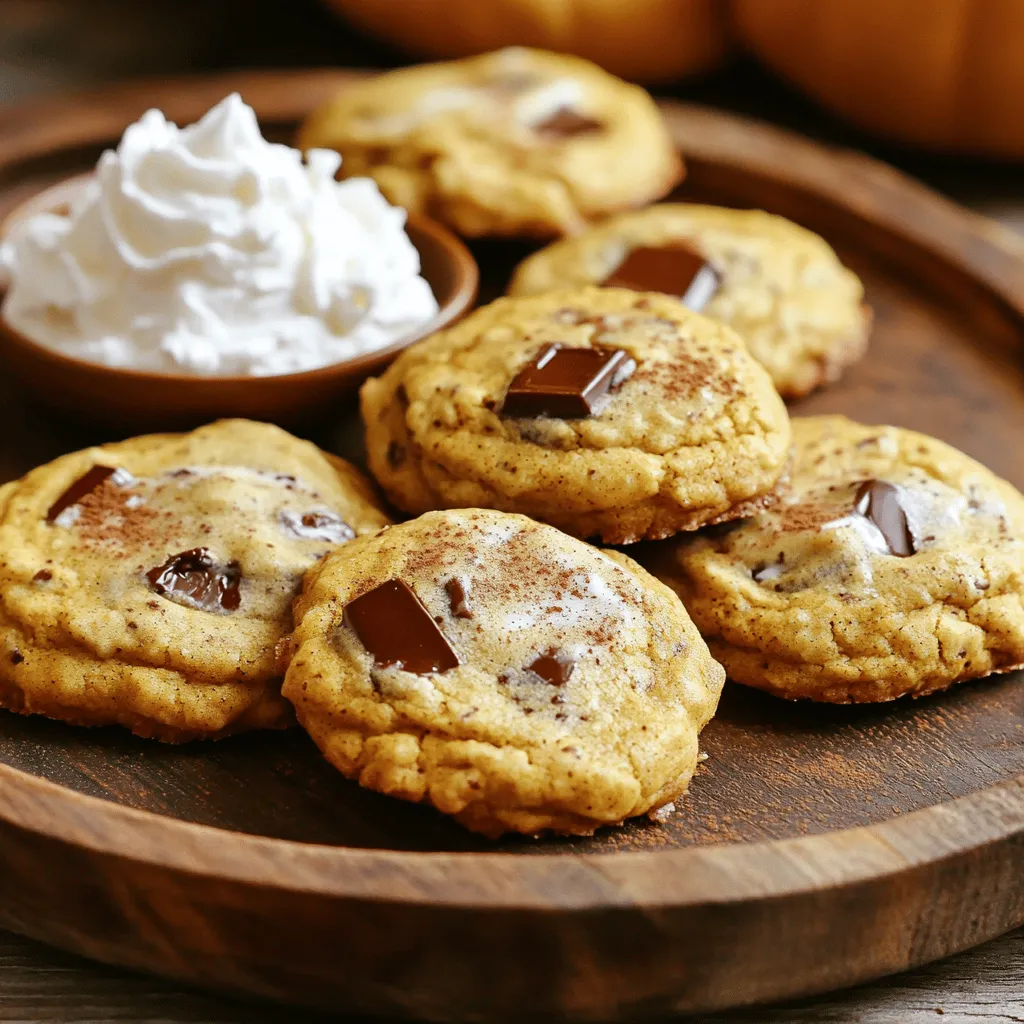
Vegan Pumpkin Pie Cookies Delightful and Easy Recipe
If you love pumpkin and cookies, you’re in for a treat! My Vegan Pumpkin Pie Cookies are easy to make and full of flavor. They
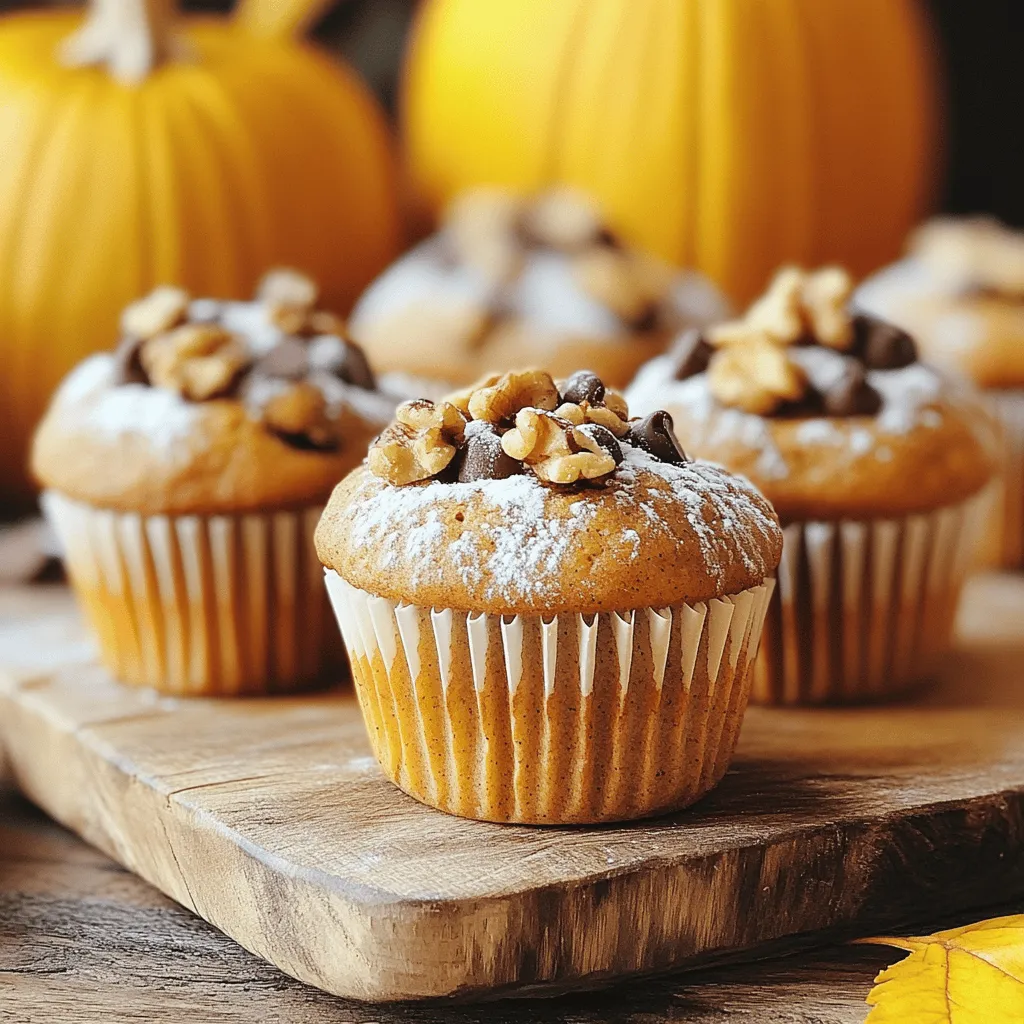
Pumpkin Cinnamon Muffins Delightfully Simple Recipe
Fall is here, and so is the craving for warm, cozy treats! You’ll love these Pumpkin Cinnamon Muffins. They are quick and easy to make,
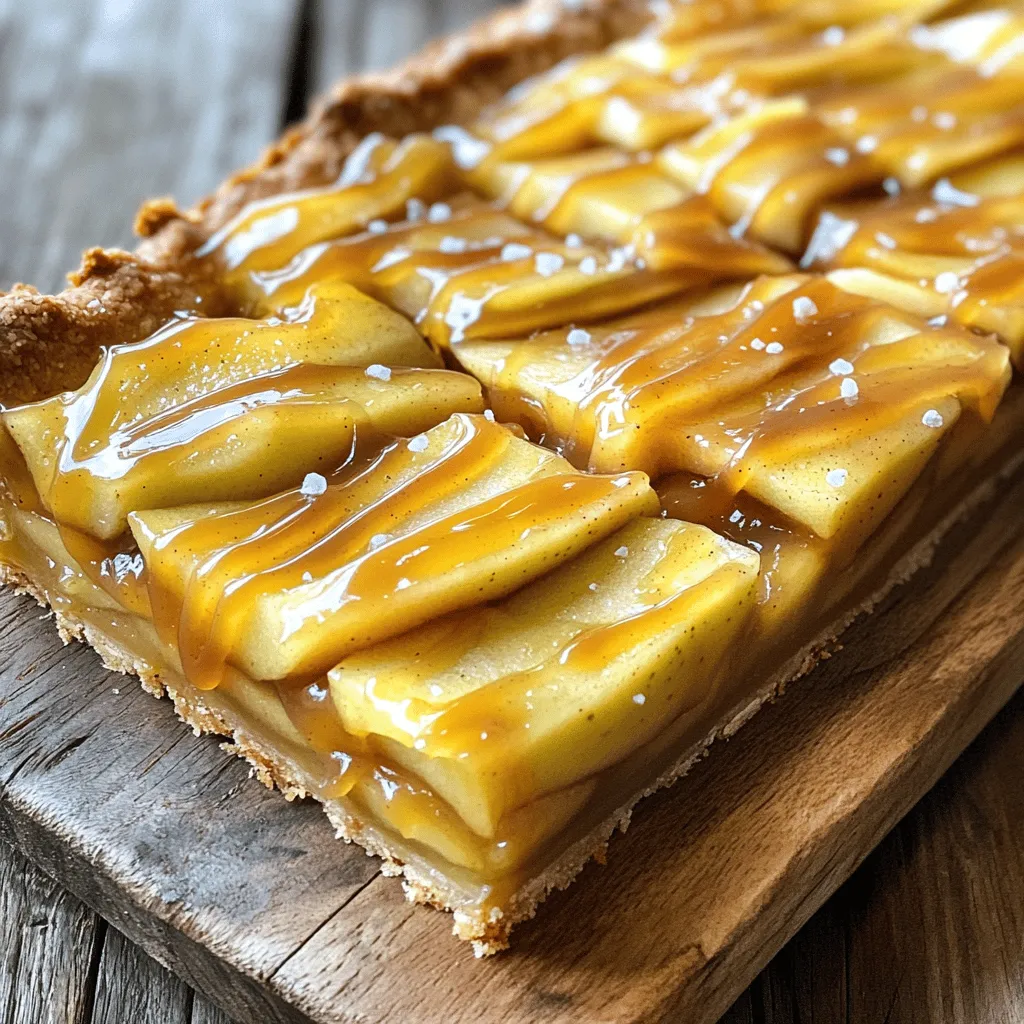
Salted Caramel Apple Pie Bars Delightful Flavor Combo
Looking for a dessert that blends sweet and salty in every bite? Salted Caramel Apple Pie Bars hit the mark perfectly. With a buttery crust,
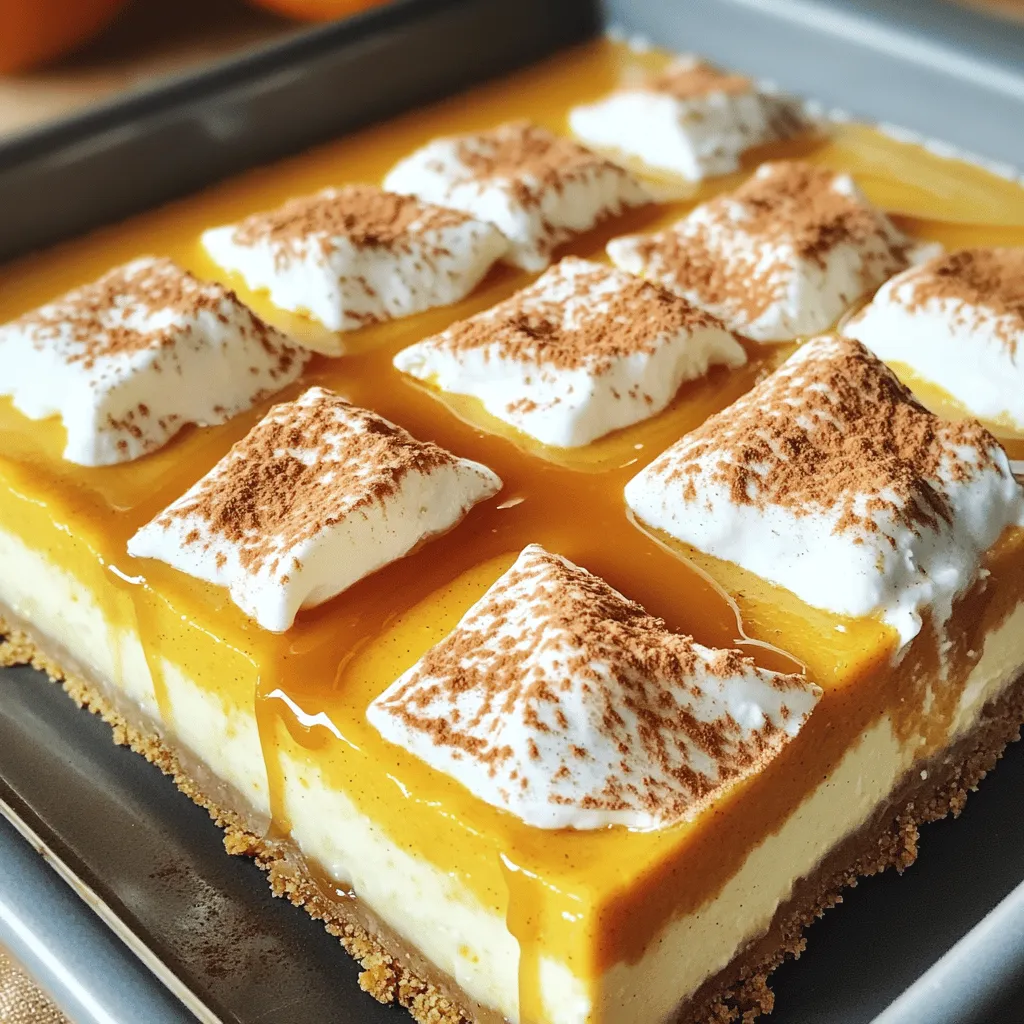
No-Bake Pumpkin Cheesecake Bars Simple and Delicious
If you’re looking for a sweet treat that captures all the fall vibes, these No-Bake Pumpkin Cheesecake Bars are for you! Simple and delicious, they
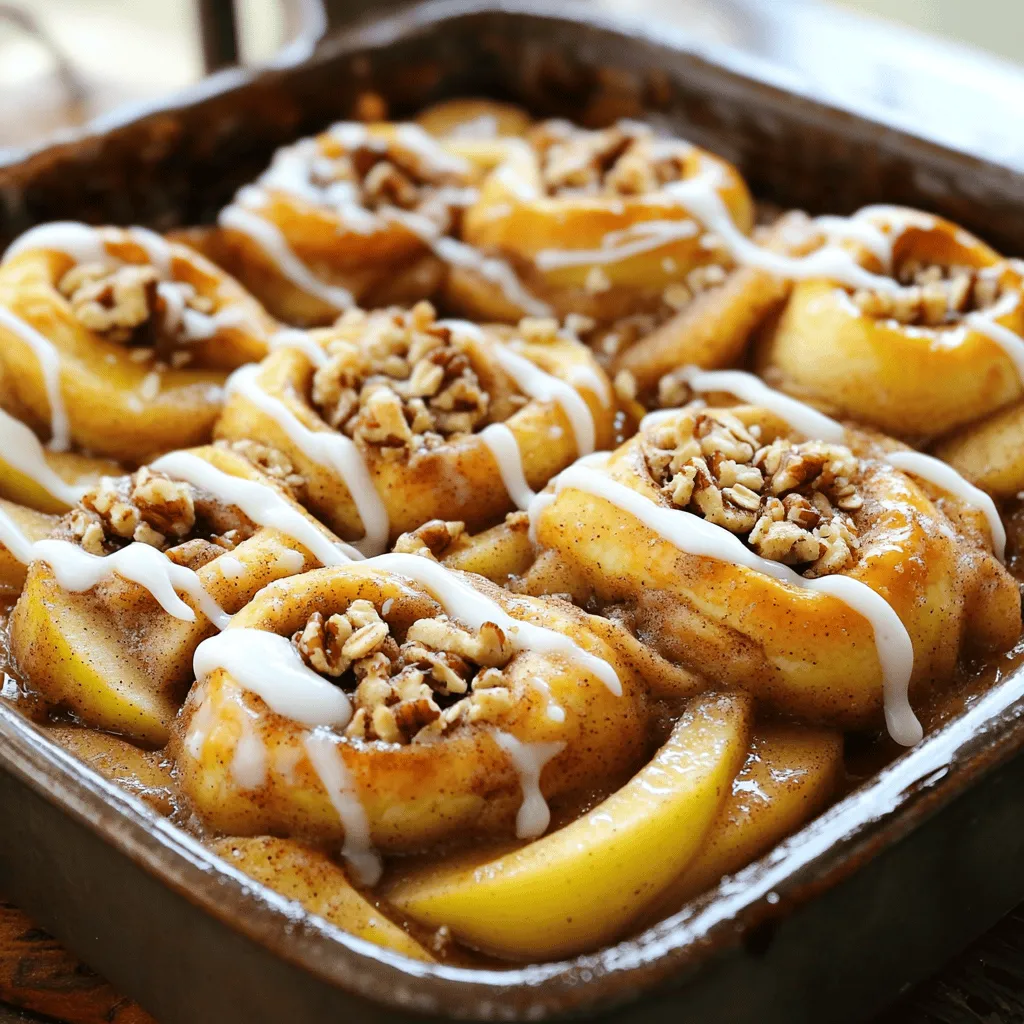
Cinnamon Roll Apple Cobbler Delicious and Easy Recipe
Are you ready to indulge in a warm, sweet treat that’s super easy to make? Let me introduce you to Cinnamon Roll Apple Cobbler! This

Jumbo Vegan Bakery Muffins Delightful and Easy Recipe
Are you ready to bake some jumbo vegan bakery muffins that taste amazing? This easy recipe will guide you step by step to create fluffy,
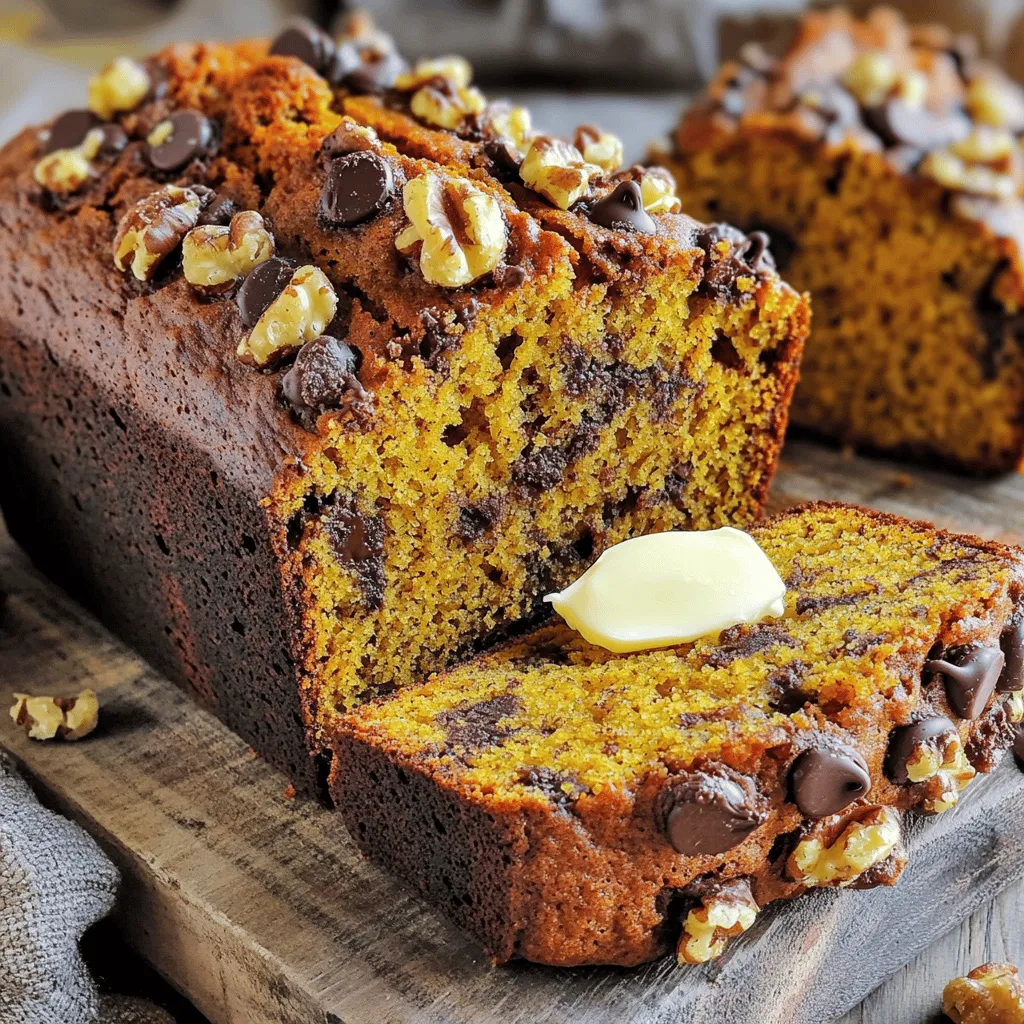
Pumpkin Banana Bread Powerful and Tasty Recipe
Are you ready to bake something amazing? My Pumpkin Banana Bread is not only powerful in flavor but also super tasty! This recipe combines the

Chocolate Chip Banana Bread Muffins Simple Recipe
Are you ready to bake something amazing? In this simple recipe for chocolate chip banana bread muffins, I’ll show you how to create a tasty
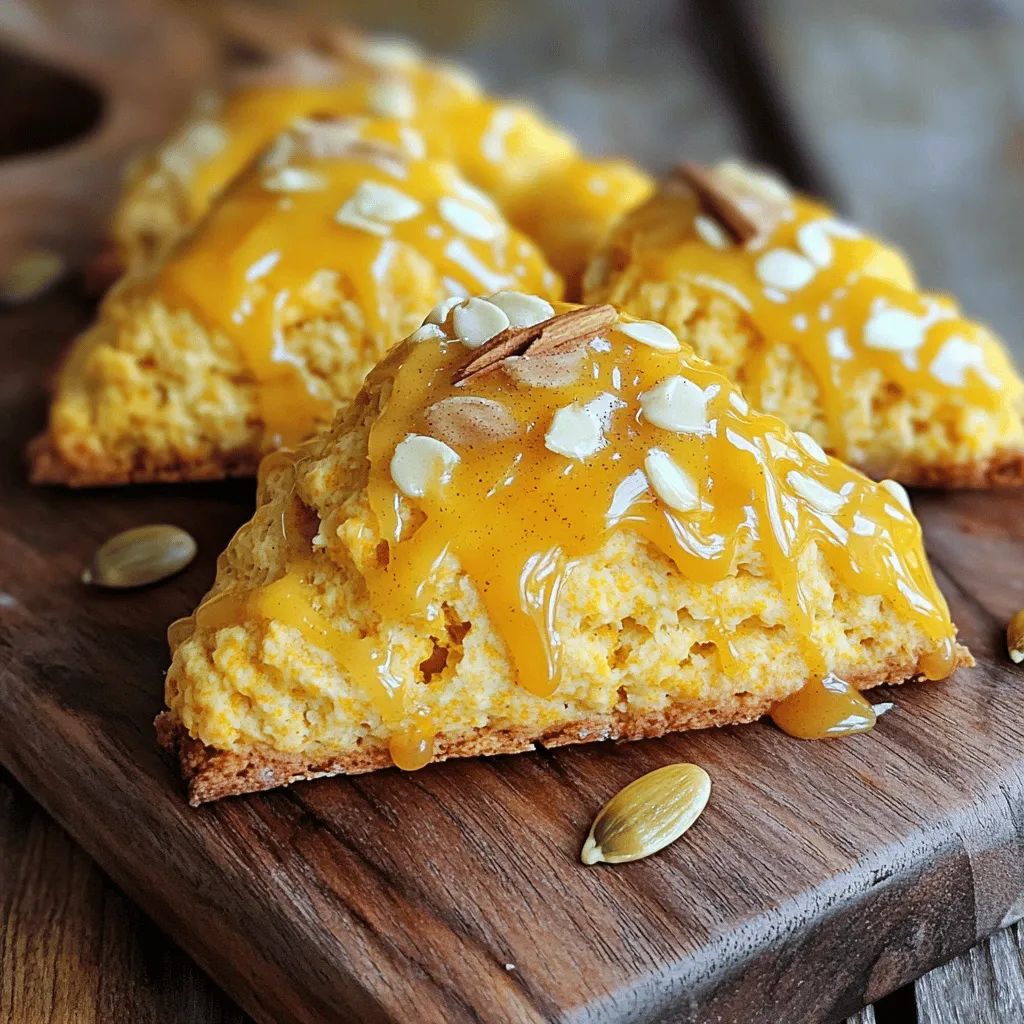
Maple Glazed Pumpkin Scones Easy and Tasty Delight
If you’re craving a warm, sweet treat, you’ve come to the right place! These Maple Glazed Pumpkin Scones are not only easy to make, but
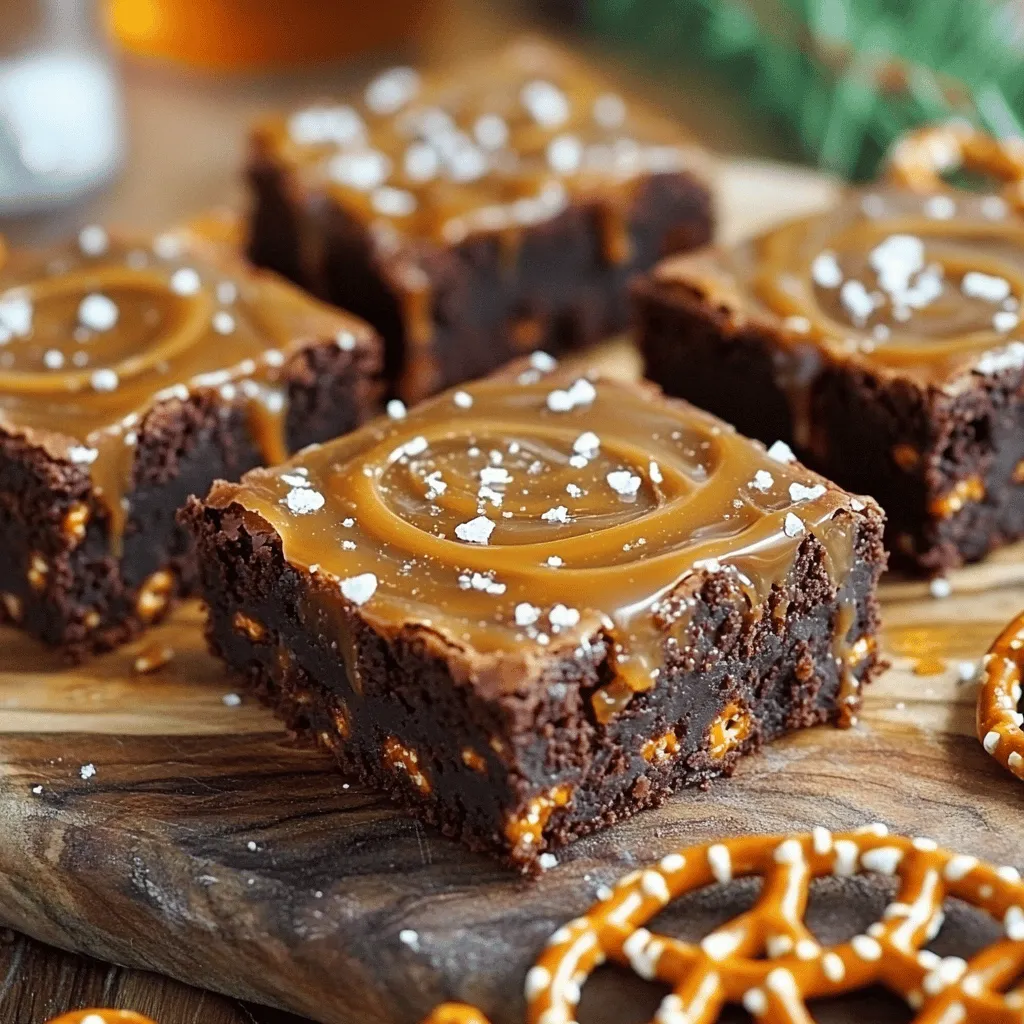
Salted Caramel Pretzel Brownies Irresistible Treat
Craving a sweet treat that combines the best of salty and sweet? Look no further! My Salted Caramel Pretzel Brownies will satisfy your deepest dessert