Desserts
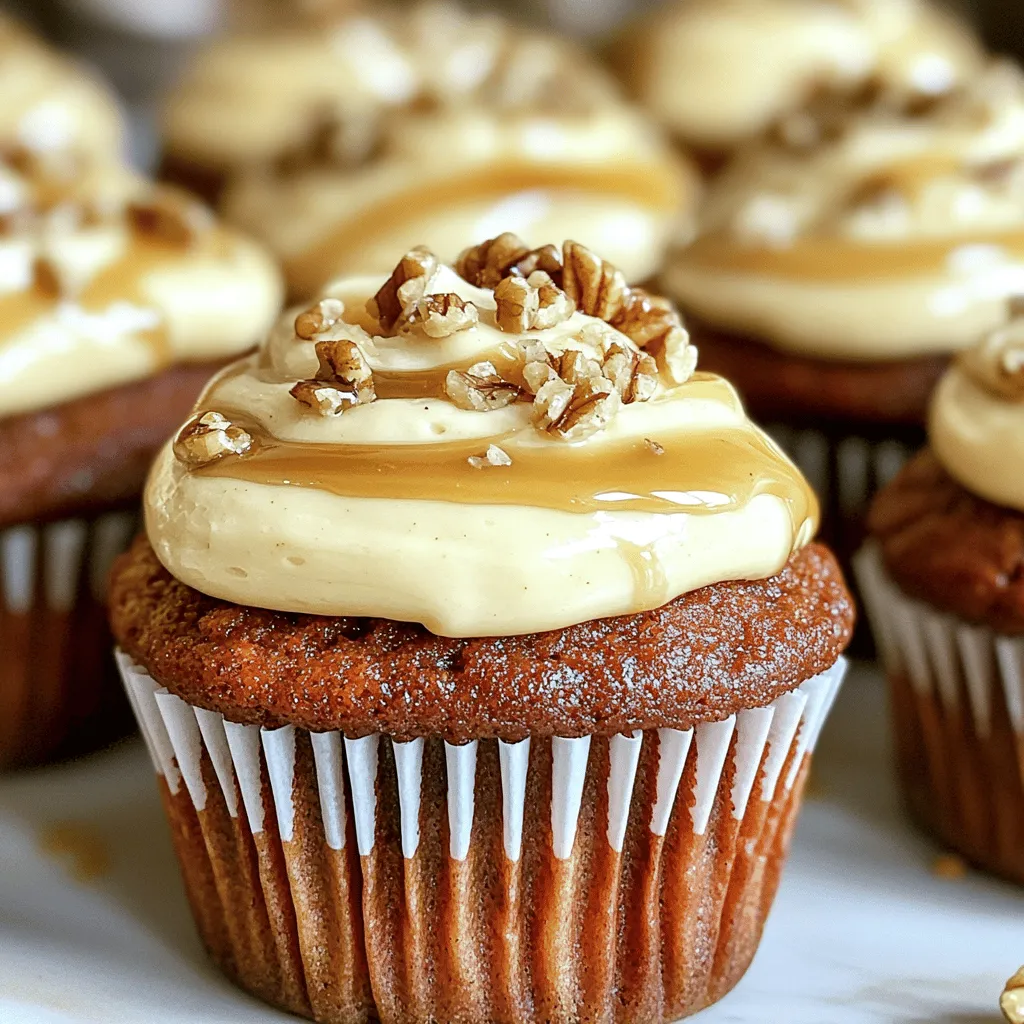
Maple Glazed Carrot Cupcakes Tasty and Simple Treat
Are you ready to whip up a delicious treat that’s both simple and tasty? Maple Glazed Carrot Cupcakes blend the sweet goodness of maple syrup
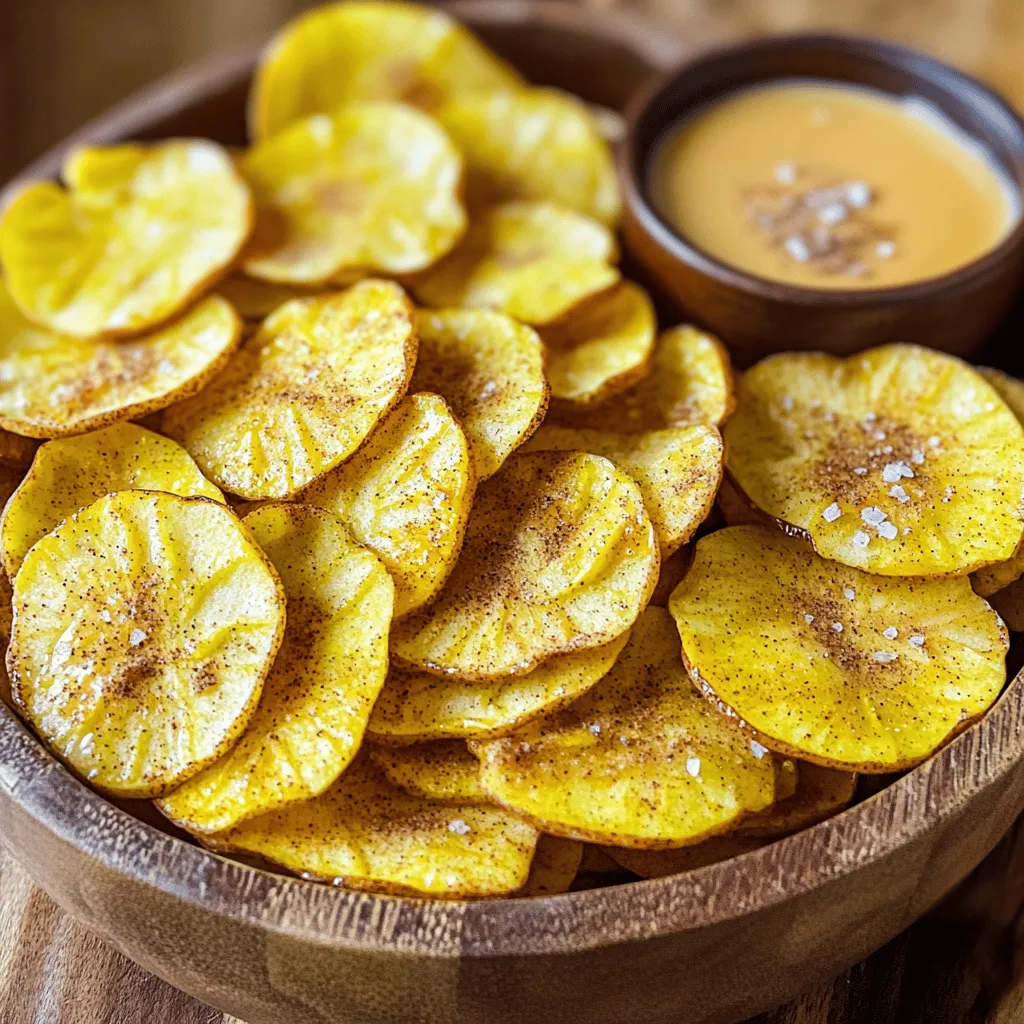
Air Fryer Apple Chips Crunchy and Healthy Snack Delight
Looking for a fun and healthy snack? Let’s make Air Fryer Apple Chips! They’re crunchy, delicious, and packed with flavor. With just a few simple
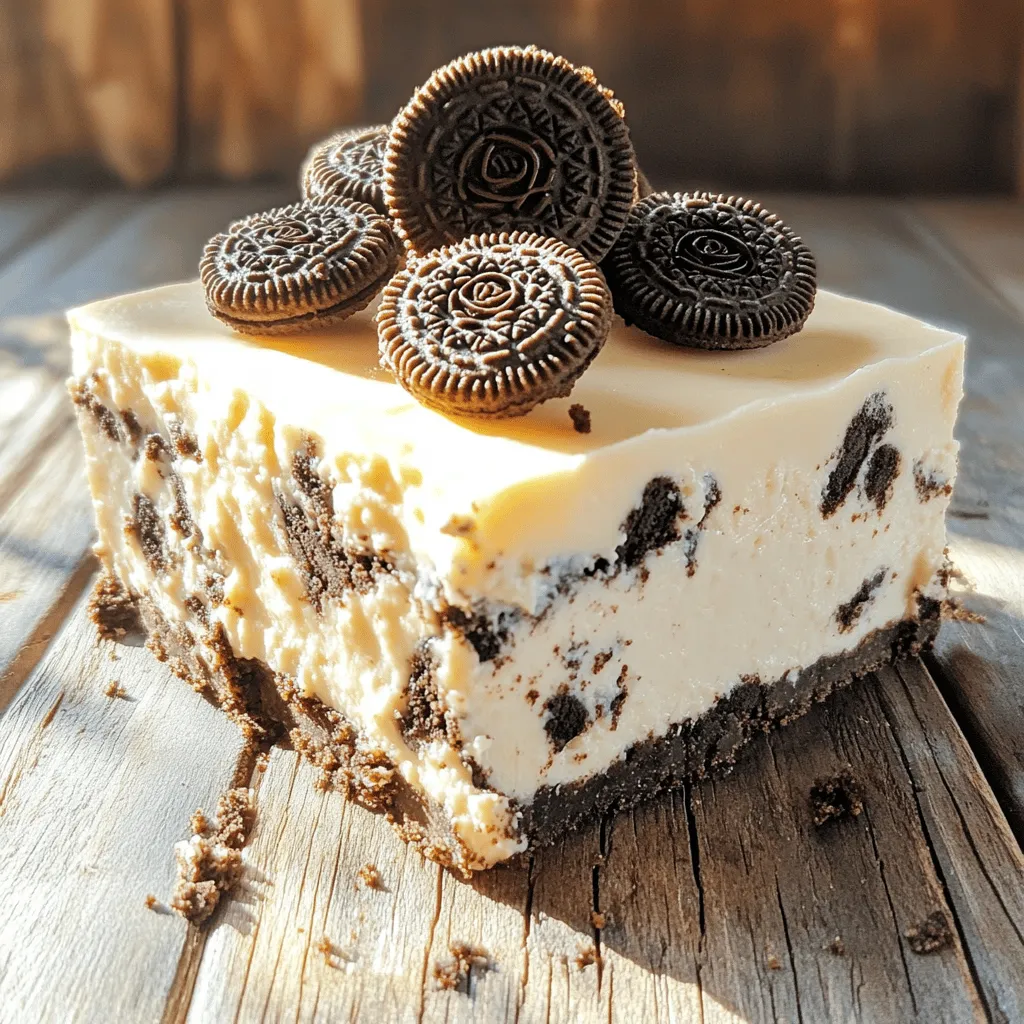
No-Bake Oreo Cheesecake Bars Easy and Delicious Treat
If you’re craving an easy and tasty dessert, you’ll love these No-Bake Oreo Cheesecake Bars! With just a few simple ingredients, you can whip up
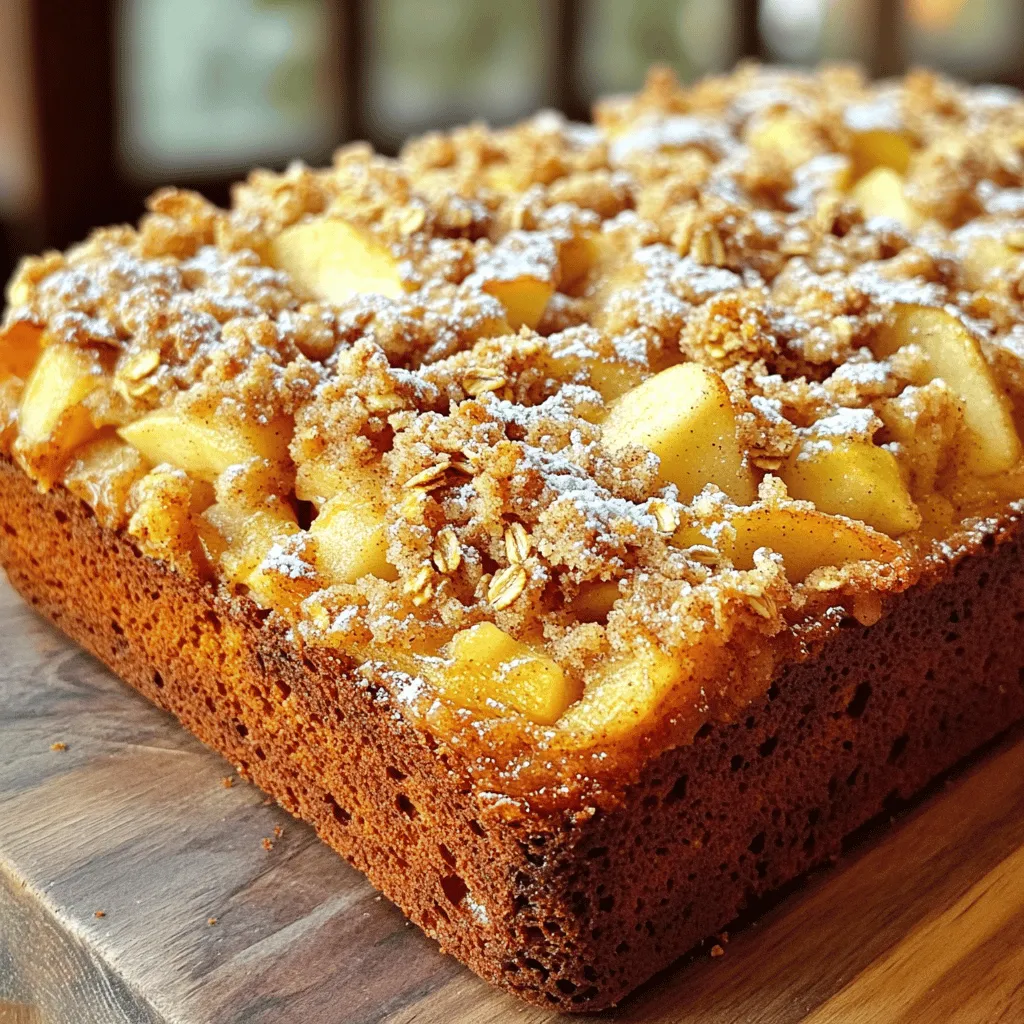
Cinnamon Apple Bread Delightful and Simple Recipe
Get ready to delight your taste buds with my simple Cinnamon Apple Bread recipe! This soft, warm bread blends sweet apples and spicy cinnamon, making
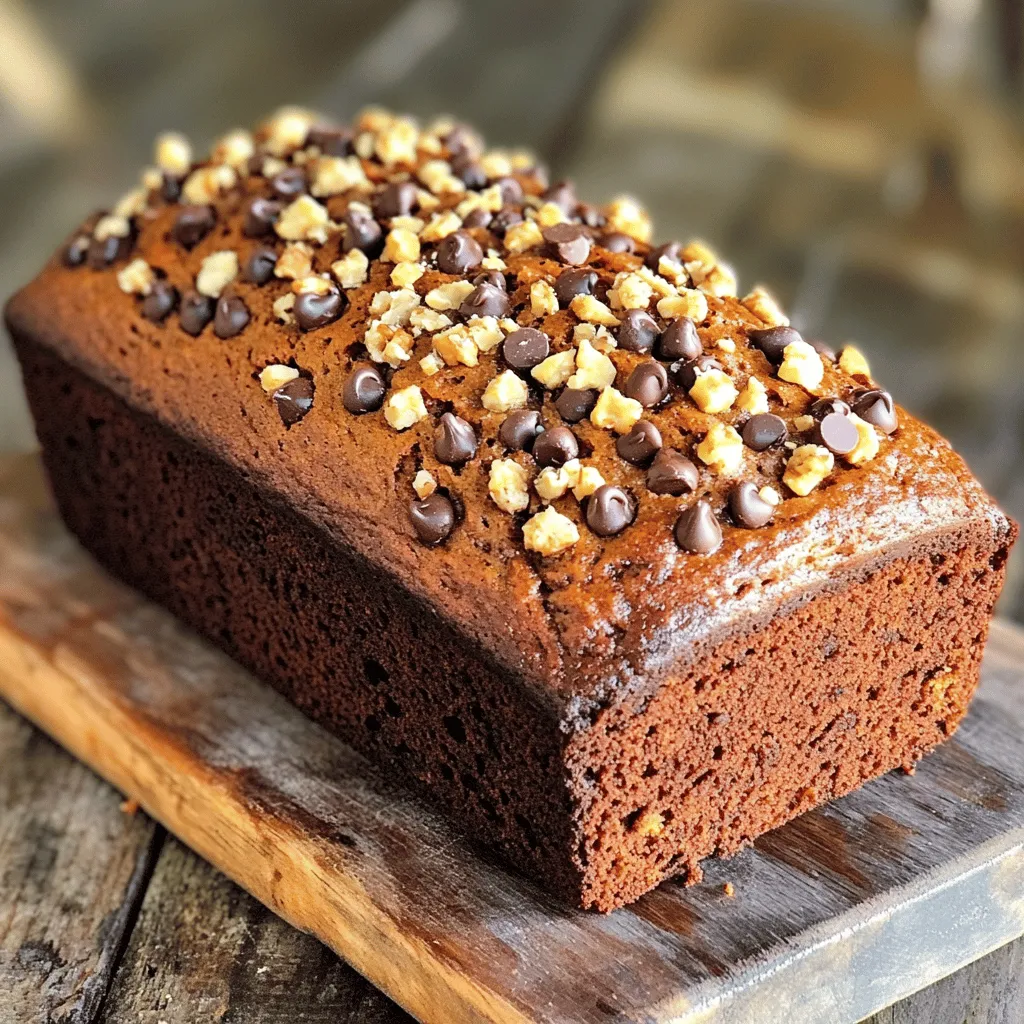
Super Moist Chocolate Chip Banana Bread Delight Recipe
Are you ready to bake the ultimate Super Moist Chocolate Chip Banana Bread? With this recipe, you’ll enjoy a soft and rich loaf that’s perfect
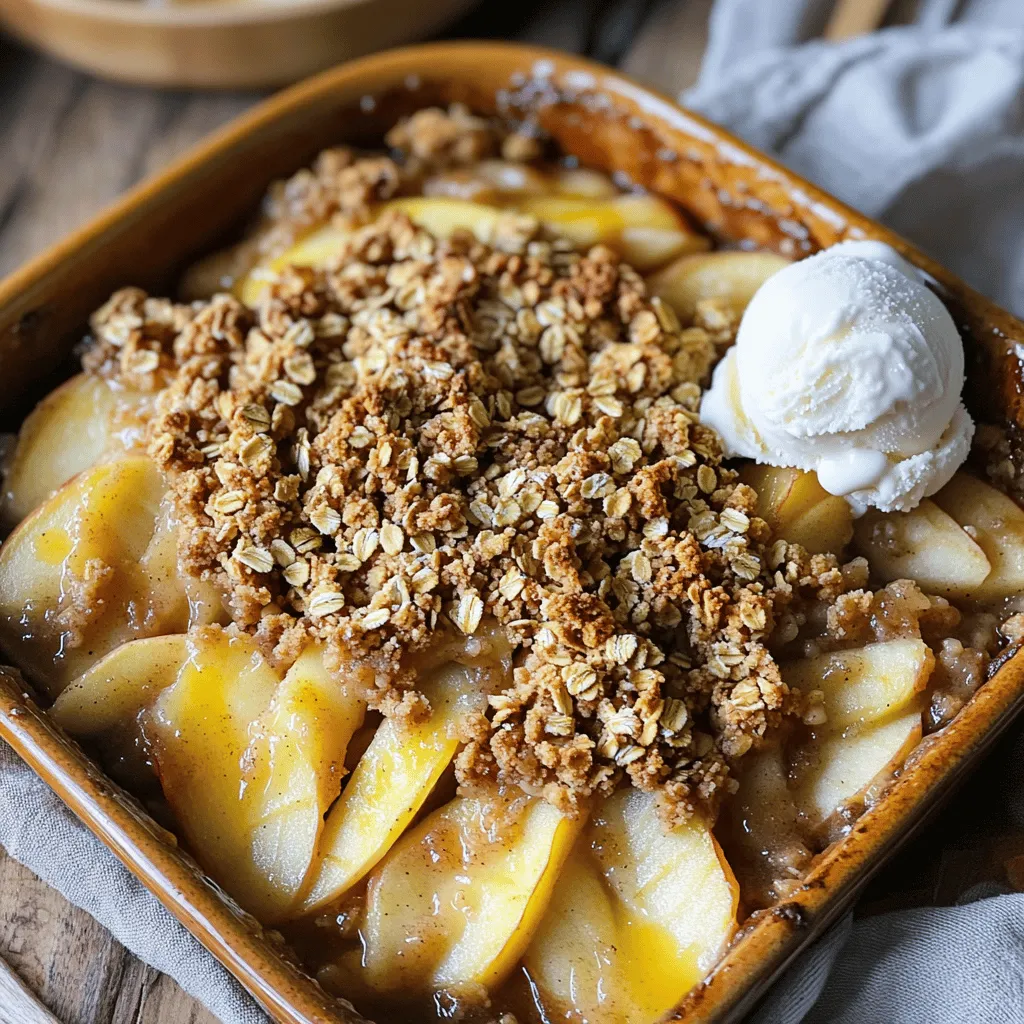
Oatmeal Streusel Apple Crisp Delightful and Easy Recipe
Are you ready for a sweet treat that’s simple to make? My Oatmeal Streusel Apple Crisp blends juicy apples with a crunchy topping, creating a
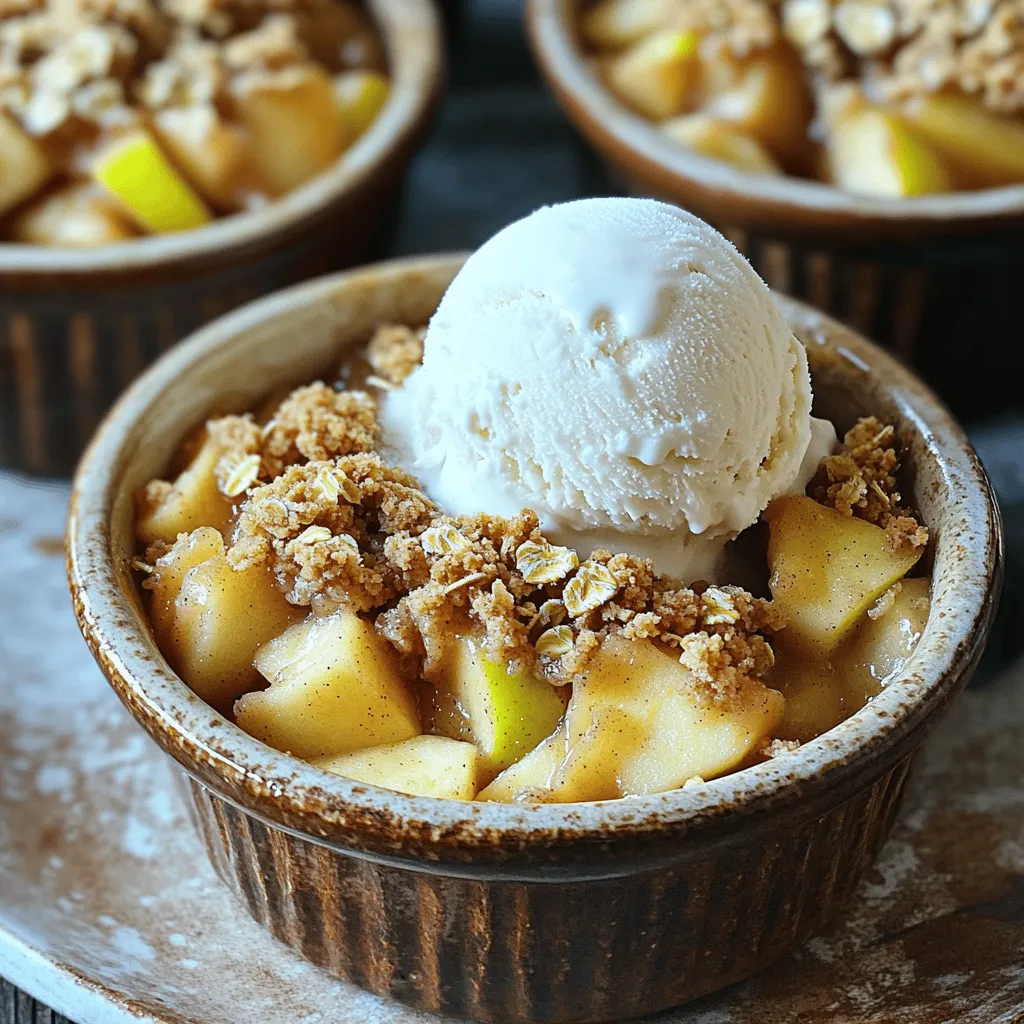
Apple Crumble for Two Tasty and Simple Dessert
Are you ready to indulge in a sweet treat without the fuss? This Apple Crumble for Two is your perfect dessert companion. It’s tasty, simple,
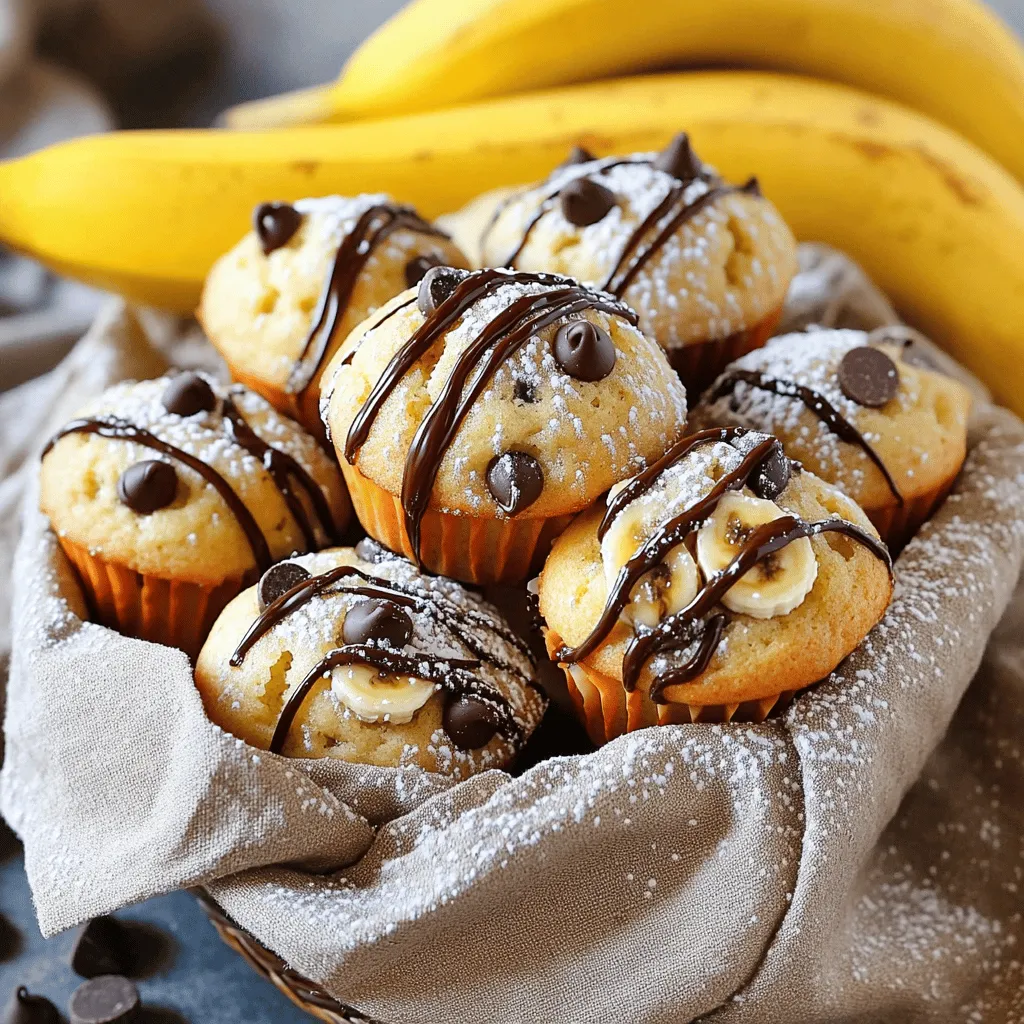
One-Bowl Banana Chocolate Chip Muffins Recipe
Are you craving a quick, delicious treat? Look no further than my One-Bowl Banana Chocolate Chip Muffins! This easy recipe takes just minutes to whip
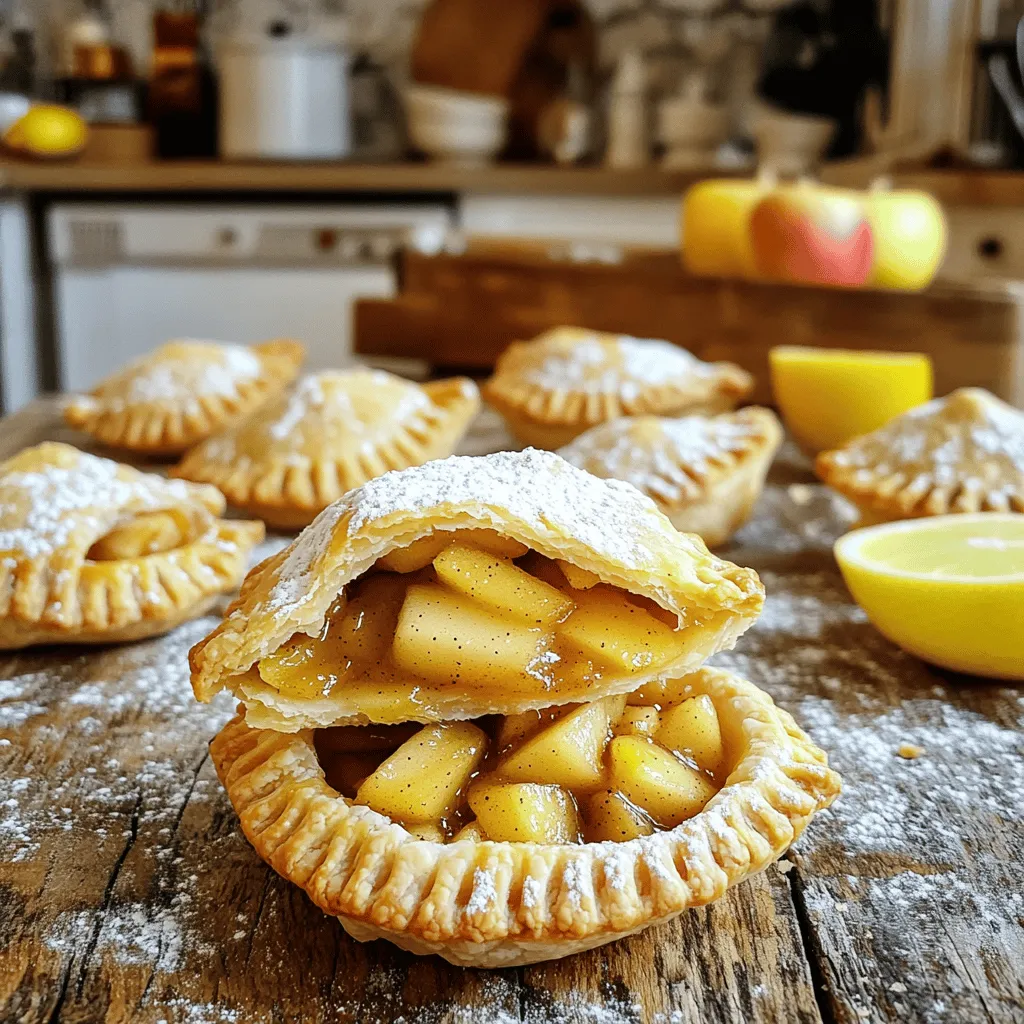
Mini Apple Hand Pies Flavorful and Simple Recipe
If you’re craving a warm, sweet treat, you’ve come to the right place! Mini Apple Hand Pies are fun to make and perfect for any

Healthy Pumpkin Muffins Easy and Delicious Recipe
Are you craving a tasty treat that won’t ruin your healthy eating? You’re in luck! These healthy pumpkin muffins are easy to make and packed