Desserts
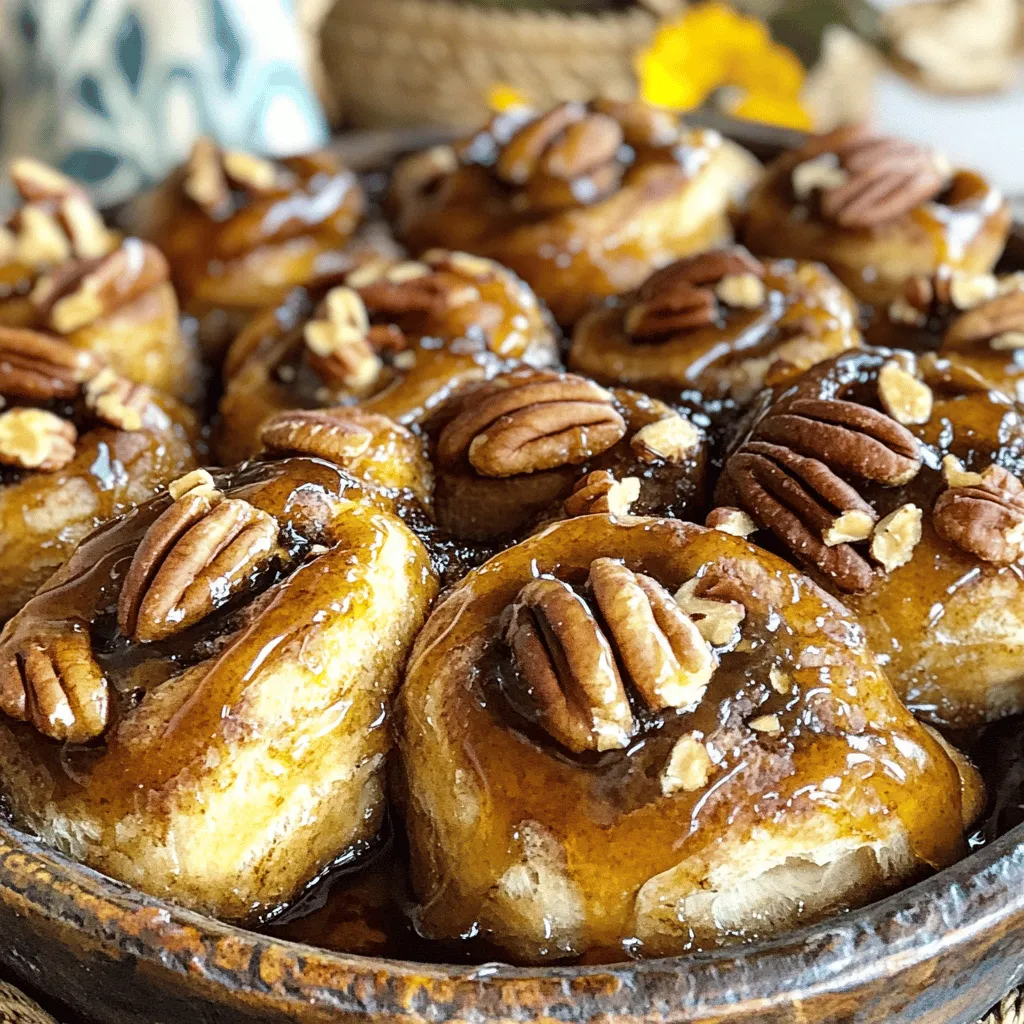
Maple Pecan Sticky Buns Irresistible and Easy Recipe
Are you ready to indulge in a warm, gooey treat? My Maple Pecan Sticky Buns recipe combines sweet maple syrup and crunchy pecans for a
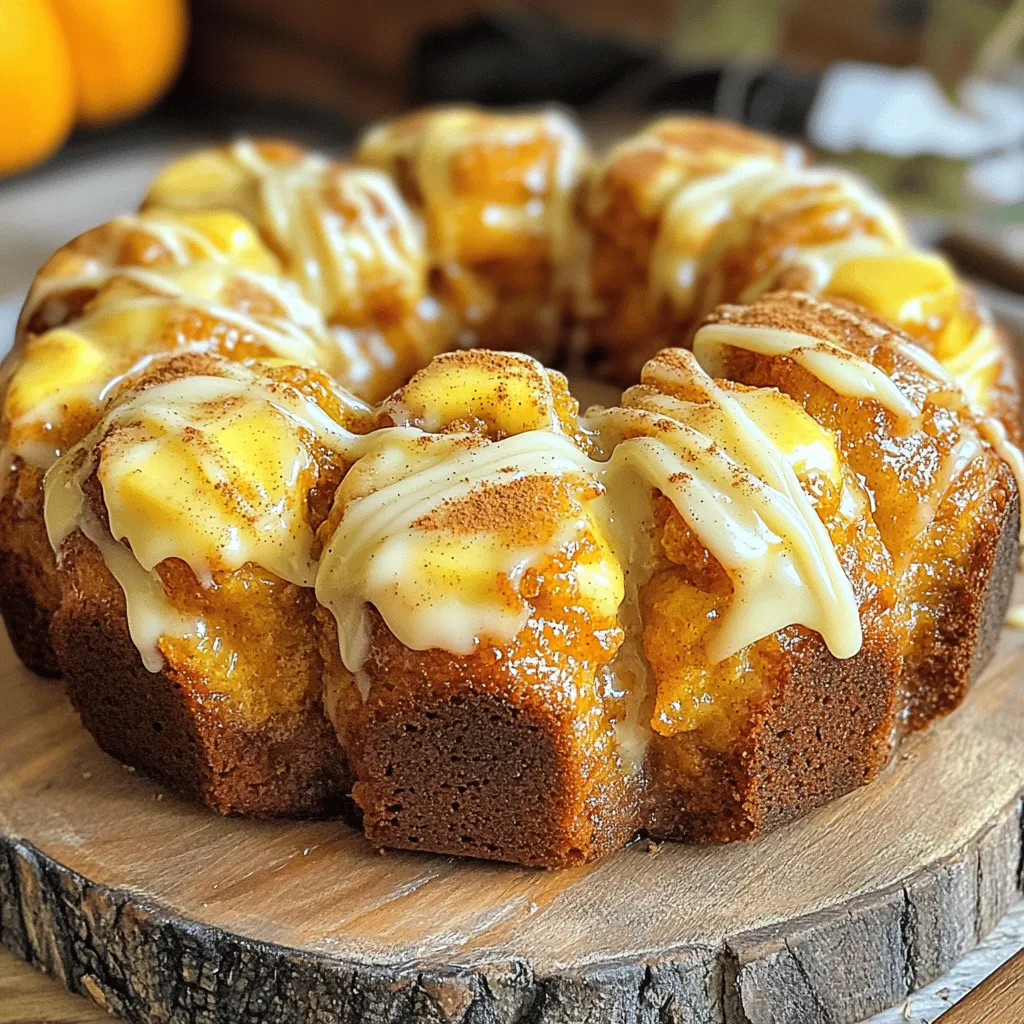
Pumpkin Spice Monkey Bread Irresistible Fall Treat
Fall is here, and nothing warms the heart quite like Pumpkin Spice Monkey Bread! This sweet treat combines warm, flaky biscuit dough with rich pumpkin
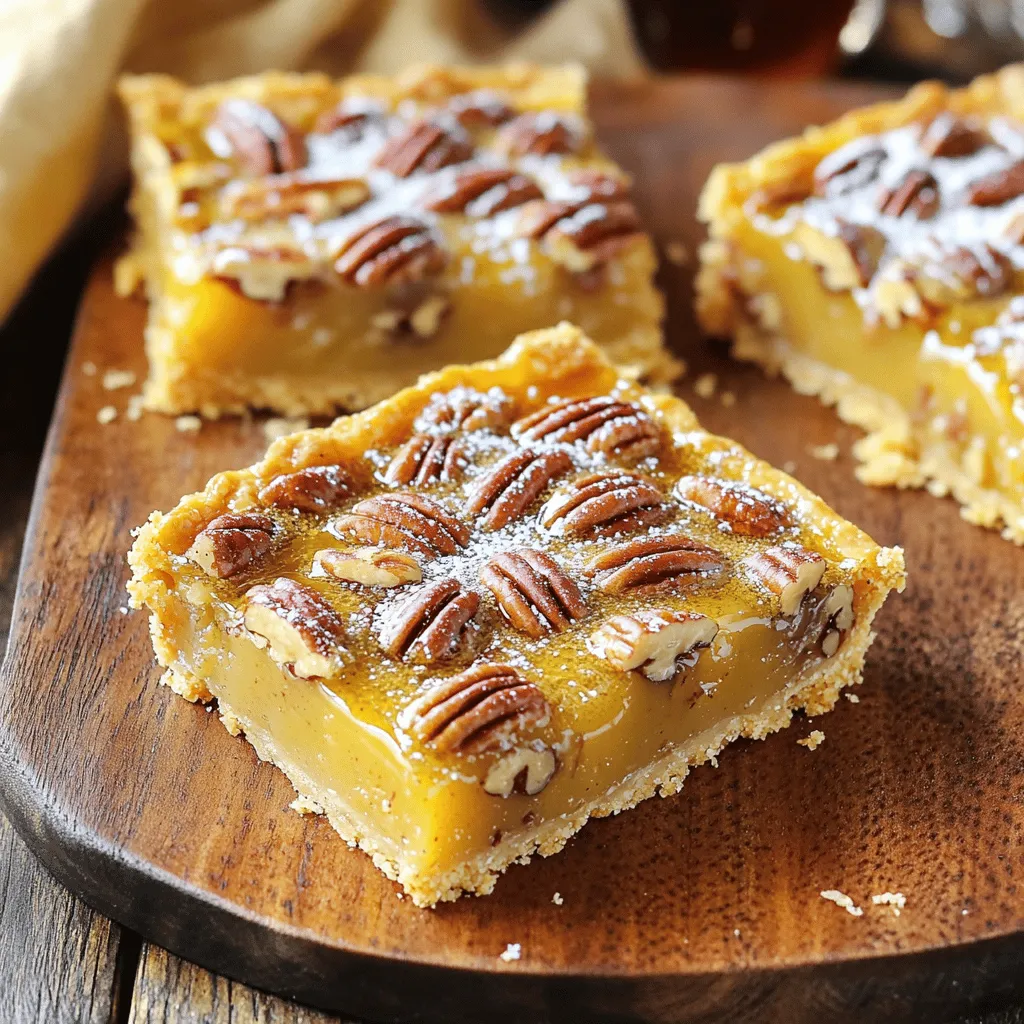
Maple Pecan Pie Bars Sweet and Simple Dessert Delight
If you crave a sweet treat that’s simple to make yet oh-so-delicious, you’ve found it! Maple Pecan Pie Bars blend rich maple flavor with crunchy
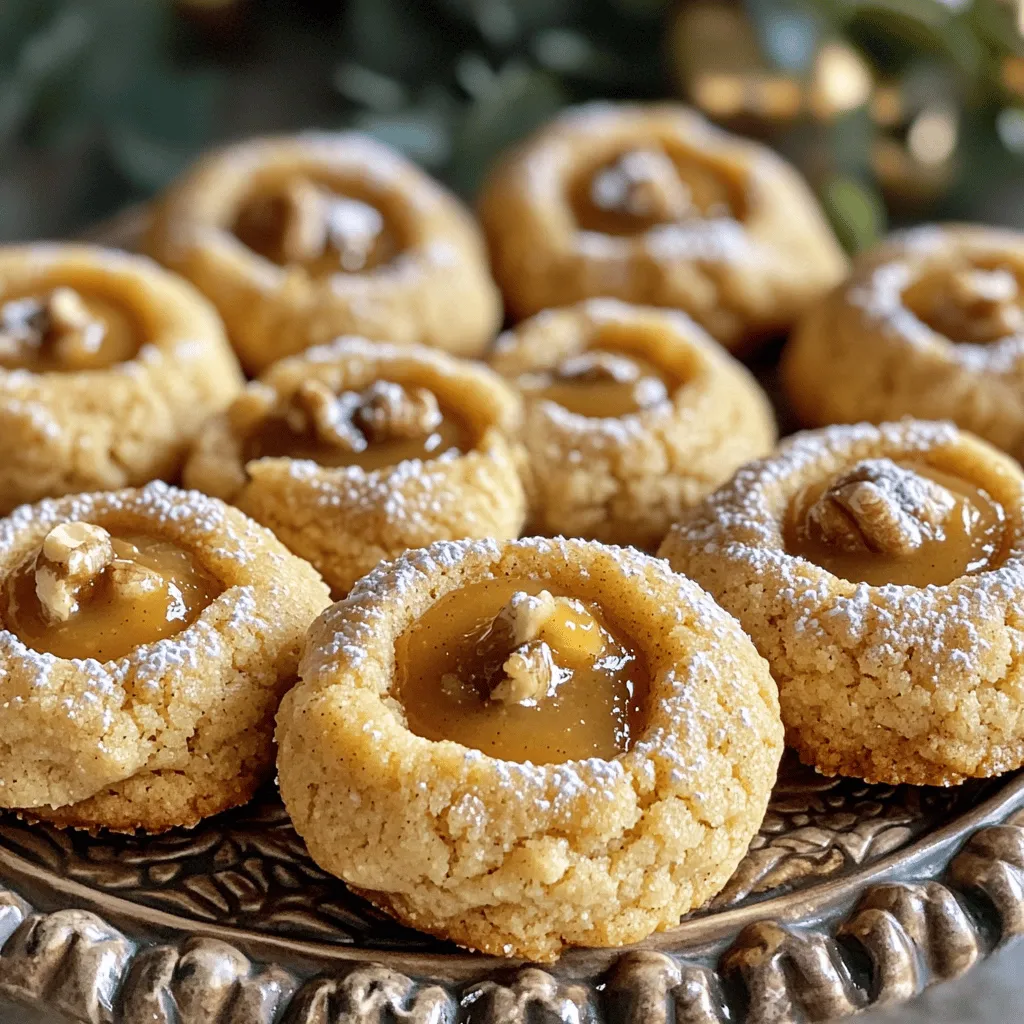
Apple Butter Thumbprint Cookies Delightful Treat Recipe
Are you ready for a delicious treat that combines comfort and sweetness? These Apple Butter Thumbprint Cookies are easy to make and bursting with flavor!
No-Bake Pumpkin Cheesecake Creamy and Easy Delight
Are you ready to indulge in a dessert that’s as easy as it is delicious? This No-Bake Pumpkin Cheesecake is a creamy delight that brings
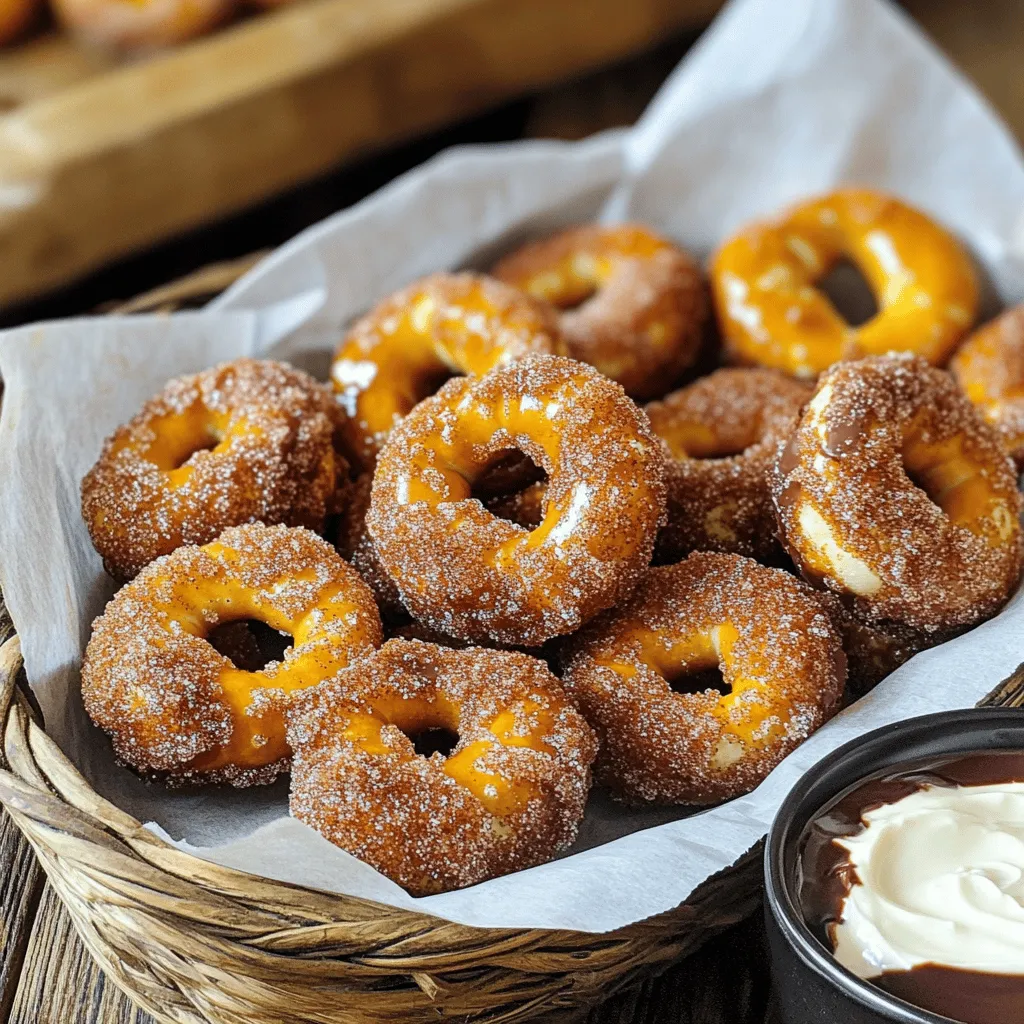
Cinnamon Sugar Pretzel Bites Delightful Easy Recipe
Craving a sweet treat that’s easy to make? Look no further! This recipe for Cinnamon Sugar Pretzel Bites brings the warm, comforting flavors of cinnamon
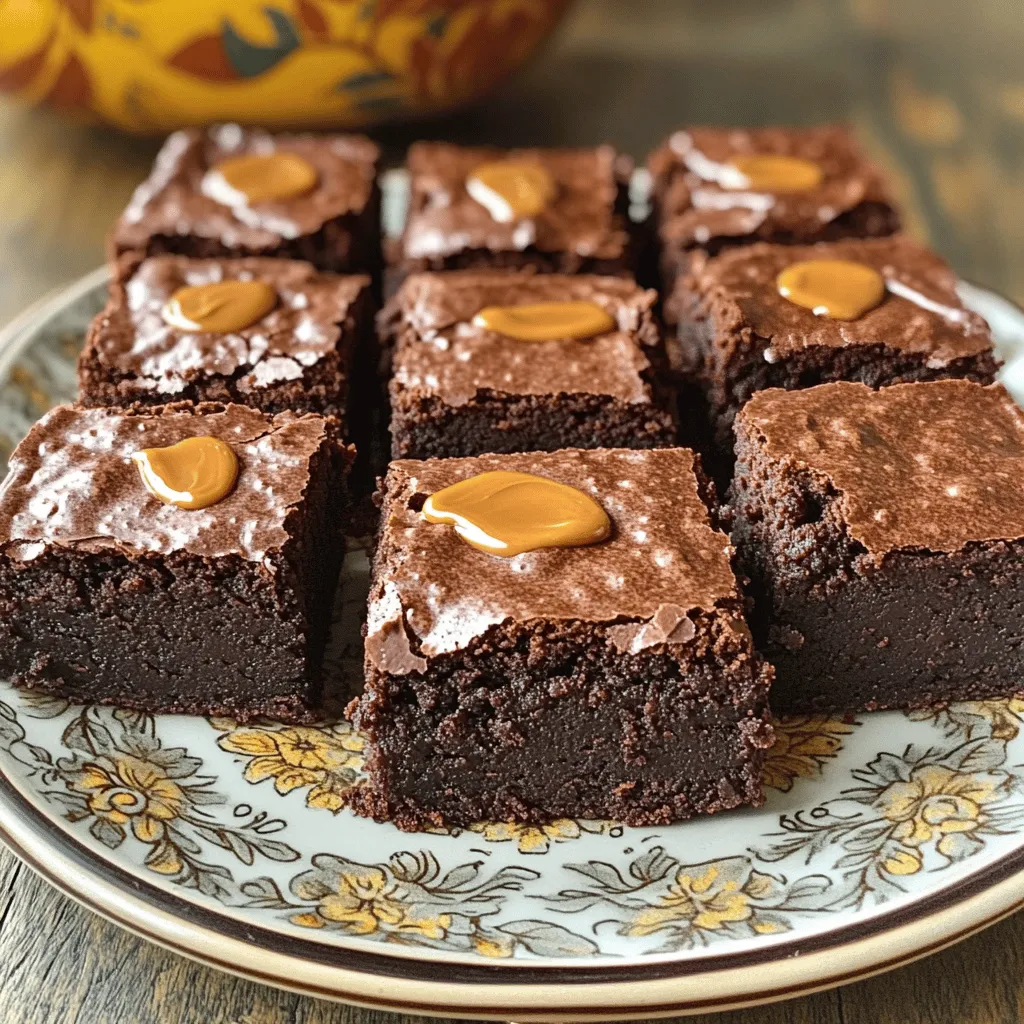
Vegan Sweet Potato Brownies Rich and Decadent Treat
If you’re craving a rich, decadent treat that won’t weigh you down, you’re in the right place! Vegan sweet potato brownies blend comfort and nutrition
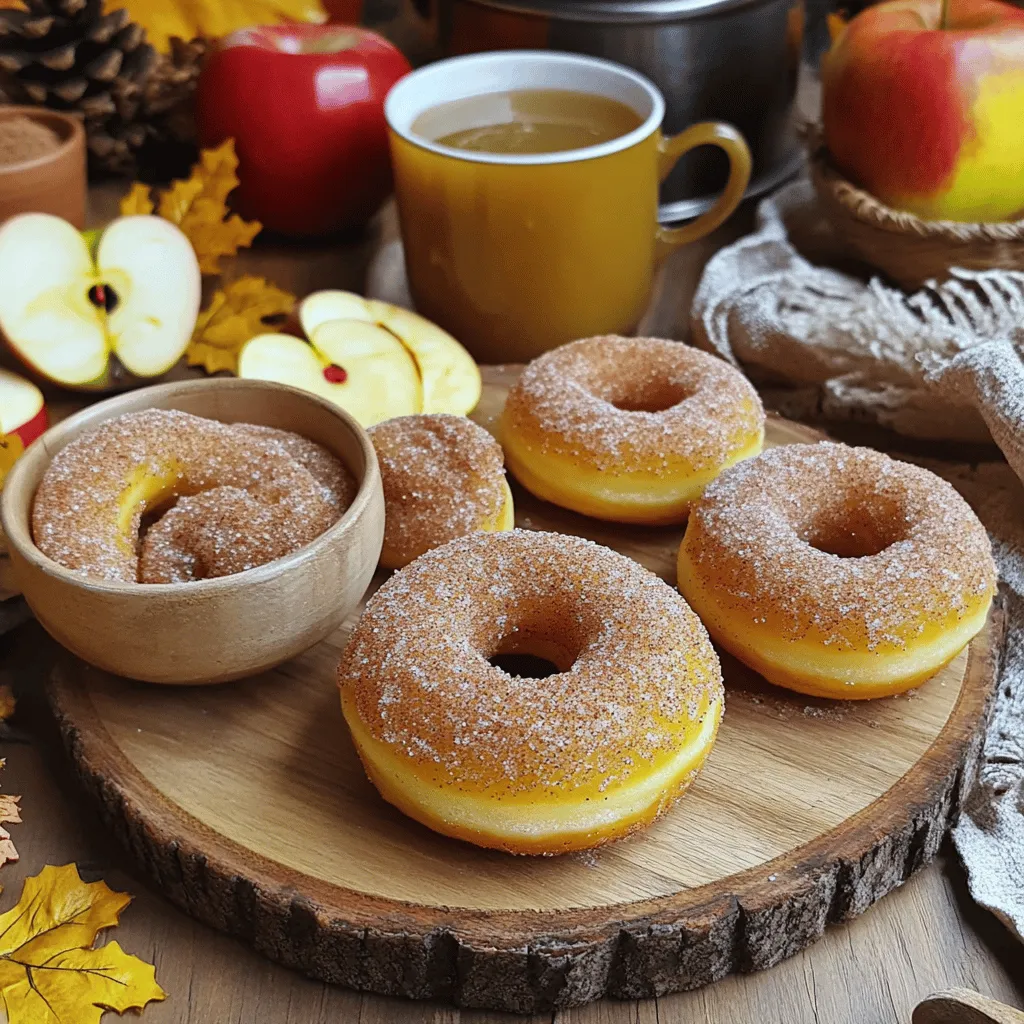
Spiced Apple Cider Donuts Flavorful and Simple Recipe
Fall is here, and what better way to celebrate than with warm, spiced apple cider donuts? These treats are easy to make and bursting with
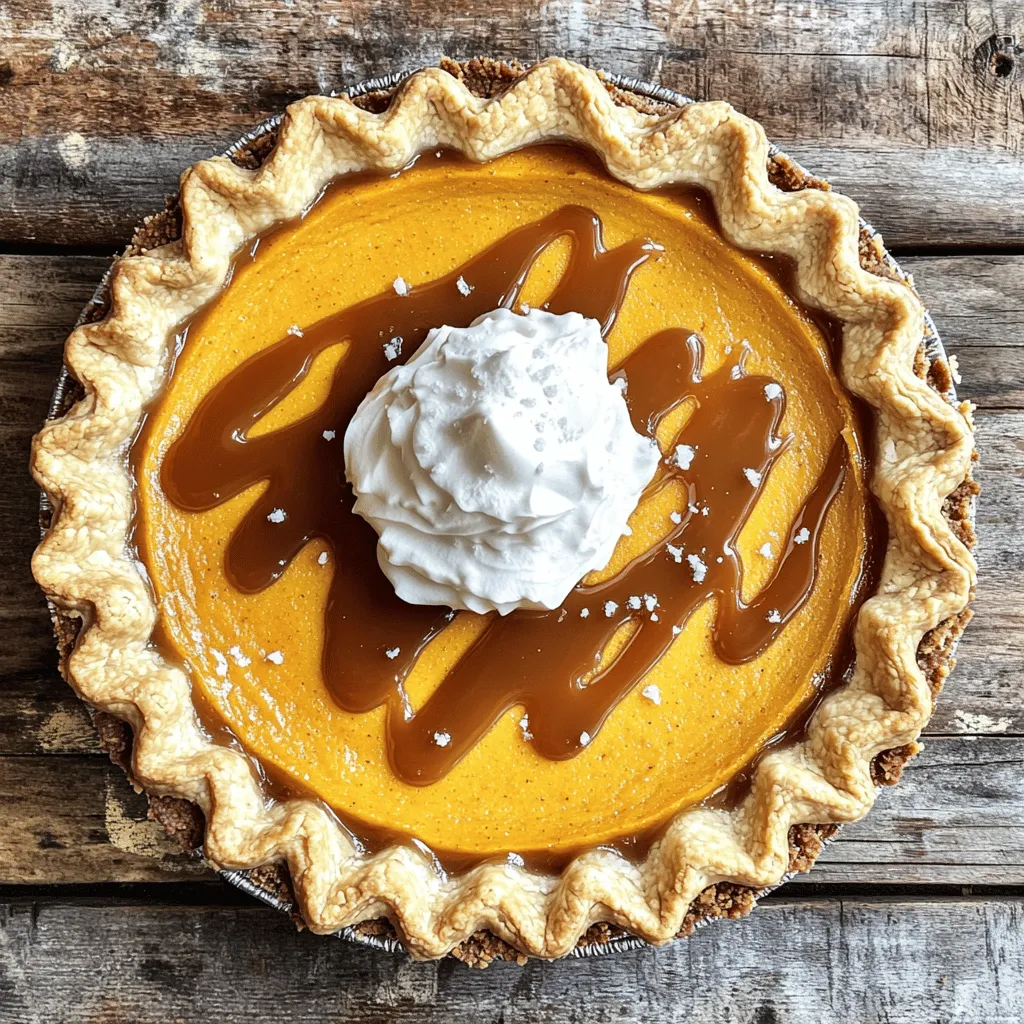
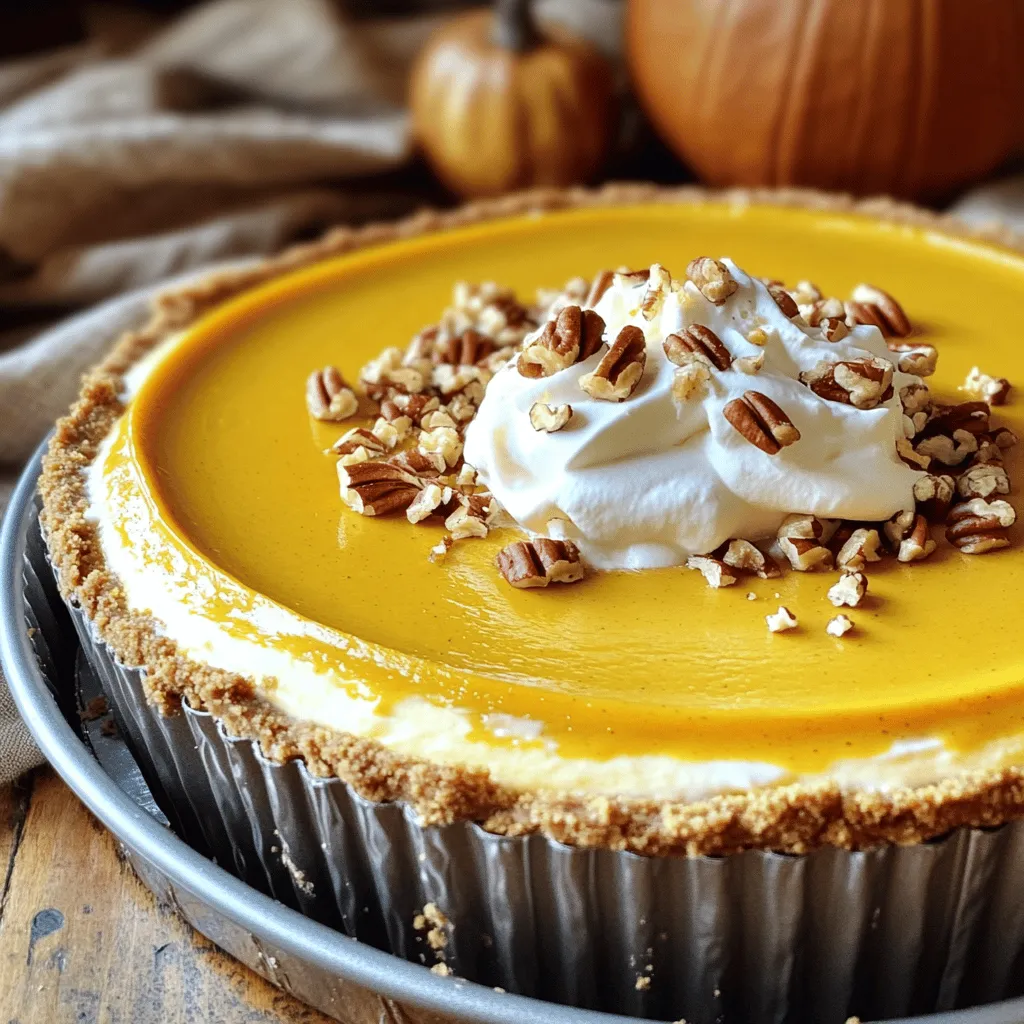
Salted Caramel Pumpkin Pie Irresistible Fall Delight
Get ready for the ultimate fall treat: Salted Caramel Pumpkin Pie! This dish blends sweet and salty flavors in a pumpkin base, making it the
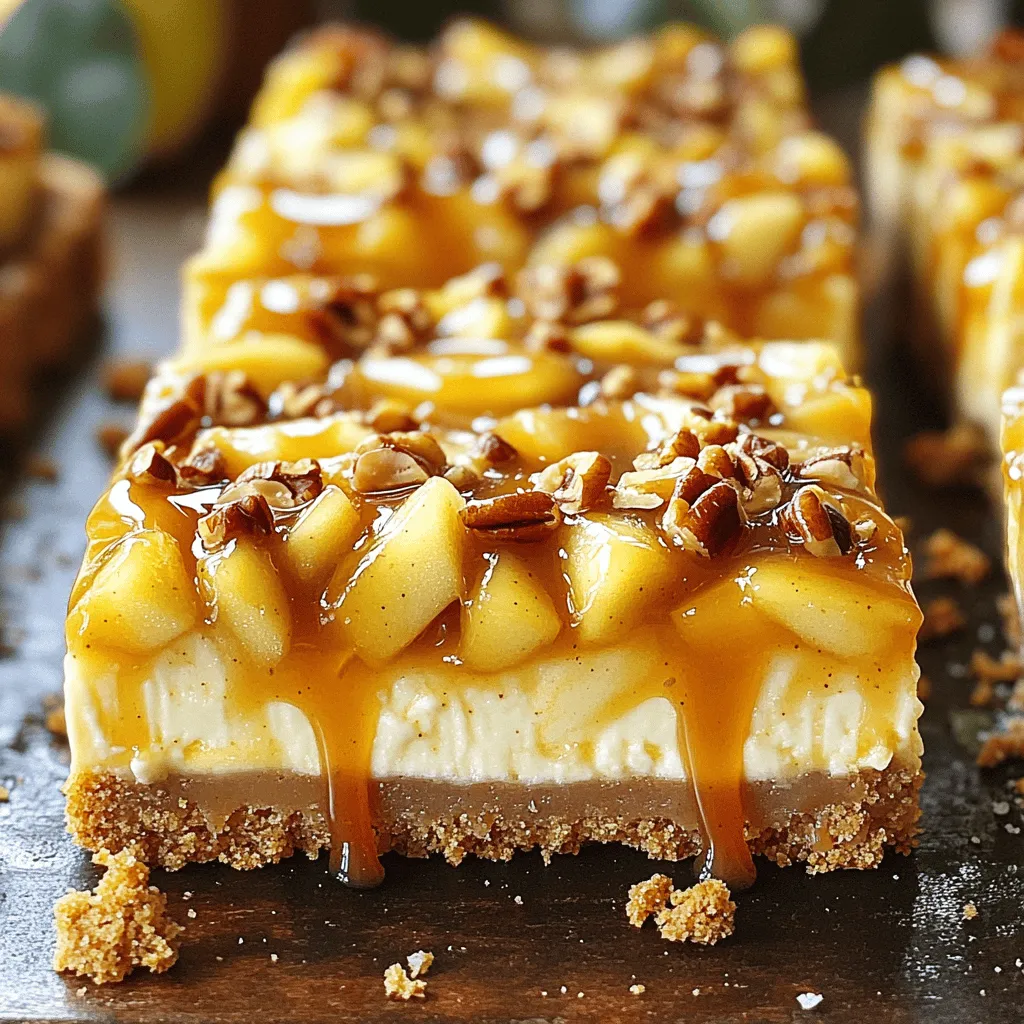
Caramel Apple Cheesecake Bars Irresistible Dessert Treat
Looking for a sweet treat that combines creamy cheesecake and the fall flavor of apples? You’re in the right place! These Caramel Apple Cheesecake Bars