Desserts
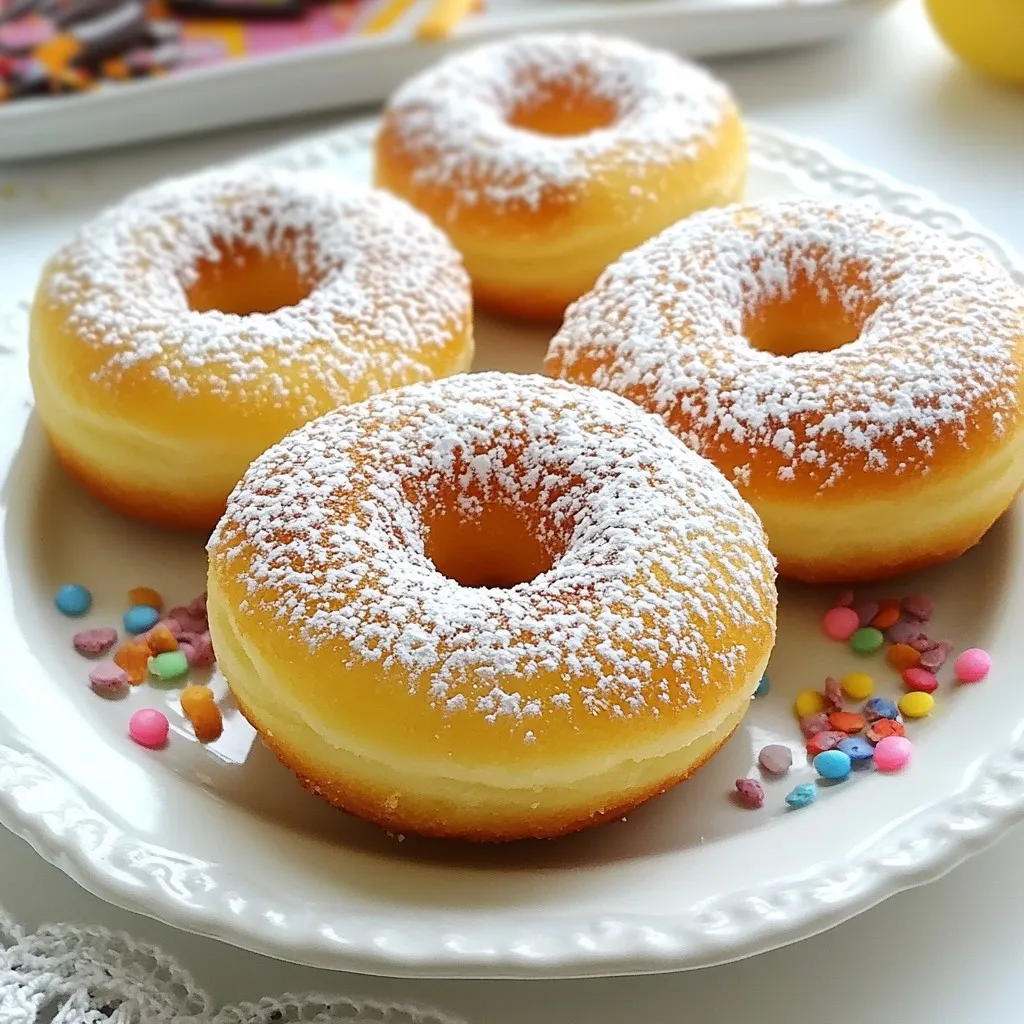
Two Ingredient Donuts Quick and Easy Recipe
Craving donuts but short on time? You’re in the right place! With just two simple ingredients—self-rising flour and plain Greek yogurt—you can create delicious homemade
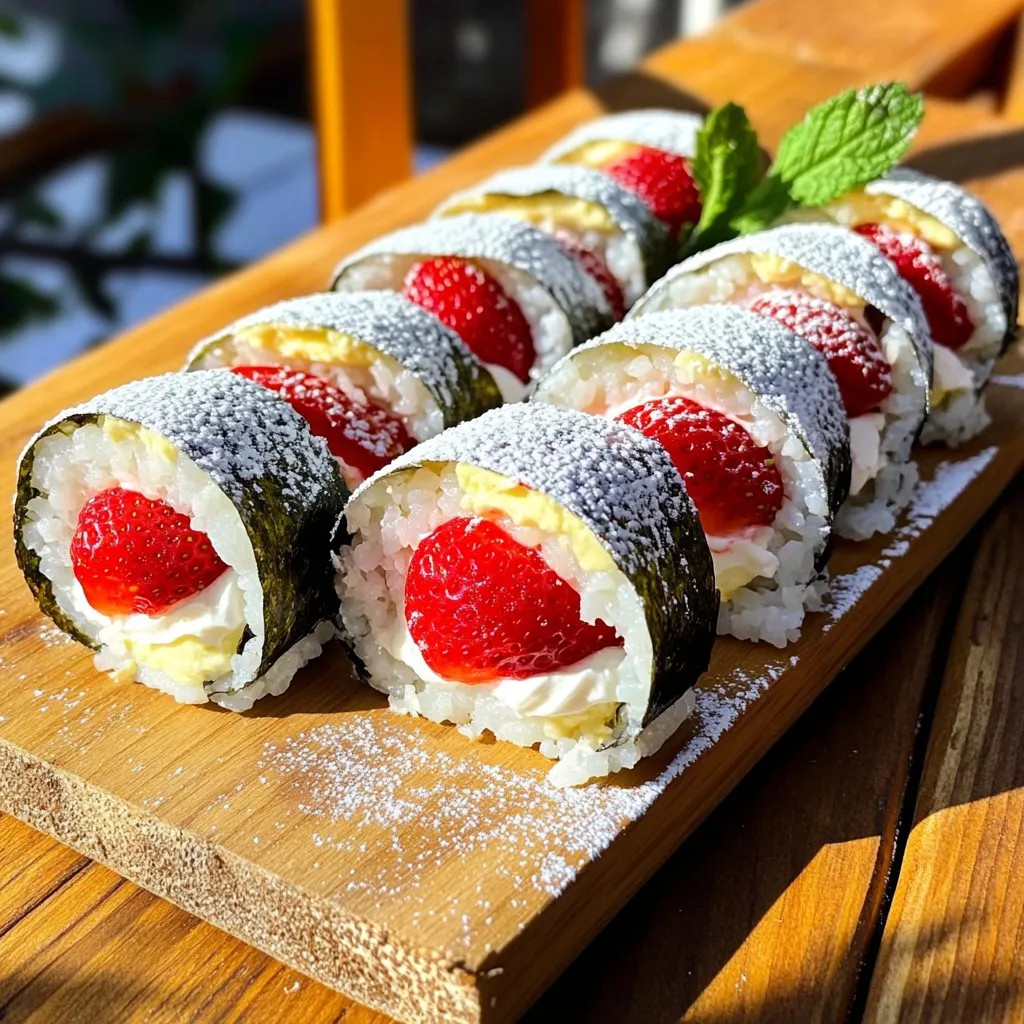
Strawberry Shortcake Sushi Rolls Tasty and Fun Treat
Looking for a fun and tasty treat? Strawberry shortcake sushi rolls blend fresh strawberries, whipped cream, and sushi rice into a delightful dessert. It’s great
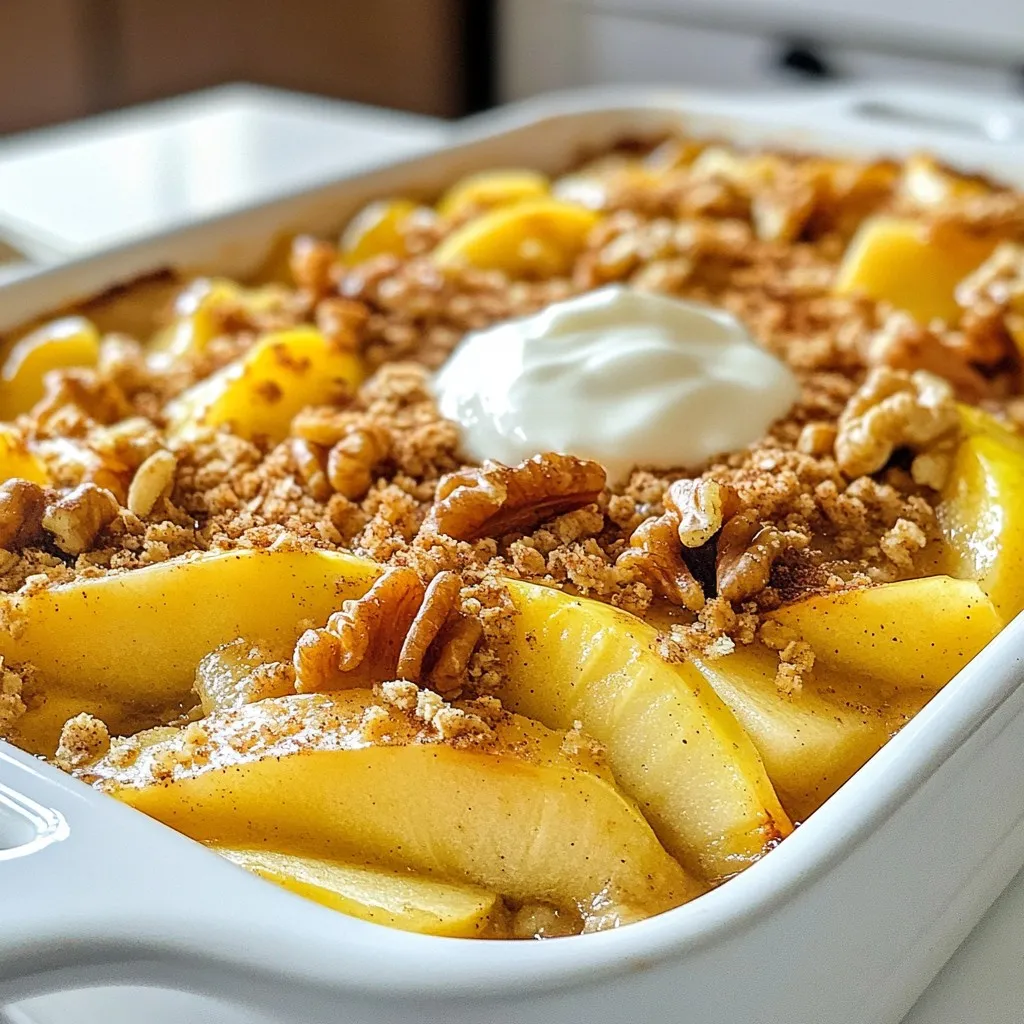
Easy Apple Casserole Quick and Tasty Comfort Food
Are you craving a warm, comforting treat? Look no further! This Easy Apple Casserole is quick to make and bursting with flavor. You’ll find all
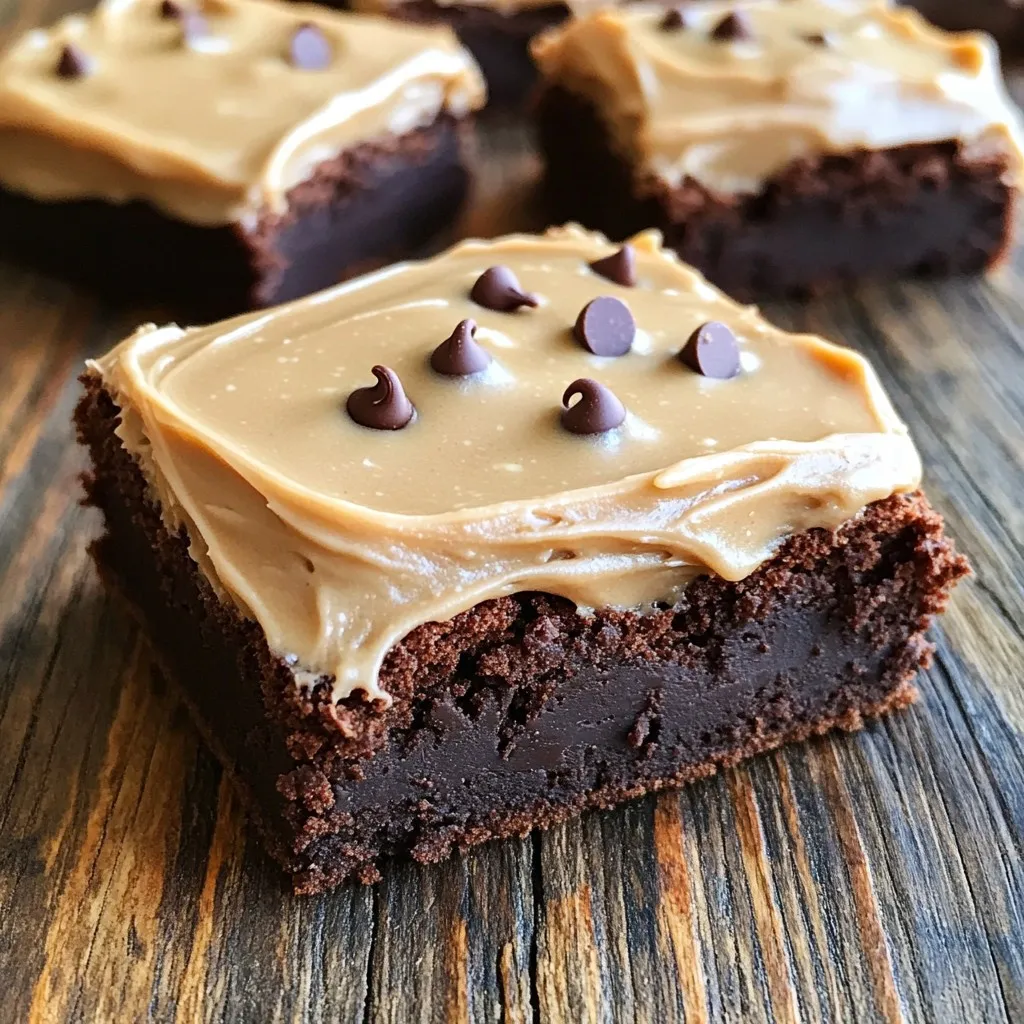
Frosted Coffee Brownies Indulge in Rich Flavor
Ready for a sweet treat that combines the rich flavors of coffee and chocolate? These Frosted Coffee Brownies are a delicious way to satisfy your
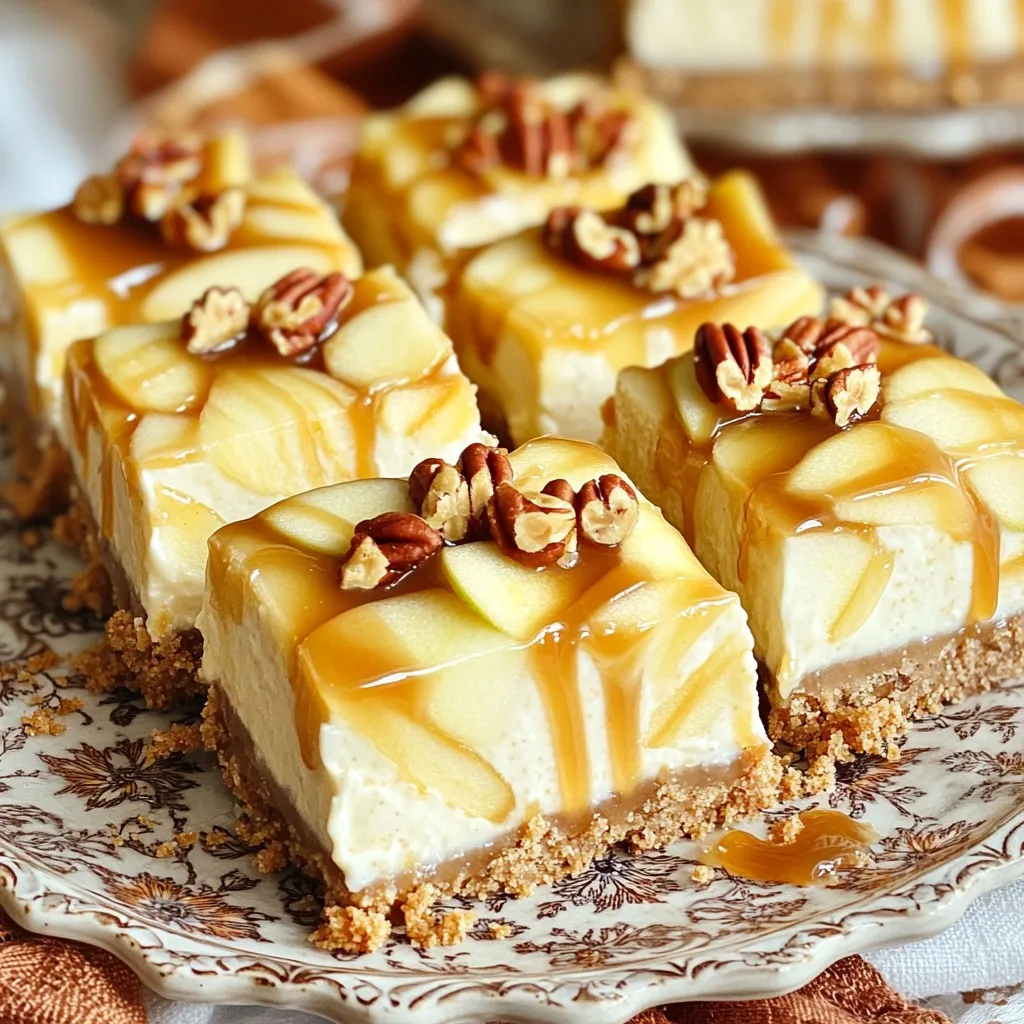
Caramel Apple Cheesecake Bars Delightful Dessert Treat
Get ready for a treat that combines creamy cheesecake with the sweet crunch of caramel apples! In this blog post, I will guide you through
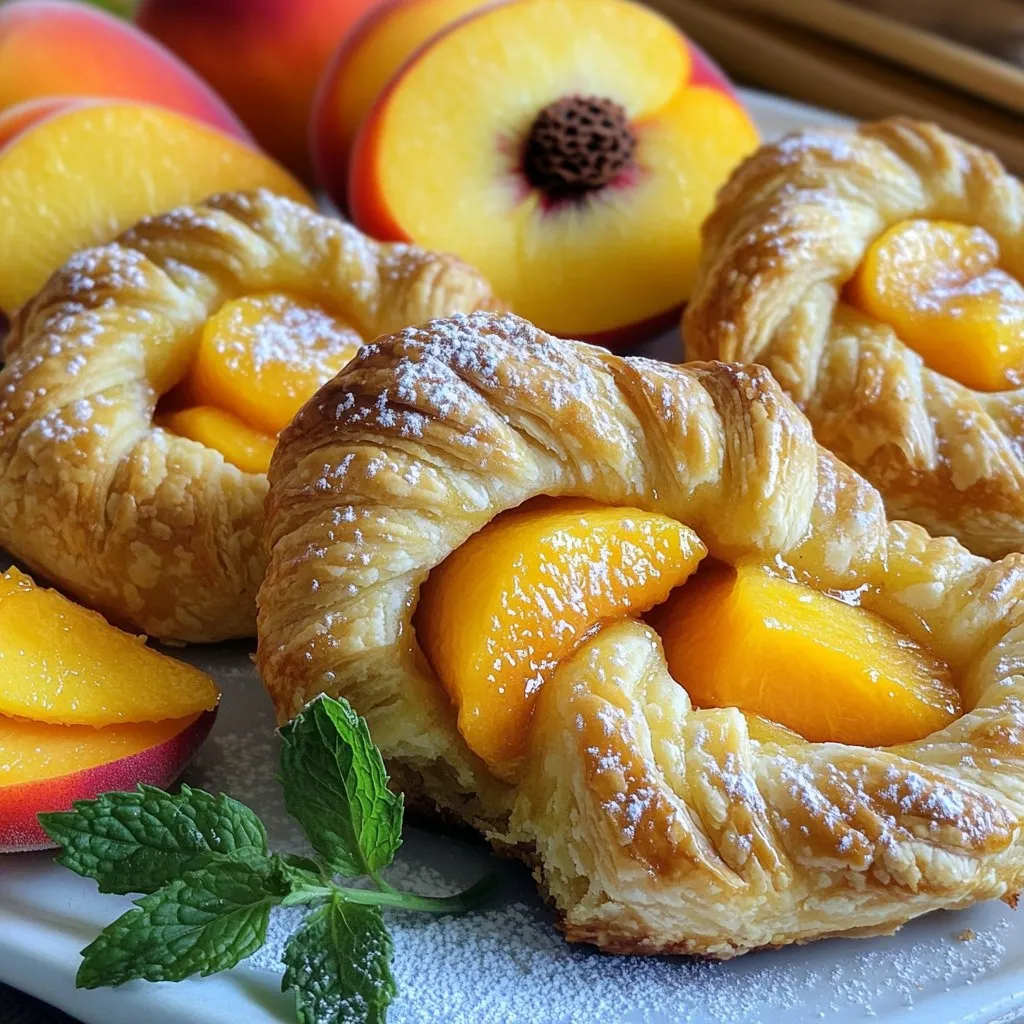
Peach Pie Cruffins Irresistible and Tasty Delight
Get ready to elevate your dessert game with Peach Pie Cruffins! These tasty treats combine the flakiness of puff pastry with the sweet, juicy goodness
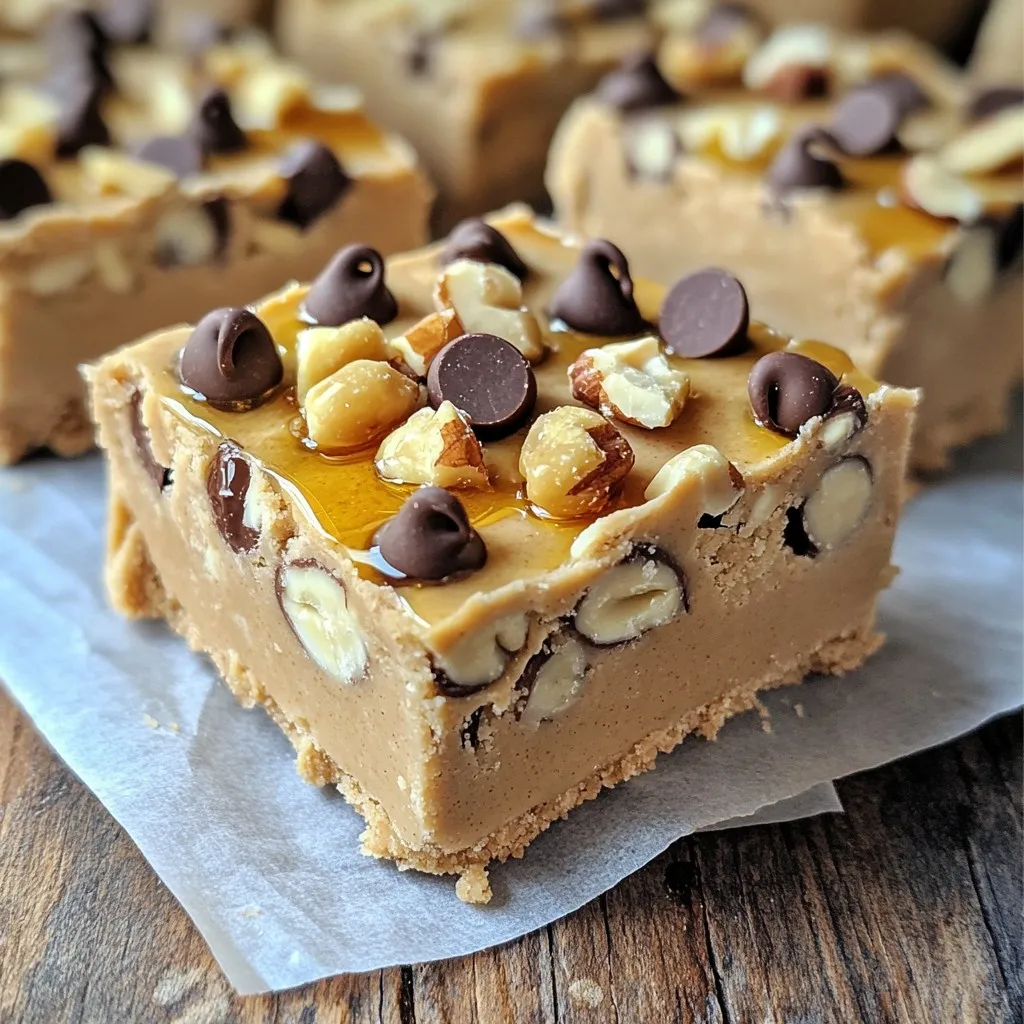
No-Bake Peanut Butter Cookie Dough Bars Delightful Treat
Are you craving a sweet treat that’s easy to make? Look no further! These No-Bake Peanut Butter Cookie Dough Bars are simple, quick, and oh-so-delicious.
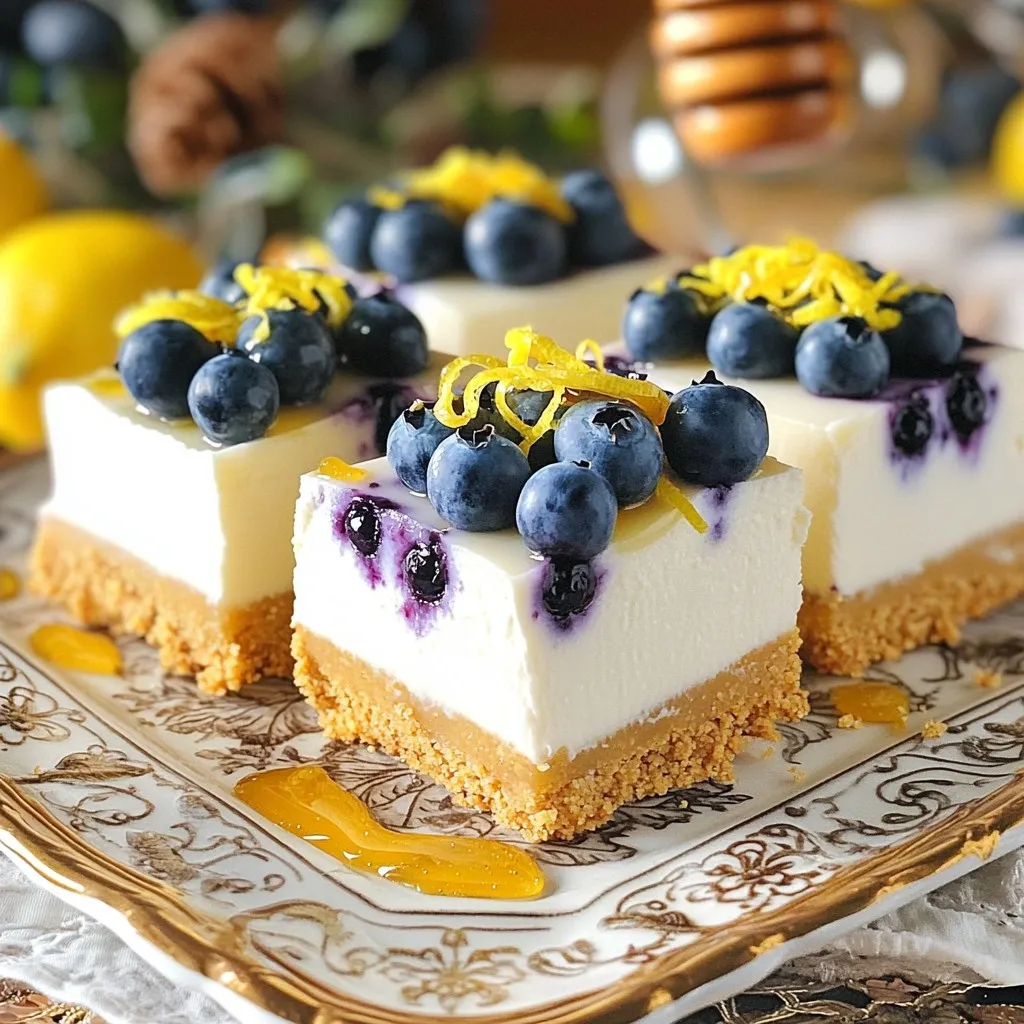
No-Bake Lemon Blueberry Cheesecake Bars Delight
If you’re craving a sweet, refreshing treat with a burst of flavor, you’re in for a real delight! These No-Bake Lemon Blueberry Cheesecake Bars combine
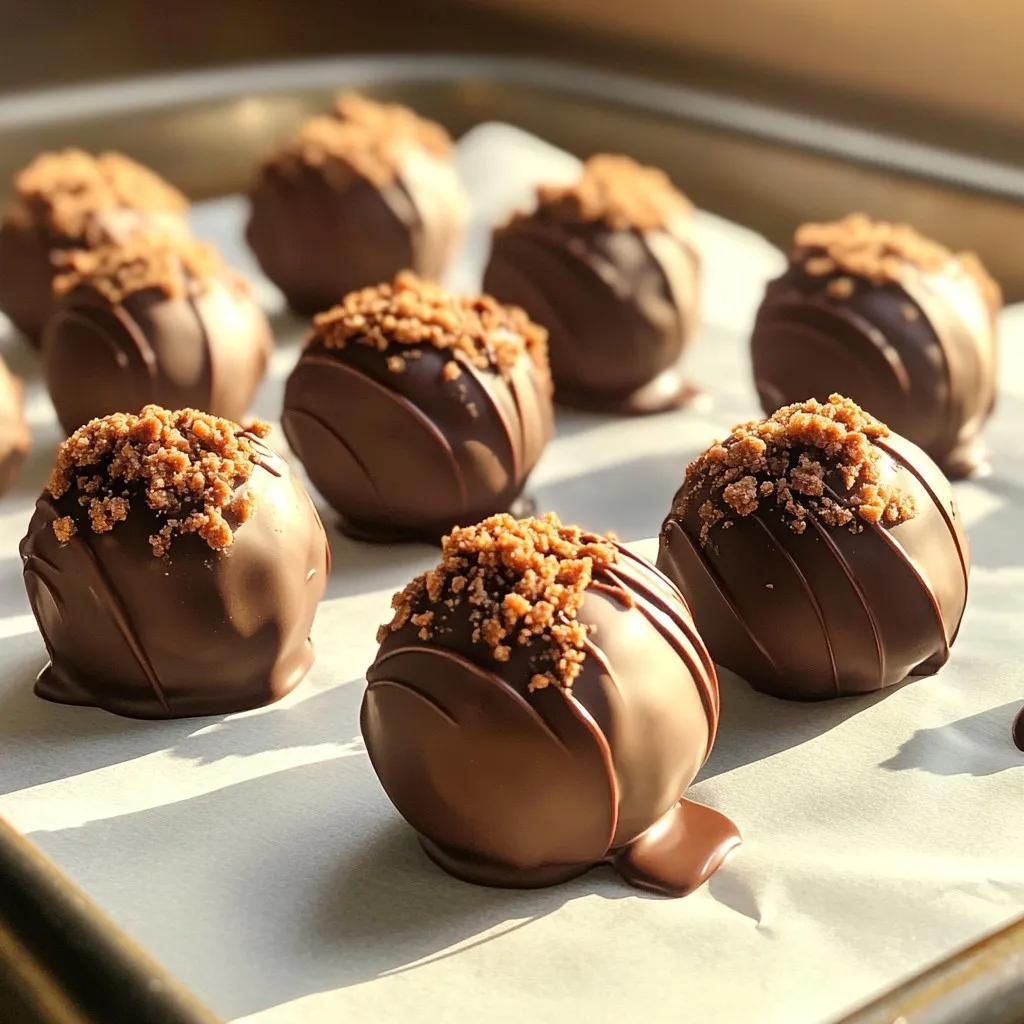
No-Bake Biscoff Truffle Balls Decadent and Easy Treat
Craving a sweet treat that’s simple to make? Let’s dive into these No-Bake Biscoff Truffle Balls! They’re decadent, packed with rich flavors, and require no
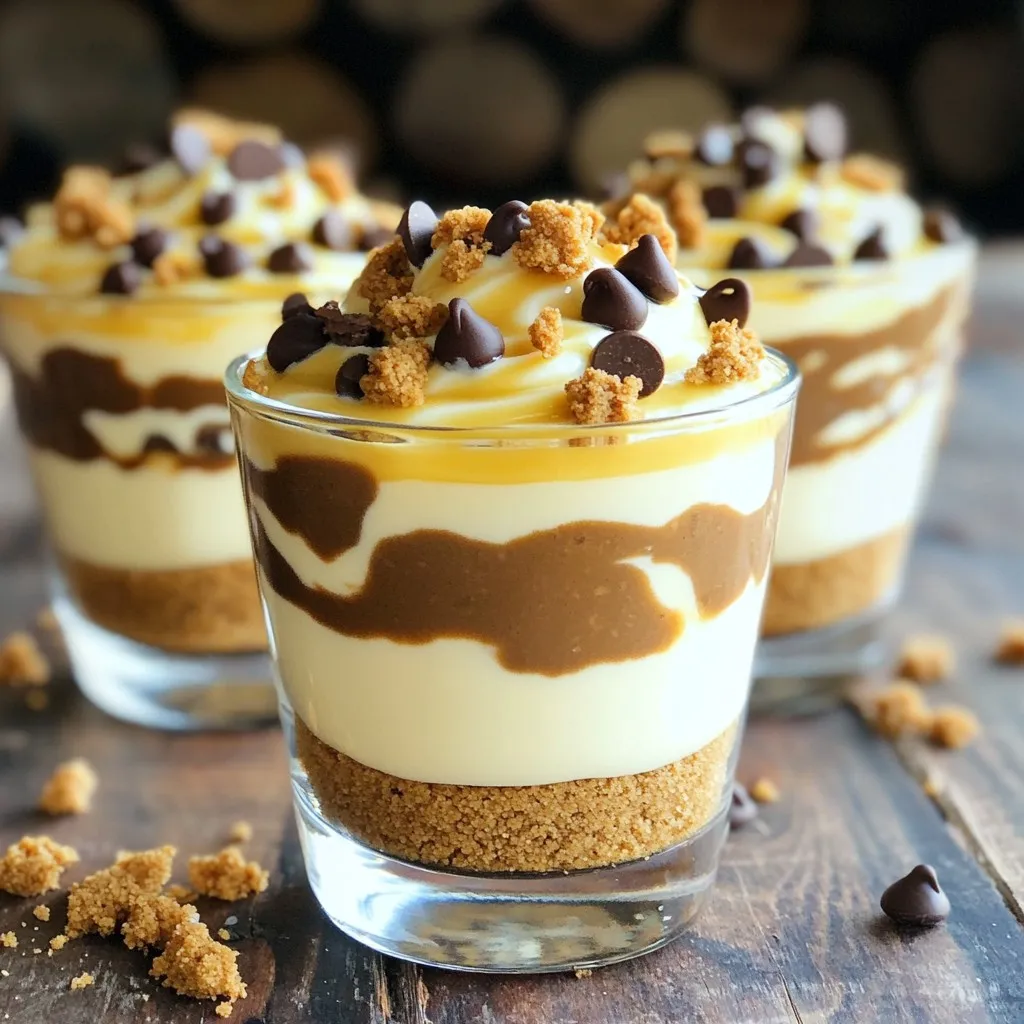
No-Bake Cookie Butter Cheesecake Cups Delightful Treat
Are you ready to indulge in a creamy, sweet treat without turning on your oven? These No-Bake Cookie Butter Cheesecake Cups are the answer! With