Breakfast
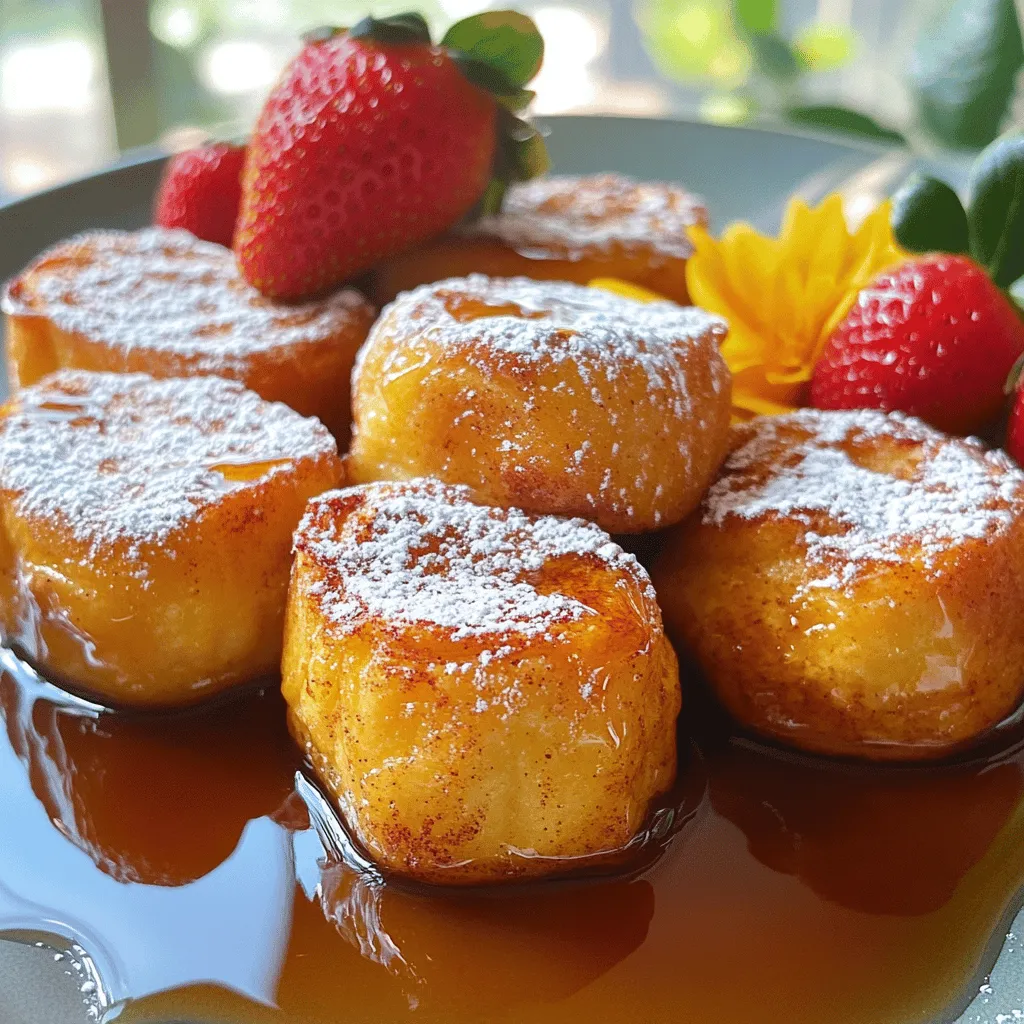
Cinnamon Roll French Toast Bites Tasty Sweet Treat
Are you ready for a warm, sweet treat that combines two breakfast favorites? Cinnamon Roll French Toast Bites offer the perfect blend of gooey cinnamon
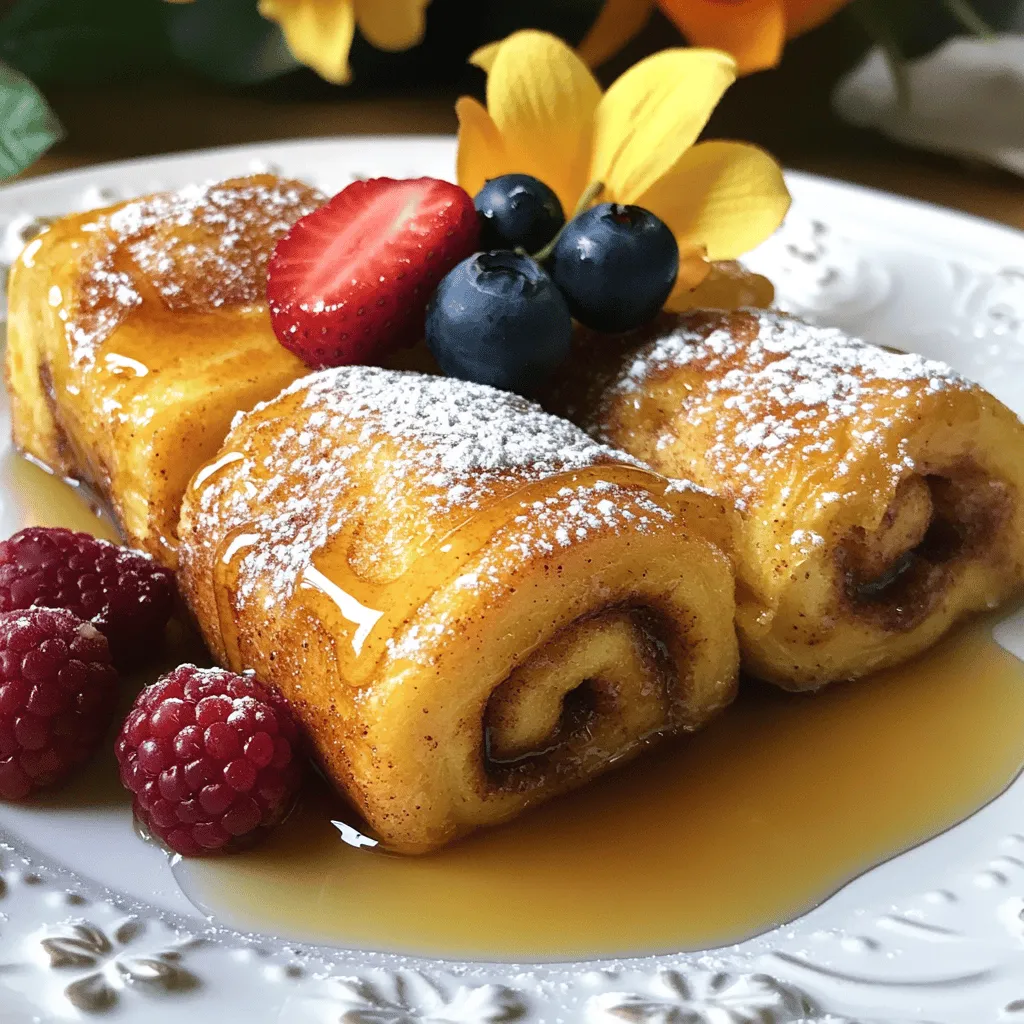
Cinnamon Roll French Toast Rolls Delightfully Simple Recipe
Are you ready for a tasty twist on breakfast? Cinnamon Roll French Toast Rolls combine sweet rolls and classic French toast. This simple recipe is
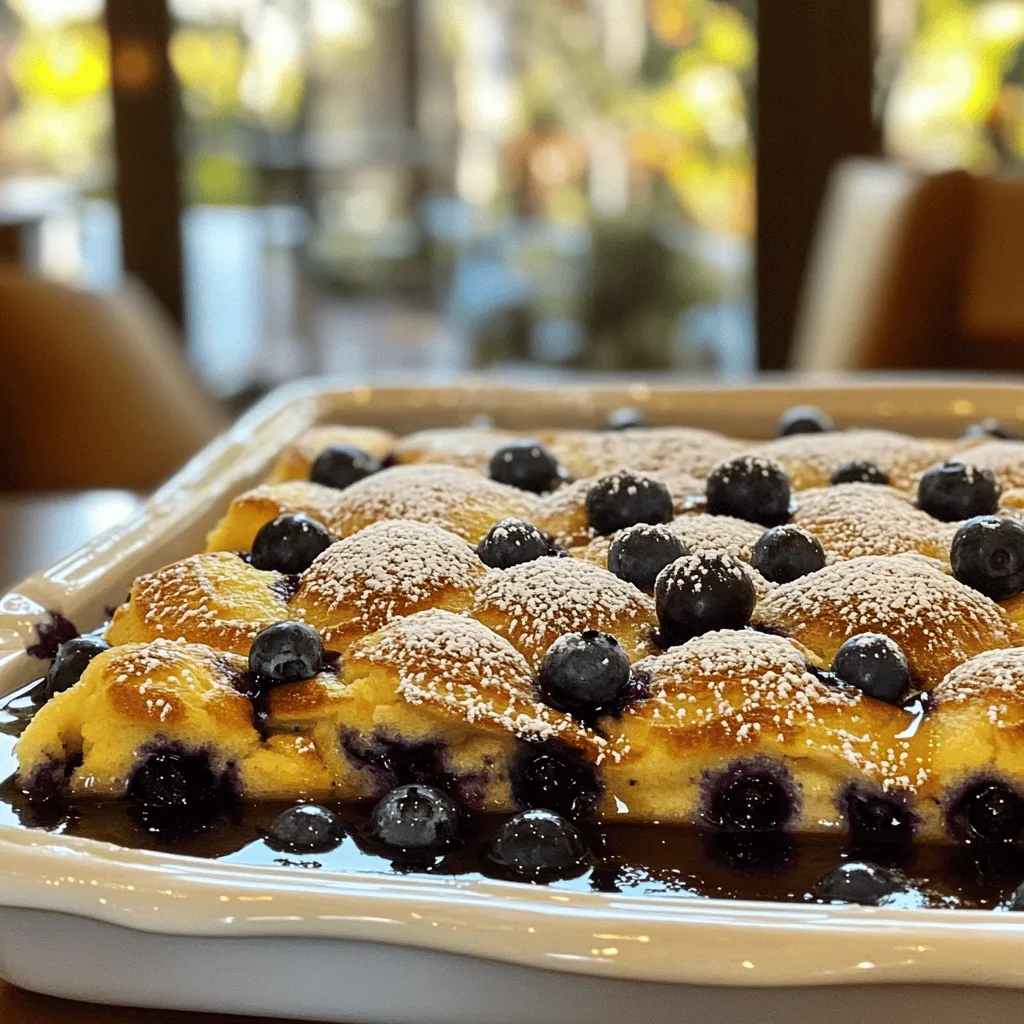
Blueberry Buttermilk Pancake Casserole Delight
Craving a delicious breakfast that everyone will love? Try my Blueberry Buttermilk Pancake Casserole Delight! This dish mixes fluffy pancakes with juicy blueberries for a
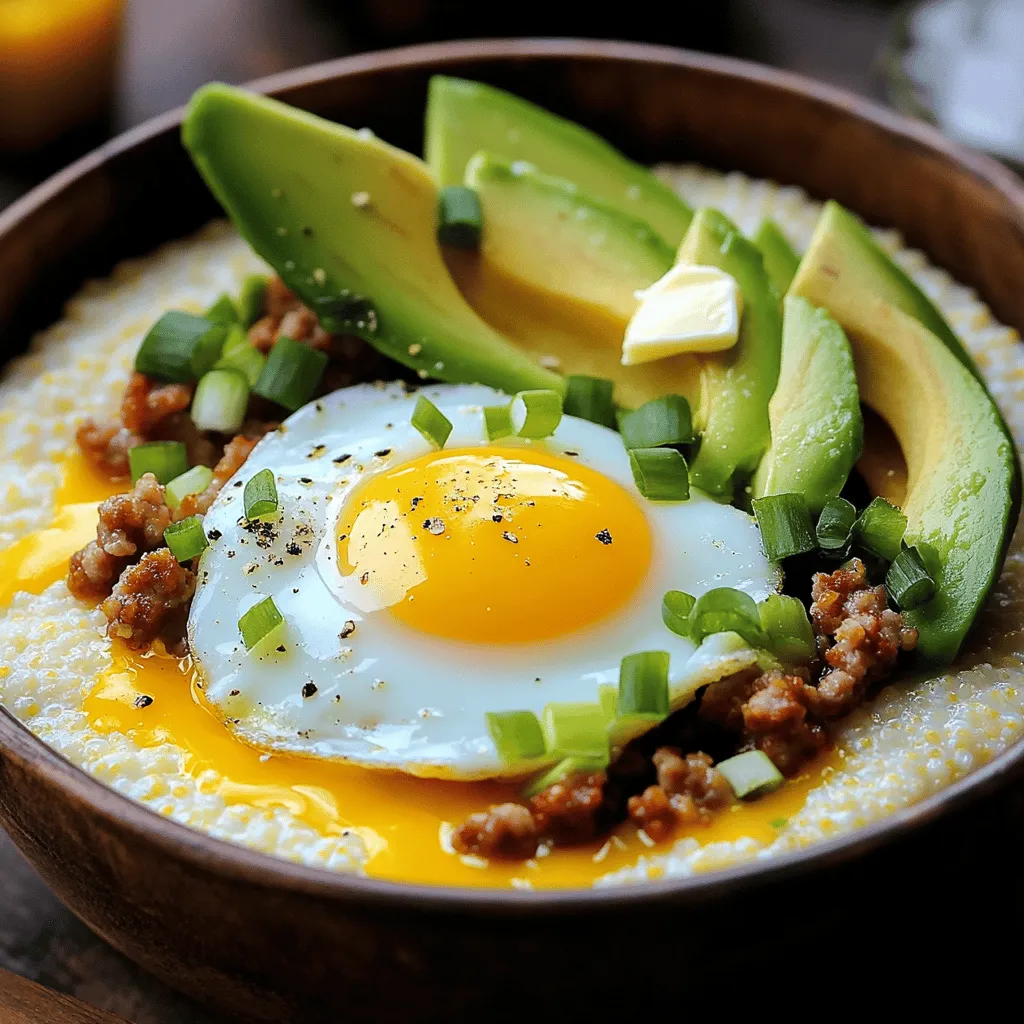
Grits Breakfast Bowl Flavorful and Hearty Meal
Start your day with a warm, tasty Grits Breakfast Bowl! This hearty meal is perfect for those busy mornings when you need a yummy boost.
Hawaiian Sweet Roll French Toast Bake Delight
If you love breakfast treats, this Hawaiian Sweet Roll French Toast Bake is for you! Imagine warm, sweet rolls soaked in rich egg custard, baked
![To make savory breakfast poptarts, you need a few key ingredients. Here’s what you will need: - Essential items for the pastry dough - 2 cups all-purpose flour - 1/2 teaspoon salt - 1 tablespoon sugar - 1/2 cup unsalted butter, cold and cubed - 4-6 tablespoons ice water - Savory filling components - 1 cup shredded cheddar cheese - 1/2 cup cooked sausage, crumbled (or vegetarian alternative) - 1/4 cup finely chopped green onions - 1/4 teaspoon black pepper - Optional toppings and sauces for serving - 1 egg, beaten (for egg wash) - Hot sauce or salsa for serving Gather these ingredients before you start. Having everything ready makes cooking easier. Now, let’s get to the fun part! If you want the full recipe, check out the instructions linked above. 1. Mixing dry ingredients: Start by grabbing a large bowl. Add 2 cups of all-purpose flour, 1/2 teaspoon of salt, and 1 tablespoon of sugar. Stir them together until they blend well. 2. Incorporating butter and adding water: Next, take 1/2 cup of unsalted butter. Make sure it is cold and cut into small cubes. Add the butter to the flour mix. Use your fingers or a pastry cutter to mix until it looks like coarse crumbs. Slowly add 4 to 6 tablespoons of ice water, one tablespoon at a time. Stop mixing when the dough just comes together. 3. Refrigerating the dough: Divide the dough into two discs. Wrap each disc in plastic wrap. Place them in the fridge for at least 30 minutes. This helps the dough stay firm and easy to roll out later. 1. Combining cheese and meat or vegetarian alternatives: In a separate bowl, combine 1 cup of shredded cheddar cheese and 1/2 cup of cooked sausage. If you prefer a vegetarian option, use a meat substitute. Add 1/4 cup of finely chopped green onions for flavor. 2. Seasoning the filling mixture: Finally, sprinkle in 1/4 teaspoon of black pepper. Mix everything until it is well combined. Set this filling aside while you roll out the dough. 1. Rolling out dough and cutting shapes: Preheat your oven to 400°F (200°C). Take one disc of dough from the fridge. On a floured surface, roll it out to about 1/8 inch thick. Use a knife or a pizza cutter to cut it into rectangles, around 4x6 inches. 2. Filling the poptarts and sealing them: Place a tablespoon or more of the filling mixture on one half of each rectangle. Be careful not to overfill. Fold the other half over and press down the edges to seal. You can crimp the edges with a fork for a fun look. 3. Applying egg wash and baking time: Place the filled poptarts on a baking sheet lined with parchment paper. Brush the tops with 1 beaten egg. This gives them a nice golden color. Bake for 20 to 25 minutes, or until they turn golden brown. Now your savory breakfast poptarts are ready to enjoy! For the full recipe, check out the details above. To make your savory breakfast poptarts exciting, try different fillings. You can swap the cheddar for mozzarella or feta cheese. Add cooked bacon, ham, or even mushrooms for extra taste. Want a fresh twist? Use fresh herbs like parsley, basil, or dill in your filling. A sprinkle of garlic powder or onion powder can also boost flavor. The dough needs the right texture. It should be firm but not dry. Roll it out to about 1/8 inch thick; too thick means tough poptarts, too thin risks tearing. One common mistake is overworking the dough. This leads to a tough pastry instead of a flaky one. Always chill the dough before rolling it out to help it stay tender. If you notice cracks, it's okay; just patch them with your fingers. {{image_2}} You can change the filling in savory Poptarts to fit your taste. For vegetarian options, use spinach, mushrooms, or bell peppers. A blend of cheeses like feta and mozzarella provides great flavor too. For a vegan twist, replace the cheese with nut-based cheese or tofu. If you want to try flavors from around the world, consider these ideas: - Mediterranean: Use feta cheese, olives, and sun-dried tomatoes. - Mexican: Fill with black beans, corn, and a sprinkle of cumin. - Italian: Go for ricotta, basil, and a hint of garlic. Each filling brings a unique taste. Mix and match to find your favorite! If you need gluten-free Poptarts, you can easily adapt the recipe. Use gluten-free flour blends instead of all-purpose flour. Make sure the blend has xanthan gum to help with texture. For the best gluten-free Poptarts: - Roll the dough slightly thicker. This helps keep it together. - Chill the dough longer before rolling it out. Cold dough is easier to handle. These tips will help you create tasty, gluten-free breakfast treats! Don’t forget to check the [Full Recipe] for all the steps. To keep your baked poptarts fresh, store them in an airtight container. This will help maintain their crispness. If you plan to eat them within a few days, keep them at room temperature. For longer storage, place them in the fridge. For freezing, wrap each poptart individually in plastic wrap. Then, place them in a freezer-safe bag. This way, you can enjoy them later without worry. They can stay good in the freezer for up to three months. When it comes to reheating, avoid a soggy poptart. The best method is to use an oven. Preheat your oven to 350°F (175°C). Place the poptart on a baking sheet for about 10 minutes. This will make them warm and crisp again. If you are short on time, you can use a microwave. Heat for about 30 seconds. However, the texture won’t be as good as with the oven. Enjoy your Savory Breakfast Poptarts fresh out of the oven or reheated! How do I make savory breakfast Poptarts from scratch? To make savory breakfast Poptarts, first, prepare the dough. Mix flour, salt, and sugar in a bowl. Cut in cold butter until the mix looks like crumbs. Add ice water slowly until the dough forms. Chill it for 30 minutes. Next, make the filling with cheese, cooked sausage, green onions, and black pepper. Roll the dough, cut into rectangles, fill, and seal. Brush with egg and bake until golden. For the full recipe, check the earlier section. Can I use store-bought dough for this recipe? Yes, you can use store-bought dough. It saves time and still tastes great. Look for pie crust or puff pastry dough. Roll it out and follow the same steps for filling and baking. What are the best sauces to serve with savory Poptarts? Hot sauce or salsa works well with savory Poptarts. You can also try ranch dressing or a creamy garlic sauce. These add extra flavor and make the dish even more enjoyable. What to do if the dough is too sticky? If the dough is too sticky, add a little more flour, one tablespoon at a time. Mix gently until it comes together. Always avoid overworking the dough to keep it light and flaky. How to avoid soggy bottom poptarts? To prevent soggy bottoms, use parchment paper on your baking sheet. Ensure the filling is not too wet, and bake until golden brown. Let them cool slightly before serving for the best texture. Basic nutritional information per serving of Savory Breakfast Poptarts Each savory breakfast Poptart has about 200 calories. This includes protein, fats, and carbs from the dough and filling. Caloric differences based on filling choices Using different fillings can change the calorie count. For example, using a vegetarian filling may lower the calories. However, using more cheese or fatty meats can raise it. Always check the ingredients to know what works best for your diet. In this blog post, we covered how to make delicious savory poptarts. We started with the key ingredients, focusing on both the dough and filling. Next, I shared clear steps for preparation and baking, followed by helpful tips for flavor and dough texture. We explored filling variations and gluten-free options, along with best storage practices. Remember, cooking is all about trying new things. Don't hesitate to experiment with flavors. Enjoy your homemade savory poptarts, and share them with friends!](https://stirredrecipes.com/wp-content/uploads/2025/05/b4371643-3b91-4251-8e5e-86736d0620bc.webp)
Savory Breakfast Poptarts Delightful and Simple Recipe
Are you ready to elevate your breakfast game? Savory breakfast poptarts are a fun twist on a classic treat, and I’m here to show you
. In this post, we covered how to create delicious breakfast bombs. You learned about key ingredients, simple steps to prepare, and tips for the best results. We also explored serving ideas, variations for different diets, and storage solutions. Now, you can enjoy quick, tasty meals that fit your lifestyle. Remember, these breakfast bombs offer great flavor and easy prep. Have fun experimenting with your own twist!](https://stirredrecipes.com/wp-content/uploads/2025/05/66048d53-763d-4412-80ef-68736830d70c.webp)
Breakfast Bombs Flavor-Packed Morning Delight
Start your mornings with a burst of flavor! These Breakfast Bombs are not just tasty; they’re packed with eggs, cheese, and veggies, making breakfast fun
Breakfast Enchiladas Flavorful and Easy Recipe Guide
Are you ready to spice up your mornings? This Breakfast Enchiladas guide will transform your breakfast routine into a fiesta of flavors! With simple ingredients