Breakfast
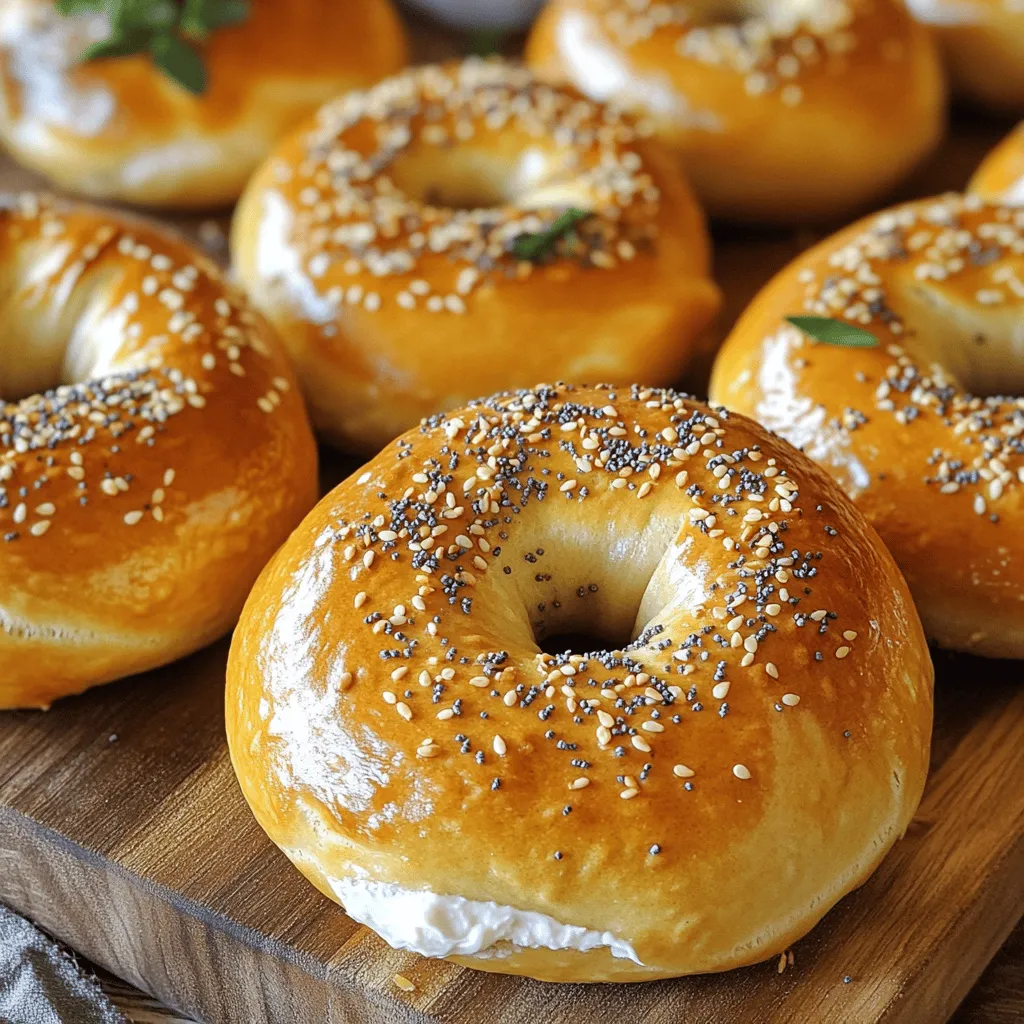
Healthy Greek Yogurt Bagels Wholesome and Easy Recipe
Looking for a quick, tasty treat that’s good for you? I’ve got the perfect recipe: Healthy Greek Yogurt Bagels! These bagels are not only easy
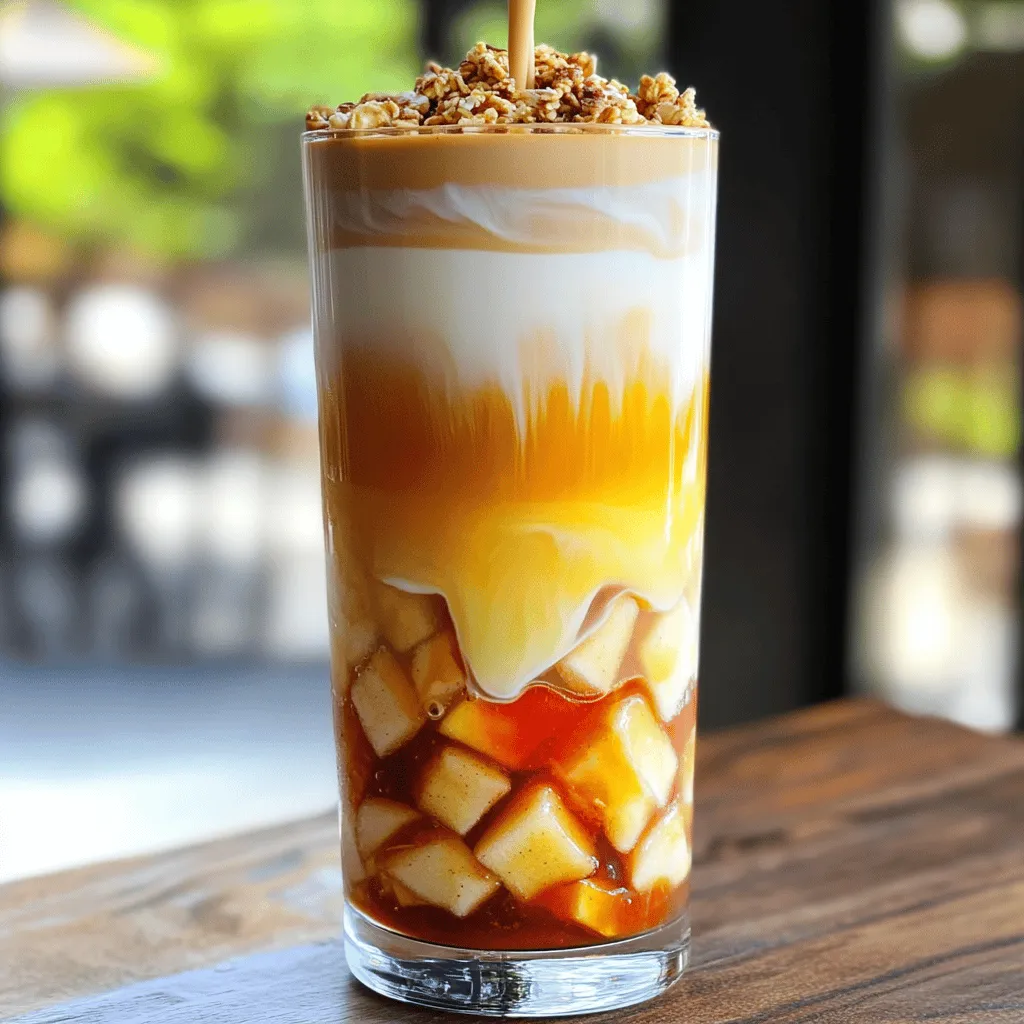
Iced Apple Crisp Oatmilk Macchiato Delight Recipe
Looking for a delightful way to enjoy fall flavors? You’ll love this Iced Apple Crisp Oatmilk Macchiato! With cozy cinnamon, sweet maple syrup, and creamy
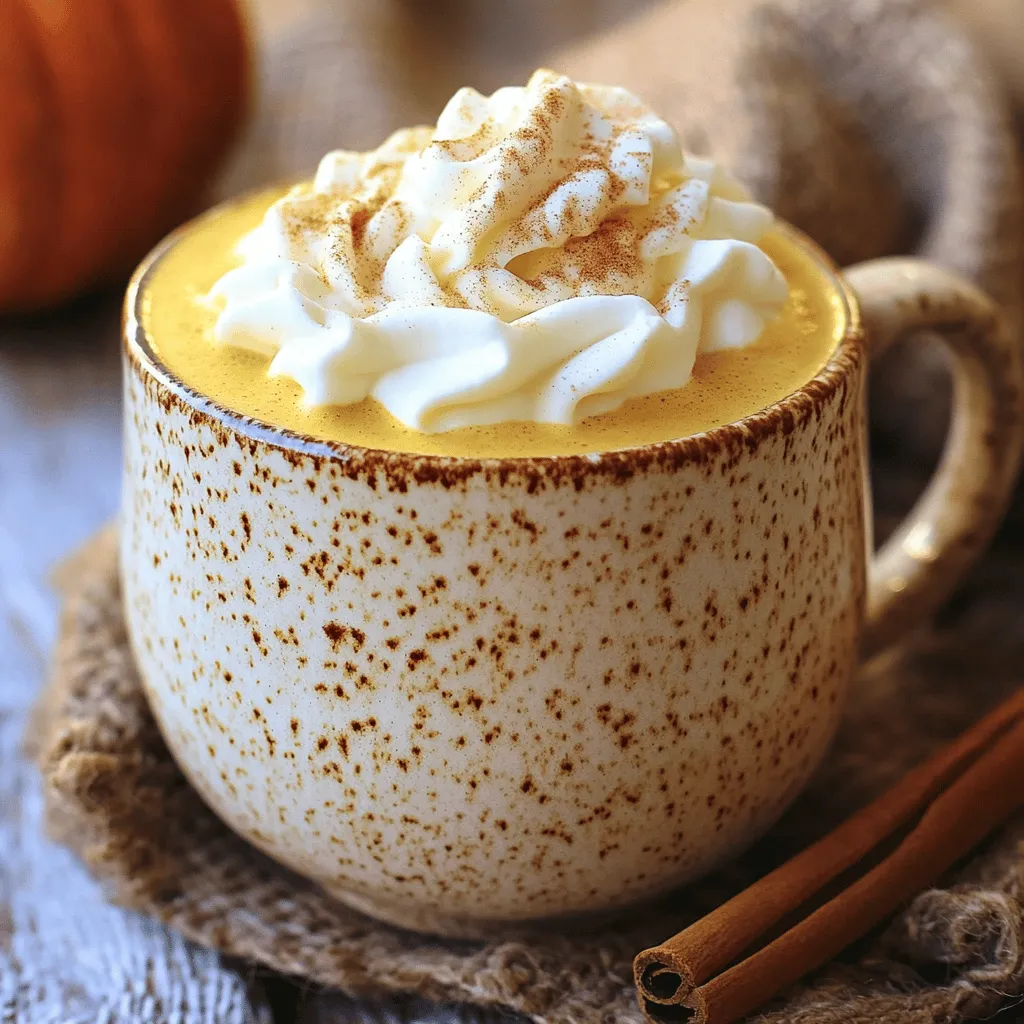
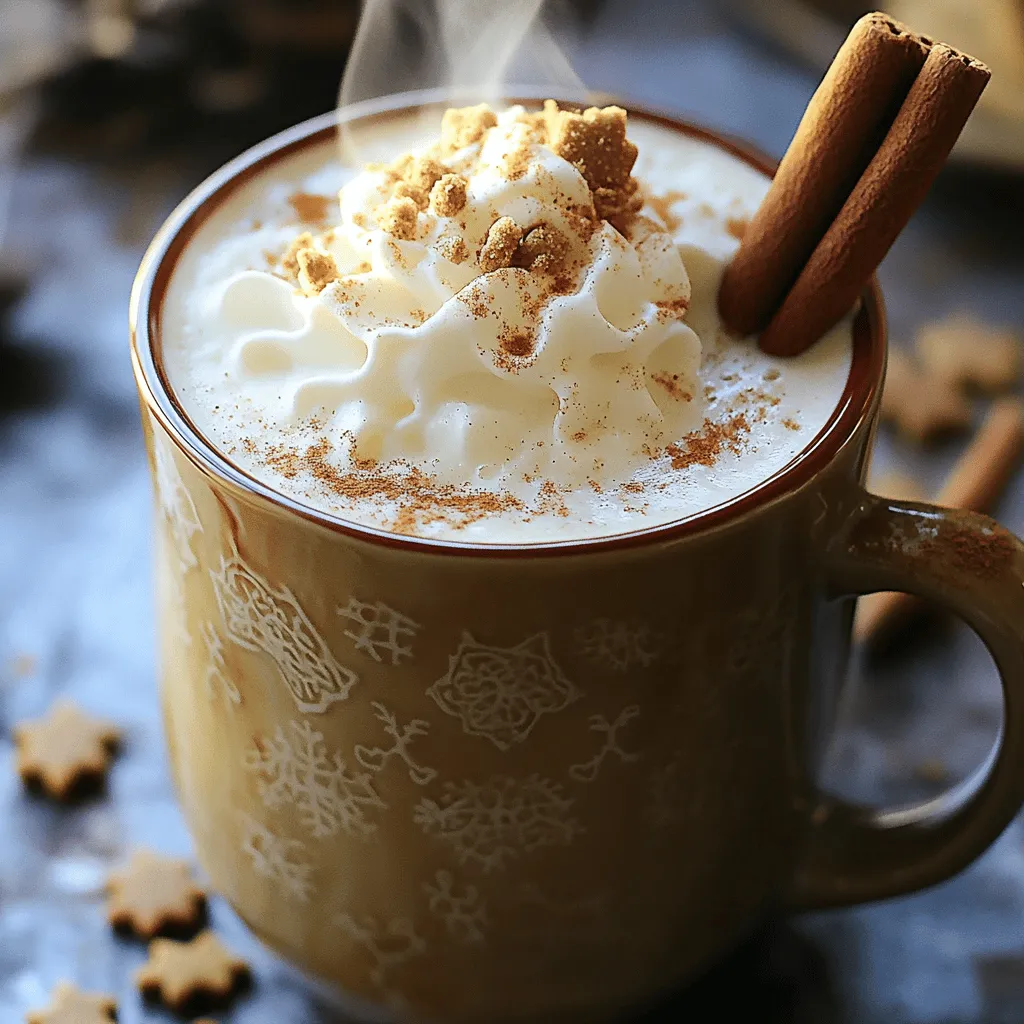
Pumpkin Spice Latte Comforting Fall Drink Recipe
As the leaves change and the air gets crisp, nothing warms you up like a Pumpkin Spice Latte. This comforting fall drink is not just
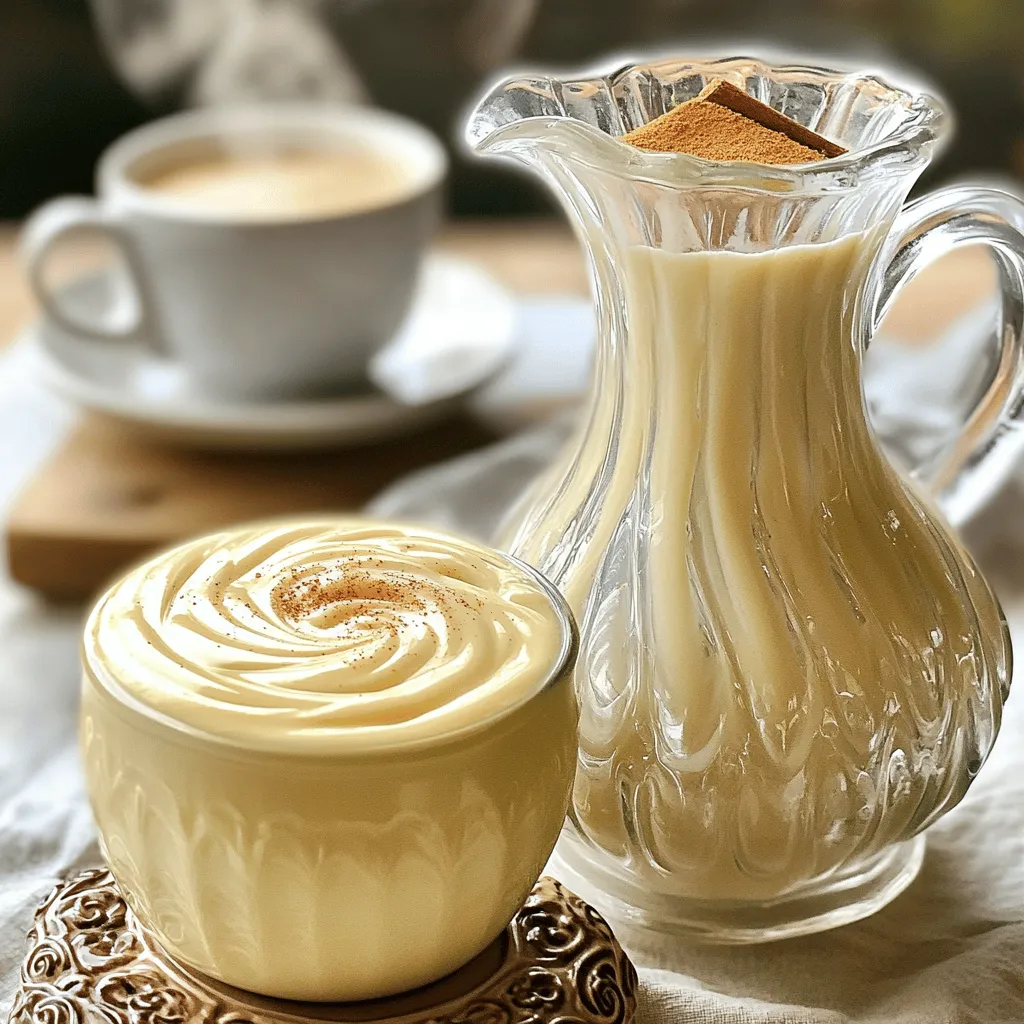
Homemade Vanilla Coffee Creamer Rich and Creamy Delight
Are you tired of store-bought coffee creamers that are packed with preservatives? You’ve come to the right place! In this post, I’ll guide you through
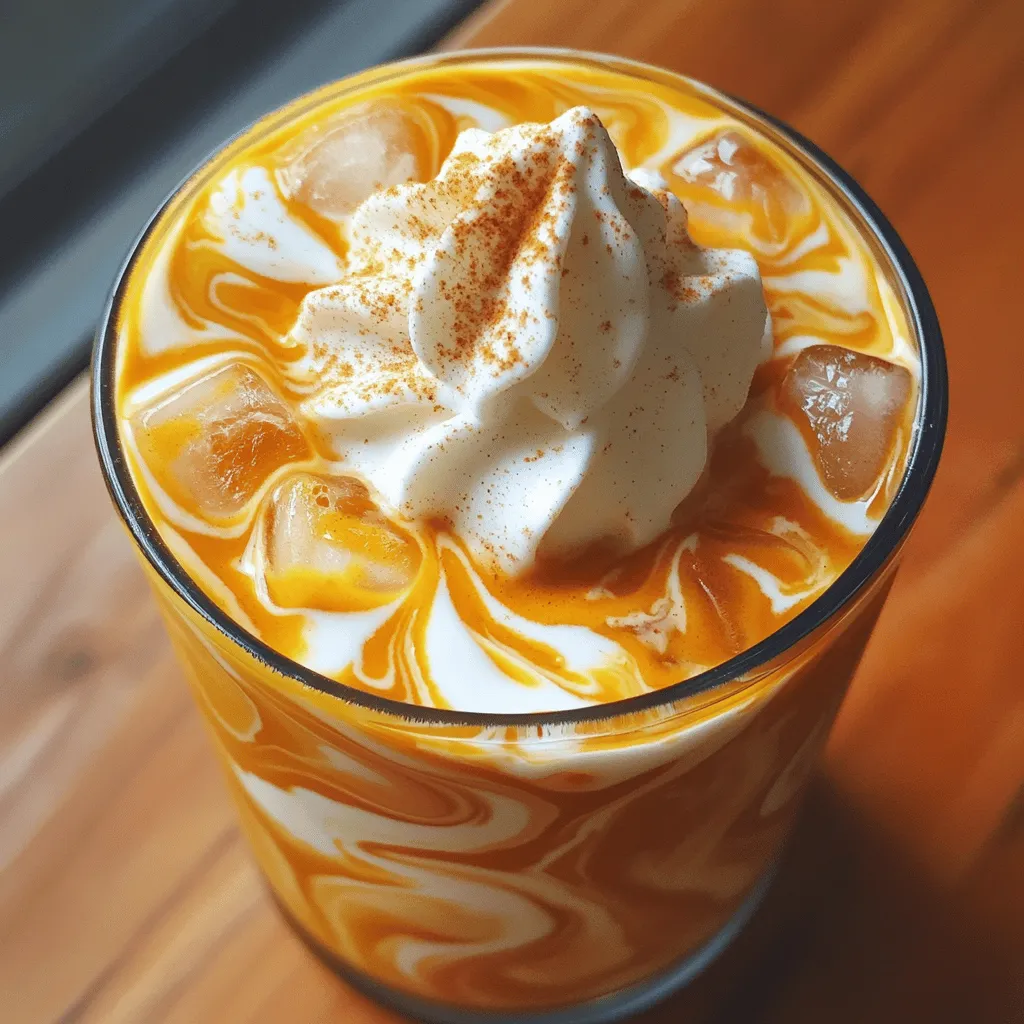
Pumpkin Brown Sugar Shaken Espresso Flavorful Delight
Craving a cozy fall treat to fuel your day? Look no further than my Pumpkin Brown Sugar Shaken Espresso. This flavorful delight combines bold espresso
Homemade Gingerbread Latte Irresistible Holiday Drink
Craving a cozy holiday drink? You can’t go wrong with a homemade gingerbread latte! This festive beverage combines strong coffee and creamy milk with warm
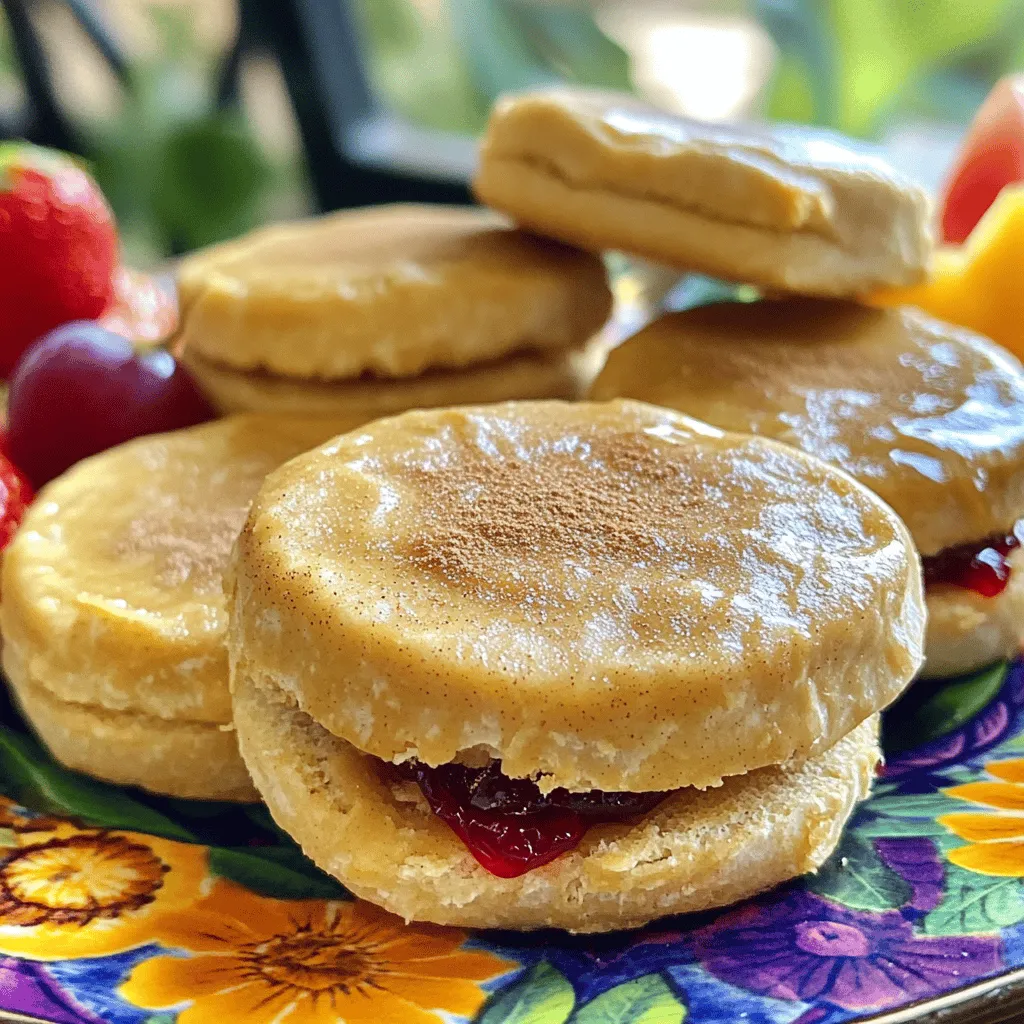
Homemade Uncrustables Easy and Tasty Lunch Idea
Looking for a fun and easy lunch idea? Homemade Uncrustables are the perfect solution! Packed with peanut butter and jelly, these sandwiches are quick to
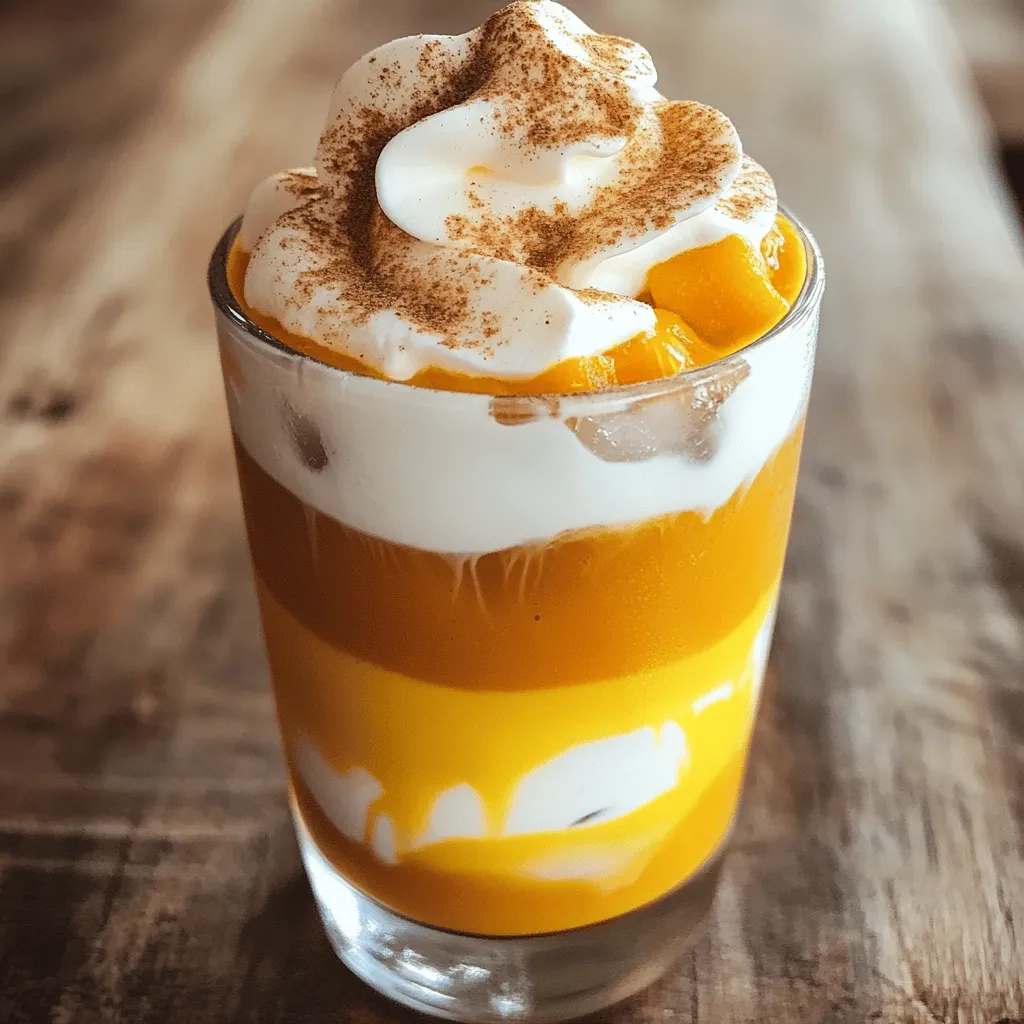
Pumpkin Cream Cold Brew Recipe Delicious and Easy
If you’re craving a delightful fall drink, you’re in the right place! This Pumpkin Cream Cold Brew recipe is easy to follow and full of
![The right ingredients make your pumpkin pancakes tasty and fluffy. Here’s what you need: - 1 cup all-purpose flour - 1/2 cup canned pumpkin puree - 2 tablespoons brown sugar - 1 tablespoon baking powder - 1 teaspoon pumpkin pie spice - 1/2 teaspoon salt - 1 cup milk (or dairy-free alternative) - 1 large egg - 2 tablespoons melted butter (or coconut oil for a dairy-free option) - Maple syrup and crushed walnuts for serving All-purpose flour gives structure to the pancakes. It helps them rise and hold shape. Canned pumpkin puree adds moisture and a rich flavor. It also brings that lovely orange color. Brown sugar adds sweetness and a hint of caramel flavor. You can swap it with white sugar if needed. Baking powder is essential for fluffiness. It helps the pancakes rise as they cook. Pumpkin pie spice gives those warm, cozy flavors. If you don’t have it, mix cinnamon, nutmeg, and ginger. Salt enhances all the flavors in your pancakes. Milk keeps the batter smooth. You can use almond or soy milk for a dairy-free option. Egg adds richness and helps bind the ingredients together. Melted butter adds flavor and moisture. Coconut oil works well if you want to skip dairy. For toppings, maple syrup and crushed walnuts add sweetness and crunch. You can try honey or pecans too! With this ingredient list, you can create a delightful breakfast. They are simple and fun to make! For the Full Recipe, check the earlier section to ensure you don’t miss anything. To make easy pumpkin pancakes, follow these steps carefully. Each step helps ensure your pancakes taste great! 1. Mix Dry Ingredients: In a large bowl, add 1 cup of all-purpose flour, 2 tablespoons of brown sugar, 1 tablespoon of baking powder, 1 teaspoon of pumpkin pie spice, and 1/2 teaspoon of salt. Whisk these together well. This helps the pancake rise and be fluffy. 2. Combine Wet Ingredients: In another bowl, mix 1 cup of milk, 1/2 cup of canned pumpkin puree, 1 large egg, and 2 tablespoons of melted butter. Stir until smooth. This mixture adds moisture and flavor. 3. Combine Wet and Dry: Pour the wet mix into the dry mix. Use a spatula to stir gently. Mix just until you see no dry flour. Some lumps are perfectly fine. Overmixing can make your pancakes tough. 4. Heat the Skillet: Place a non-stick skillet or griddle on medium heat. Lightly grease it with butter or oil. Make sure it’s hot enough before you pour in the batter. 5. Cook the Pancakes: Pour about 1/4 cup of batter onto the skillet for each pancake. Cook until bubbles form on the top, about 2 to 3 minutes. This shows they are ready to flip. 6. Flip and Finish: Carefully flip the pancakes. Cook for another 2 to 3 minutes on the other side. They should be golden brown. 7. Repeat Cooking: Continue with the rest of the batter. Adjust the heat as needed to avoid burning. 8. Serve Warm: Enjoy your pancakes warm! Drizzle with maple syrup and sprinkle with crushed walnuts for crunch. These steps will help you create perfect pumpkin pancakes every time. For the full recipe, check out the earlier section. To make the best pumpkin pancakes, focus on cooking time and temperature. I cook them on medium heat for even browning. Each pancake takes about 2-3 minutes on one side. You know they’re ready to flip when bubbles form on the surface. Avoid common mistakes to keep your pancakes fluffy. Overmixing can make them tough. Stir the batter gently, leaving some lumps. Also, keep an eye on the heat. If the pan is too hot, pancakes may burn before cooking through. Get creative with toppings to enhance your pancakes. Maple syrup is classic, but try adding crushed walnuts for crunch. Fresh fruits like sliced bananas or berries also work well. Pair these pancakes with other breakfast items for a full meal. Consider serving them with yogurt or scrambled eggs. This combo makes for a balanced breakfast that is both tasty and satisfying. For the complete recipe, check out Easy Pumpkin Pancakes. {{image_2}} You can easily change the taste of your pumpkin pancakes. Try adding spices like cinnamon or nutmeg for extra warmth. You can also mix in chocolate chips or nuts for a fun twist. If you want a gluten-free version, replace the all-purpose flour with a gluten-free flour blend. For a vegan option, use flax eggs instead of a regular egg and almond milk in place of dairy milk. Both swaps keep the pancakes delicious and fluffy. When serving, you can choose a sweet or savory style. For sweet, drizzle maple syrup and sprinkle crushed walnuts on top. You might also add fresh fruit like bananas or apples for a burst of flavor. For a savory twist, try adding crispy bacon or a dollop of Greek yogurt. You can serve pancakes stacked high or lay them out on a platter for a fun brunch display. Mixing these styles can make breakfast exciting and delicious. To keep your leftover pancakes fresh, place them in an airtight container. Stack them with parchment paper between each pancake. This method helps prevent sticking. Store the container in the fridge for up to three days. When you're ready to eat, just reheat them. For reheating, use a skillet on low heat. This keeps the pancakes soft and warm. You can also microwave them for 20-30 seconds. Just cover them with a damp paper towel to keep moisture in. Freezing pancakes is easy and a great way to save time. Start by letting your pancakes cool completely. Once they are cool, lay them flat on a baking sheet. Make sure they do not touch each other. Freeze the pancakes for about one hour. After they freeze, transfer the pancakes into a freezer bag. Remove as much air as possible before sealing. Label the bag with the date. You can keep them in the freezer for up to two months. To reheat frozen pancakes, just pop them in the toaster or microwave. If using a microwave, heat them for 1-2 minutes. This will help them taste fresh again. Enjoy your Easy Pumpkin Pancakes anytime! For the full recipe, check out the [Full Recipe]. What can I substitute for pumpkin puree? If you don’t have pumpkin puree, you can use mashed bananas or applesauce. Both add moisture and sweetness. You can also try butternut squash puree for a similar flavor. Just make sure your substitute is smooth and not too watery. Can I make the batter ahead of time? Yes, you can make the batter ahead of time. Store it in the fridge for up to 24 hours. Just remember to stir it gently before cooking. The batter may thicken as it sits, so add a splash of milk if needed. How do I know when pancakes are done cooking? Pancakes are done when they are golden brown on both sides. Look for bubbles forming on the surface. Once the bubbles pop and leave holes, it’s time to flip. Cook for another 2-3 minutes after flipping. Enjoy your pancakes warm! This article covered making easy pumpkin pancakes from the ground up. We explored key ingredients and their roles, plus swaps for dietary needs. I shared step-by-step instructions for smooth mixing and perfect cooking techniques. Helpful tips keep texture right and avoid mistakes. You got ideas for tasty toppings and serving styles, along with how to store and freeze leftovers safely. In short, these pancakes are versatile and easy. You can enjoy them anytime. Make your kitchen come alive with great flavors!](https://stirredrecipes.com/wp-content/uploads/2025/08/7930d034-0b87-43f6-839a-962f119ed83d.webp)
Easy Pumpkin Pancakes Simple and Tasty Breakfast Dish
Are you craving a warm and tasty breakfast that’s quick to make? Look no further! My Easy Pumpkin Pancakes are the perfect way to enjoy
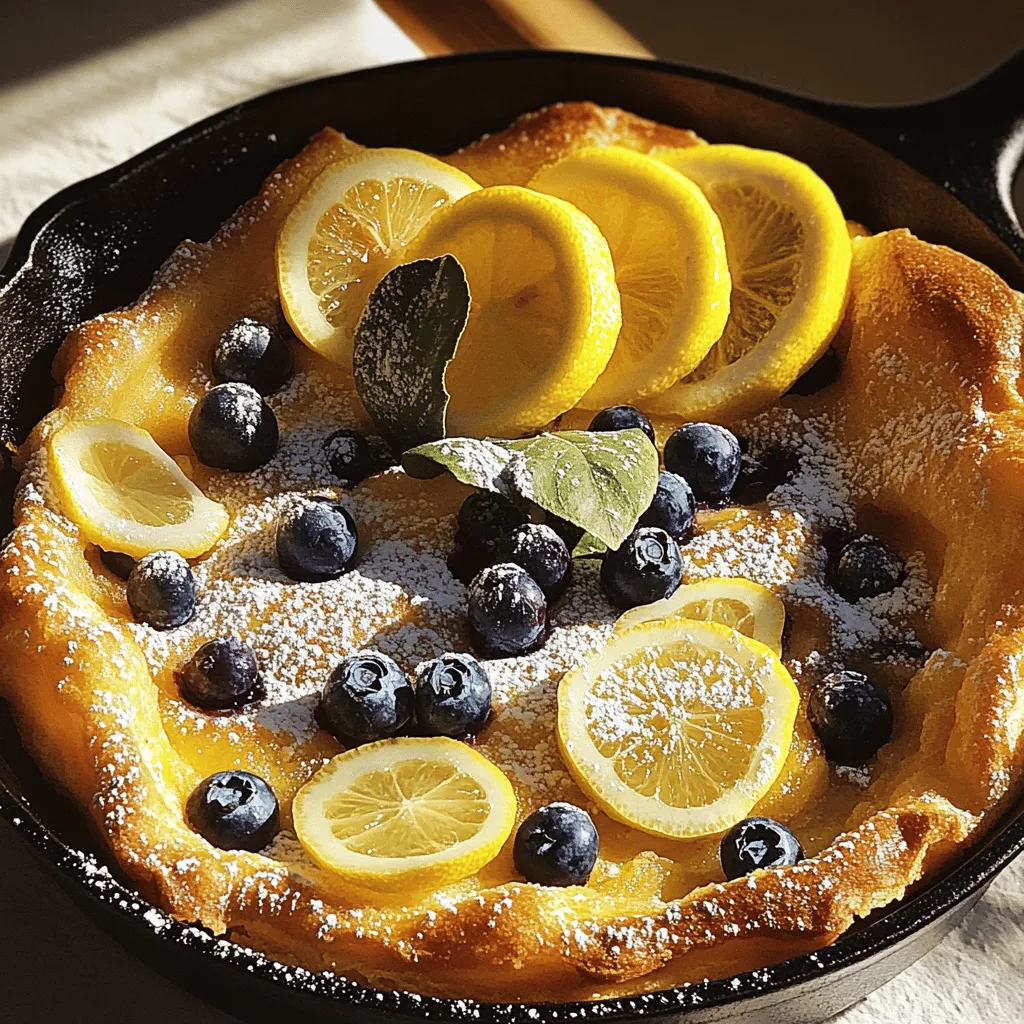
Perfect Lemon Blueberry Dutch Baby Delightful Treat
Are you ready to whip up a delightful treat that will wow your family and friends? The Perfect Lemon Blueberry Dutch Baby is not just