Breakfast
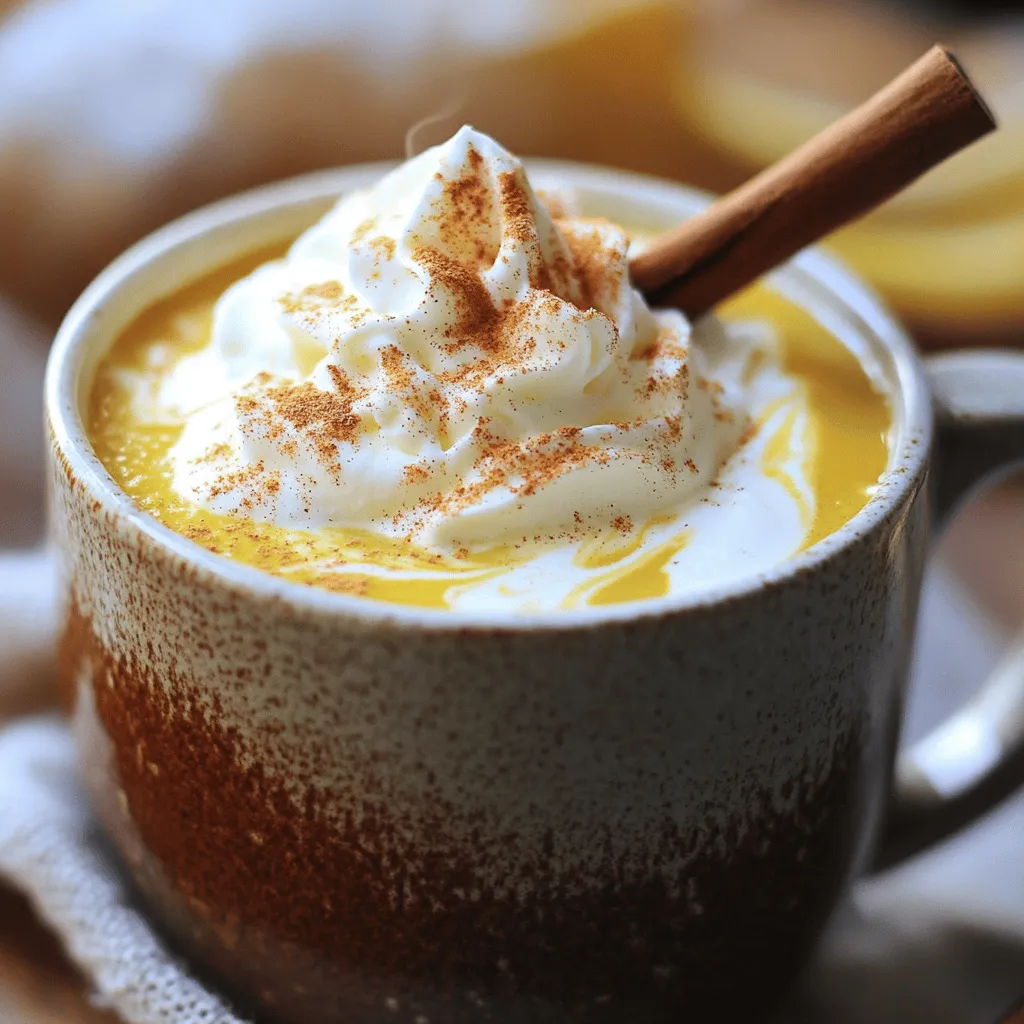
Best Pumpkin Spice Latte Rich and Easy Recipe
Are you ready to savor the ultimate fall treat? This Best Pumpkin Spice Latte recipe will bring warmth and flavor to your home. With just
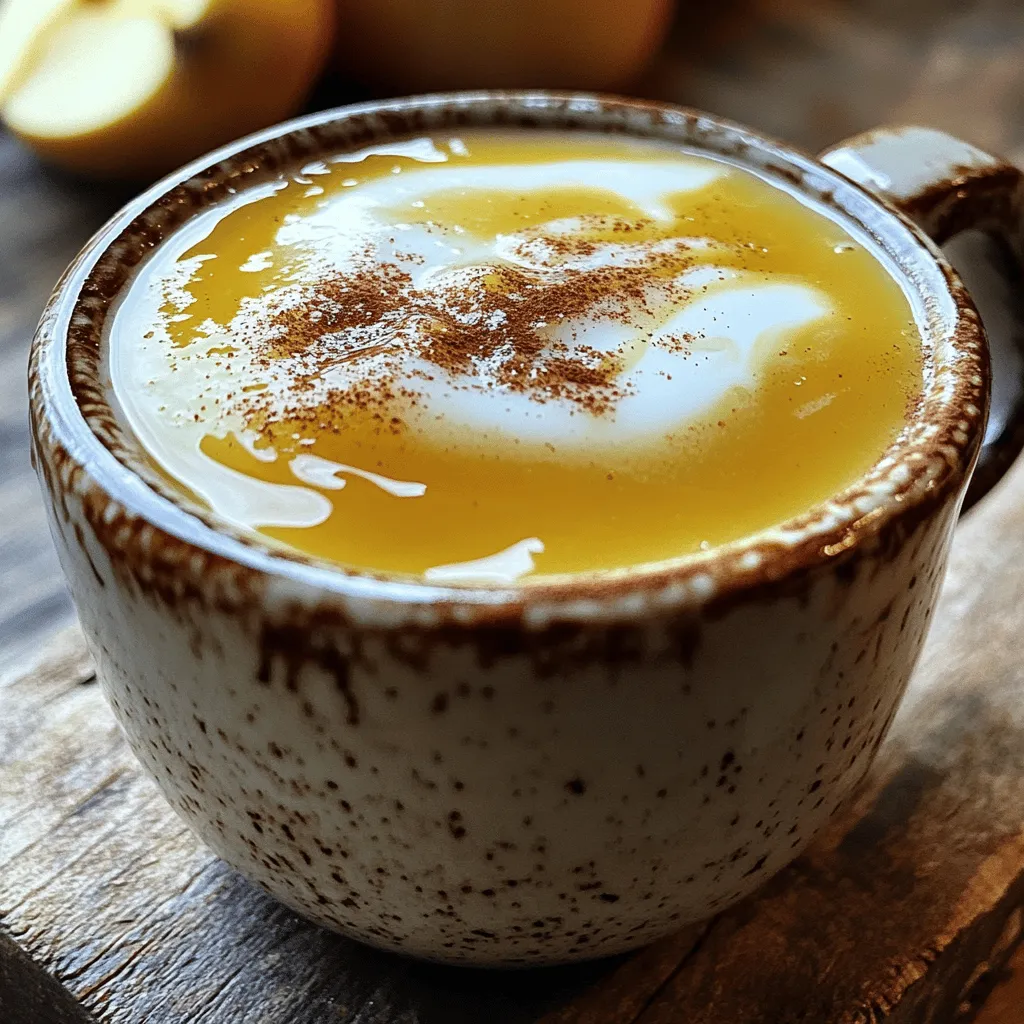
Cozy Apple Butter Latte Comfort in Every Sip
Warm your heart and taste buds with a Cozy Apple Butter Latte! This delightful drink combines sweet apple butter and rich coffee for the perfect
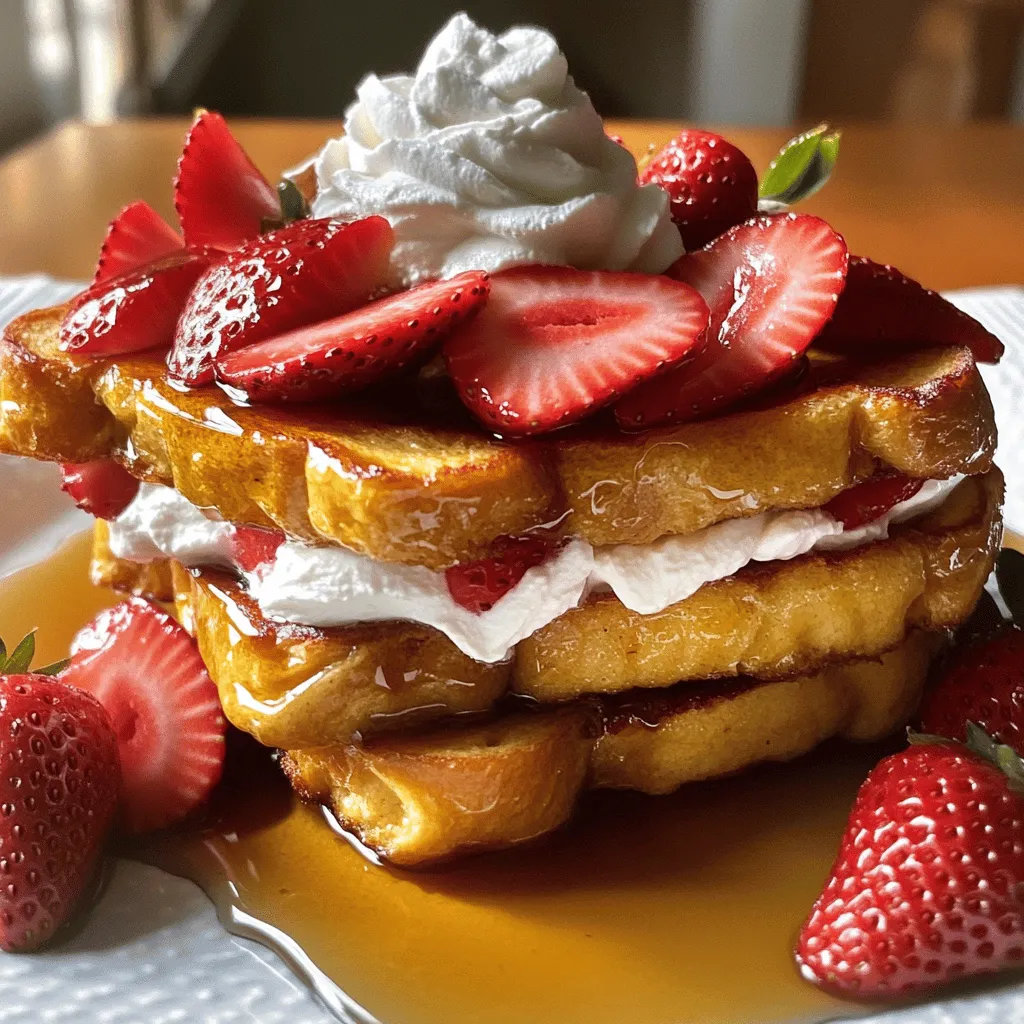
Strawberry Cheesecake French Toast Tasty Breakfast Delight
Are you ready to elevate your breakfast game? Strawberry Cheesecake French Toast is the perfect blend of sweet and creamy goodness that will leave you
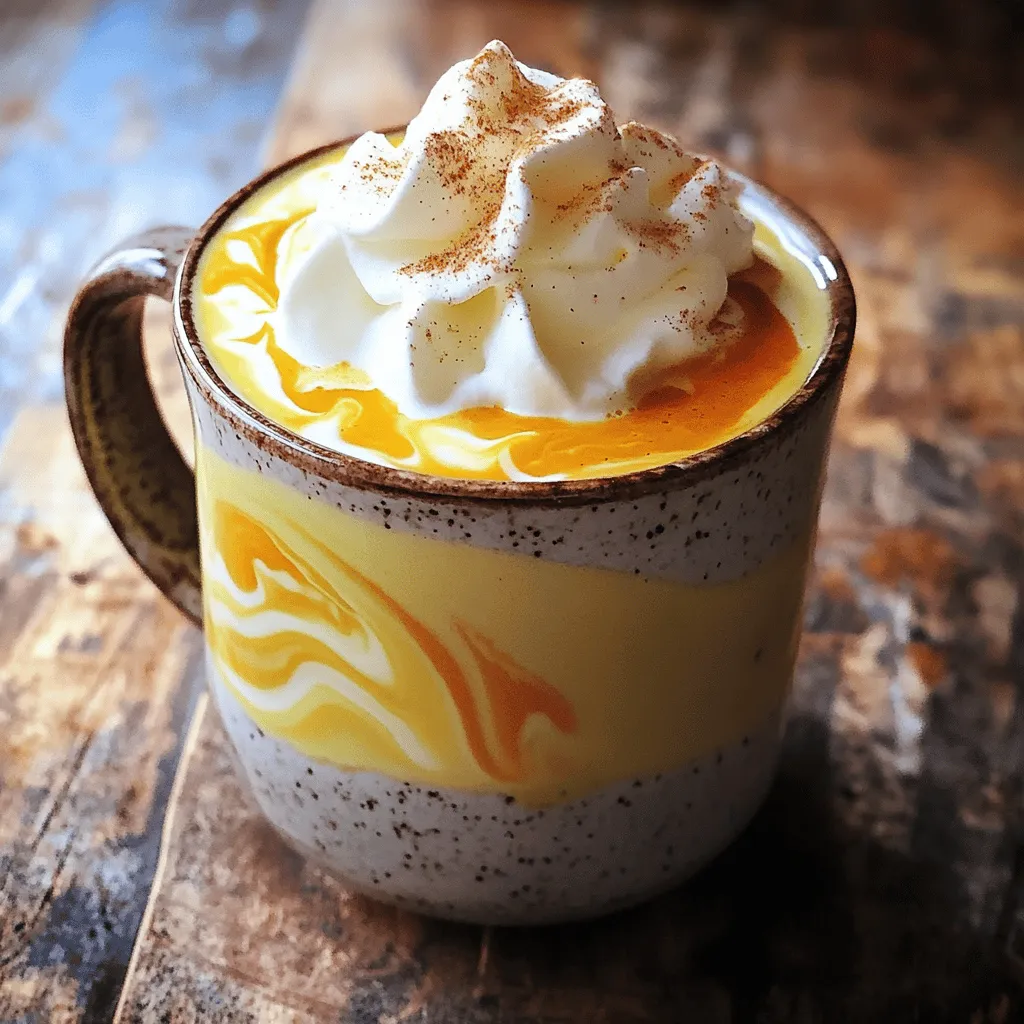
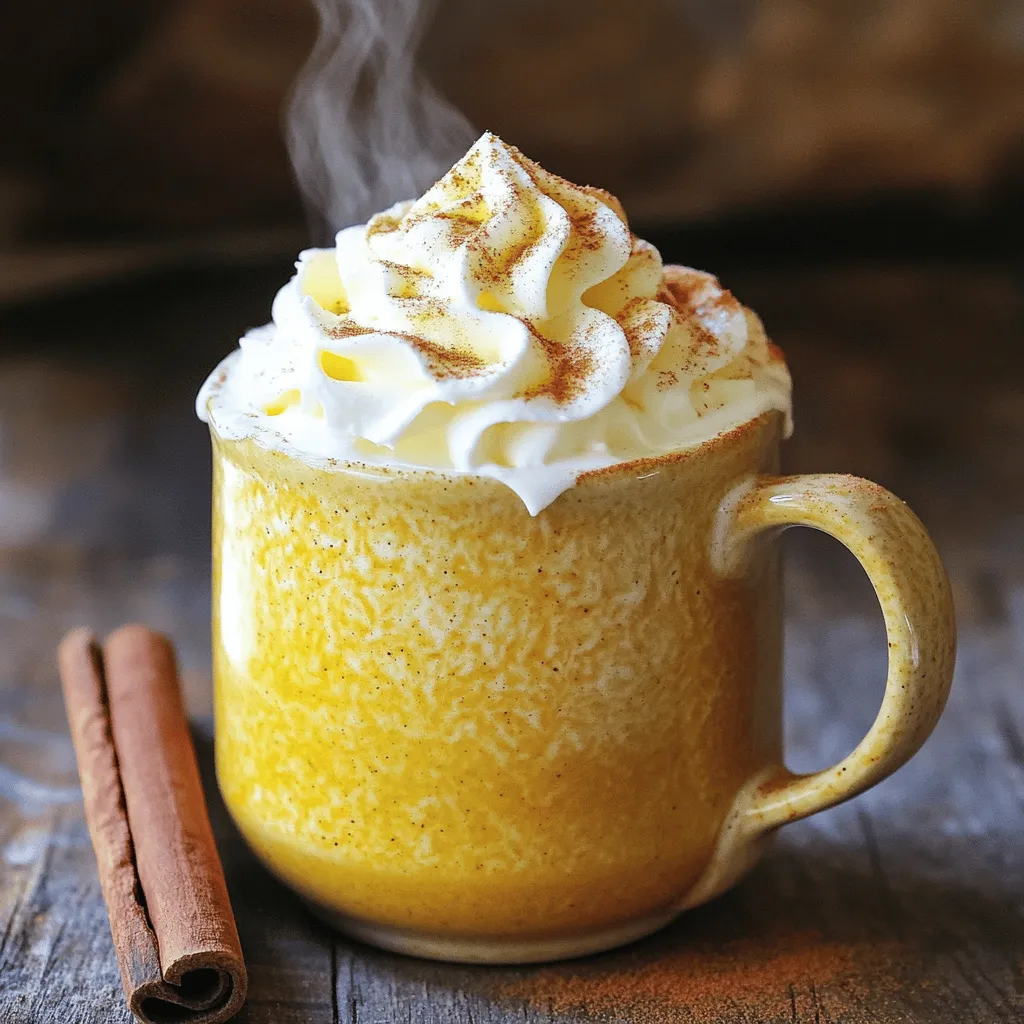
Pumpkin Spice Chai Latte Pure and Cozy Delight
Embrace the cozy vibes of fall with my Pumpkin Spice Chai Latte! This warm drink blends rich pumpkin, spicy chai, and creamy milk for a
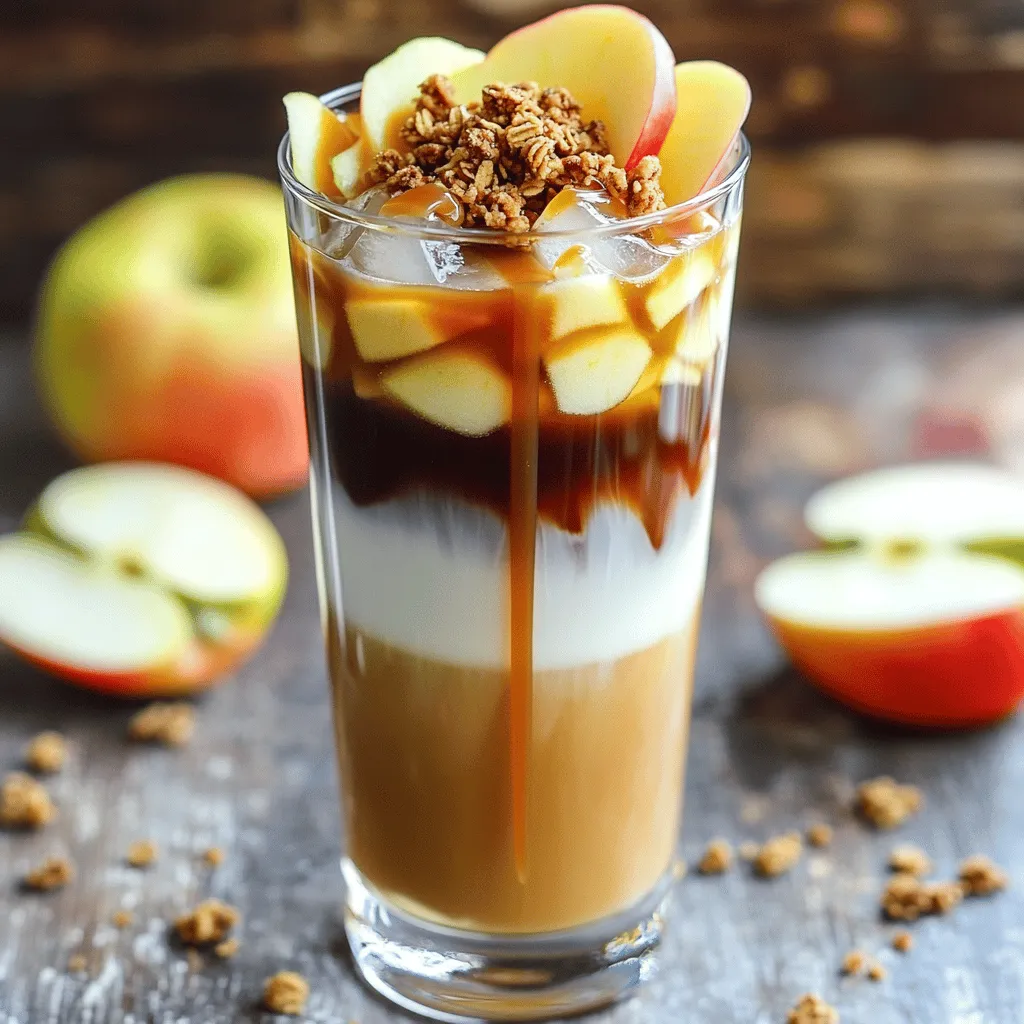
Iced Apple Crisp Macchiato Perfect for Fall Sipping
Craving a cozy drink that captures the essence of fall? The Iced Apple Crisp Macchiato is your perfect match! This delightful blend of apple and
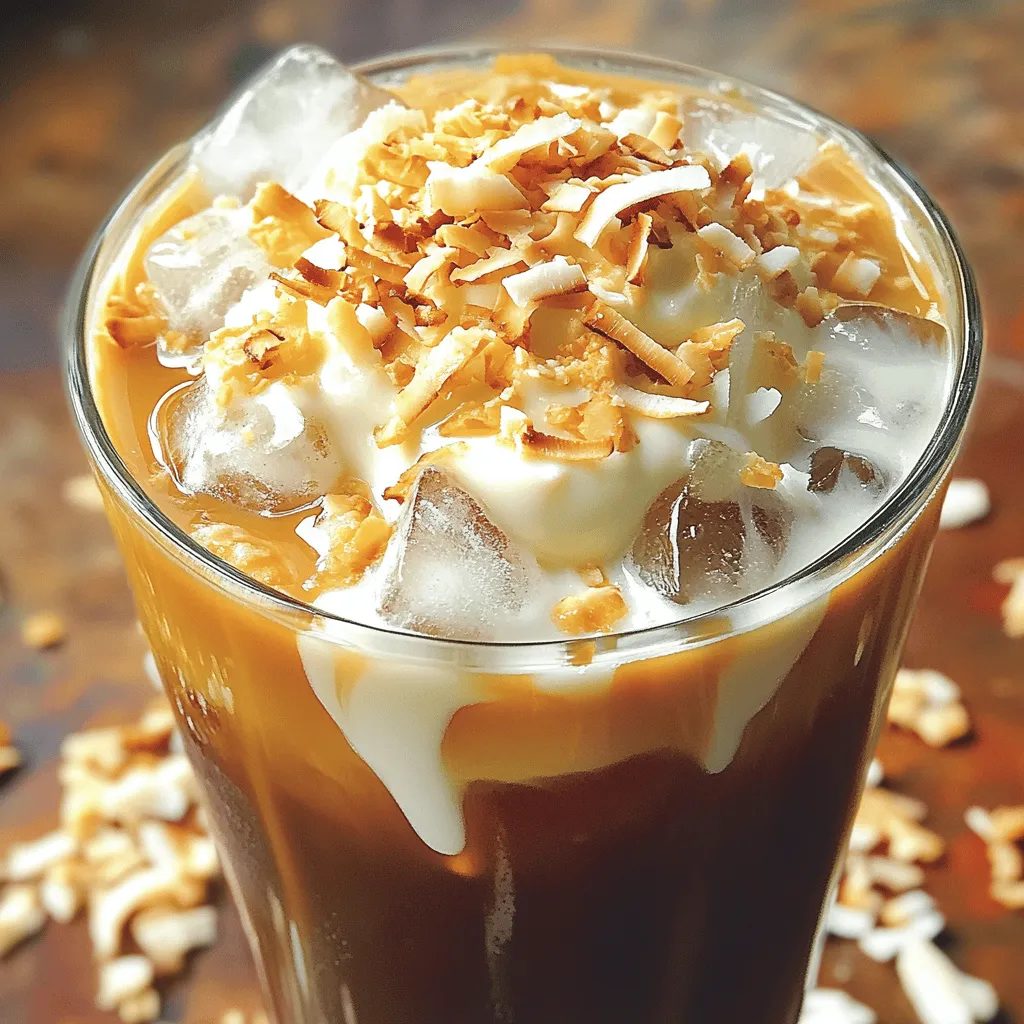
Coconut Cream Cold Brew Refreshing Summer Drink
Looking for a cool drink to beat the summer heat? Try Coconut Cream Cold Brew! This refreshing blend combines the rich taste of cold brew
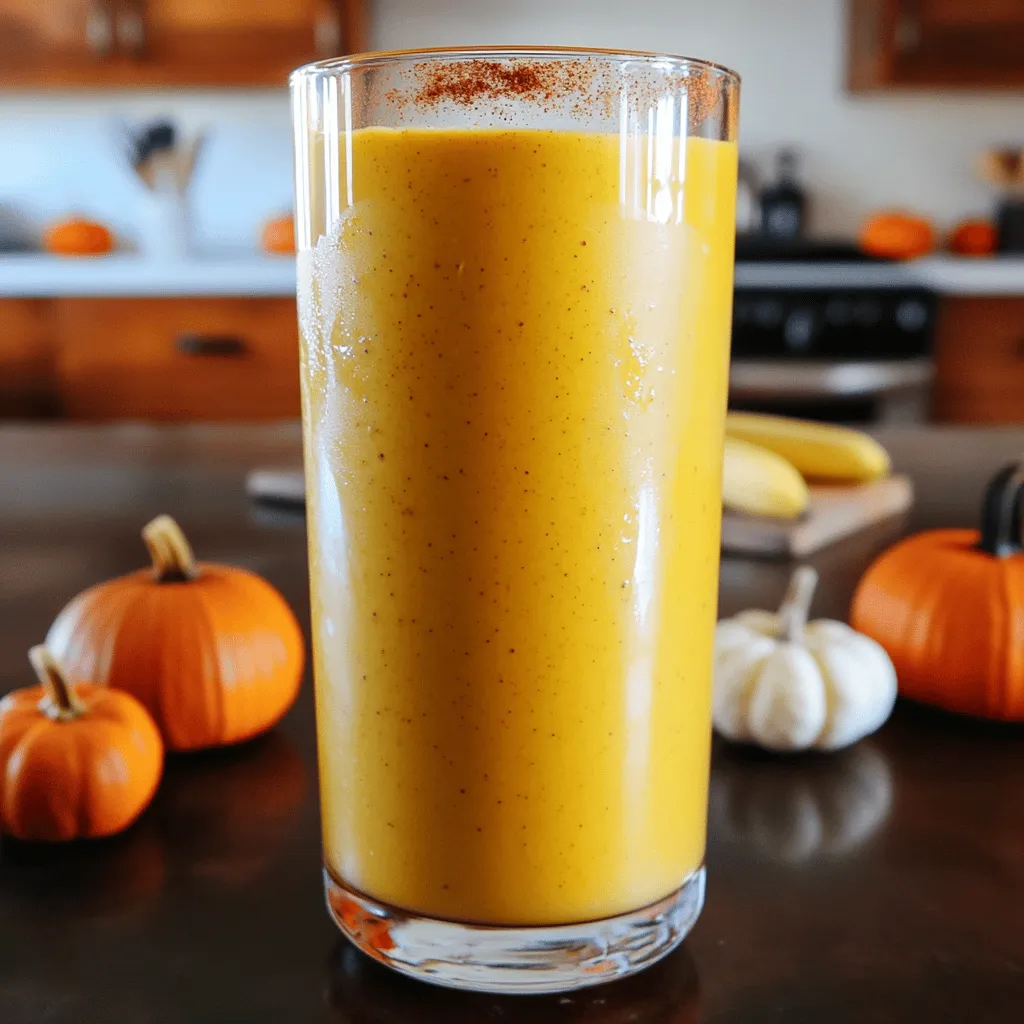
Creamy Pumpkin Protein Smoothie Healthy and Tasty Option
Looking for a tasty and healthy drink? This Creamy Pumpkin Protein Smoothie is just what you need! Packed with flavors and nutrients, it’s a perfect

Fluffy Pumpkin Biscuits Perfect for Any Occasion
If you love the warm, cozy flavors of fall, you’ll adore these Fluffy Pumpkin Biscuits! They are soft, easy to make, and perfect for any
Classic Pumpkin Spice Latte Simple and Cozy Recipe
Fall is here, and that means it’s time for a Classic Pumpkin Spice Latte! This simple recipe warms your soul with rich pumpkin and cozy
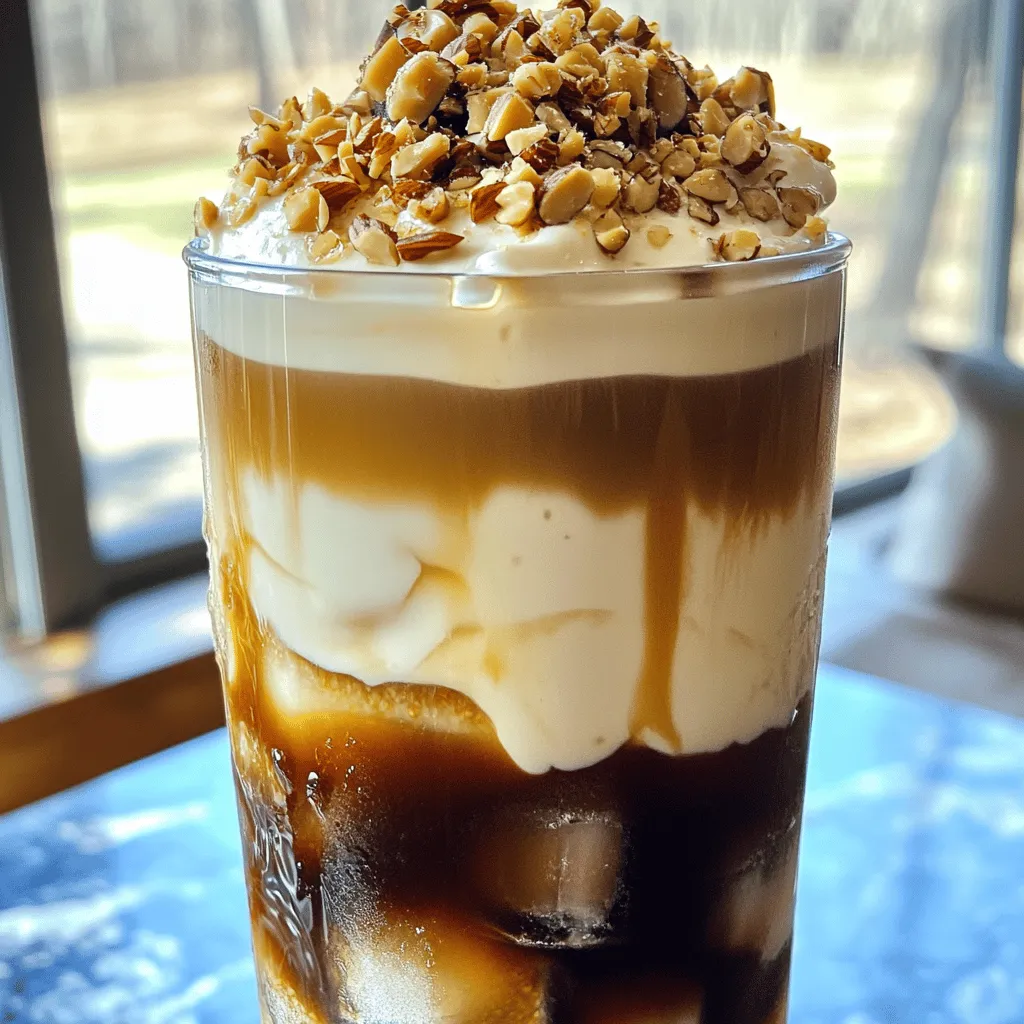
Fig and Mascarpone Cold Brew Refreshing Coffee Treat
Looking for a cool coffee treat to impress your friends? The Fig and Mascarpone Cold Brew is just what you need! This delightful drink blends