Breakfast
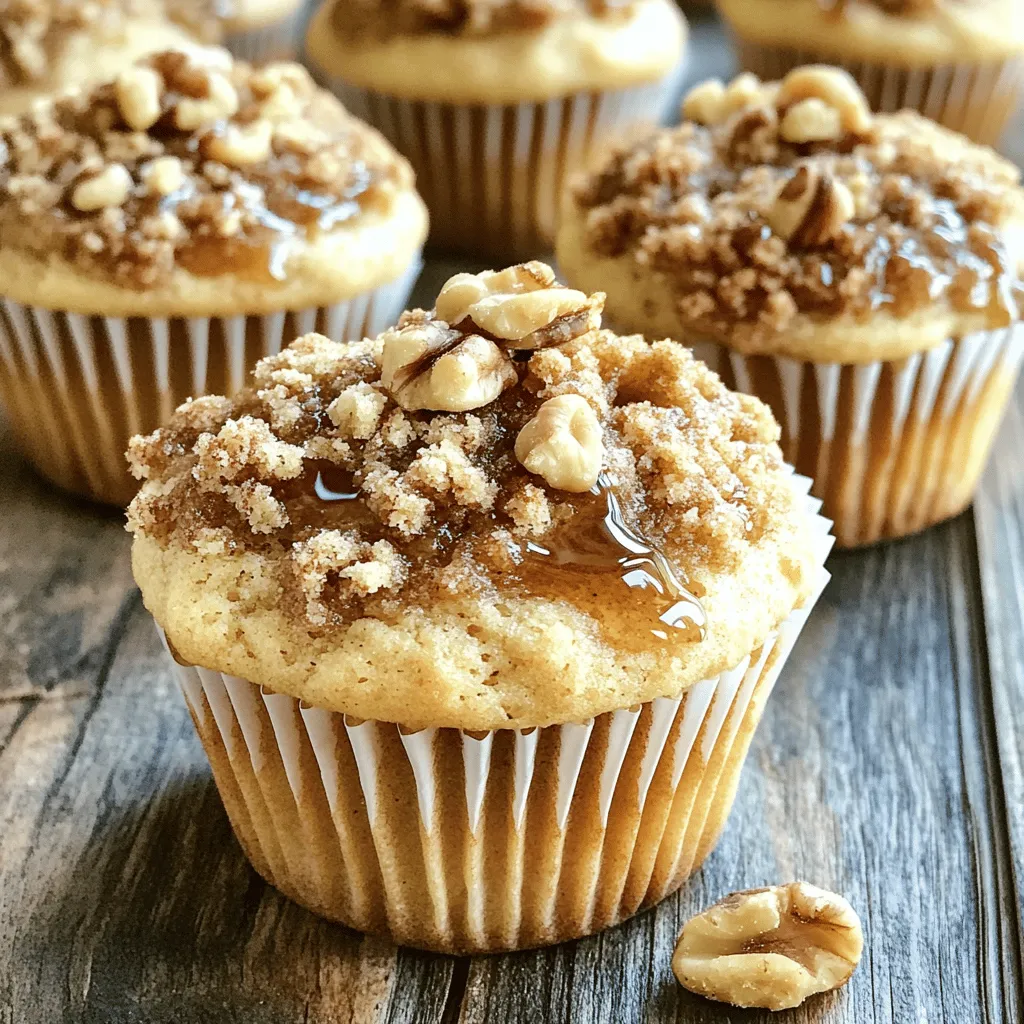
Maple Walnut Streusel Muffins Bakery Style Delight
Welcome to a delightful baking adventure! Today, I’m sharing my recipe for Maple Walnut Streusel Muffins, just like you’d find at your favorite bakery. These

Cinnamon Roll Pancake Bake Simple and Tasty Recipe
Looking for a fun twist on breakfast? Meet the Cinnamon Roll Pancake Bake! This simple yet tasty recipe combines fluffy pancakes with a sweet cinnamon

Fluffy Cinnamon Roll Pancakes Delightful Breakfast Treat
Wake up to a breakfast that’s a game changer! Fluffy Cinnamon Roll Pancakes are the perfect way to start your day. They combine all the
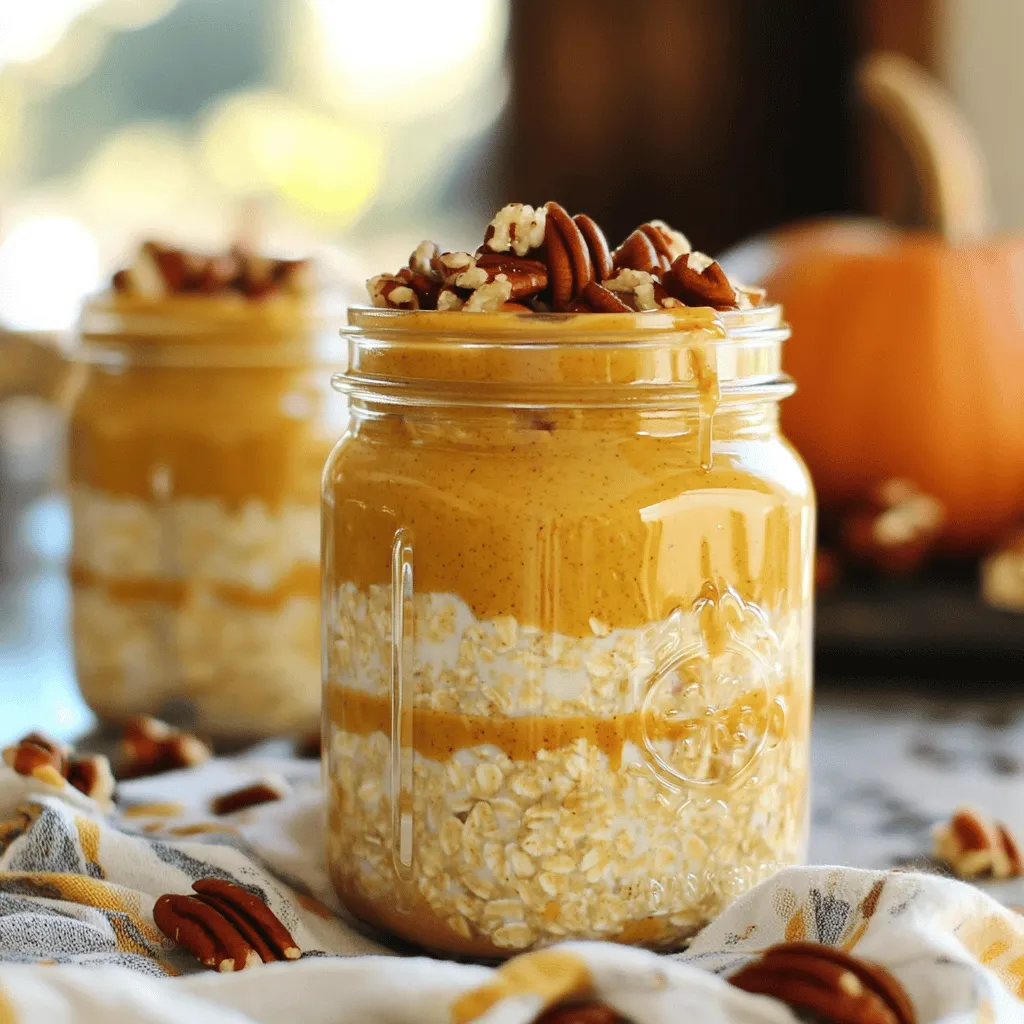
Mason Jar Pumpkin Overnight Oats Nutritious and Easy
Are you ready to enjoy a tasty and healthy breakfast? Mason Jar Pumpkin Overnight Oats are the perfect way to kick-start your day! They are

Strawberry Cheesecake Stuffed French Toast Delight
Get ready to elevate your breakfast game with my Strawberry Cheesecake Stuffed French Toast Delight! This dish combines the sweet, creamy goodness of cheesecake with

Pumpkin Spice Cottage Cheese Muffins Irresistible Treat
Craving a cozy treat this fall? You’re in for a delight! My Pumpkin Spice Cottage Cheese Muffins are an irresistible blend of warm spices and

Cinnamon Roll Apple French Toast Bake Easy Delight
Are you ready to elevate your breakfast game? This Cinnamon Roll Apple French Toast Bake is an easy delight that brings together warm cinnamon rolls

Cheddar Jalapeno Cornbread Waffles Flavorful Twist
Get ready to spice up your breakfast with Cheddar Jalapeno Cornbread Waffles! These waffles combine cheesy goodness and a kick of heat for a fun

Blueberry Greek Yogurt Parfait Energizing Easy Recipe
Looking for a quick, tasty breakfast or snack? This Blueberry Greek Yogurt Parfait is your answer! With creamy Greek yogurt, vibrant blueberries, and crunchy granola,

Apple Pumpkin Streusel Muffins Delicious and Easy Recipe
Are you ready to bake something delicious? These Apple Pumpkin Streusel Muffins are not just easy to make; they overflow with fall flavors! With canned