Breakfast
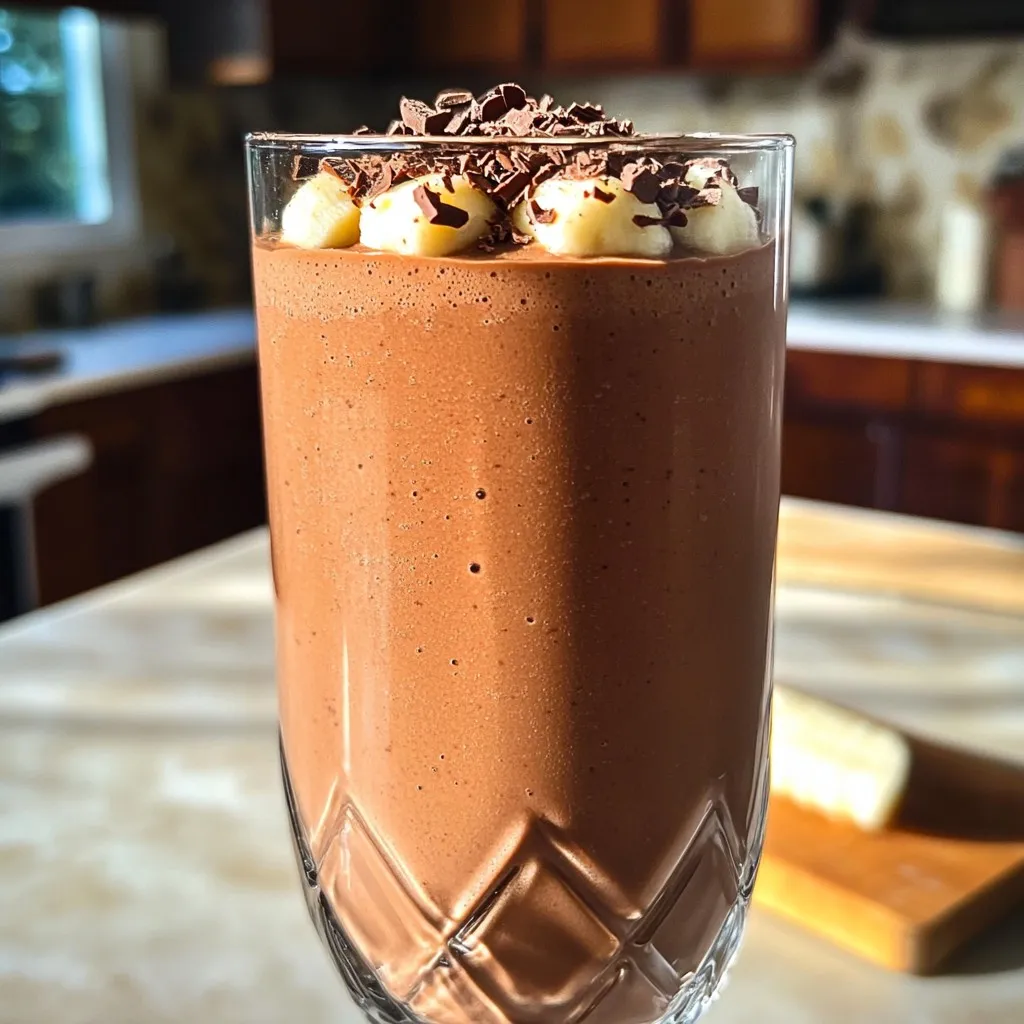
Hot Cocoa Protein Smoothie Tasty and Healthy Treat
Craving something both delicious and nutritious? Try my Hot Cocoa Protein Smoothie! Packed with flavor, this treat gives your body the fuel it needs. With
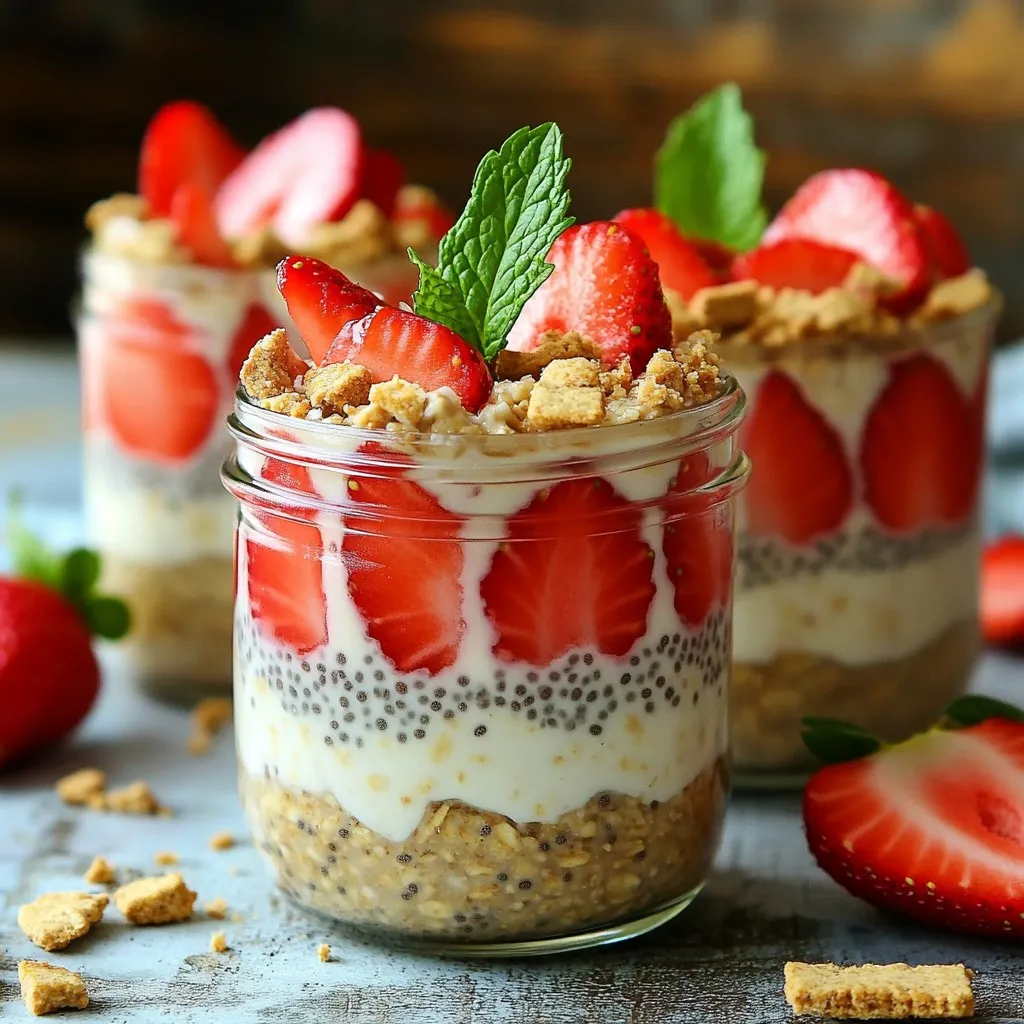
Strawberry Shortcake Overnight Oats Simple Recipe
Start your day with a sweet twist on breakfast! Strawberry Shortcake Overnight Oats are easy to make and delicious. I’ll walk you through all the
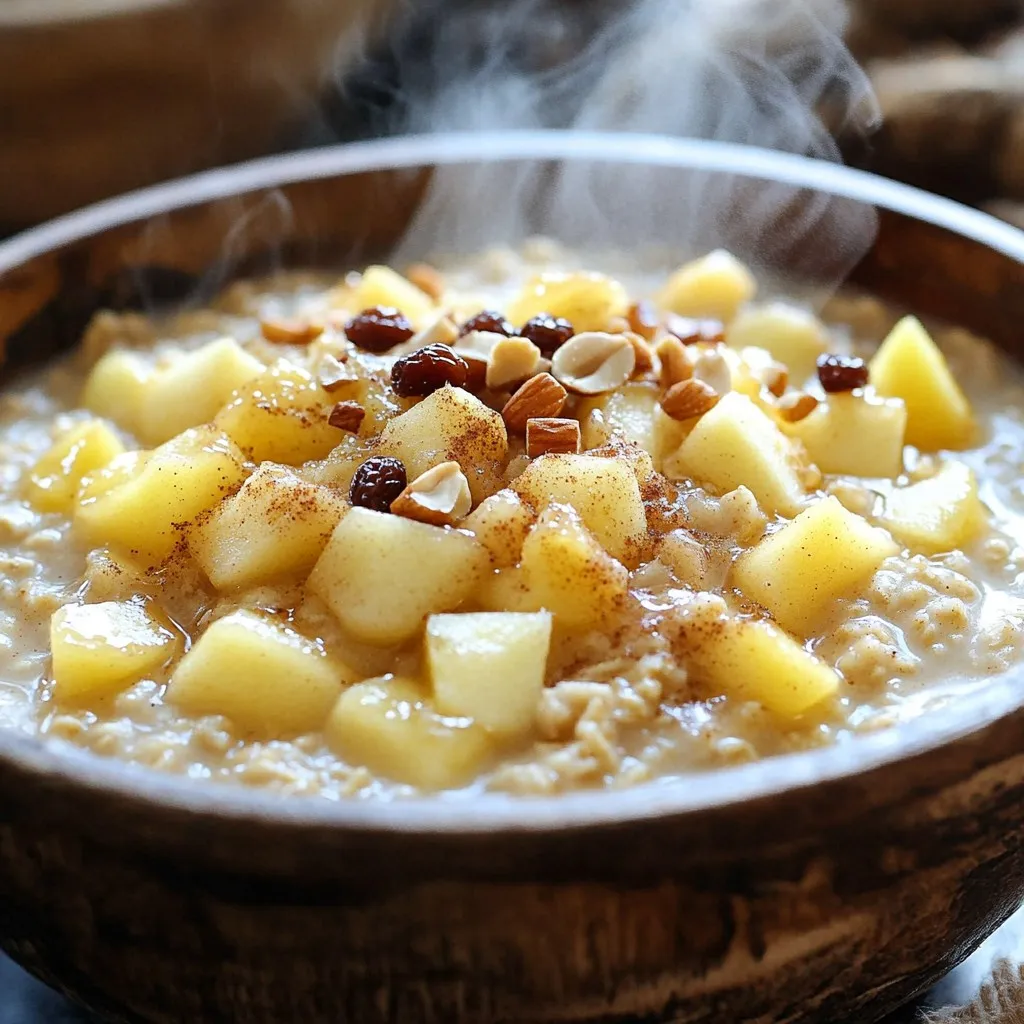
Slow Cooker Apple Cinnamon Oatmeal Delight Recipe
Start your mornings right with my Slow Cooker Apple Cinnamon Oatmeal Delight Recipe! This easy dish combines warm apples and fragrant spices for a cozy
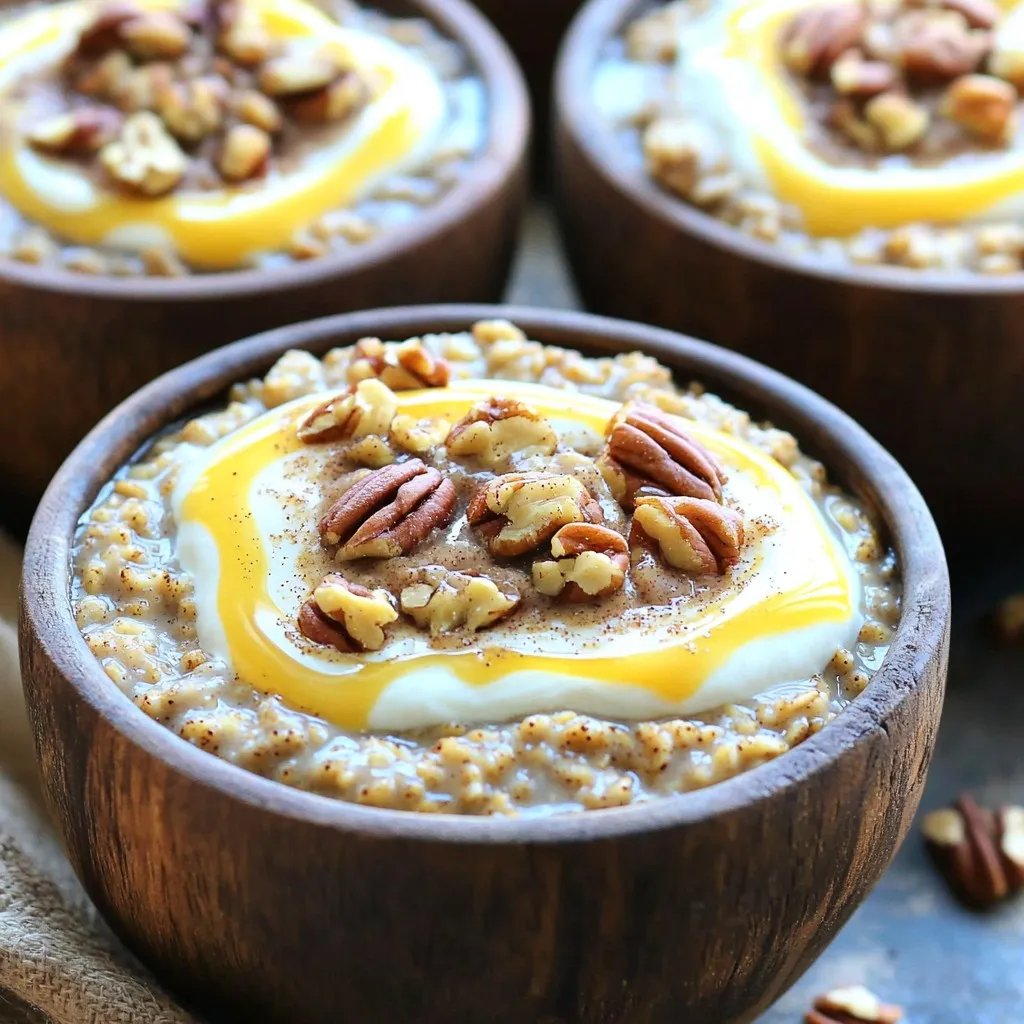
Slow Cooker Cinnamon Roll Oatmeal Delight
Are you ready to wake up to the warm, sweet smell of cinnamon rolls? My Slow Cooker Cinnamon Roll Oatmeal Delight brings that classic flavor
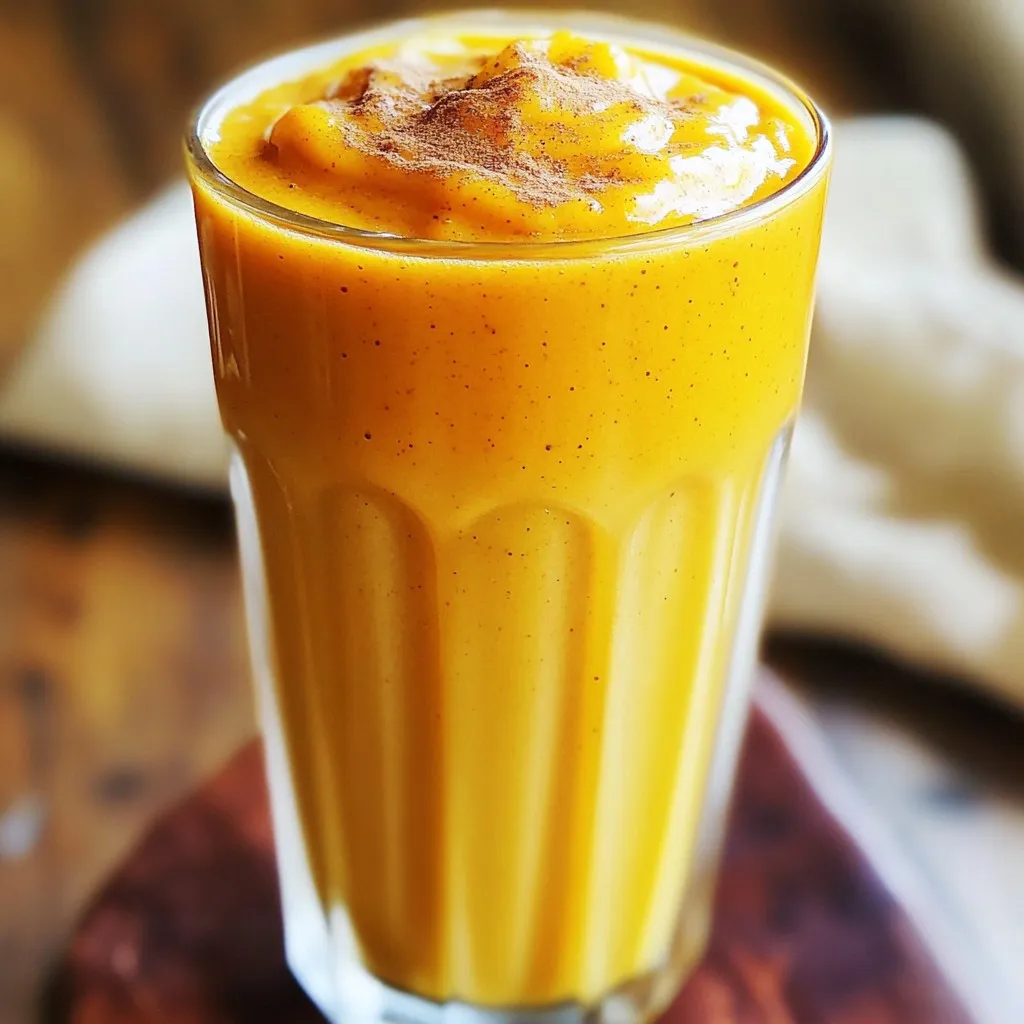
Pumpkin Chai Smoothie with Oat Milk Energizing Treat
Are you ready to dive into the cozy flavors of fall? This Pumpkin Chai Smoothie with Oat Milk is your perfect energizing treat. Packed with
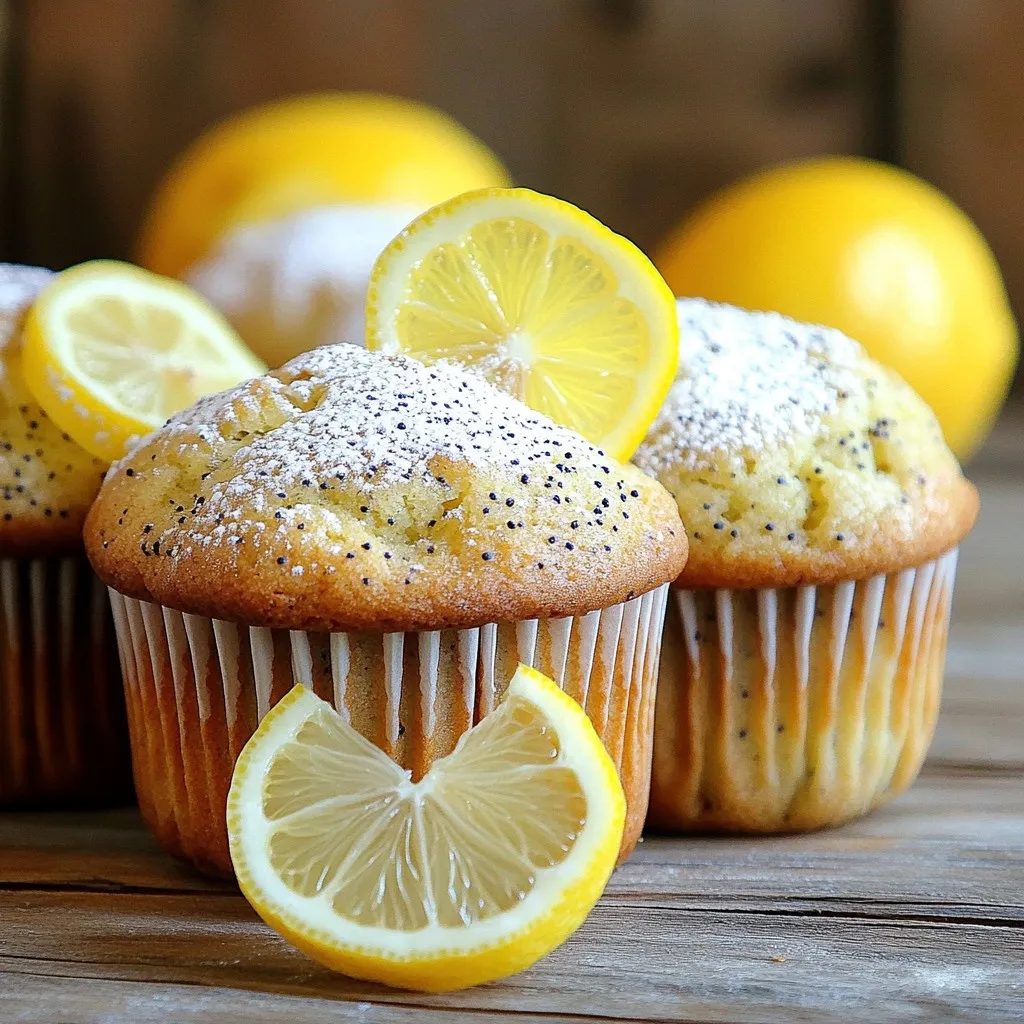
Bakery-Style Lemon Poppy Seed Muffins Delight
If you’re craving a treat that tastes just like the ones from your favorite bakery, you’re in the right spot! Today, I’ll show you how
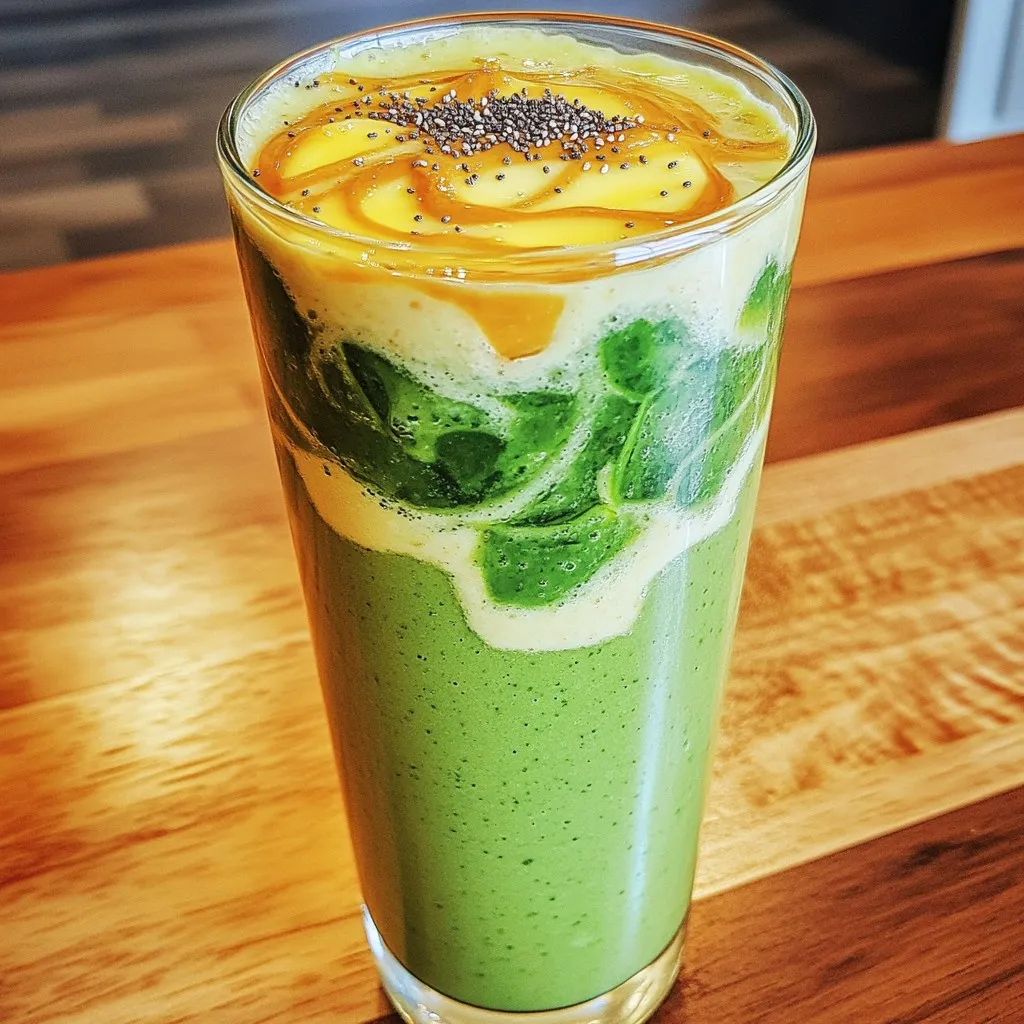
High Protein Cottage Cheese Smoothie Simple Recipe
Are you looking for a quick, tasty way to boost your protein intake? This High Protein Cottage Cheese Smoothie is your answer! Packed with nutrition
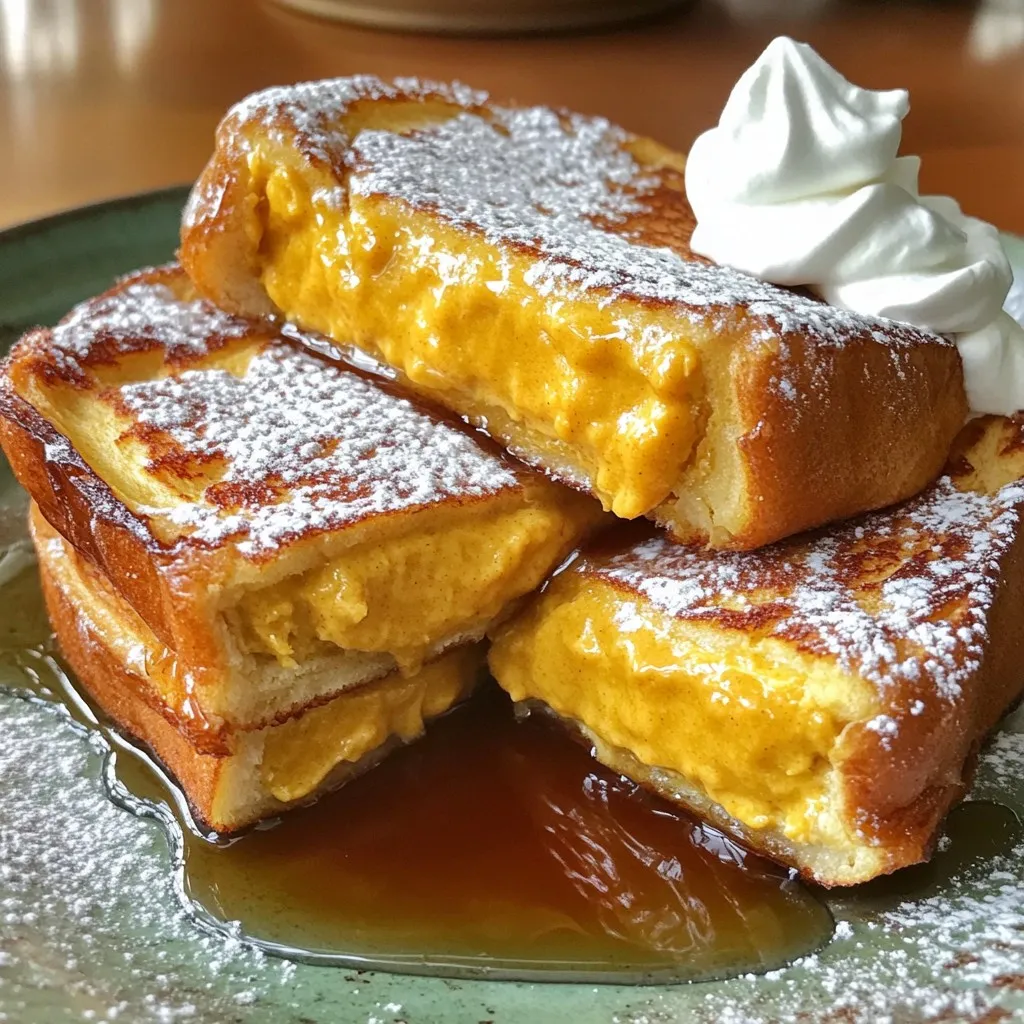
Pumpkin Cheesecake Stuffed French Toast Delight
Are you ready to indulge in a breakfast treat that blends the creaminess of pumpkin cheesecake with the warmth of French toast? In this post,
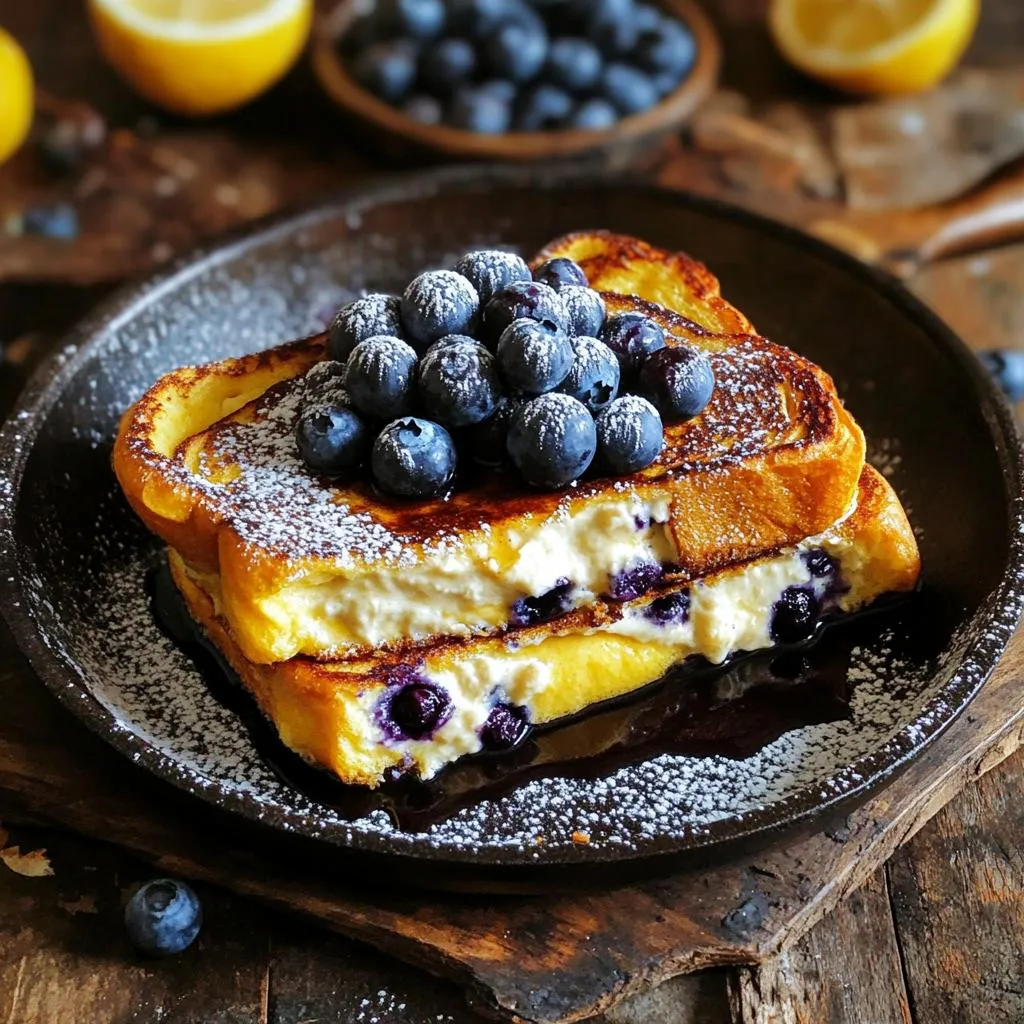
Skillet Blueberry Lemon Cheesecake French Toast Delight
Are you ready to elevate your breakfast game? My Skillet Blueberry Lemon Cheesecake French Toast Delight is the perfect blend of sweet and tangy flavors.
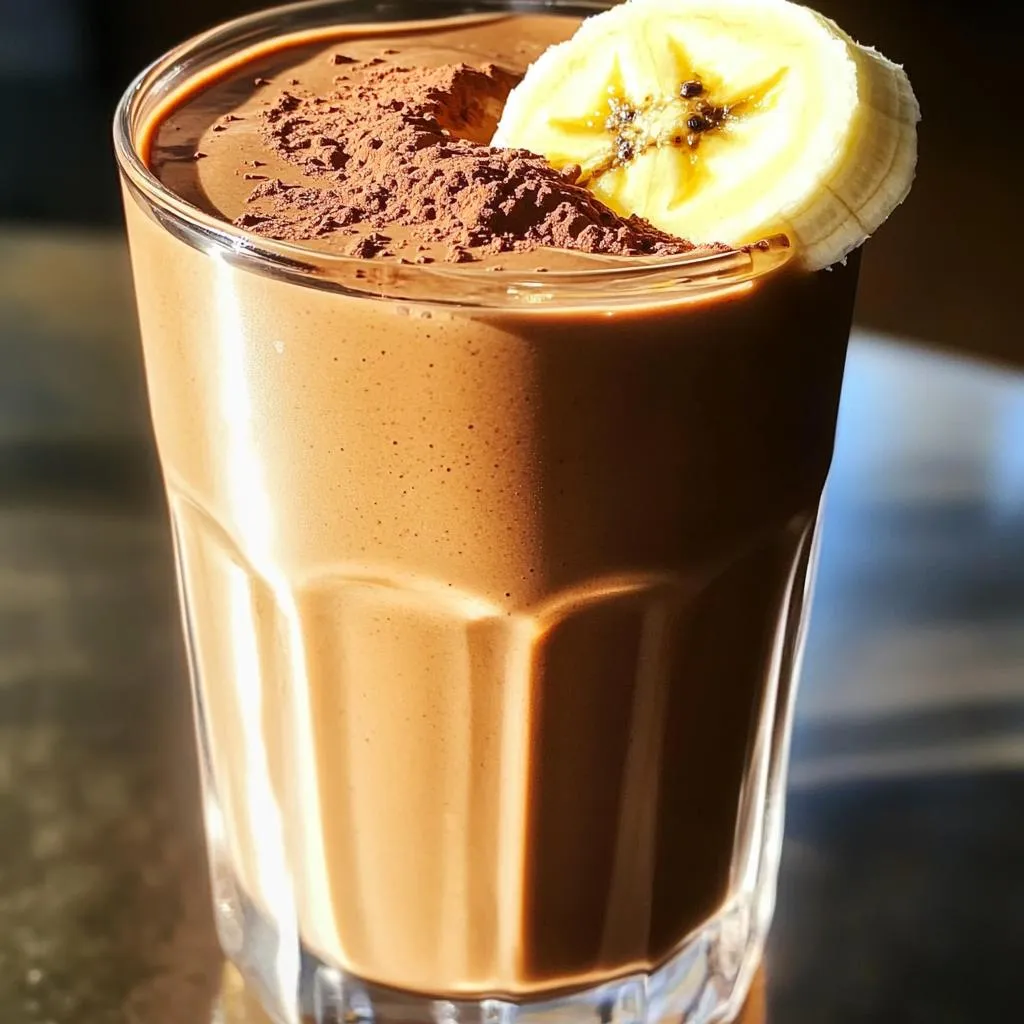
High-Protein Mocha Banana Smoothie Delicious Recipe
Craving a rich and creamy smoothie that’s both tasty and packed with protein? You’re in the right place! My High-Protein Mocha Banana Smoothie is a