Appetizers
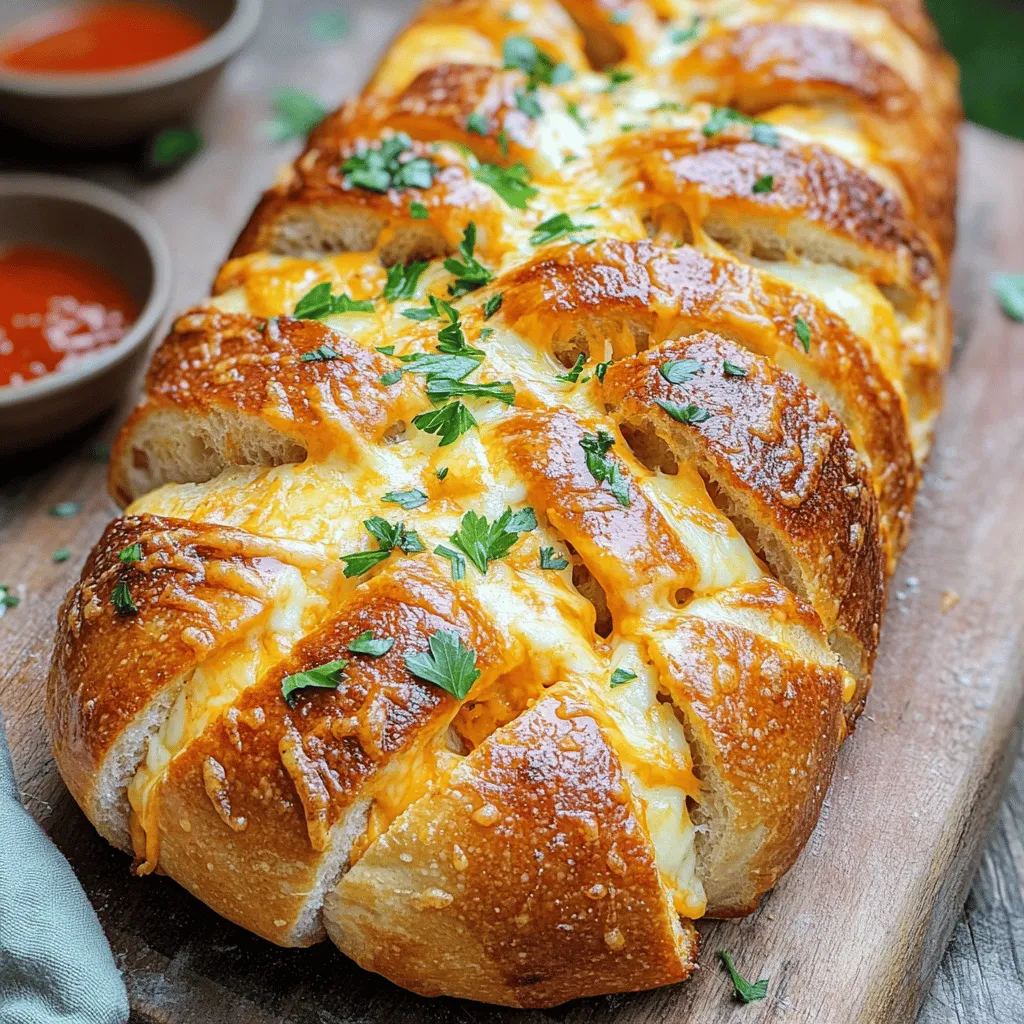
Cheesy Pull-Apart Garlic Bread Irresistible Recipe
Imagine pulling apart a warm loaf of garlic bread, oozing with melted cheese. This cheesy pull-apart garlic bread recipe is your new go-to for comfort
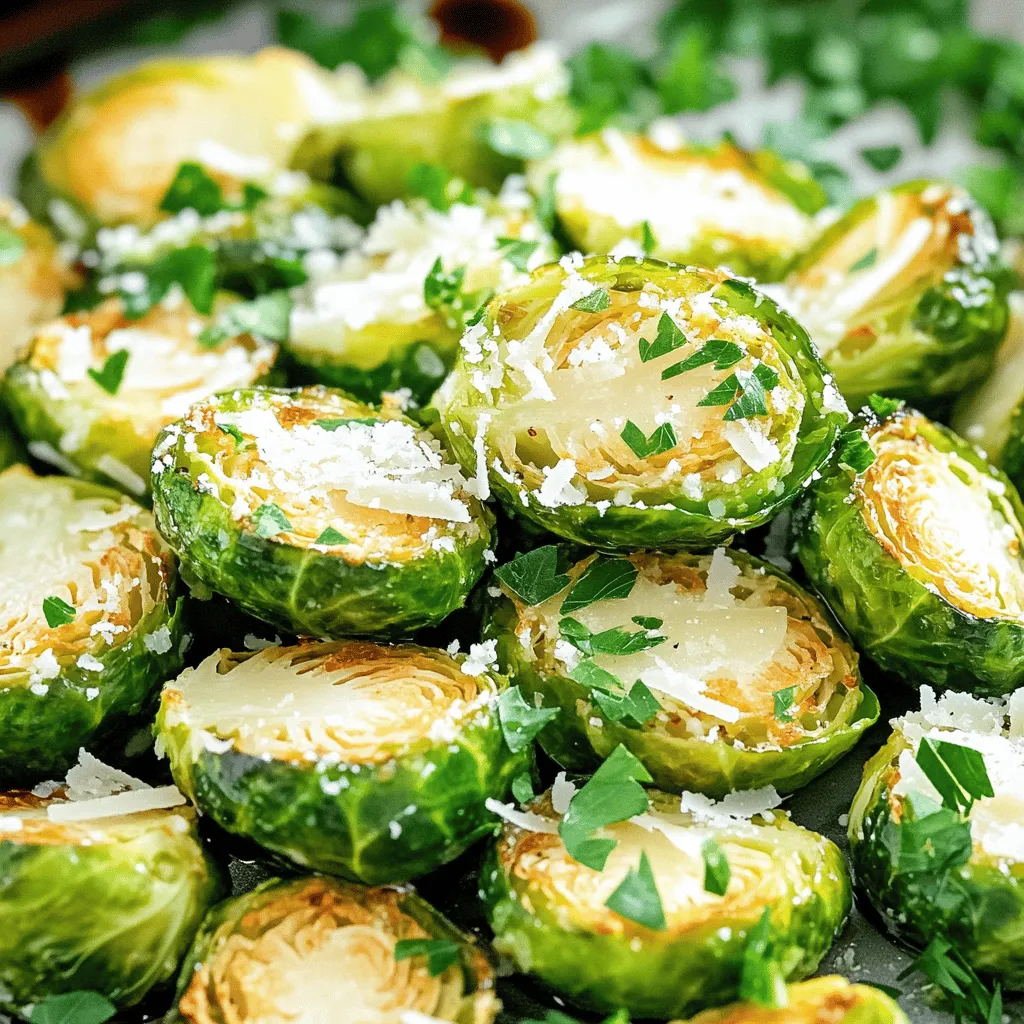
Air Fryer Garlic Parmesan Brussels Sprouts Delight
Are you ready to make your meals unforgettable? Air Fryer Garlic Parmesan Brussels Sprouts are the perfect blend of crunch and flavor. With just a
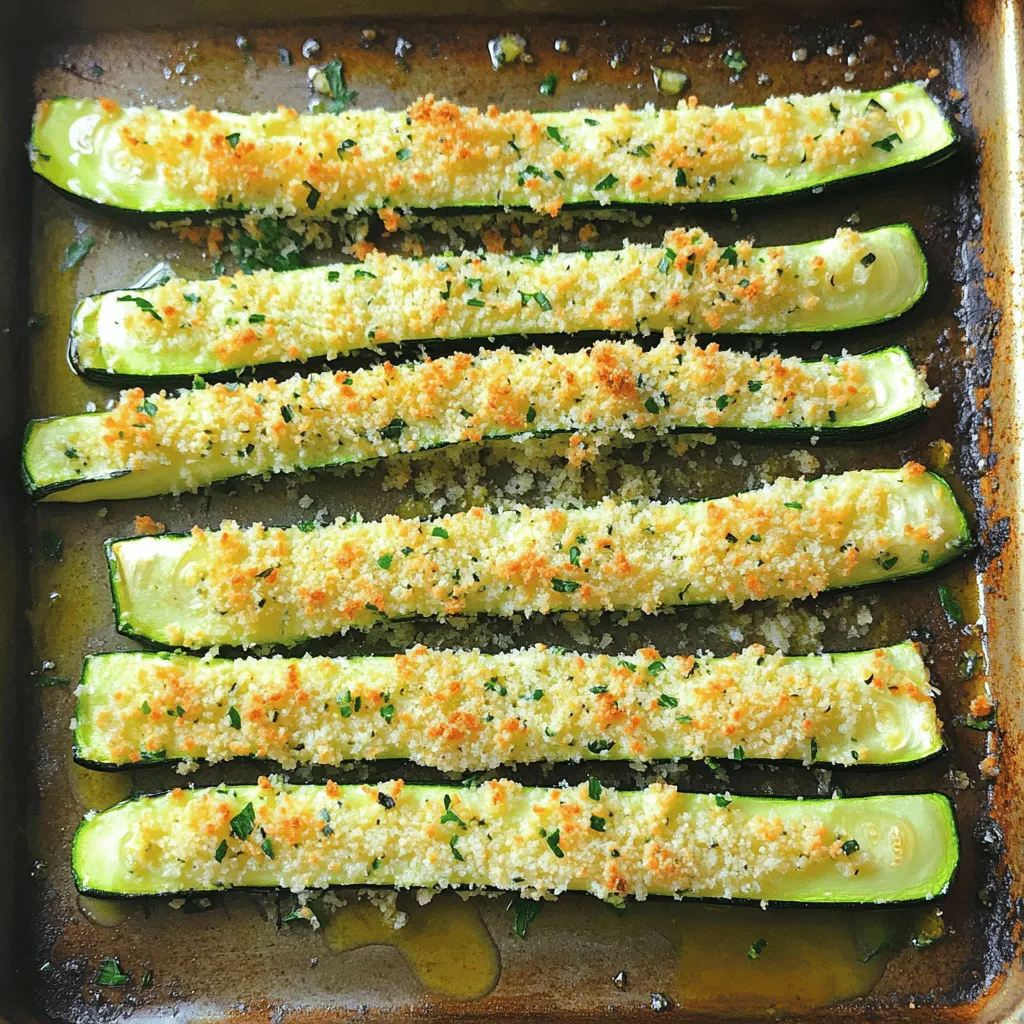
Crispy Parmesan Zucchini Fries That You’ll Love
If you crave a crispy, tasty snack, crispy Parmesan zucchini fries are for you! These fries offer the crunch you love, while being healthier than
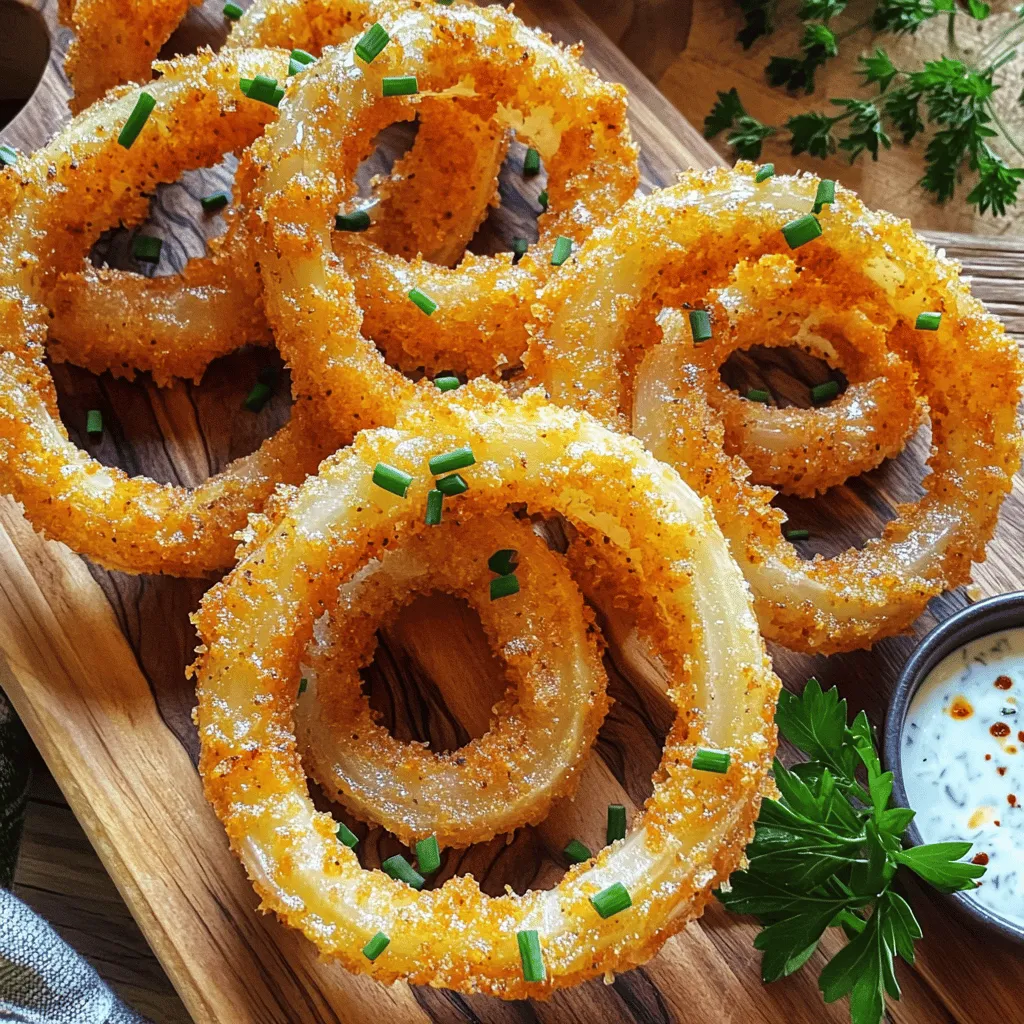
Tennessee Onions Flavorful Twists for Every Occasion
Are you ready to take your appetizer game to a new level? Tennessee onions bring a unique flair to any dish. In this guide, I’ll

Garlic Parmesan Roasted Brussels Sprouts Delight
Are you ready to transform your Brussels sprouts into a tasty delight? In this article, I’ll guide you through making Garlic Parmesan Roasted Brussels Sprouts

Grilled Mexican Street Corn Flavorful and Simple Recipe
Get ready to elevate your grilling game with my Grilled Mexican Street Corn recipe! This dish brings bold flavor and vibrant texture, perfect for summer
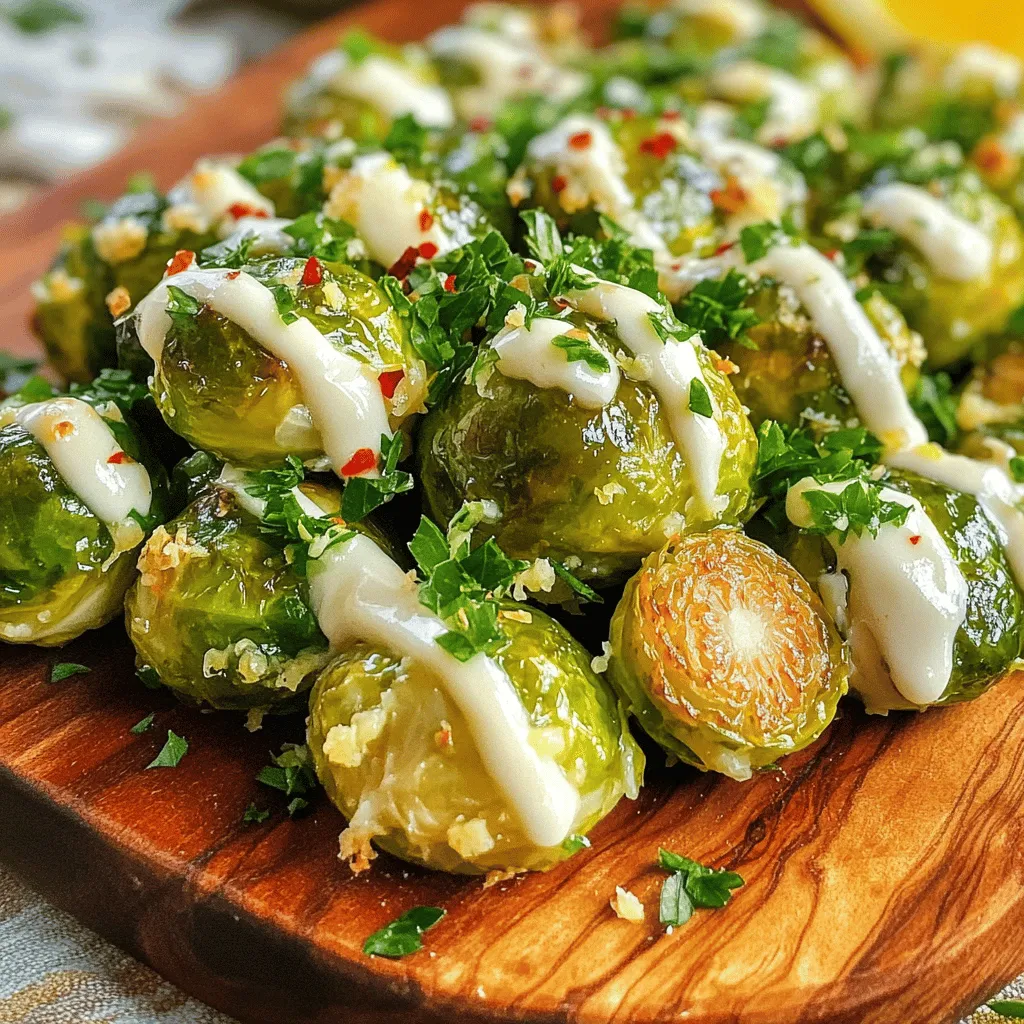
Garlic Parmesan Roasted Brussels Sprouts Delight
Get ready to elevate your vegetable game with Garlic Parmesan Roasted Brussels Sprouts Delight! This dish combines the rich flavors of garlic and cheese, making
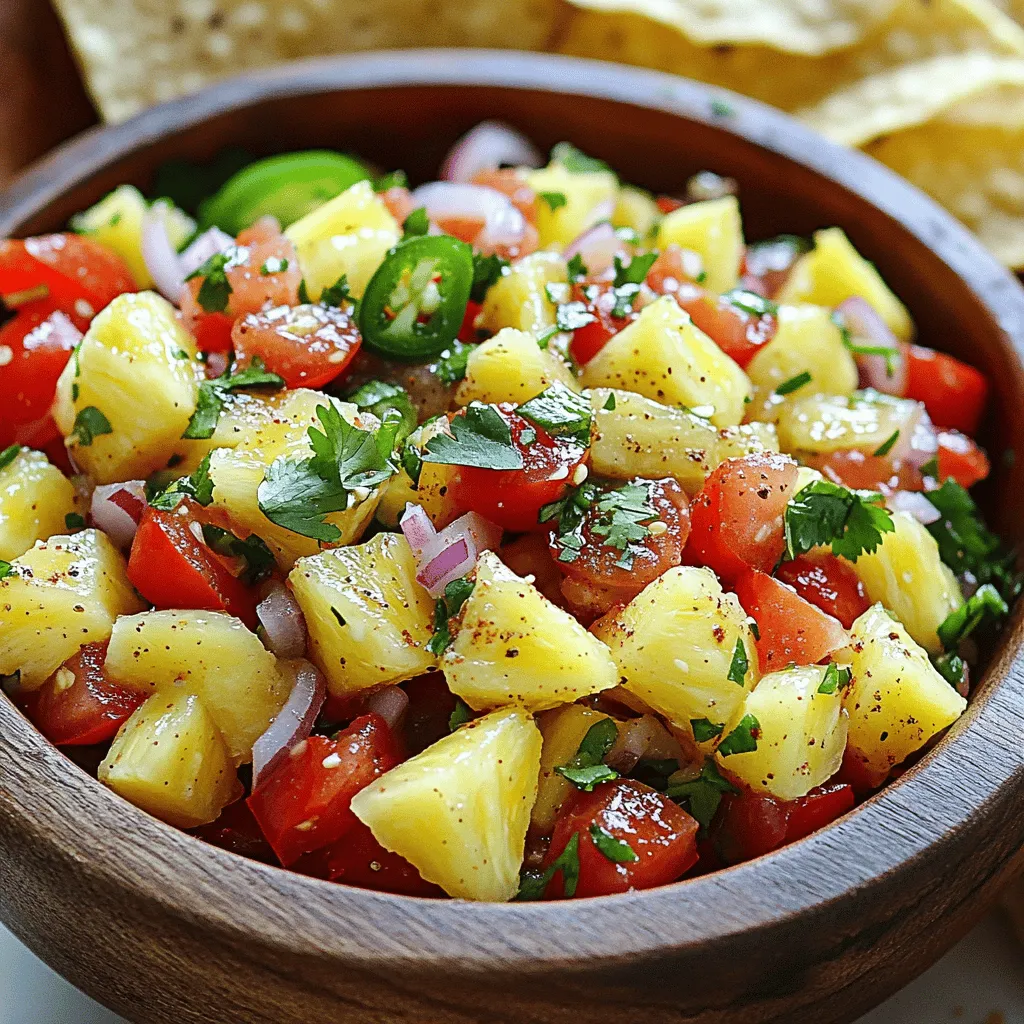
Fresh Pineapple Pico de Gallo Zesty Flavor Explosion
Are you ready to spice up your meals? Fresh Pineapple Pico de Gallo brings a burst of flavor that can transform any dish. You’ll love
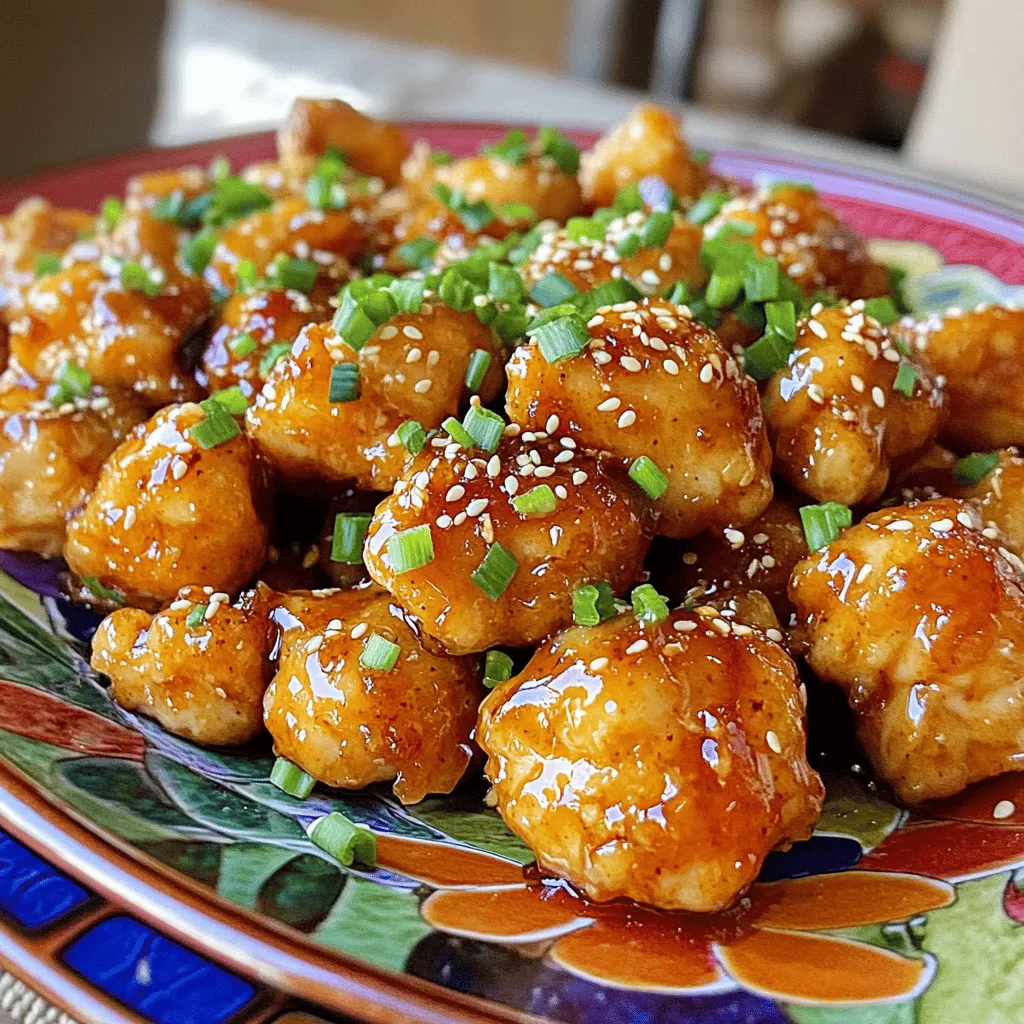
Delicious Air Fryer Honey Garlic Chicken Bites Recipe
Are you ready to savor a taste explosion? My Air Fryer Honey Garlic Chicken Bites are quick, easy, and packed with flavor! With just a
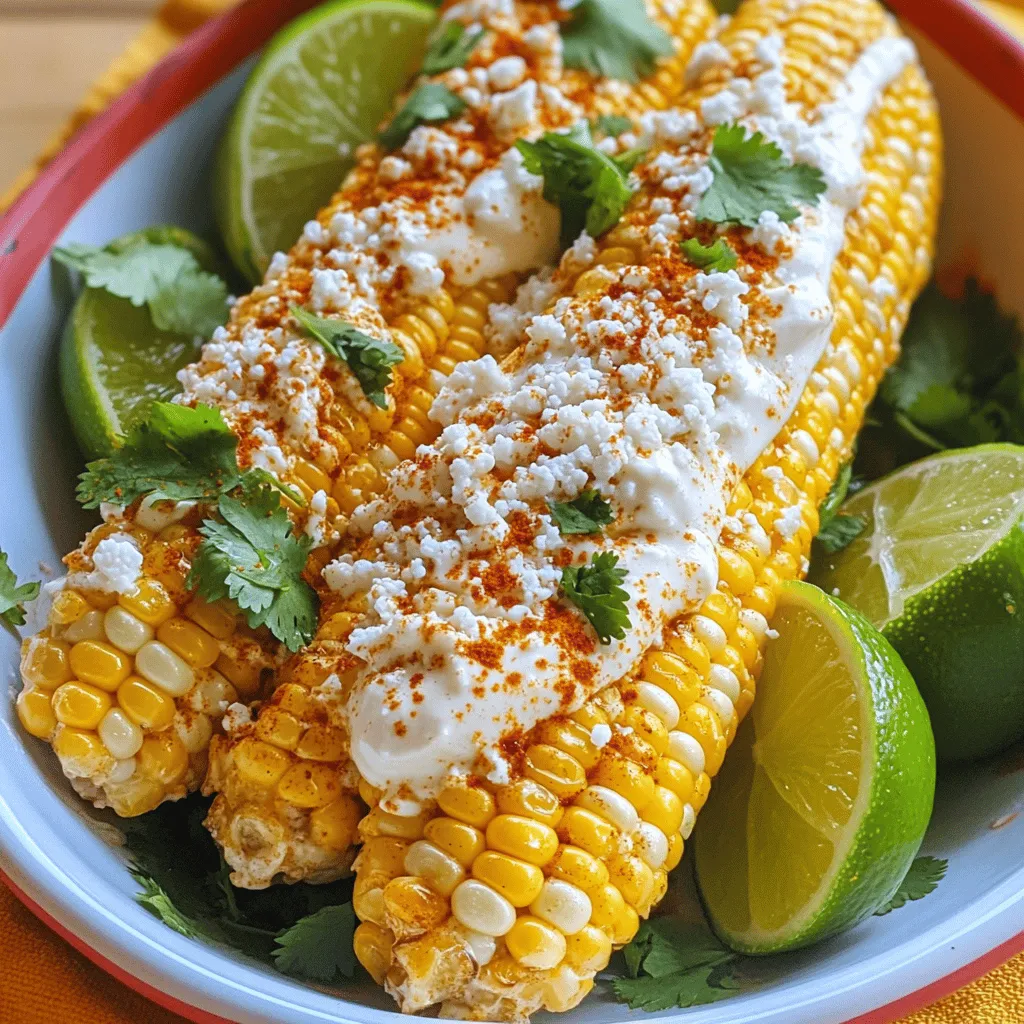
Classic Elote Off the Cob Simple and Flavorful Recipe
If you love corn, you must try Classic Elote Off the Cob! This simple recipe packs a punch with fresh corn, creamy sauce, and a