Appetizers
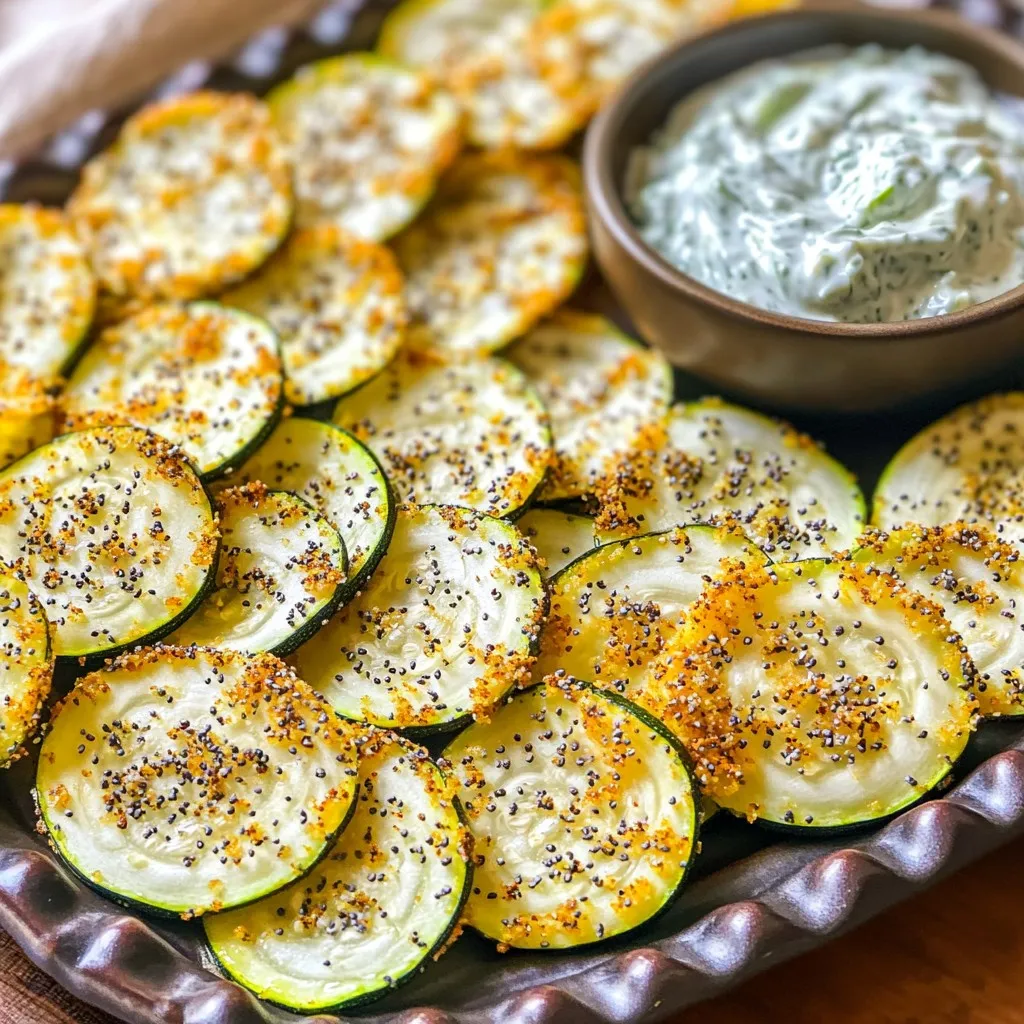
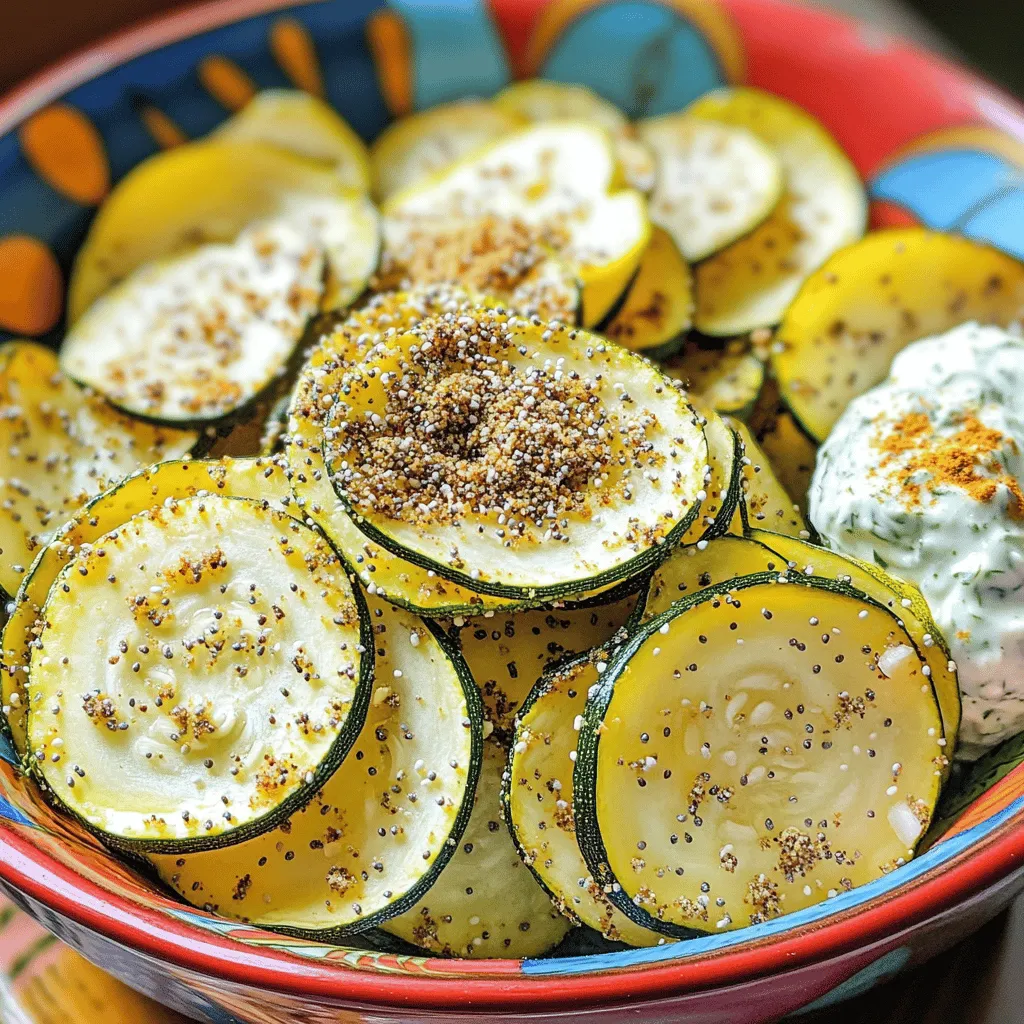
Air Fryer Everything Bagel Zucchini Chips Delight
Are you ready to enjoy a crispy, tasty snack that’s good for you? My Air Fryer Everything Bagel Zucchini Chips are just what you need!

Air Fryer Garlic Herb Breadsticks Simple and Quick Recipe
If you’re craving warm, buttery breadsticks that are simple to make, you’ve come to the right place! My Air Fryer Garlic Herb Breadsticks are quick
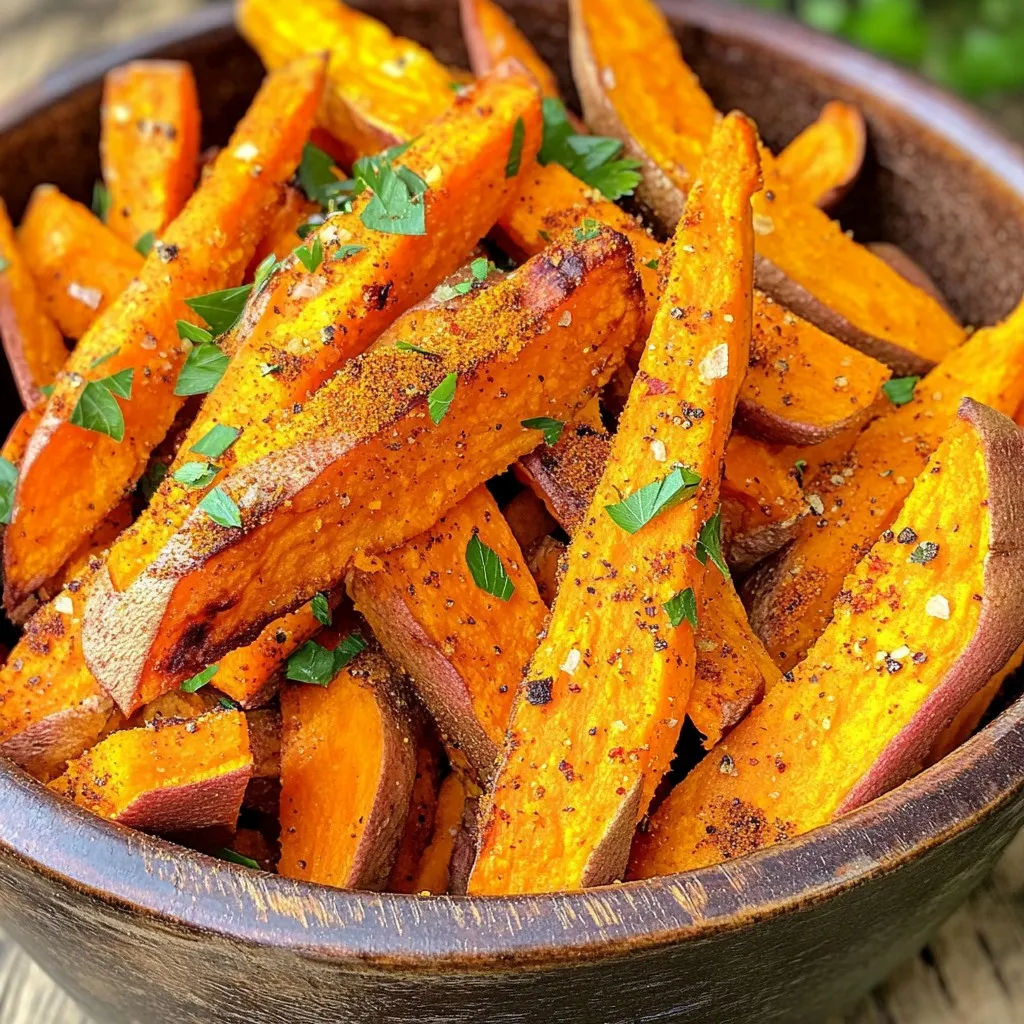
Crispy Air Fryer Sweet Potato Fries Easy and Tasty Snack
Looking for a healthy snack that’s both easy to make and delicious? These crispy air fryer sweet potato fries will hit the spot! With simple
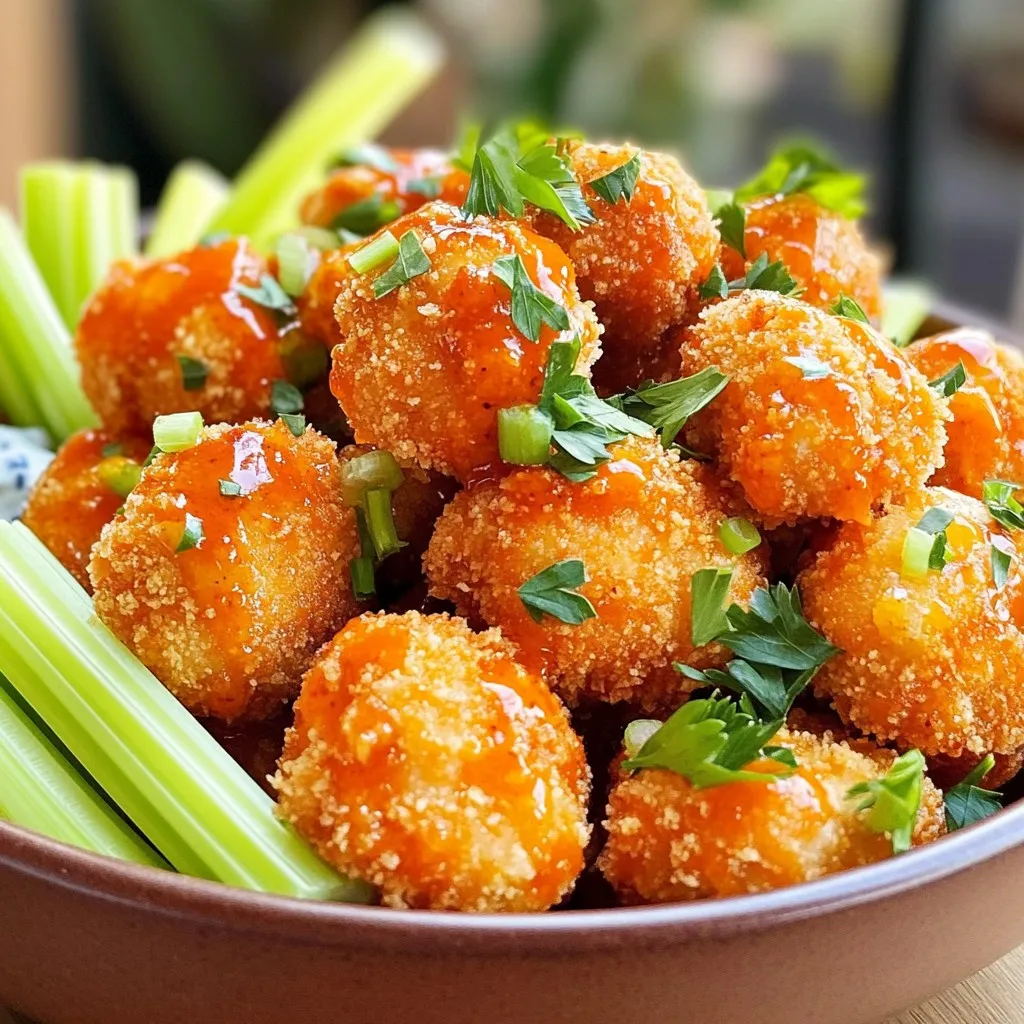
Air Fryer Buffalo Chicken Bites Crispy and Flavorful
Are you ready to spice up your snack game? These Air Fryer Buffalo Chicken Bites are crispy, flavorful, and easy to make. Perfect for game

Air Fryer Garlic Herb Salmon Bites Flavorful Delight
Are you ready to impress your taste buds? Making Air Fryer Garlic Herb Salmon Bites is easy, fun, and delicious. This flavorful delight only requires

Sheet Pan Chipotle Lime Chicken Nachos Delight
Get ready to dive into a fiesta of flavors with my Sheet Pan Chipotle Lime Chicken Nachos Delight! This recipe is simple, fun, and packed
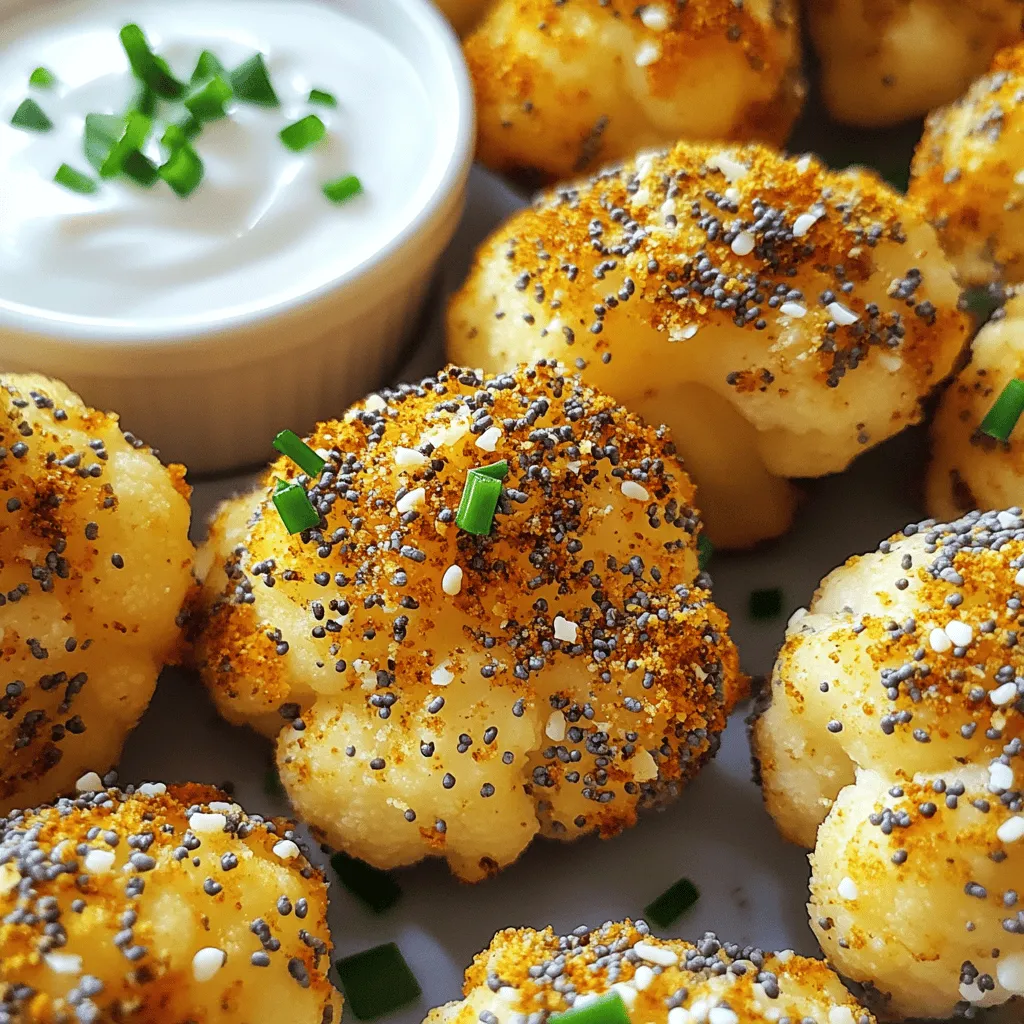
Air Fryer Everything Bagel Cauliflower Bites Crispy Snack
Looking for a snack that’s both tasty and healthy? Try my Air Fryer Everything Bagel Cauliflower Bites! These crispy treats are easy to make and

Slow Cooker Sweet Chili Cranberry Meatballs Delight
If you’re looking for a dish that combines sweet and savory flavors, you’ve found it! Slow Cooker Sweet Chili Cranberry Meatballs are delicious and easy
Air Fryer Everything Bagel Zucchini Chips Crunchy Snack
Looking for a tasty snack that’s both crunchy and healthy? These Air Fryer Everything Bagel Zucchini Chips are your answer! With simple ingredients and quick

Air Fryer Honey Sriracha Salmon Bites Tasty Delight
Get ready for a flavor explosion with my Air Fryer Honey Sriracha Salmon Bites! These tasty bites are easy to make and packed with a